

Casey
-
Content count
596 -
Joined
-
Last visited
-
Days Won
50
Posts posted by Casey
-
-
1 hour ago, b-lever said:Very nice looking truck
It certainly is. I cant believe that I hadn't commented on it before. Check out the blog he did about it. Joris' Blog
-
Wow! That is going to a beauty. Looking real good and the paint on the engine is slick! Please keep us updated.
--Casey
-
Very nice! I have always wanted to build that kit but have not been able to pick one up at a decent price. I'll keep looking; maybe I'll score one someday.
-
24 minutes ago, Tim Bogema said:looking mighty fine Casey

Thanks!
-
24 minutes ago, b-lever said:This is going to be one awesome looking Truck.. you going to update it some square headlights ?? by chance
Thanks! I was planning to go with the old school round lights but now that you have suggested square lights, I'm not sure. I may have to change my mind
")
-
 1
1
-
-
6 hours ago, trucker said:looks great casey !
Thanks!
-
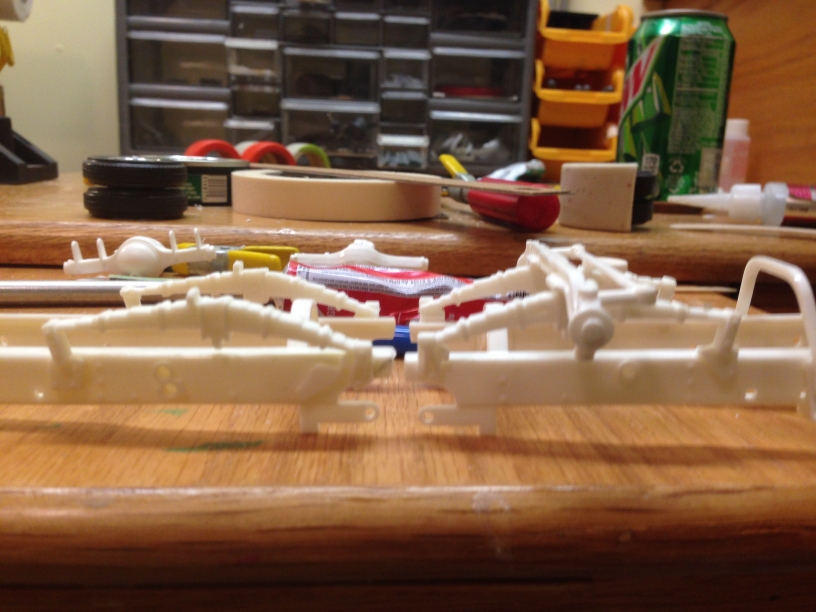
I got this kit from my uncle 10 plus years ago. He had finished building the engine and it remained untouched until earlier this year when I decided to build it. My original plan was to put the rear frame and suspension from an old ROG Peterbilt on it. The rear frame section was a bit wider but I pressed on anyway and as I'm sure you can imagine, I was not happy with the tapered that resulted in the forward section. Determined to make it work, I set out to narrow the frame, rear ends, et al to make it work but due the brittleness of the rear section, I was forced to abandon the idea. That led me to order another kit to use for parts. Not the most economical way to do it but I'm sure I will find a use for the rest of the parts. Here's the current progress on the project.
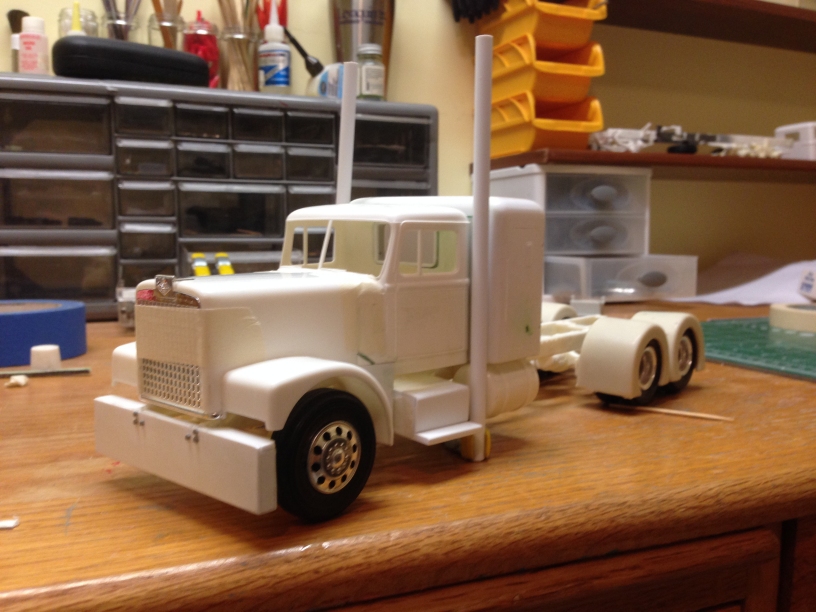
I finally got to the point that I could mock it up. The suspension was dropped about 2.5 scale inches, the sleeper was robbed from a snap Pete, the fuel tanks will moved to beneath the sleeper, Peterbilt battery boxes will be placed beneath the cab and a Peterbilt style cab panel will occupy the space where the kit battery boxes where. I also built-up a custom front bumper for her and I will add a set of my single hump fenders.
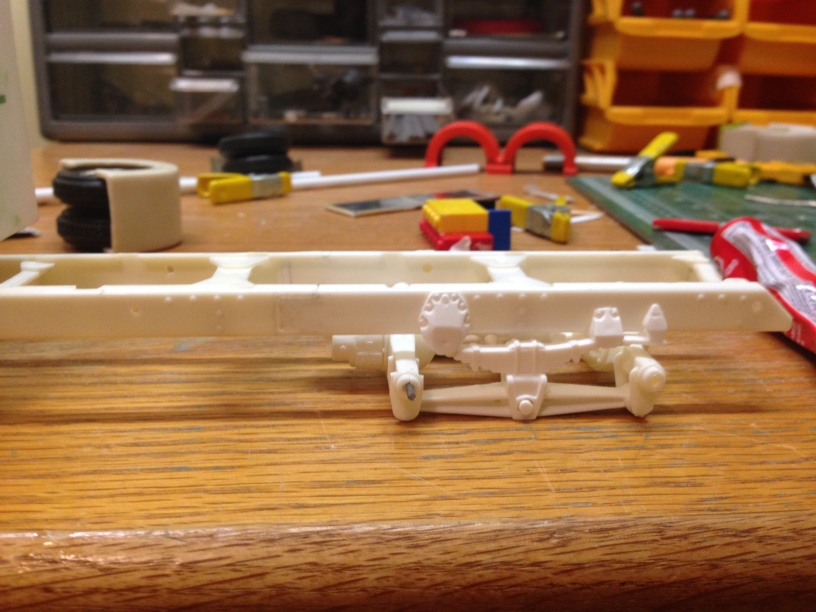
The frame was stretched (note the joints just forward of the rear suspension) and the suspension was lowered.
Stock rear suspension position.
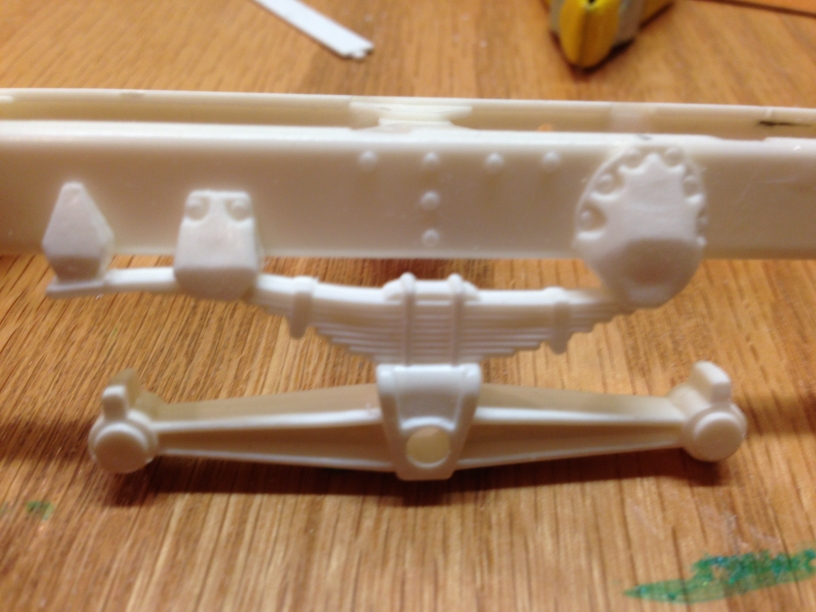
To lower the rear, I cut the stock alignment pegs (I guess that's what they are called) and removed the tabs that rest below the lower portion of the frame rail to allow the suspension to be mounted higher on the rails as seen above.
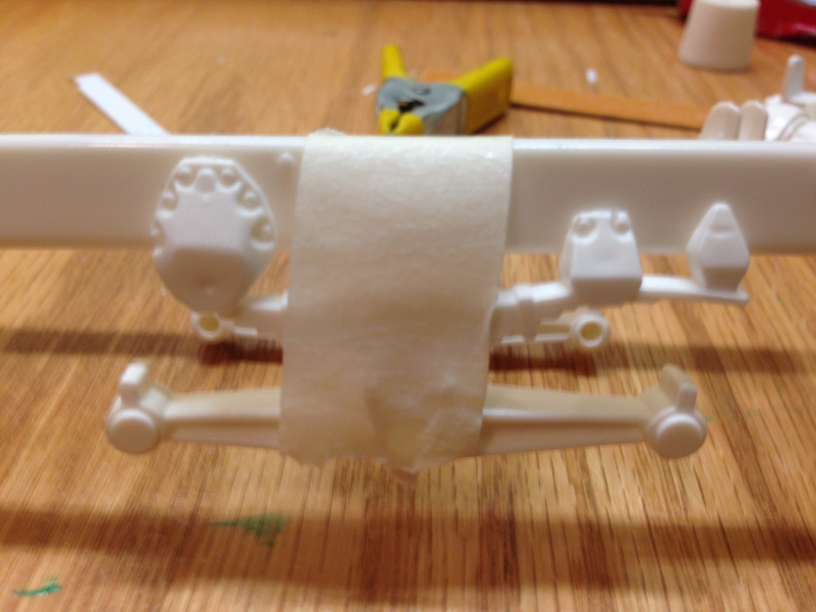
Similarly, I removed the pegs and tabs and mounted the front suspension higher on the frame.
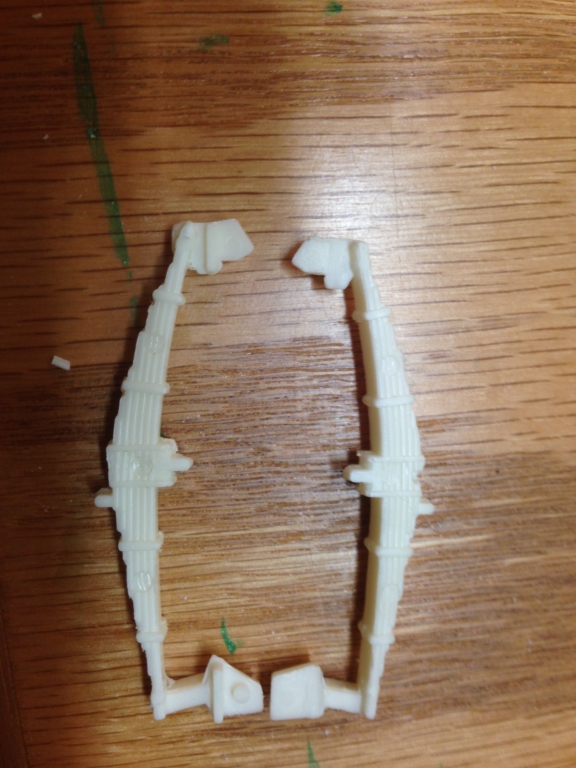
To help keep the cab centered to allow it to sit better on the rear cab mount, I added a mount bracket with a centering tab that fits between the tow pegs on the kit frame mount. The rear opening for the sleeper tunnel was enlarged to match the from AMT Pete sleeper panel that was grafted into the snap Pete sleeper. The shortened ROG Pete drive shaft and carrier are also visible I this image (I was determined to use something from the old ROG Pete).
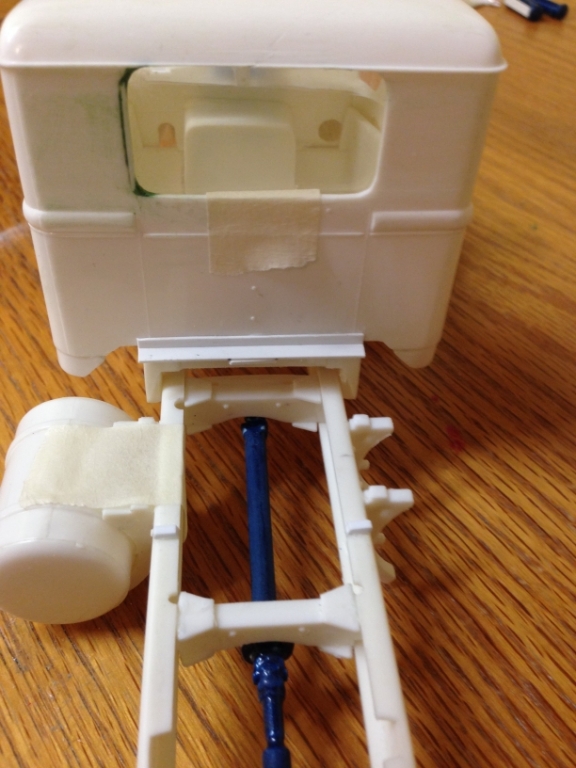
The tunnel was lengthened to allow a bit more room for the stacks and a spacer was added to keep sleeper parallel to the cab.

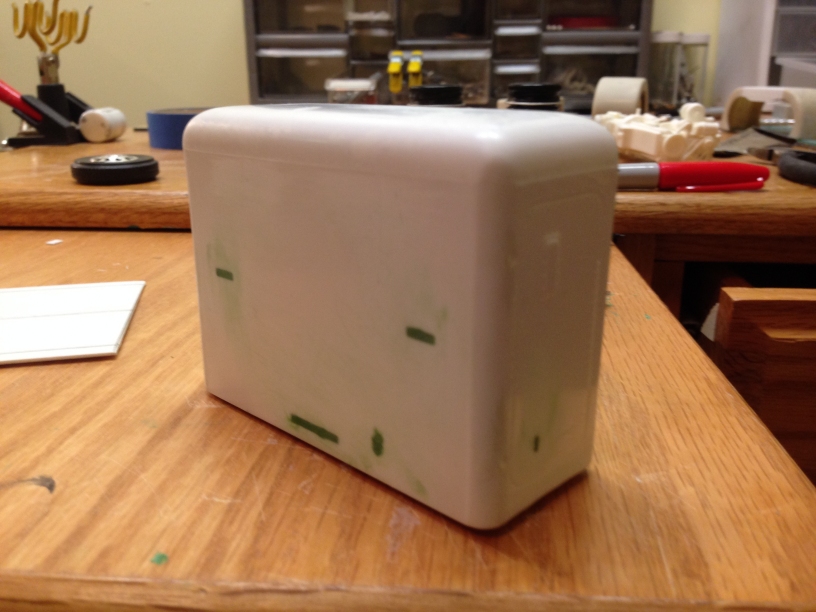
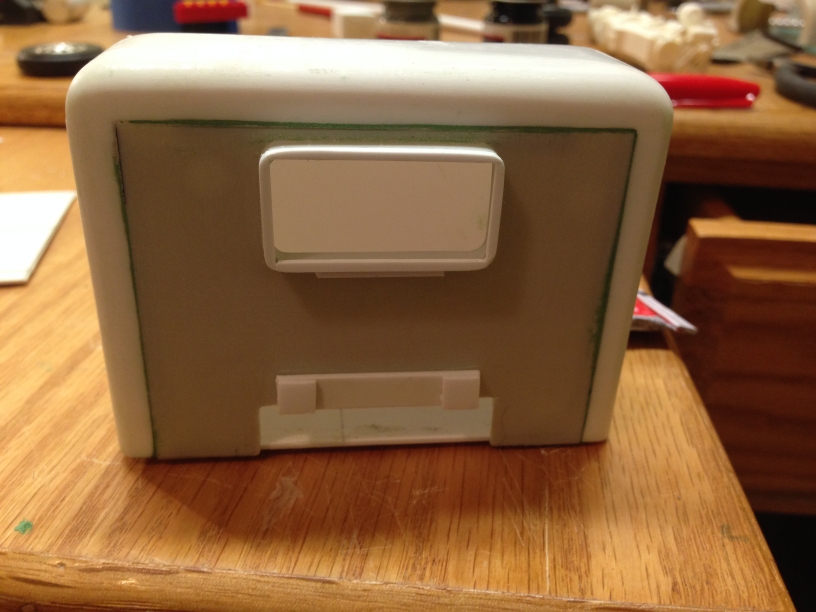
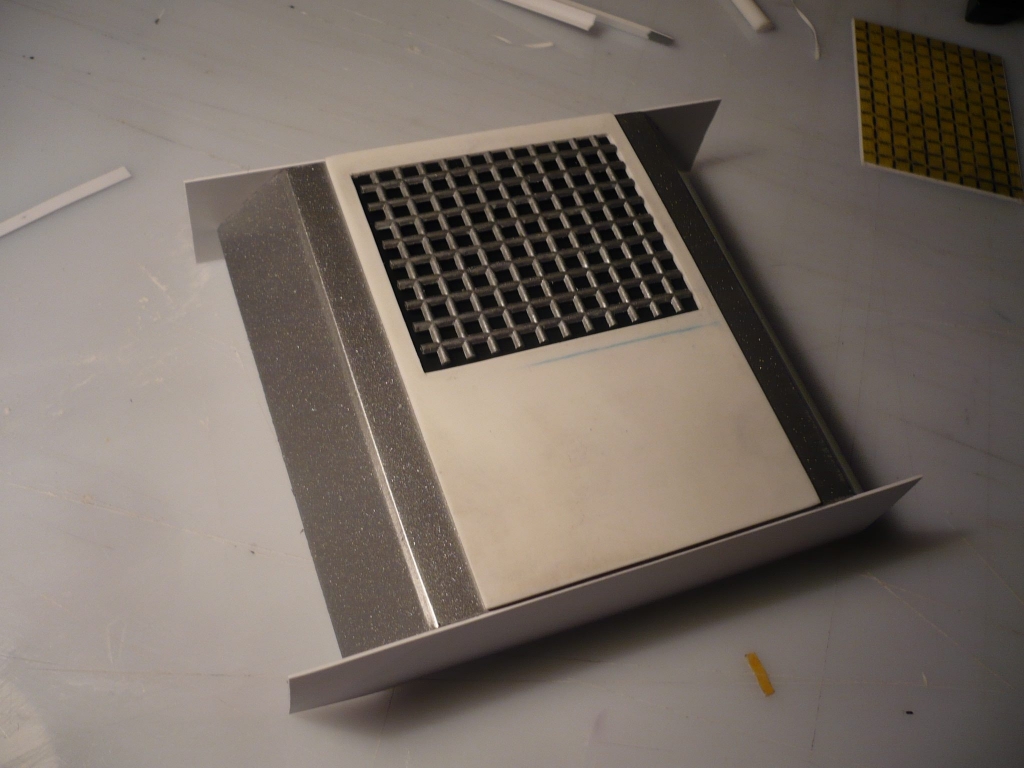
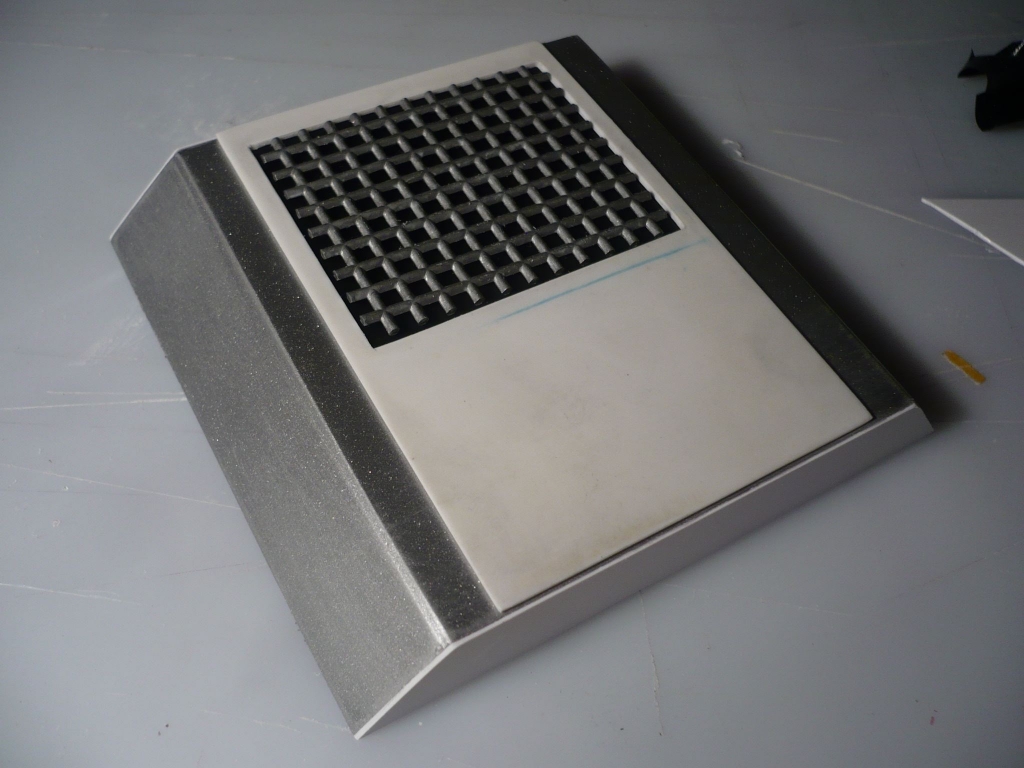
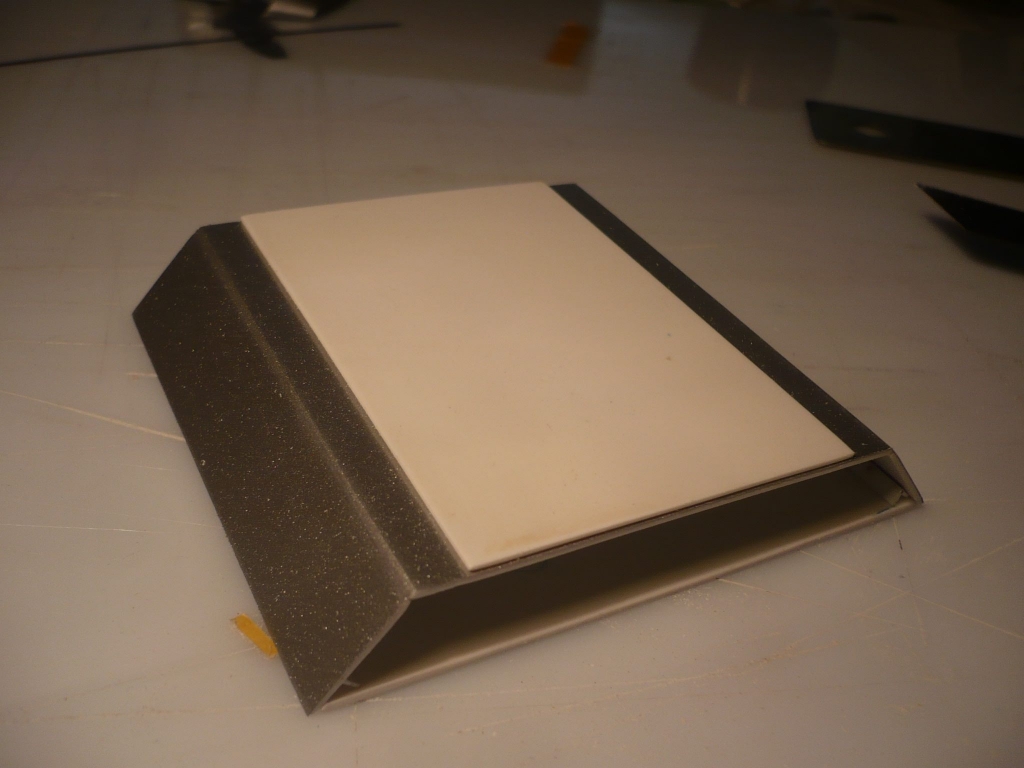
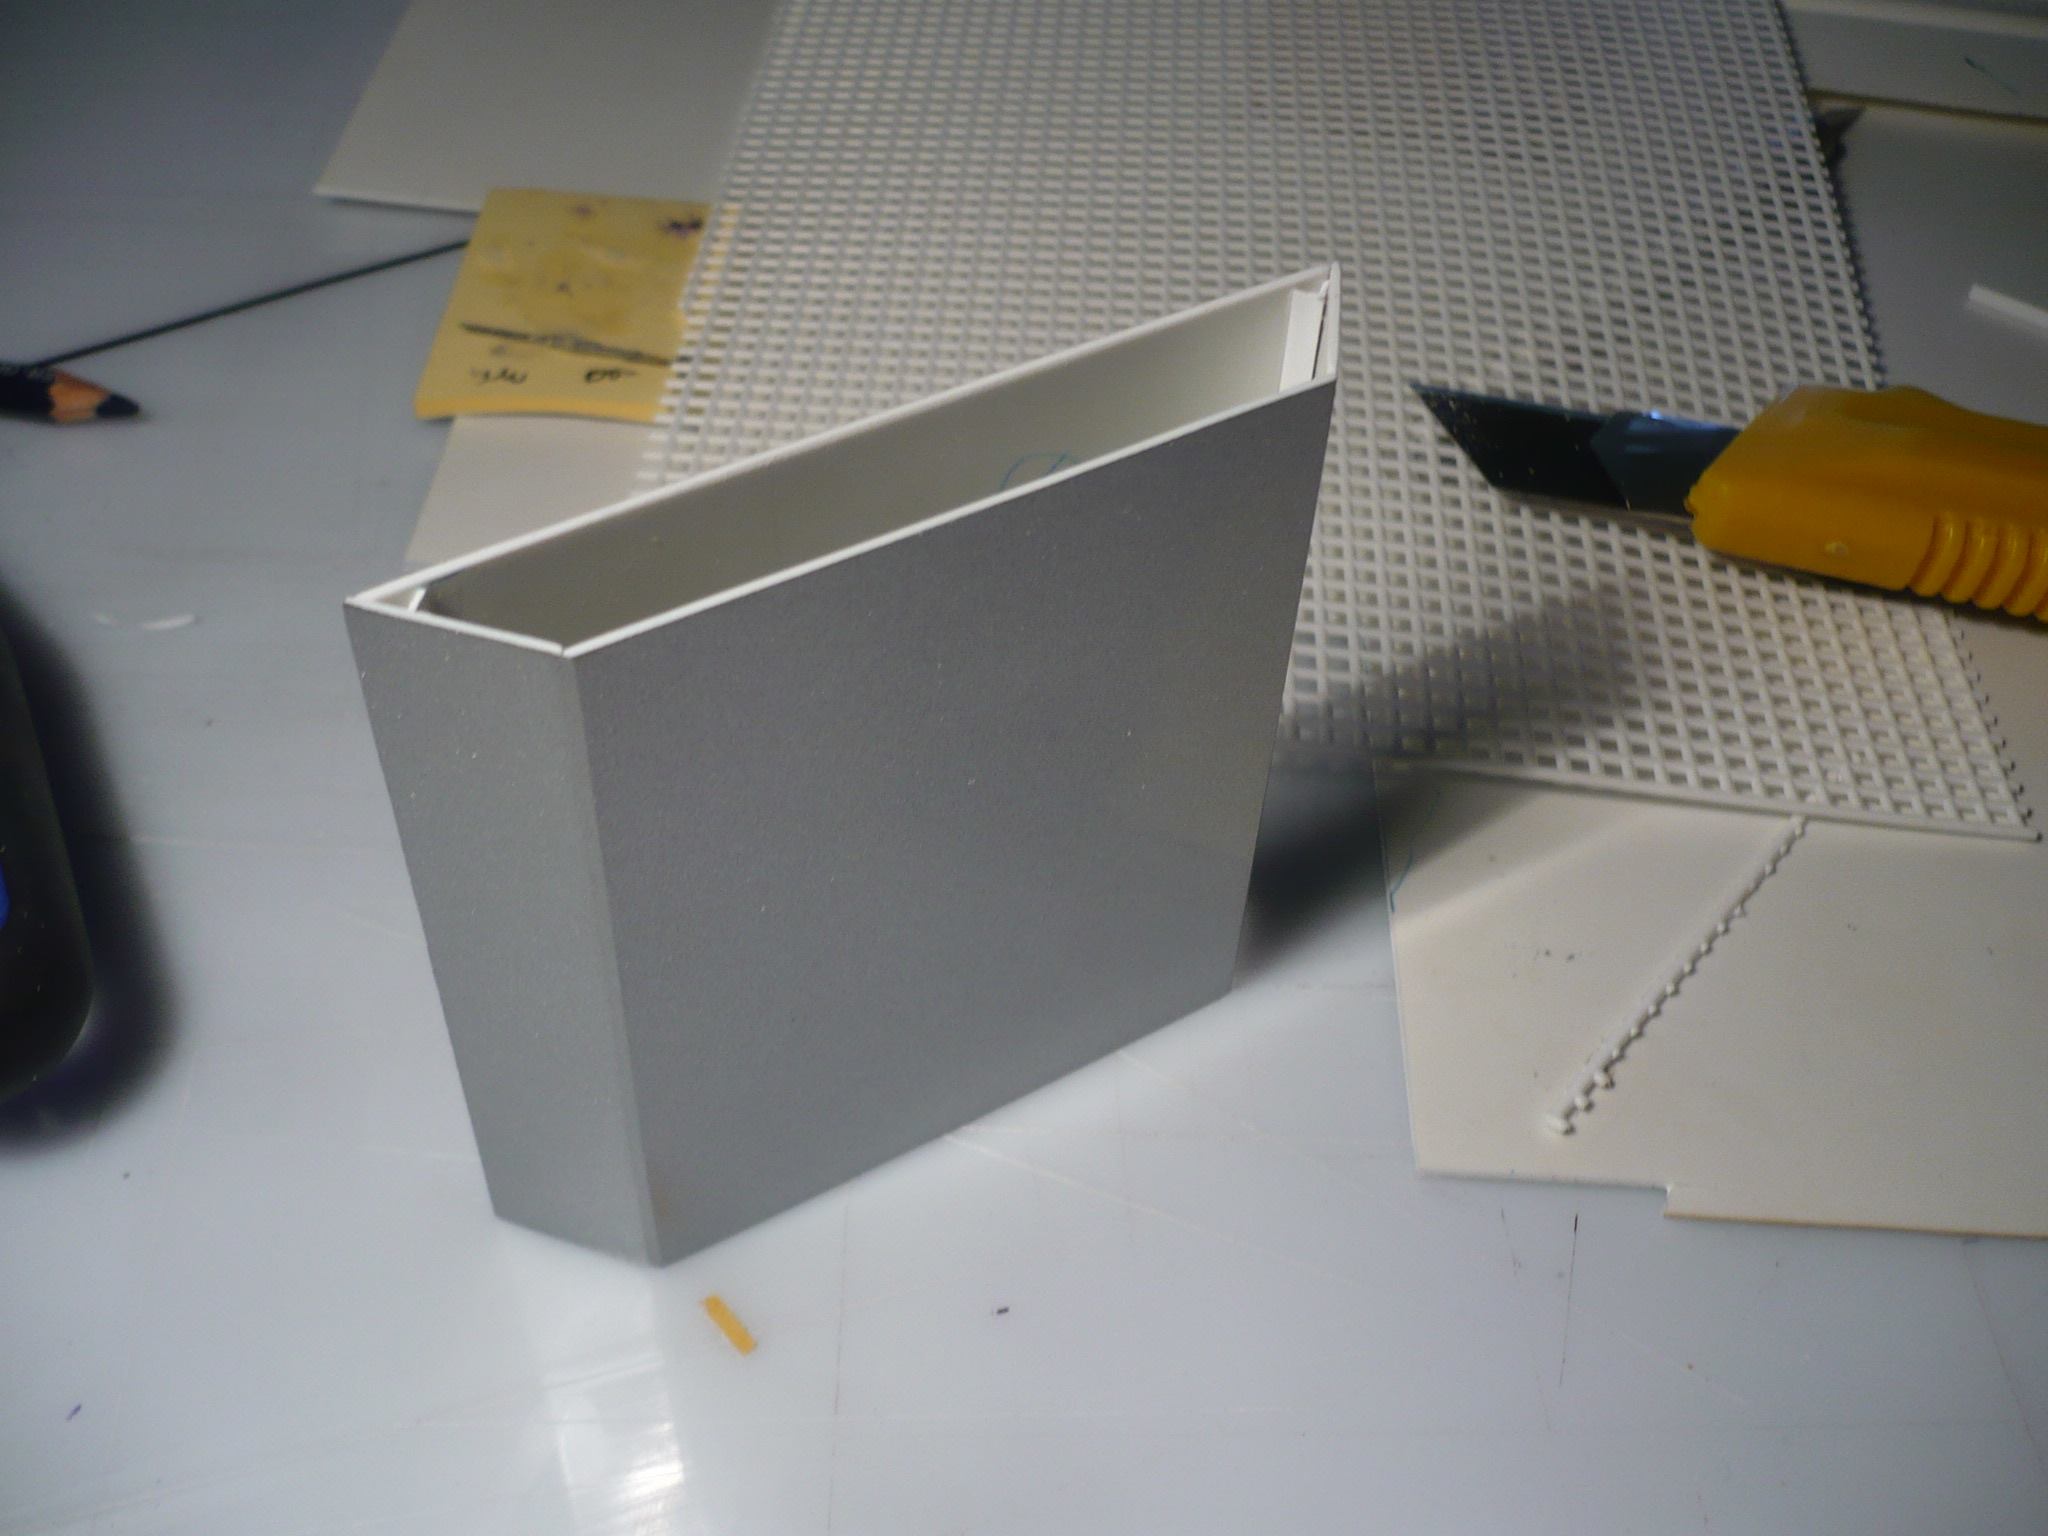
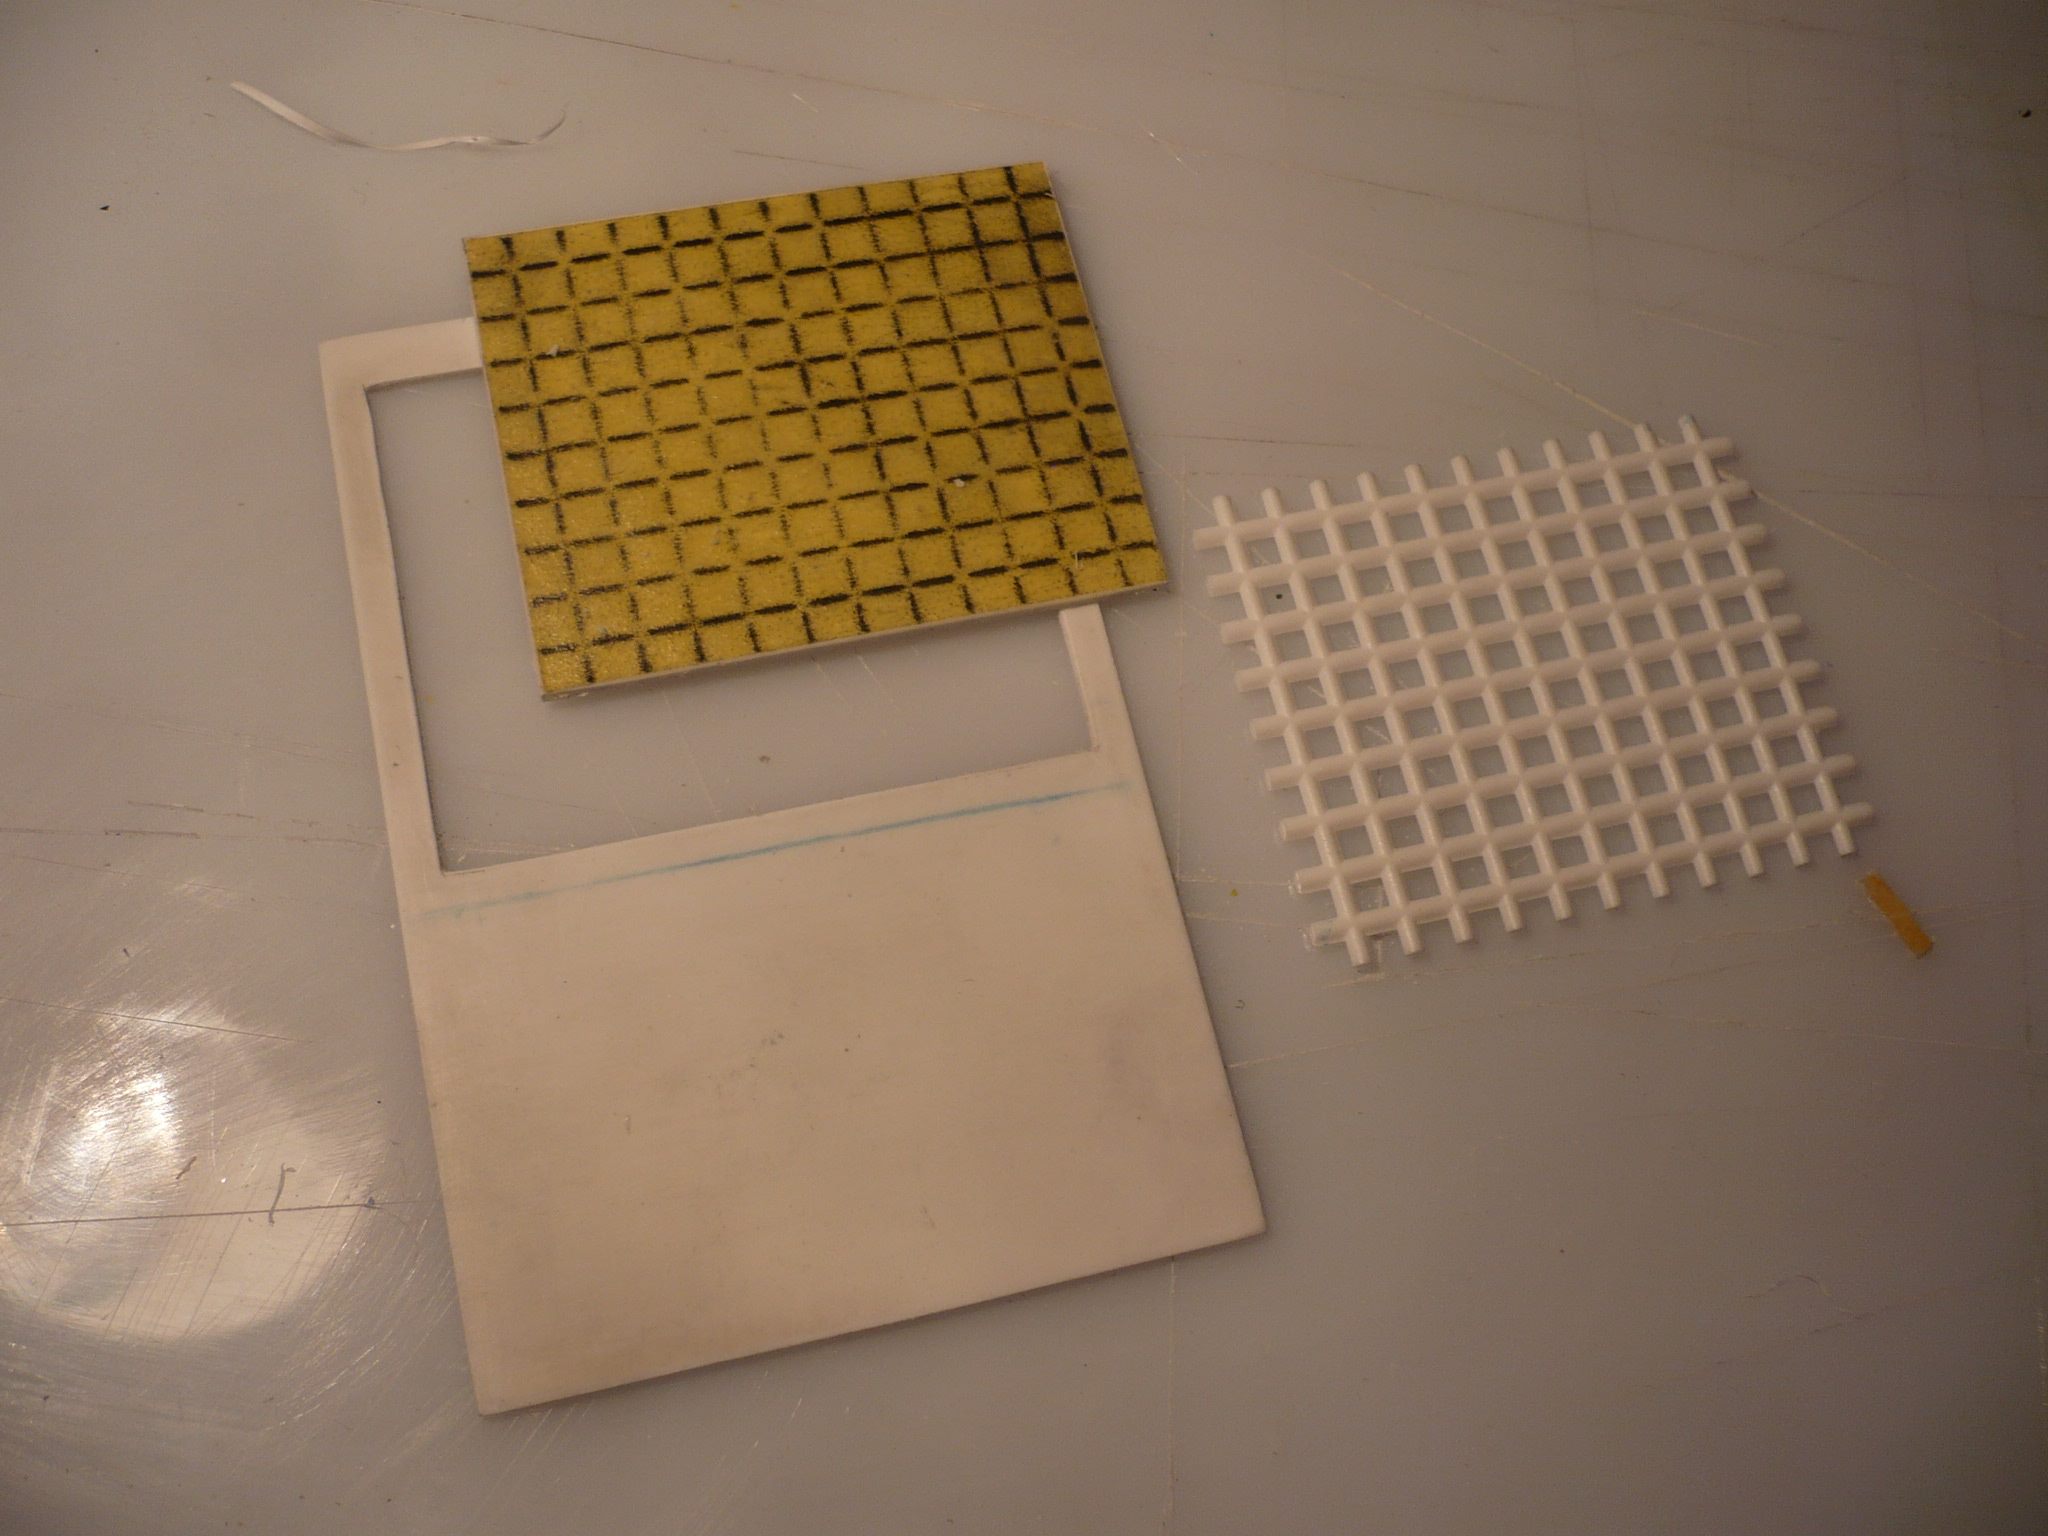
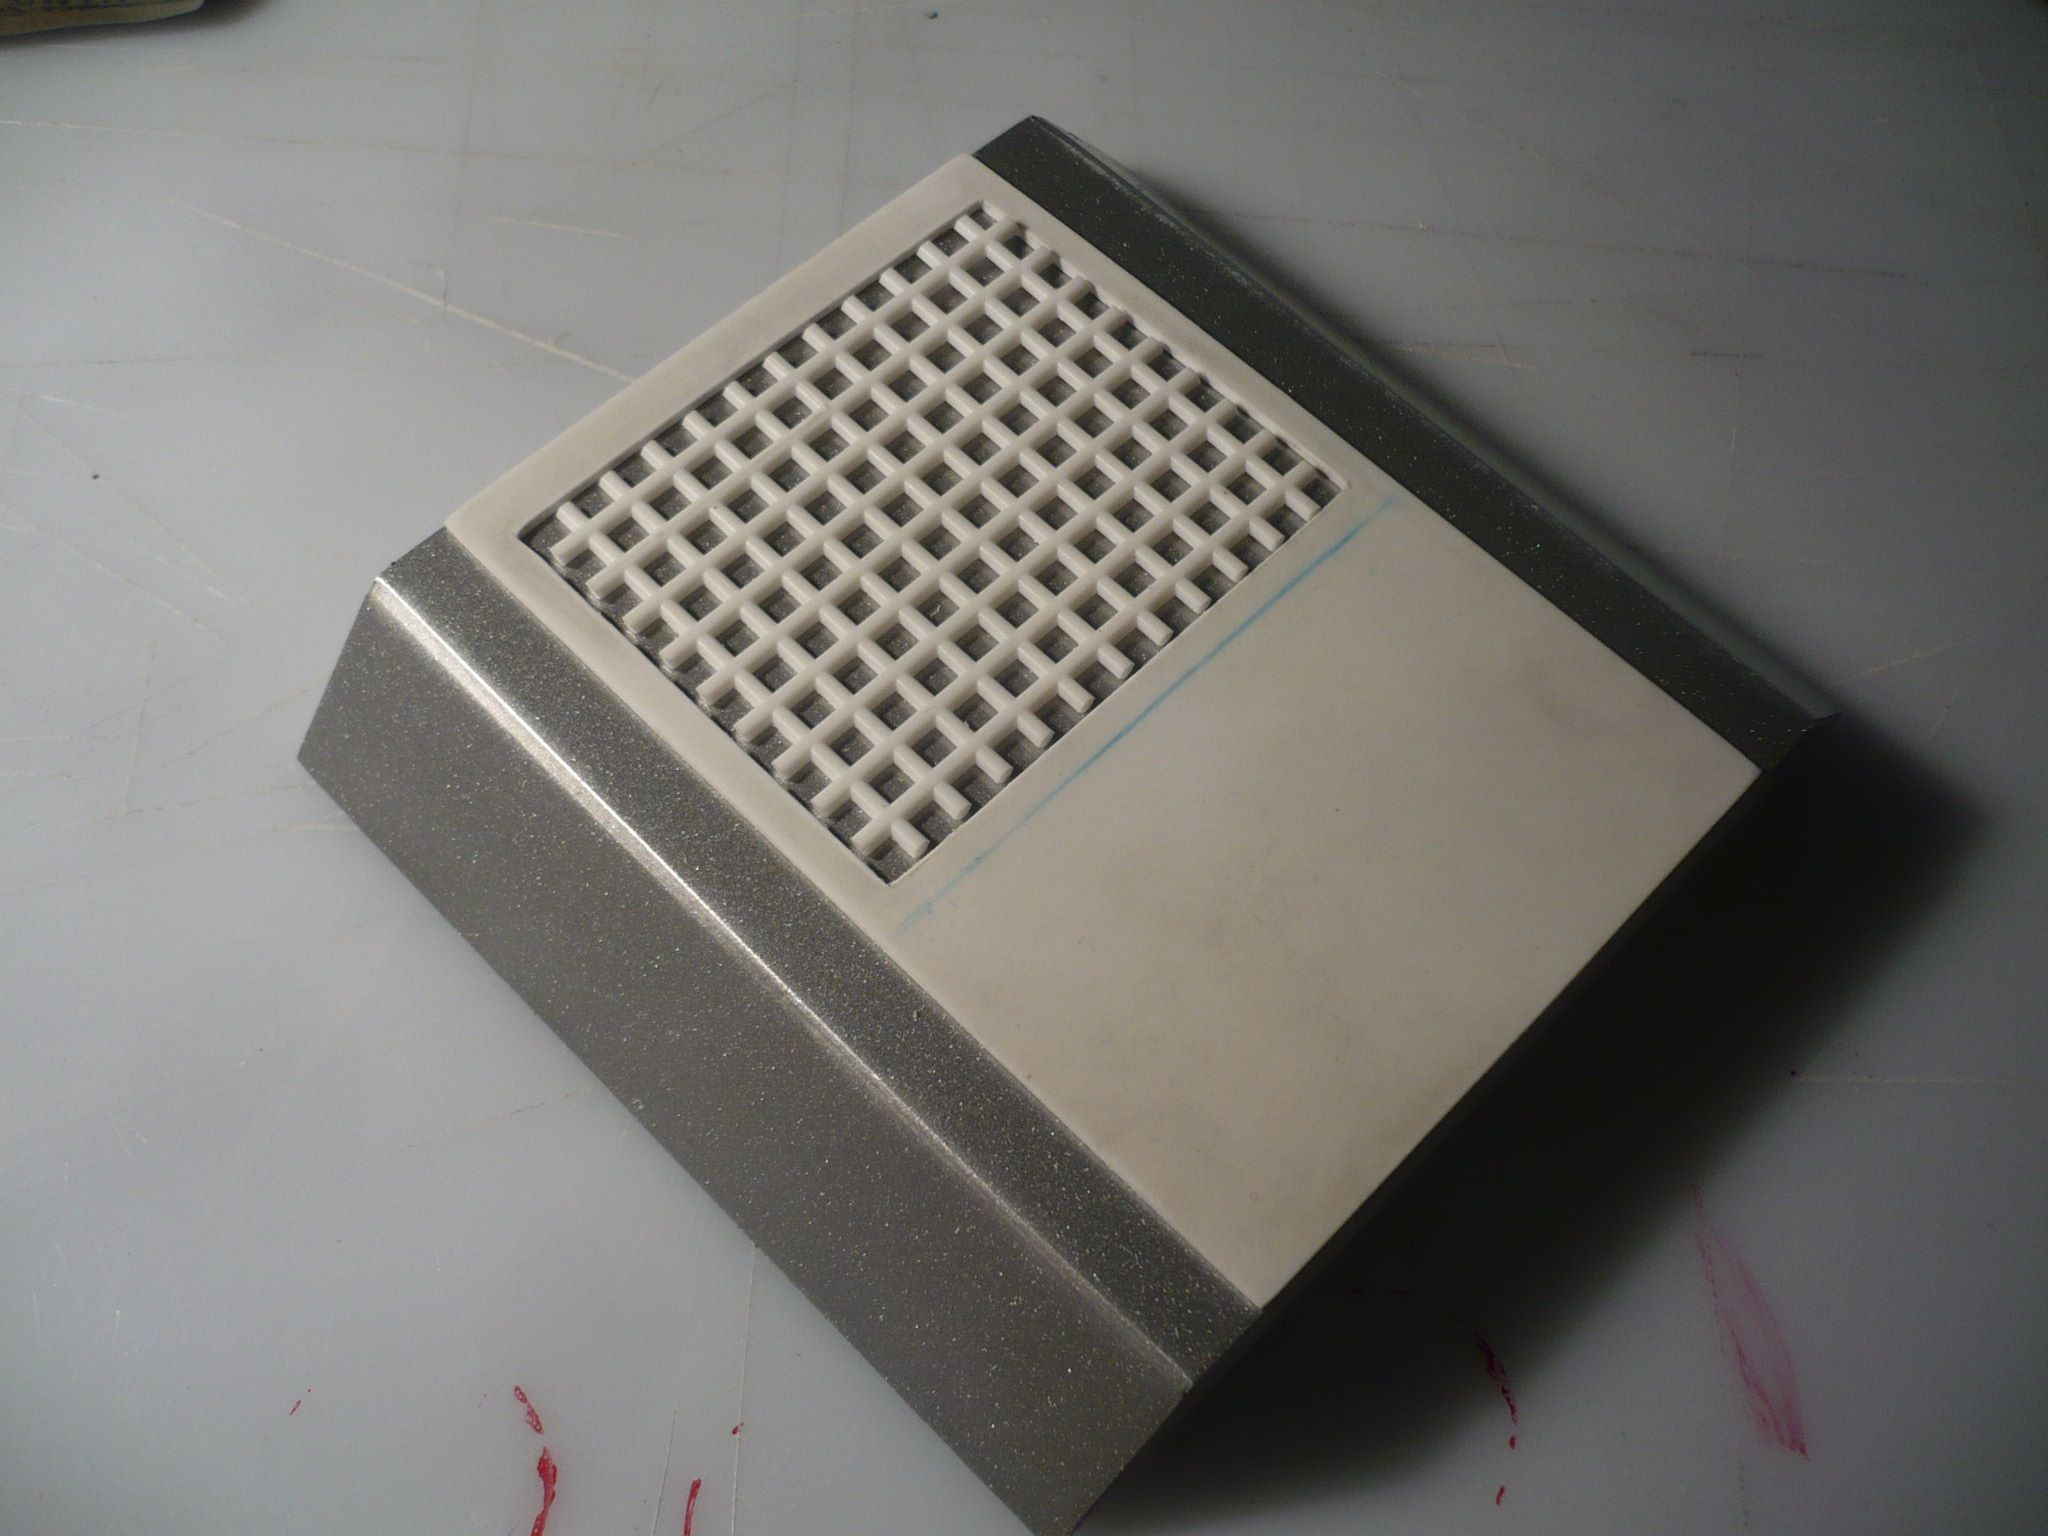
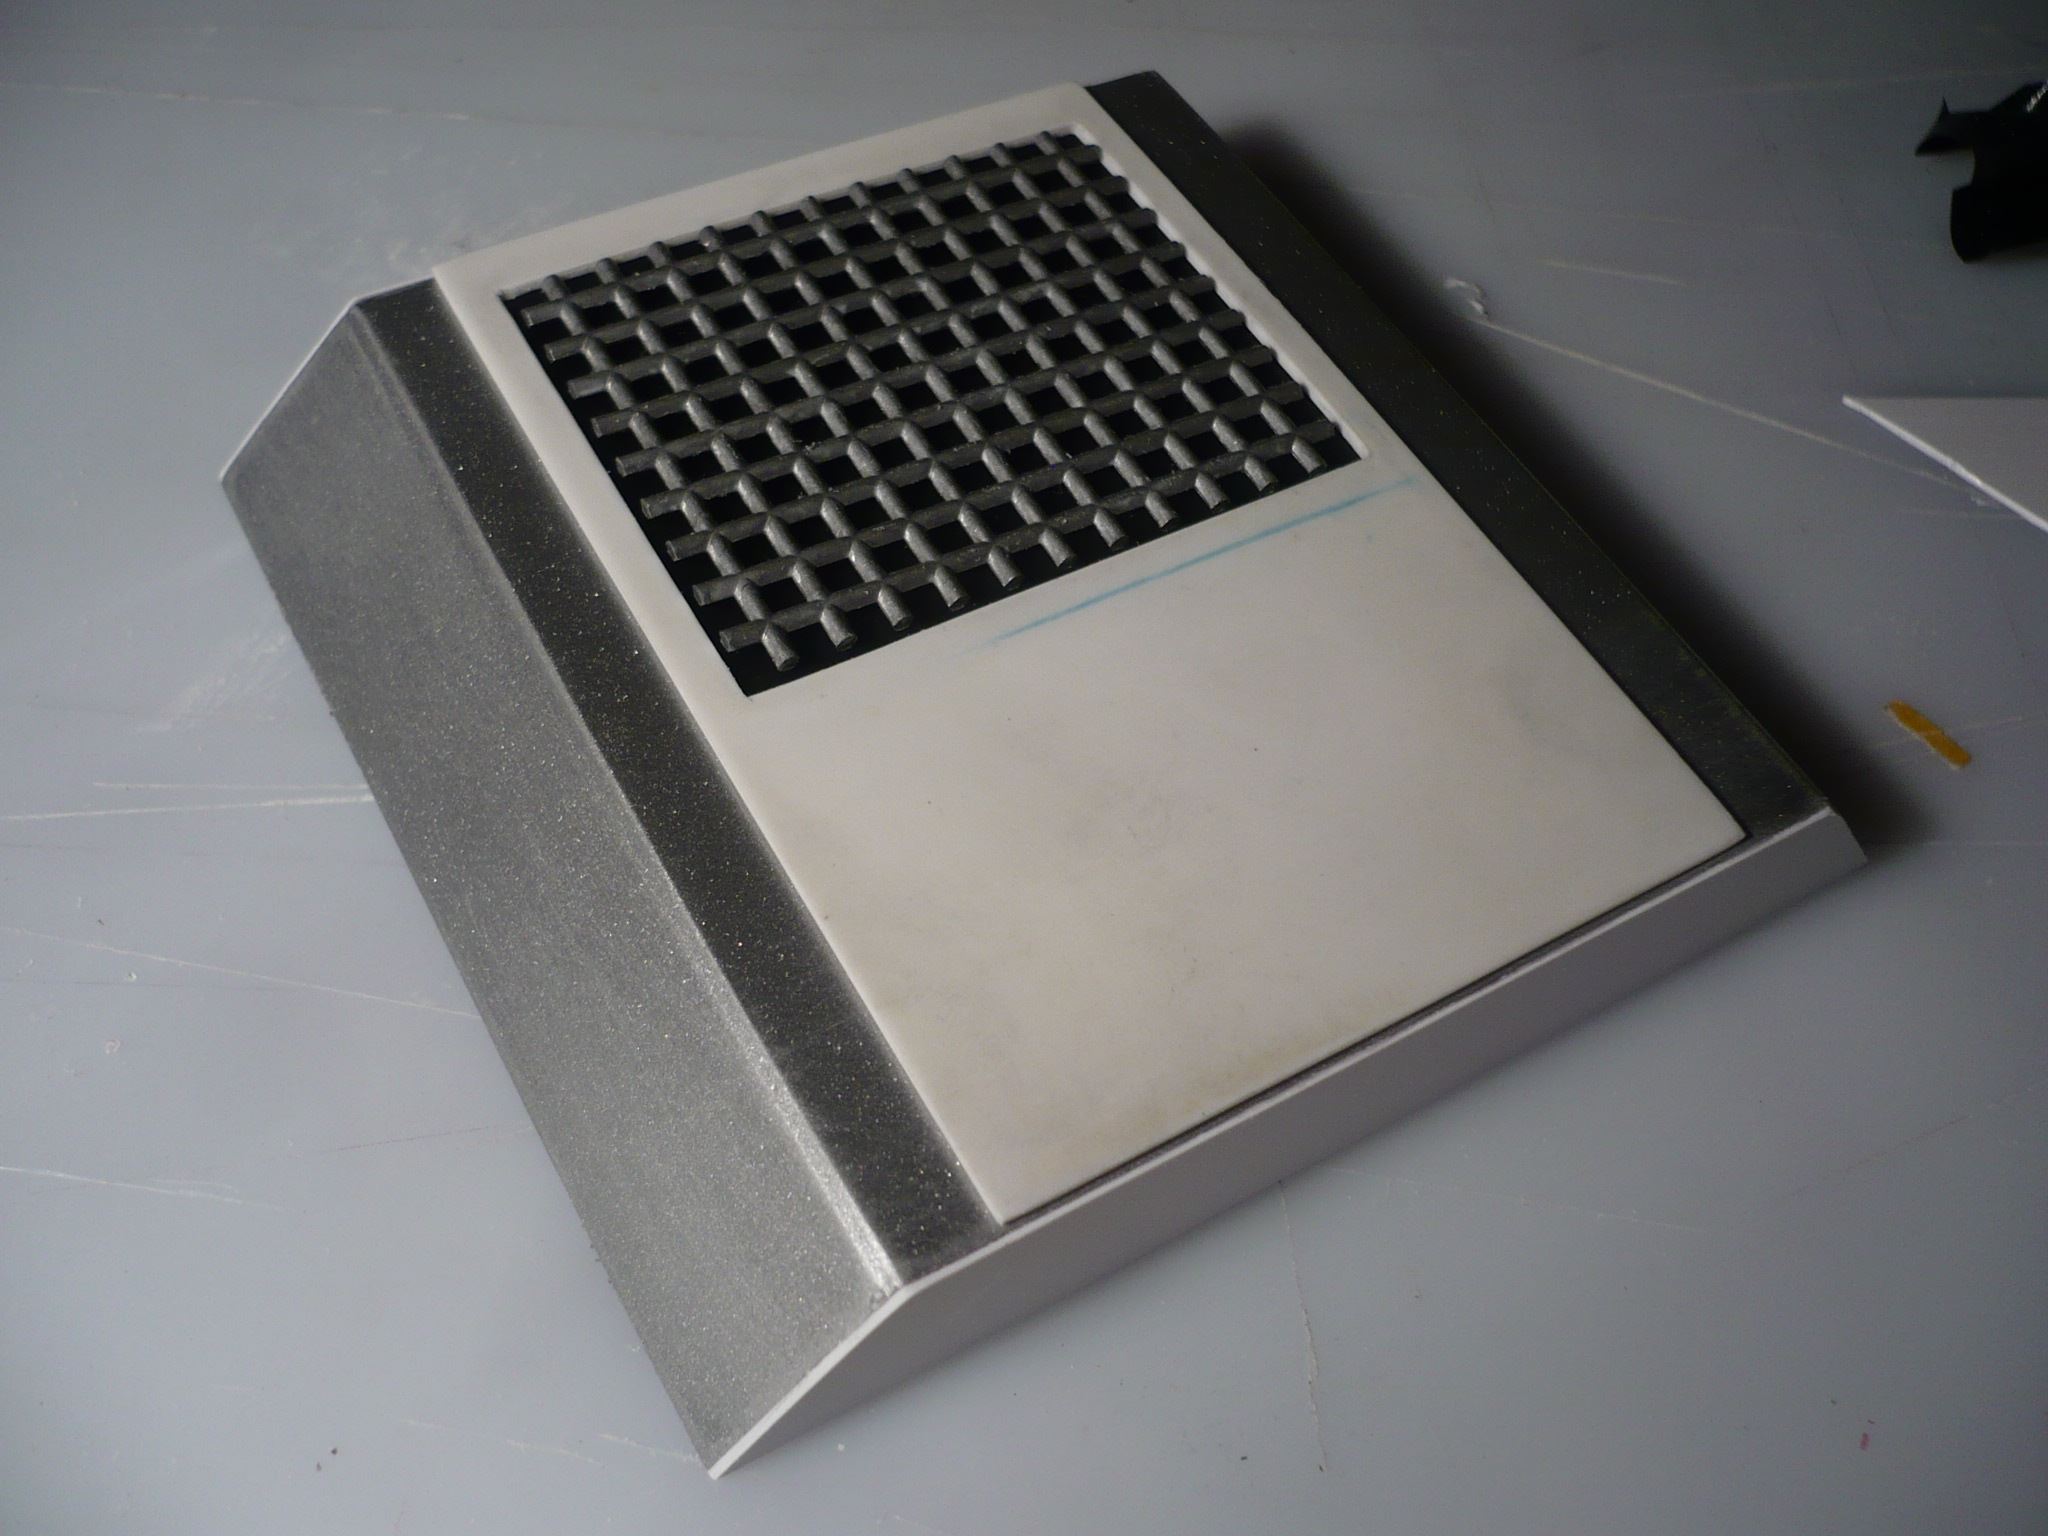
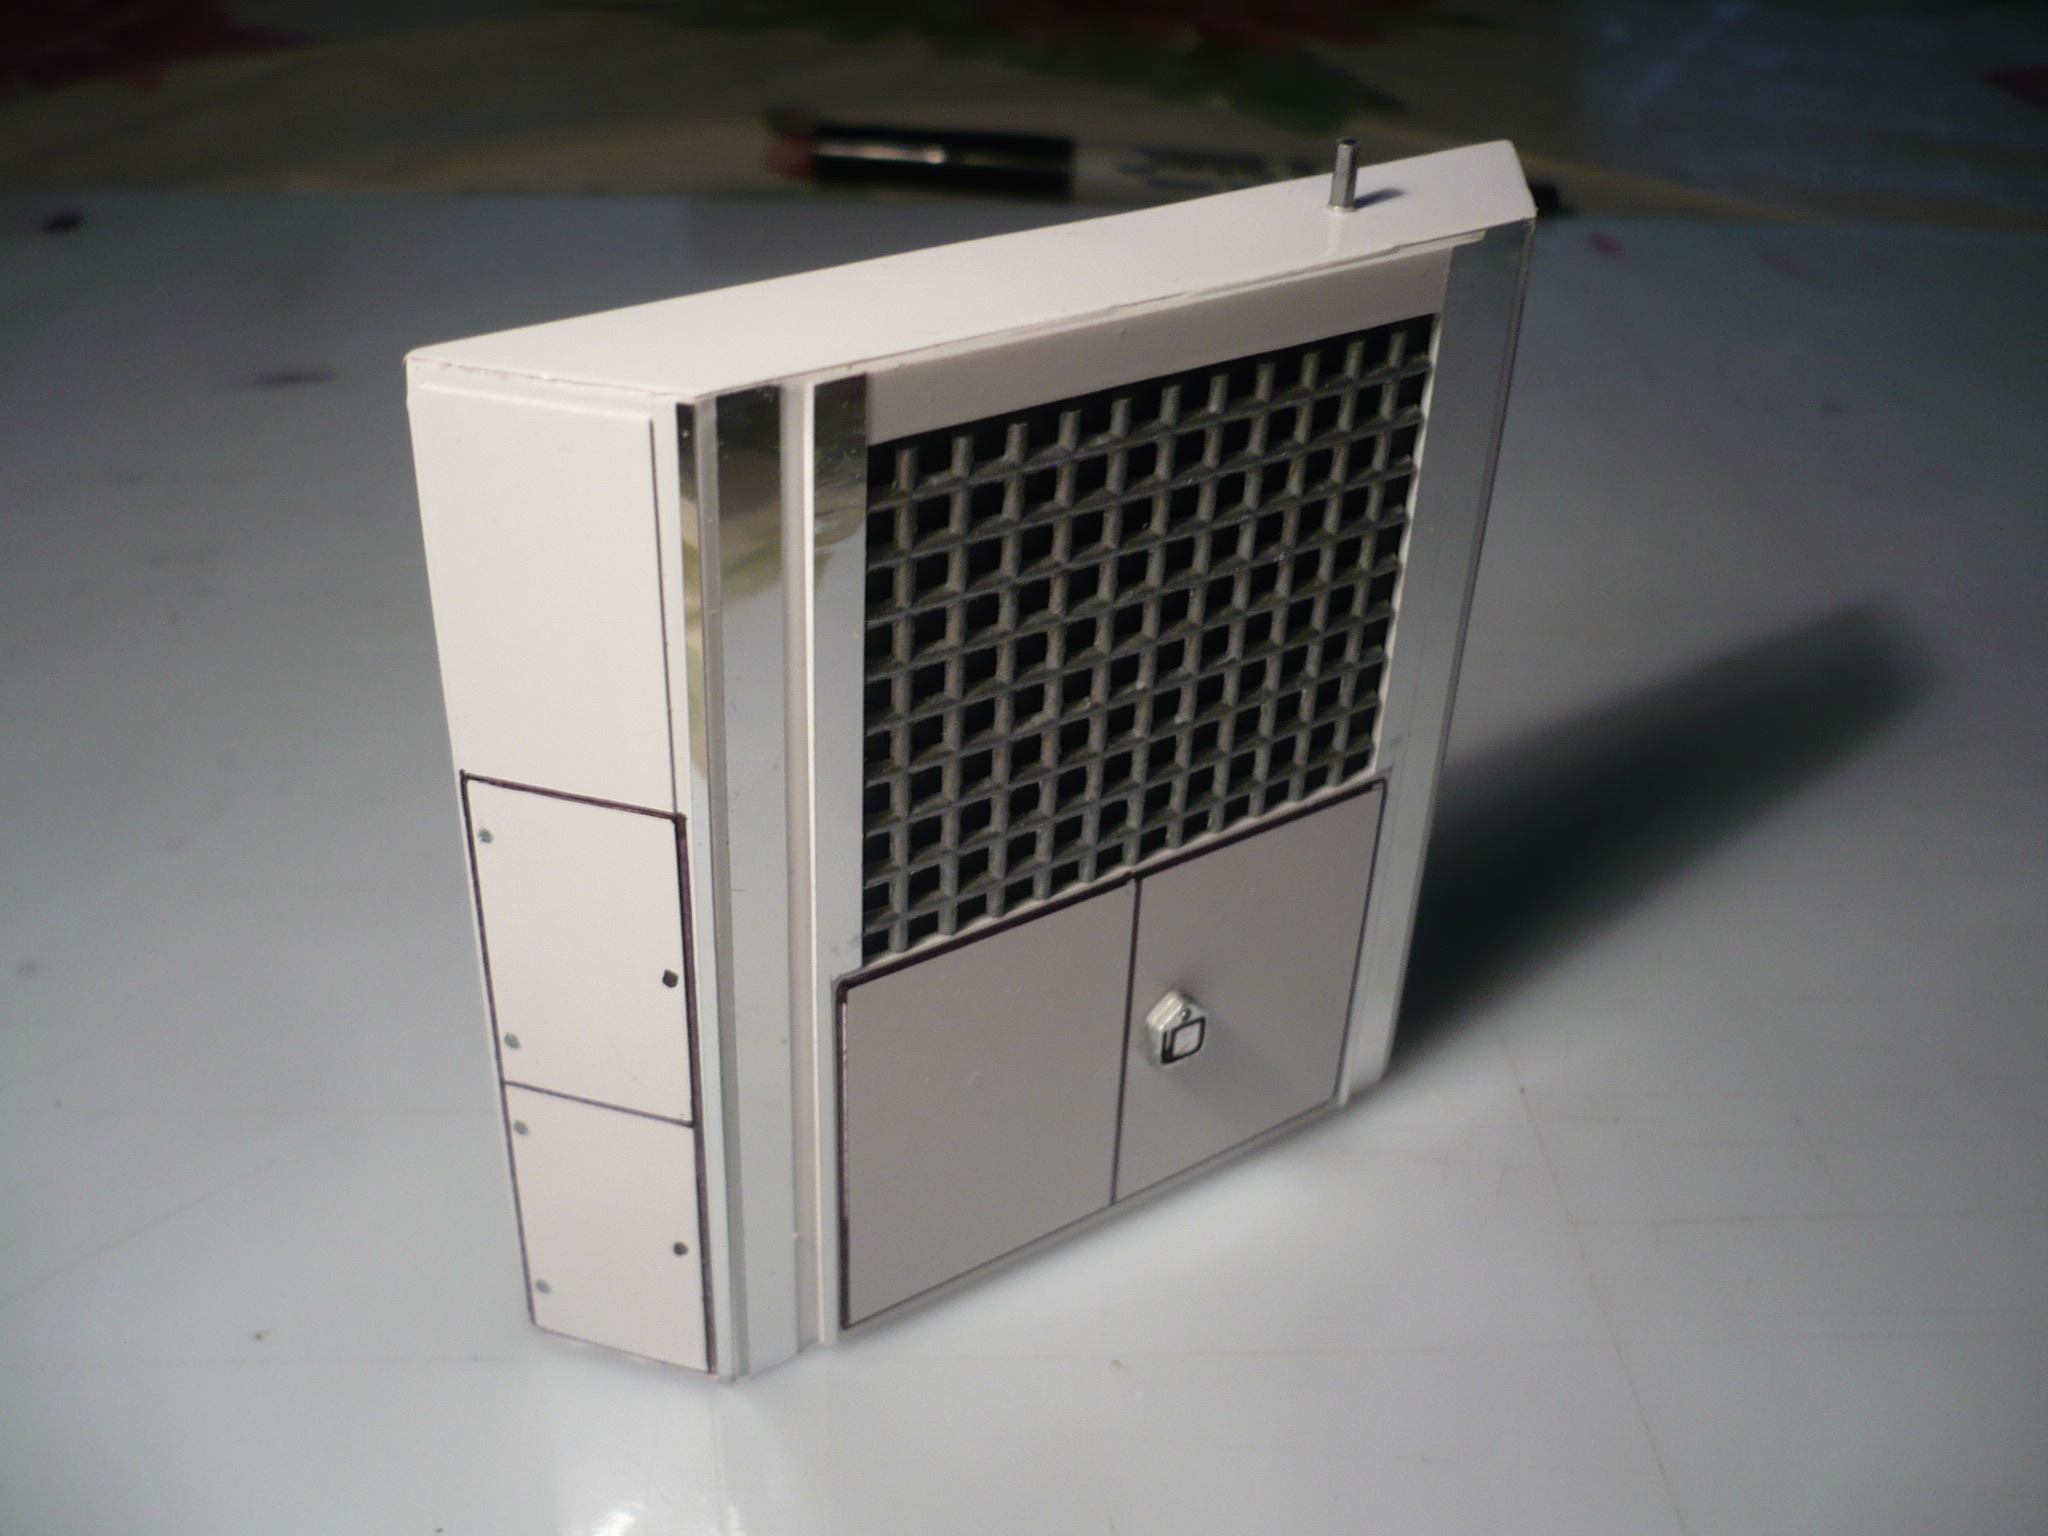
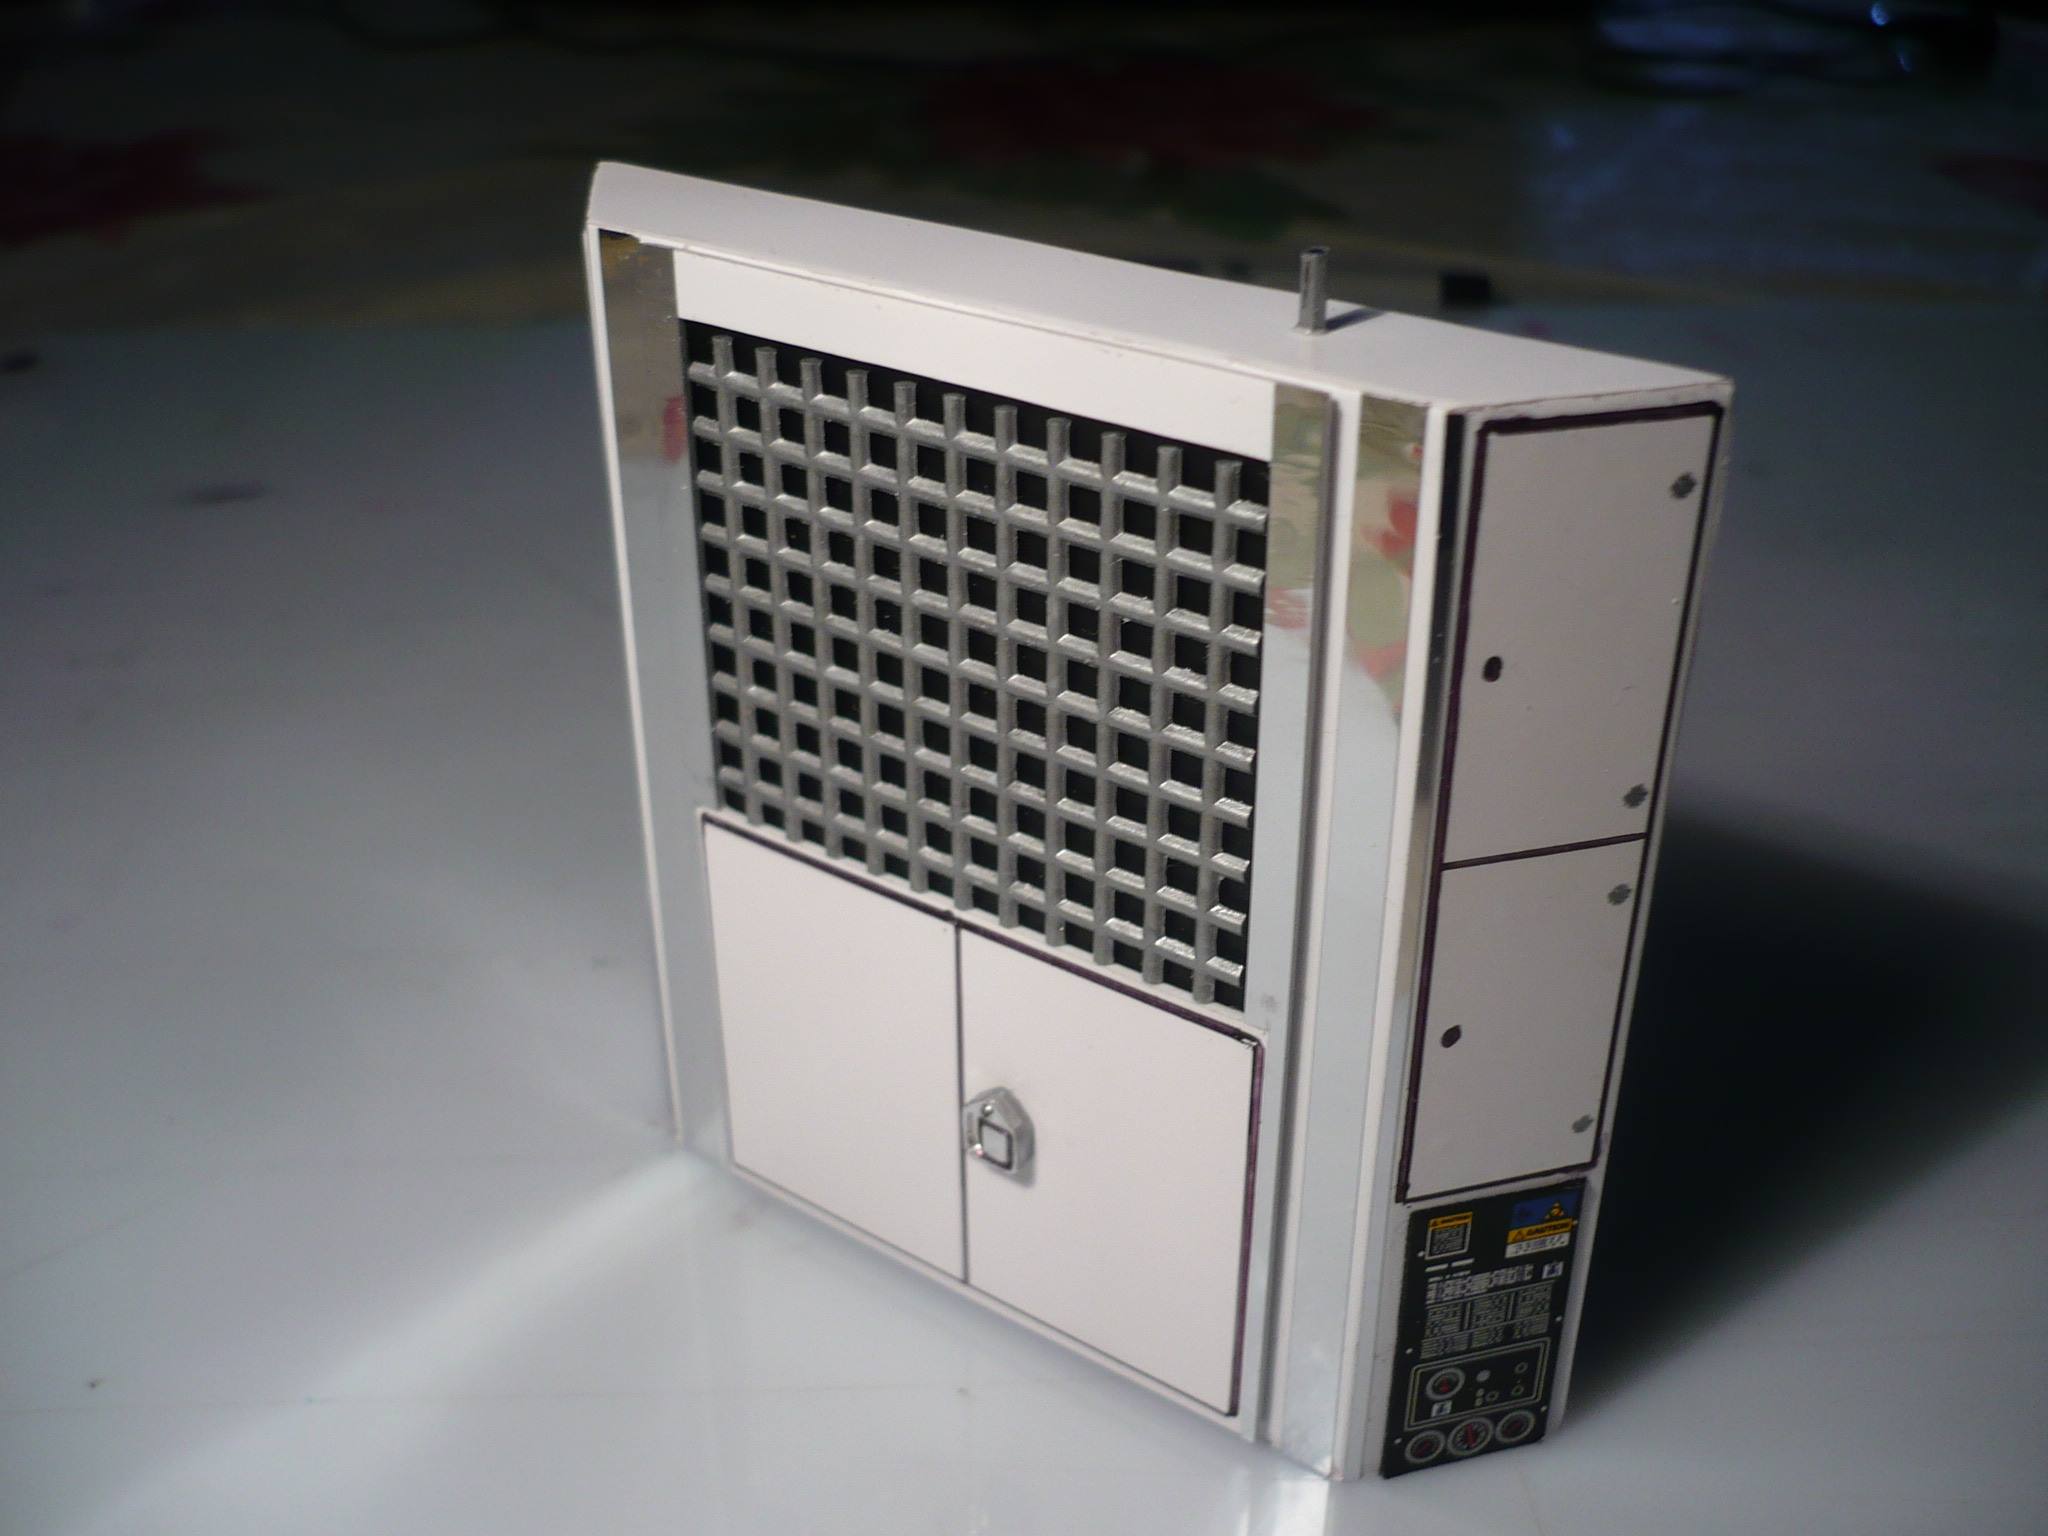
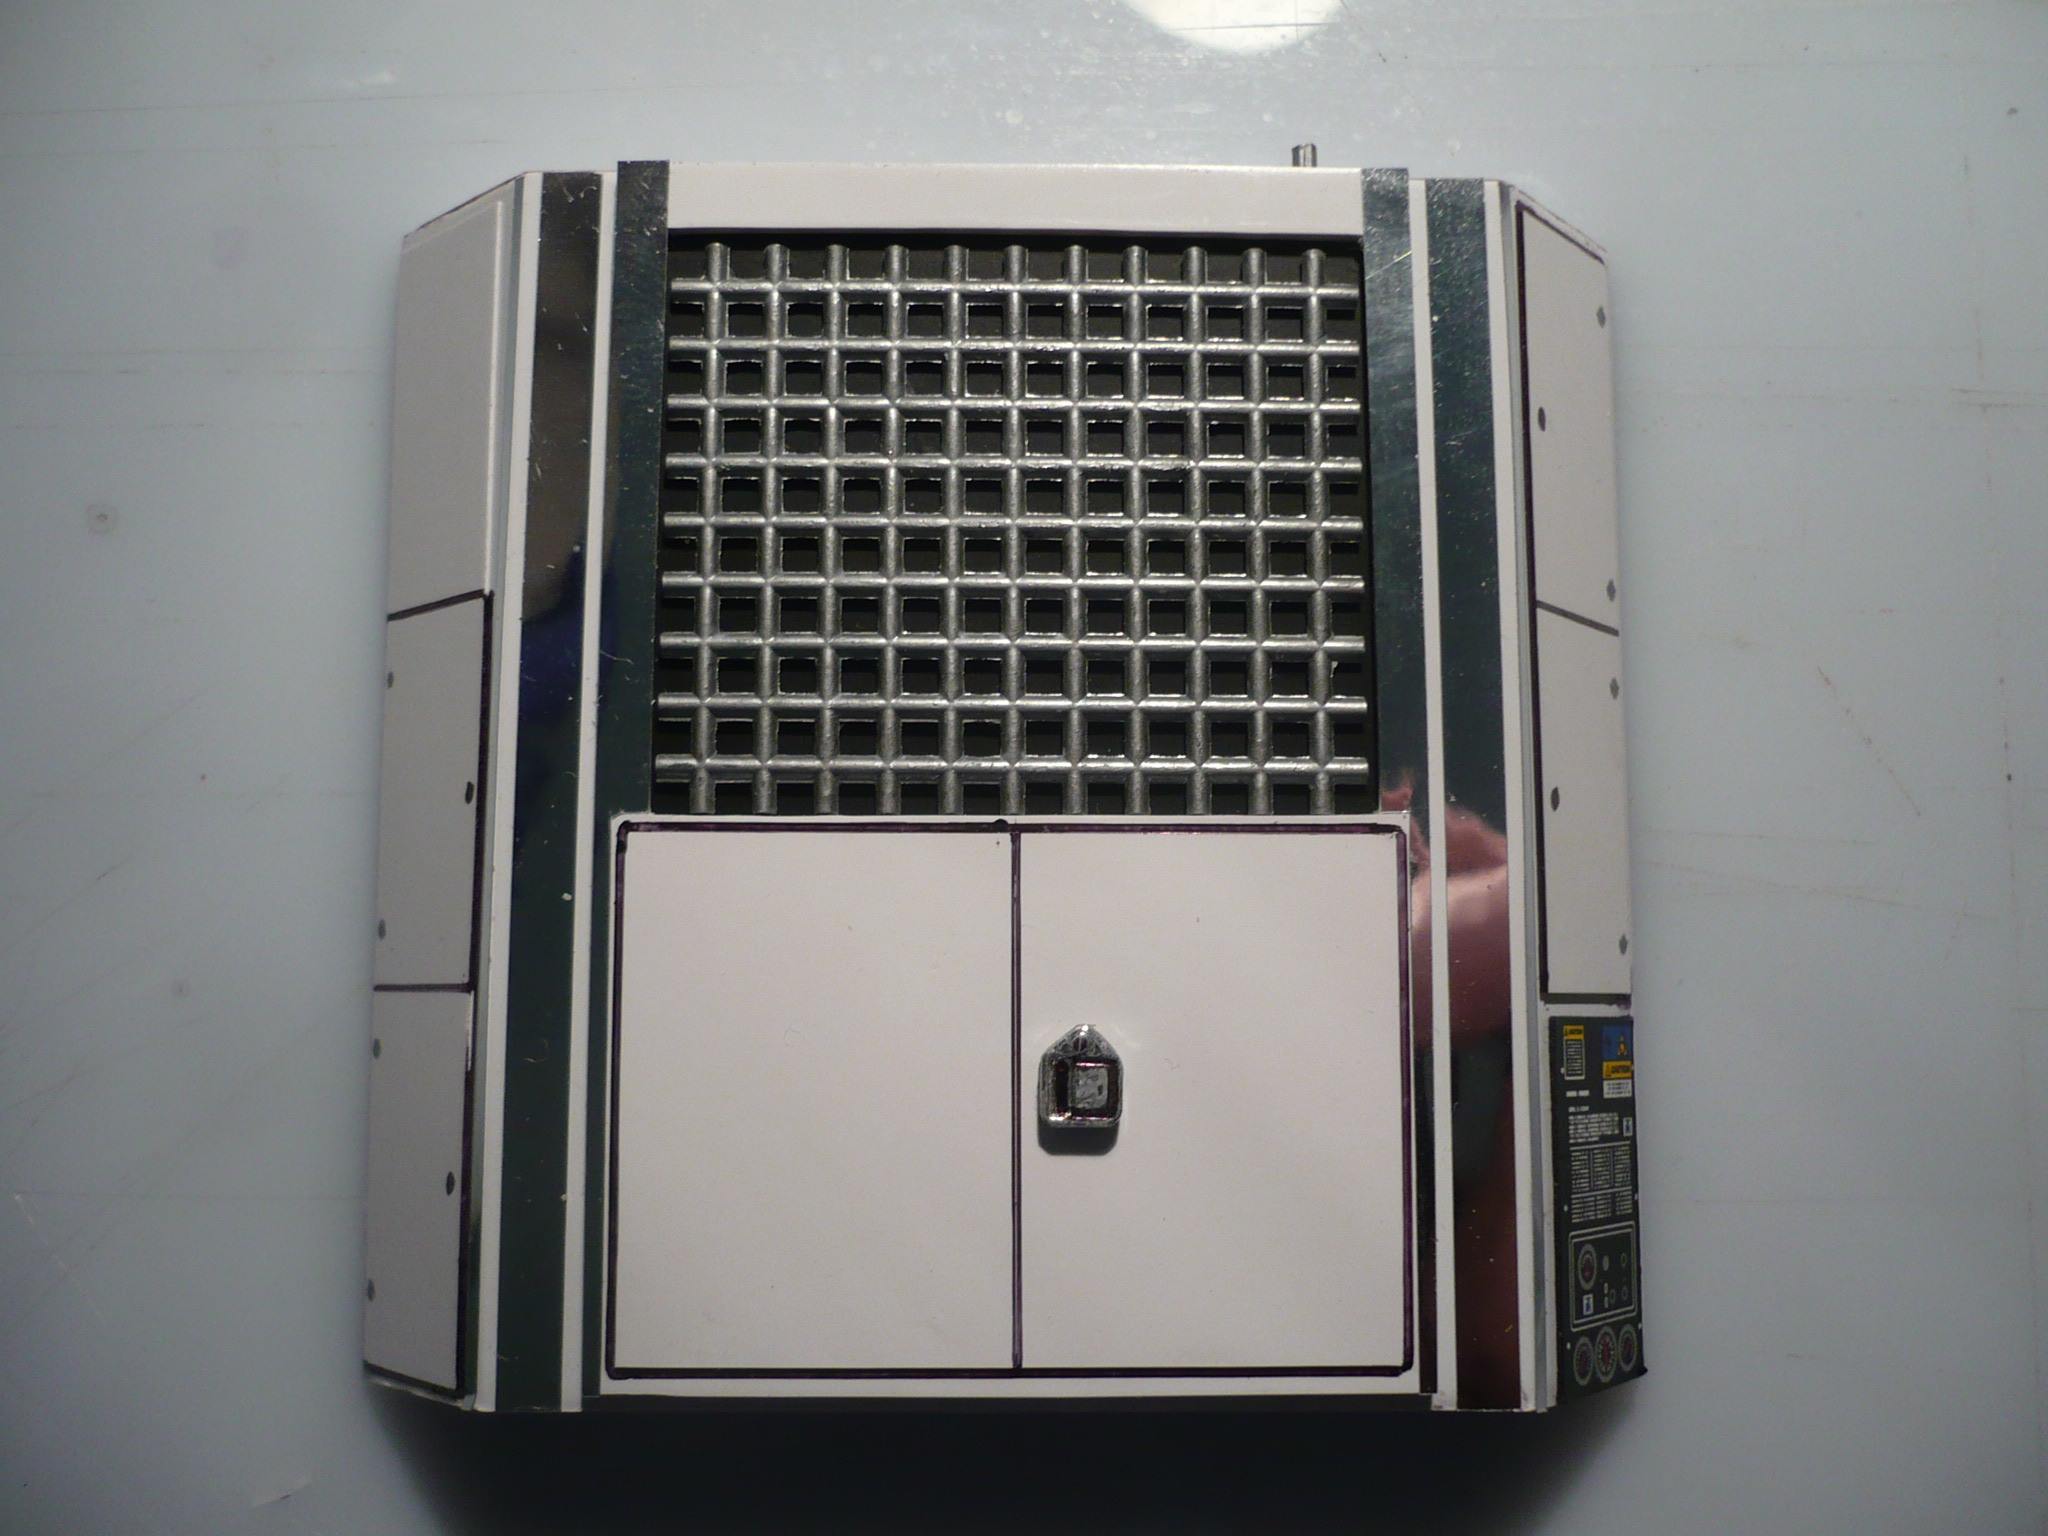
A couple of pics of the battery box. I think I may cast these. It easier than making them again and again and others may want one or two of them.

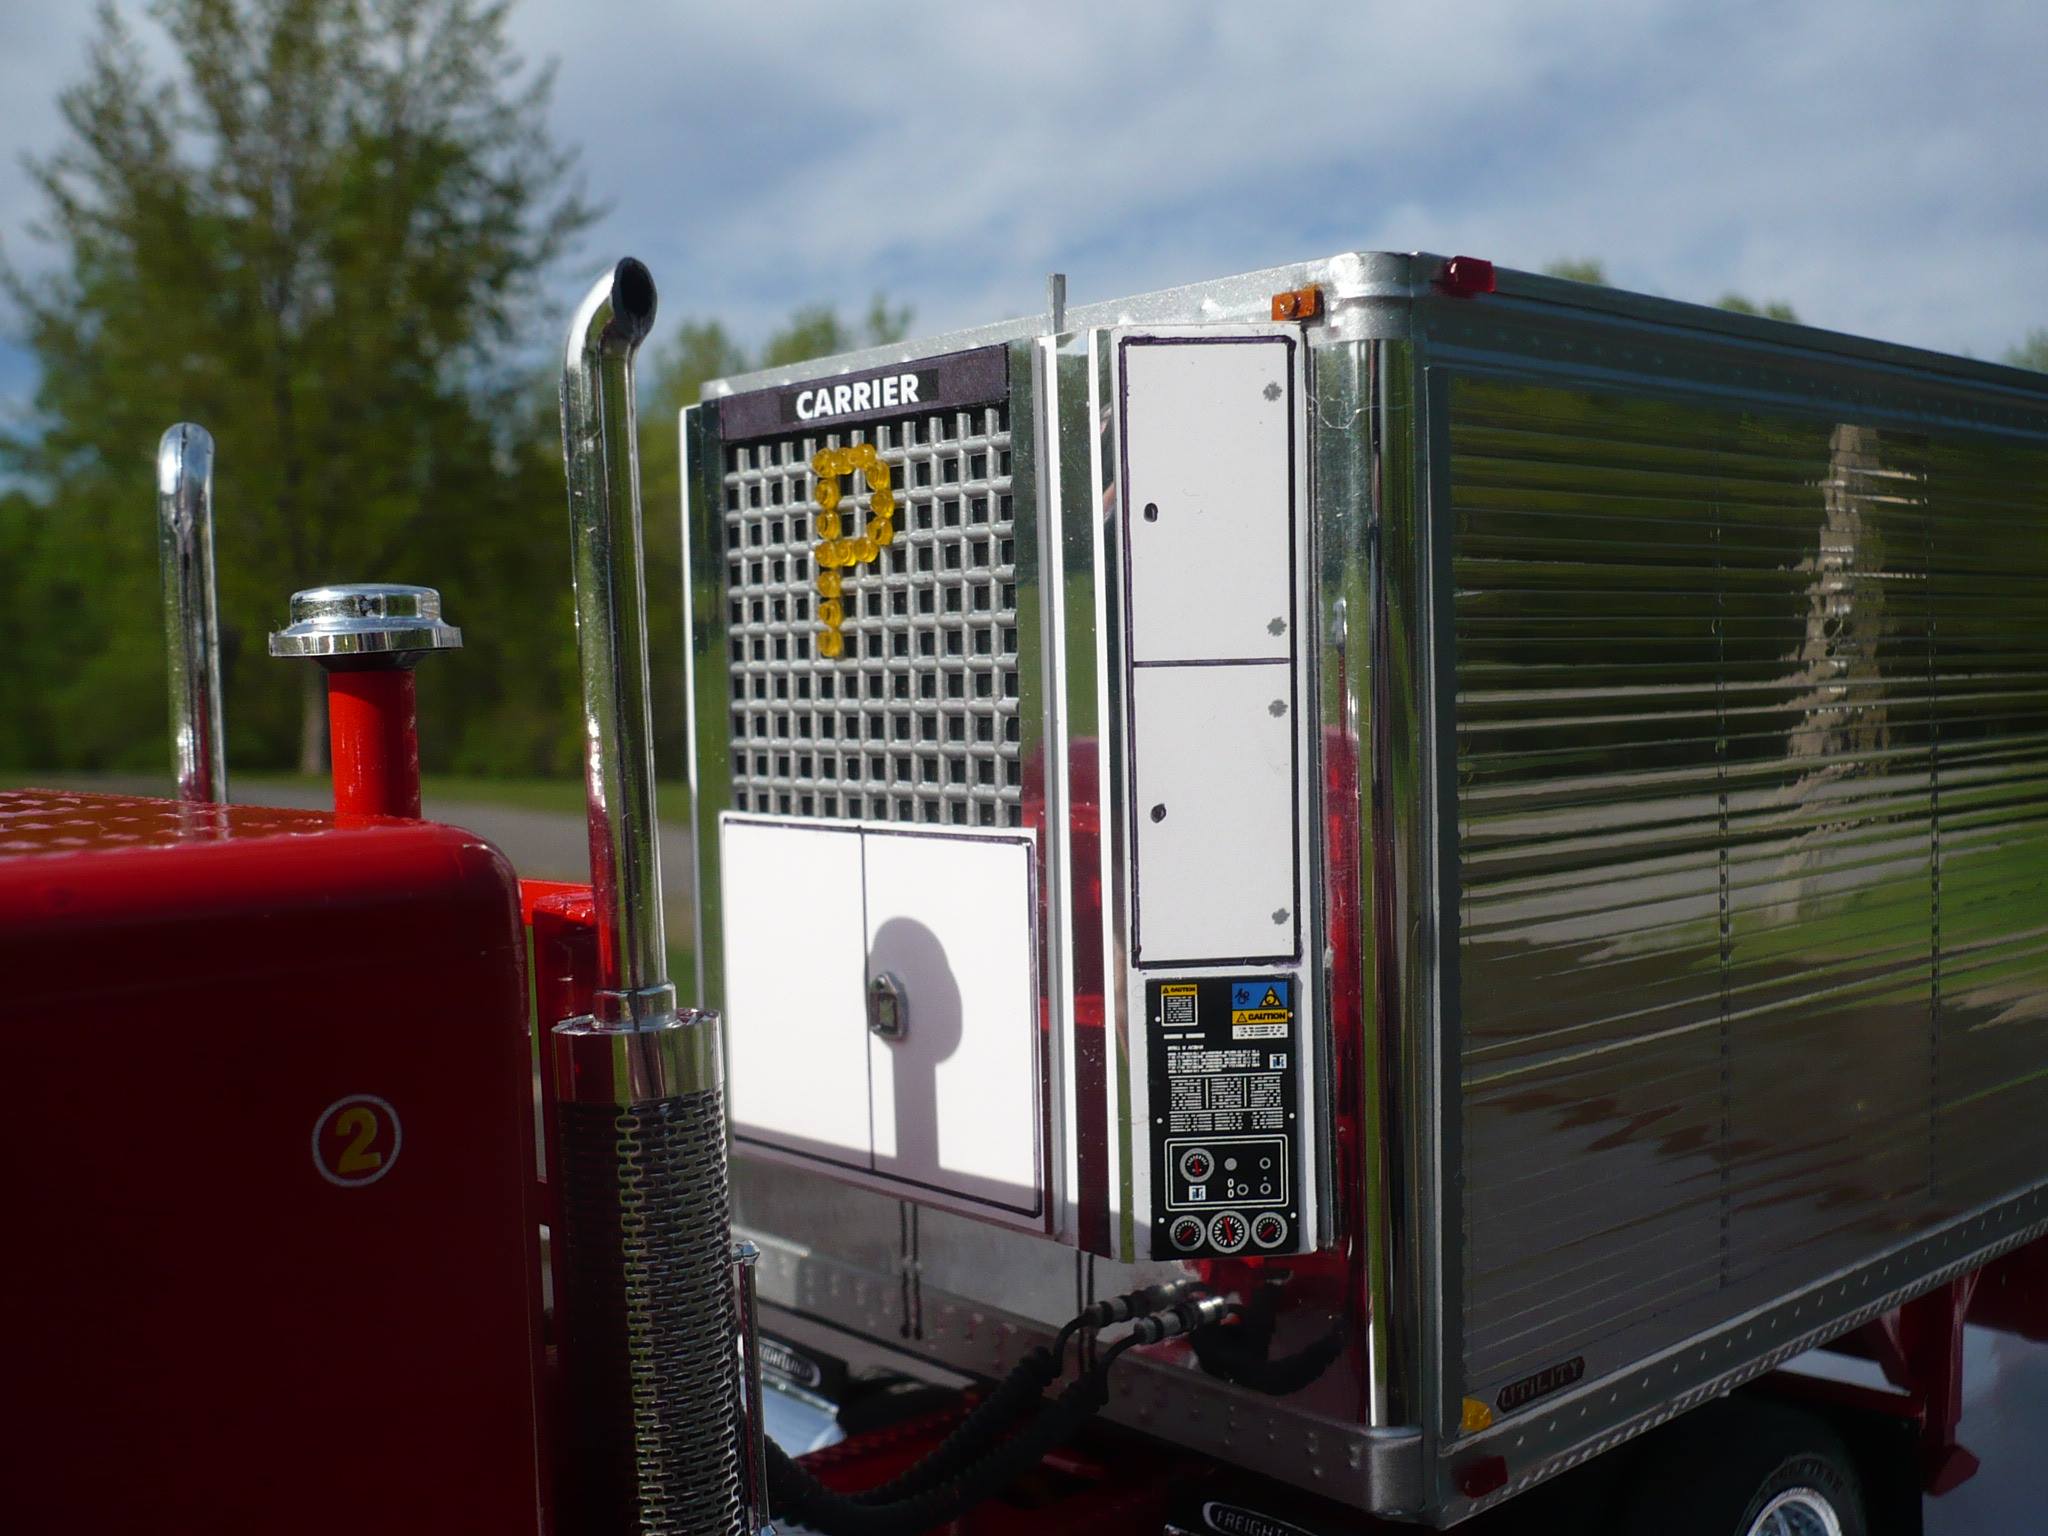
Custom grill in-work.
Thanks for looking!
--Casey
-
1
-
-
15 hours ago, Cornbinder said:The White will eventually get it's own lowboy, painted to match, with a used John Deere backhoe strapped to it.
Sweet. Can't wait to see it.
-
-
On 7/17/2016 at 8:27 PM, trucker said:thanks casey ! I started with a junked amt cab that I cut down for the small sleeper version as my dad had.
the exhaust and breather were set into the cab as on the real truck. after I had the cab where I wanted it
I used the frame and suspension from a amt diamond reo kit . I found aluminum rear two hole bud wheels at a hobby shop .
the 318 Detroit came from the parts box. for the front steer I used a monogram snap pete unit . the detail parts I made or got from the parts bin.
the paint is a custom mix I made for the green that I airbrushed on and the silver is testors spray can . I used a pearl clearcoat on the silver.
at the time I was my most ambitious project as I had never cut up a cab before. it took about two years to complete.
Wow! A lot of work and it turned out fantastic.
-
Very cool. Nice paint scheme.
I really wish they had molded the cab as one piece on that kit.
-
Small progress but I finally mounted the rears.
I hope to get some measurements of the extend-a-boom, the grapple and some other stuff the next time I'm in Tennessee so I can get back on this one.
--Casey
-
Lookin' good!
-
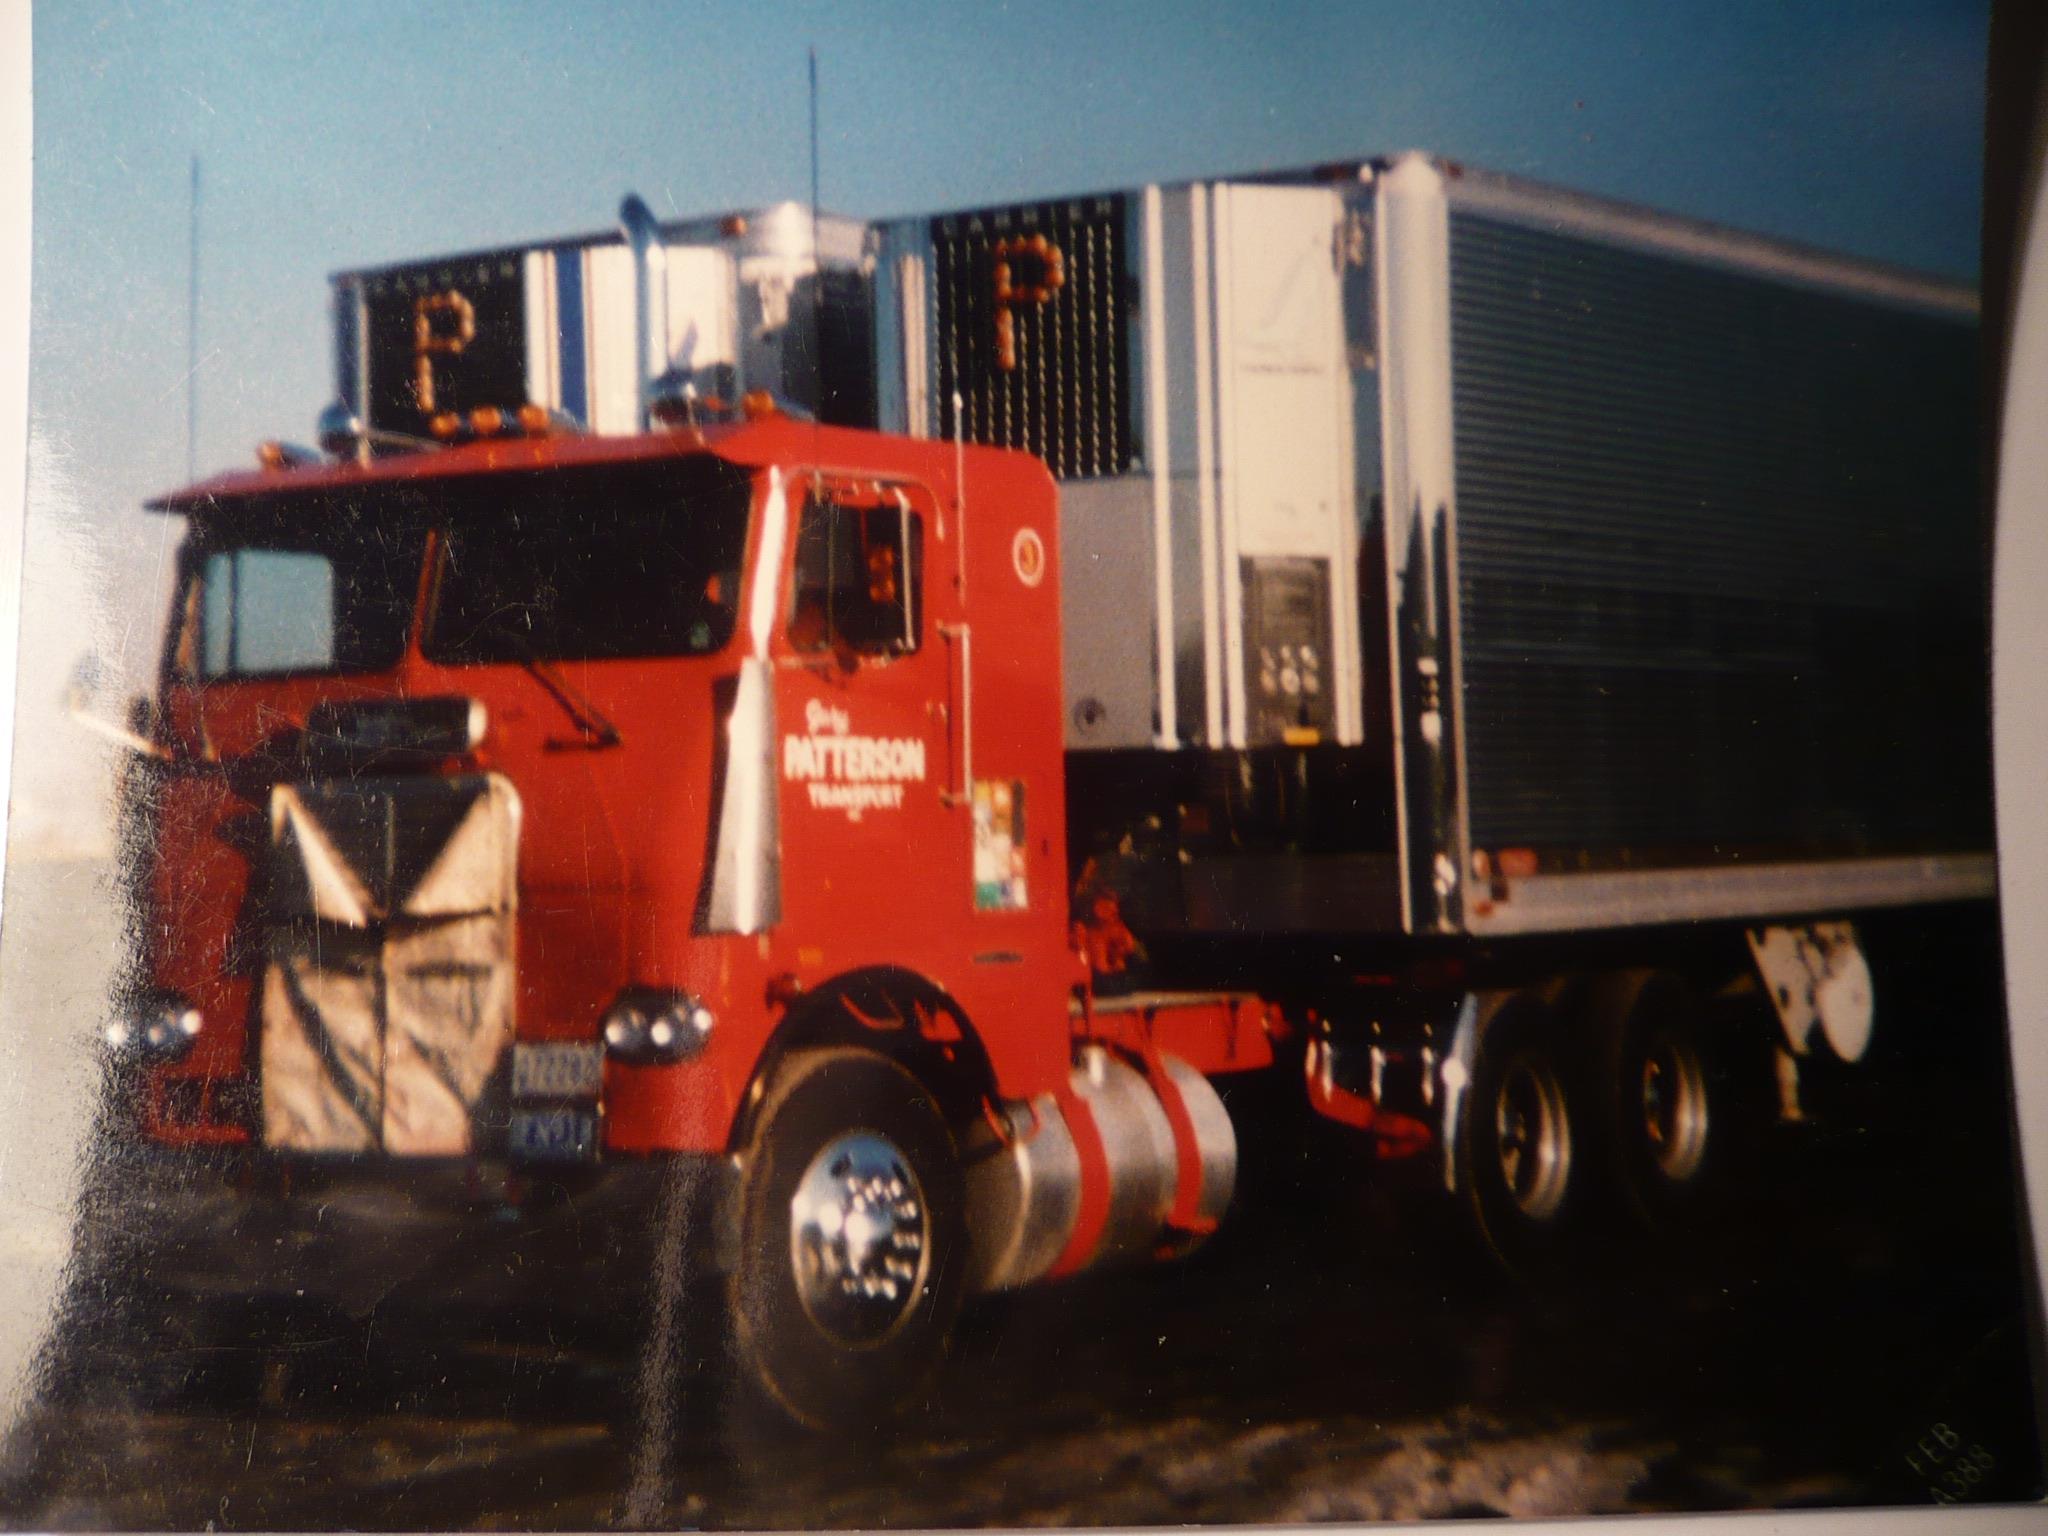
Inspiration for my Diamond Reo build.
-
Picked one up the other day. All the parts were intact. Like @Cornbinder, I doubt that I will build the kit. Mainly interested in the motor.
--Casey
-
I hope to pick up a few if they ever show up at my local Hobby Lobby.
--Casey
-
-
On 8/5/2016 at 6:51 AM, trucker said:thanks !
You're welcome. I hope folks get some use out of it.
--Casey
-
I was the chassis in person. It is NICE! The pictures don't do the tool box/step combo or the tanks justice.
Thanks for sharing @ewaskew
--Casey
-
She's definitely looking mean. Keep us updated.
--Casey
-
For those that may be interested, I whipped up a scale conversion scrip and decimal to fraction table and added them to the main page. Please let me know if you see/get an errors and/or if there are additional features that I can add.
--Casey
-
Pictorial "how to" posted with permission of Mike Roux.


-
1
-
-
Very cool. Please keep us updated as it progresses.
--Casey
-
Glad to have you onboard. Let me know if you need any assistance.
-Casey


Peterbilt 377a heavy haul
in Model Truck Workbench
Posted
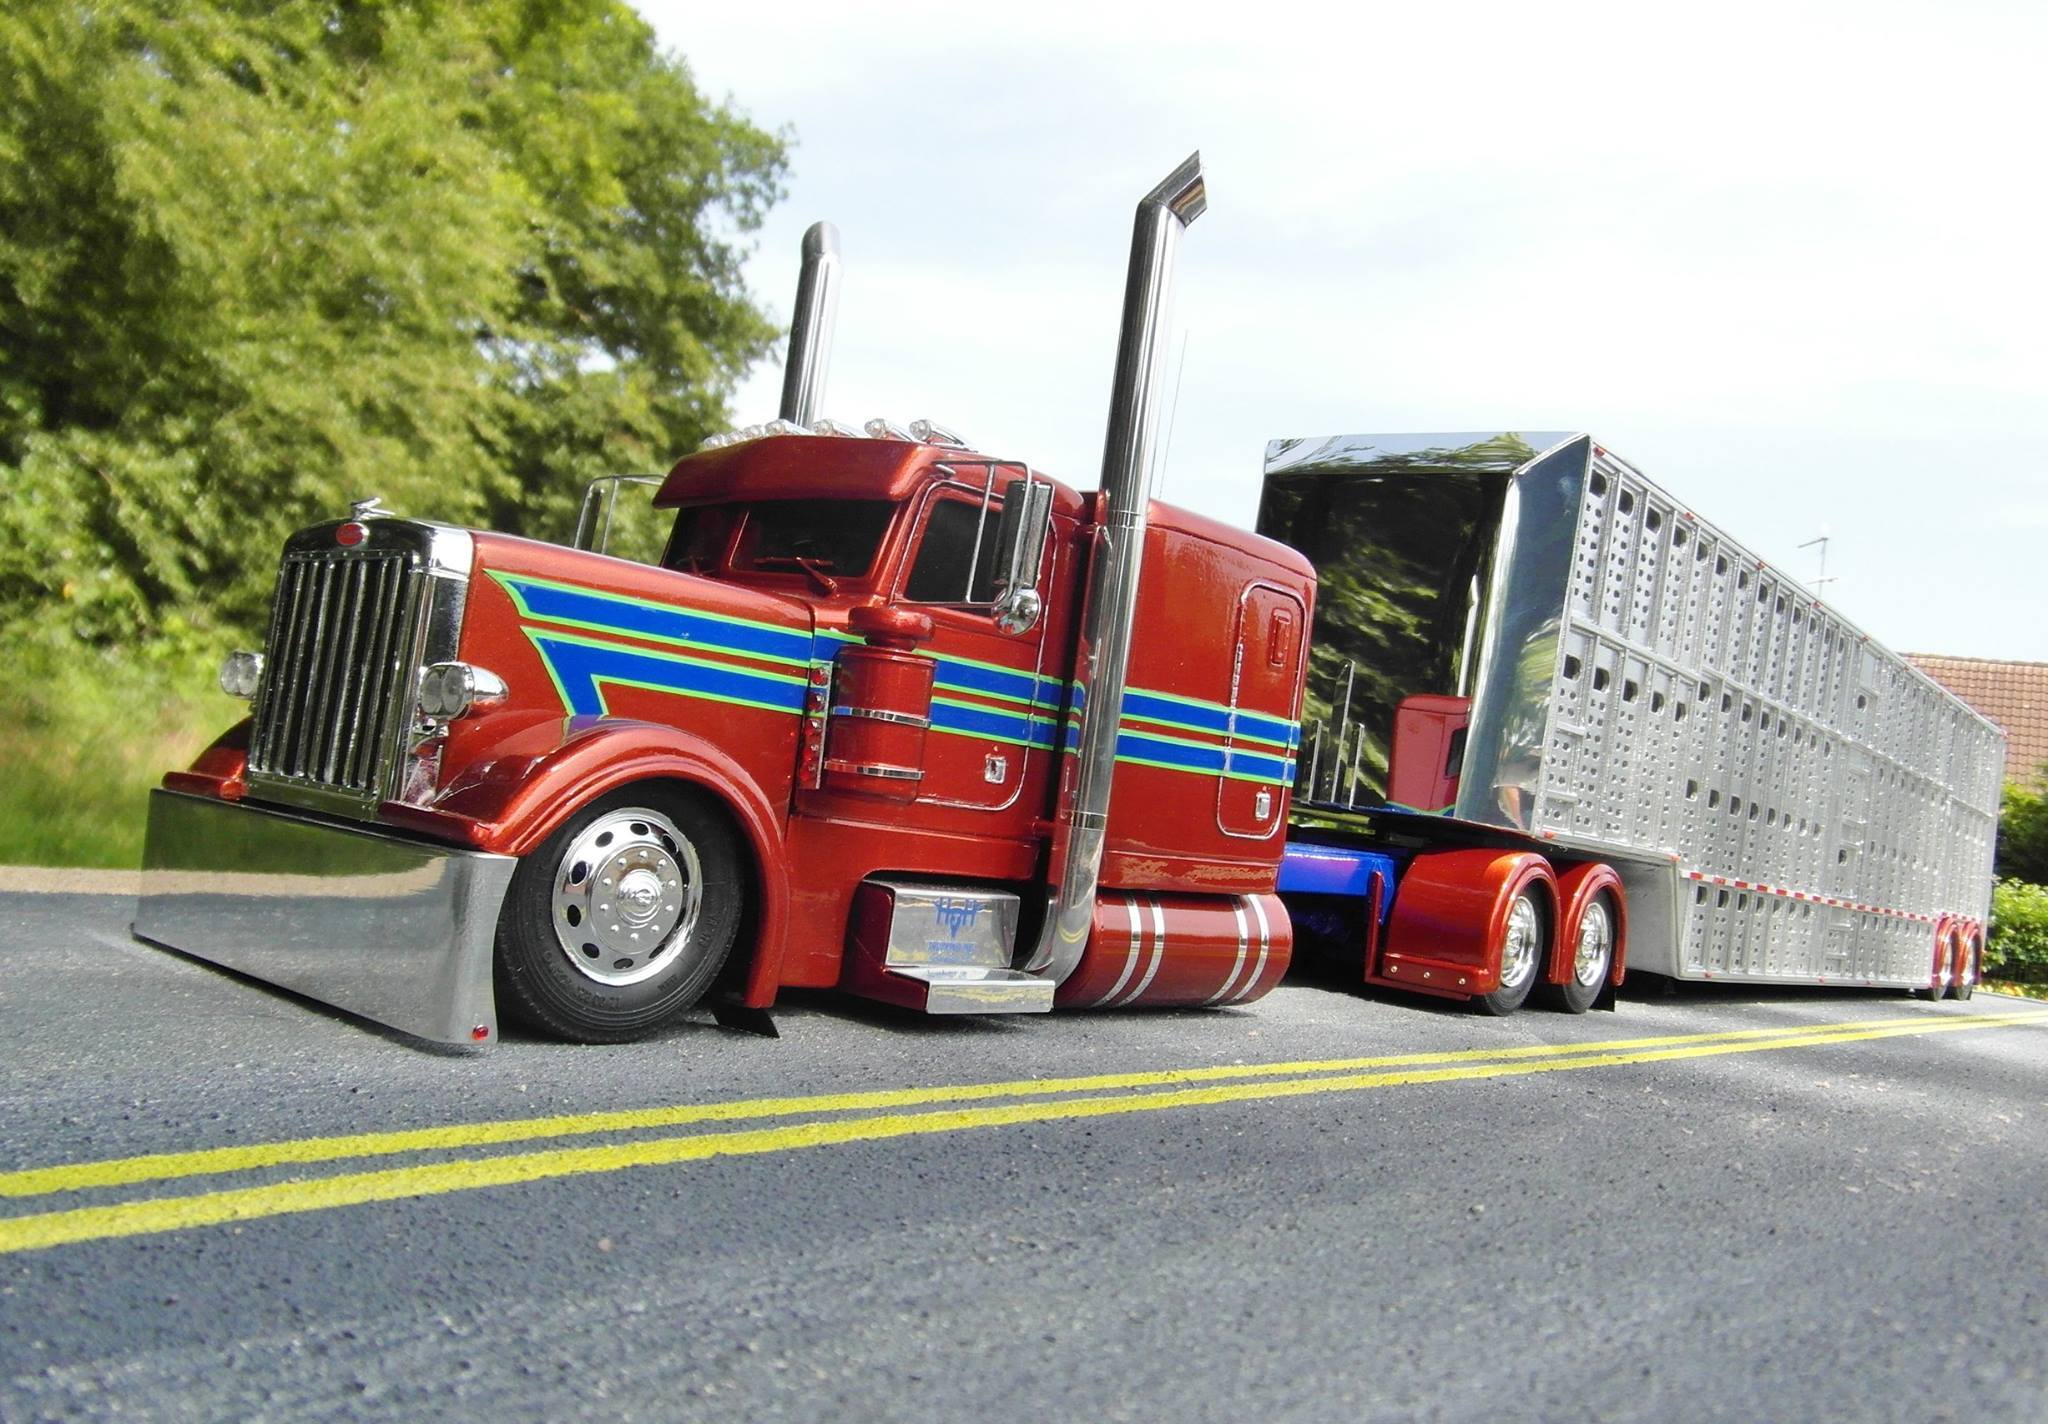
Man I really love this one. It is set up just right and the paint is awesome.