
Casey
-
Content count
596 -
Joined
-
Last visited
-
Days Won
50
Everything posted by Casey
-
Disclaimer. I am not professional and there is a possibility that I have no clue what I am doing. I hope that I have put enough info together to give you a good I idea of the steps that I use to create single hump fenders. If clarification is need, please let me know and I add info/edit as required. Sorry for not taking a few more/better images. Hope this helps! 1. Begin by cutting a 1 15/16" round disk from a sheet of .040 sheet styrene. I used a bow compass with metal points on both sided to get the job done. If you use this method be sure to make the center hole the same size as the compass point; if it is larger you will not get a symmetrical disk. 2. Mount the disk on a Dremel cutting wheel attachment. (The image below shows two mounted but one is fine.) 3. Begin to round the outer edge of the disk using a rasp of other coarse file, sanding stick etc. 4. Fine tune the chamfer of the outer edge of the fender with a sanding block. I used 220 grit sanding paper. 5. Finished disk on the right. 6. Before performing this step make a mark that divides the disk into two equal halves. Then cut the center out of the disk leaving a 5/8" circle and then cut the circle in two. You will then have two "C" shaped pieces as seen in step 7. 7. Glue a .060 x.040 styrene strip (SS1) around the outer edge of the "C". One of the .040 sides should be glued to the "C" and the strip should extend beyond the end of the "C". 8. Cut a hole with the same diameter as inner hole of the upper fender wall (UFW) above from a sheet od styrene and layout and cut the lower fender wall (LFW) as seen in the image below and the image in the next step. (Sorry for not taking better pics of this part) 9. Glue the LFW to the UFW and SS1, and cut the ends off SS1 off at the lower edge of the LFW. 10. Cut the lower portion of the LFW to achieve the desired fender height. 11. Glue a .030 x .250 strip (SS2) inside of SS1. 12. Make another side just like the one above. 13. Cut two strips of .020 styrene to the desired fender width (don't forget to account for the width od the sides) and long enough to wrap around the outside of the fender. 14. Beginning at one end, glue the first SS3 to SS2, wrapping it around the outer edge of the fender as you go. Be sure to keep the seam between SS3 and SS1 on each side as tight as possible. Cut the ends even with the lower ends of the fender side walls. 15. Wrap the second SS3 over the first SS3. Again, keep the seam between SS3 and SS1 on each side as tight as possible and cut the ends even with the lower ends of the fender side walls. Construction complete! Fill and Prime Paint Repeat x4. If all this seems like too much work, you can purchase a resin set in the Parts Store. --Casey
-
-
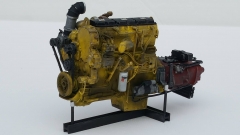 C-15 Cat
© Ray Santora
-
What type(s) of glue do you all use, on what and why?
-
Thank you. I hope folks find it useful.
-
For those that may be interested, I whipped up a scale conversion scrip and decimal to fraction table and added them to the main page. Please let me know if you see/get an errors and/or if there are additional features that I can add. --Casey
-

Frame stretch part MTB SP48
Casey replied to Clinton Kimble's topic in Model Truck General Discussion
I plan to make those as soon as I get a free moment. -
Try http://www.modeltruckin.com/store/
-
Frame stretch part MTB SP48
Casey replied to Clinton Kimble's topic in Model Truck General Discussion
Thanks! It does makes it much easier. -
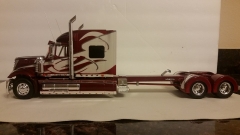
© Ernesto Adorno
-
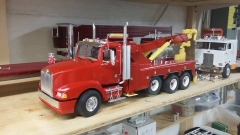
-

© Barry Kuhn
-
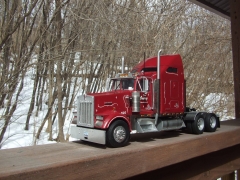
-
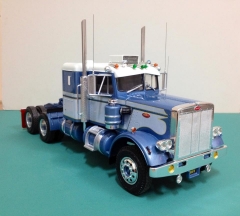
© Anthony Kurr
-
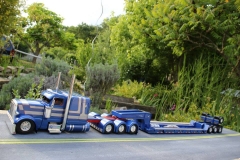
-
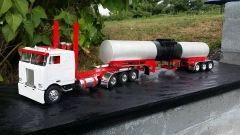
-
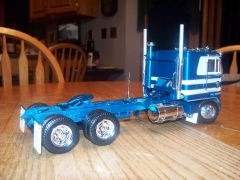 Tom Boerschinger
 -
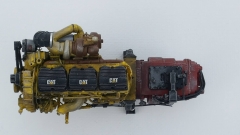 C-15 Cat
© Ray Santora
-
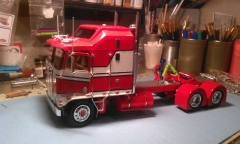
© Darren Nance
-

-
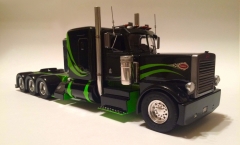
© Earl Miller