-
Content count
40 -
Joined
-
Last visited
-
Days Won
8
Posts posted by Brian Conn
-
-
There's a few of those monsters running around the Kansas City area...seen them in action a few times....impressive would be a huge understatement....your build fits that description quite well.
-
......Those Holmes 750's just look right on any 60's truck chassis........nice build
-
 1
1
-
-
That engine and transmission could be a build by its self....outstanding
-
 1
1
-
-
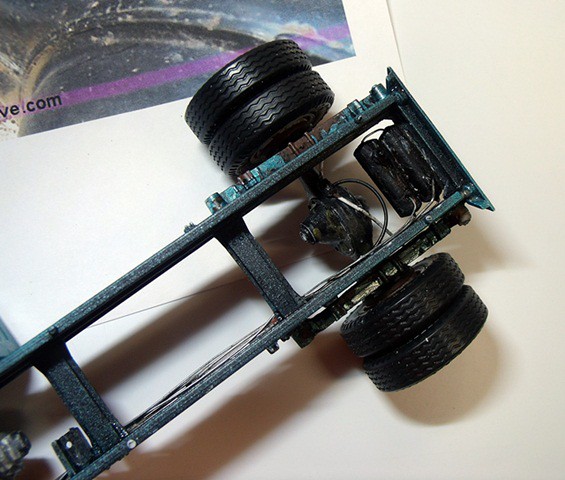
Finished up the rear axle.....
Huge thanks to Driptroit 71 He did a post at Modelcarsmag.com forum in regards to different types of truck air brakes https://www.modelcarsmag.com/forums/topic/175424-different-types-of-truck-air-brakes/ I used some of his pictures for reference on this build.
-
 2
2
-
-
-
First off , huge thanks!
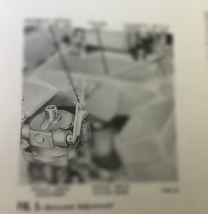
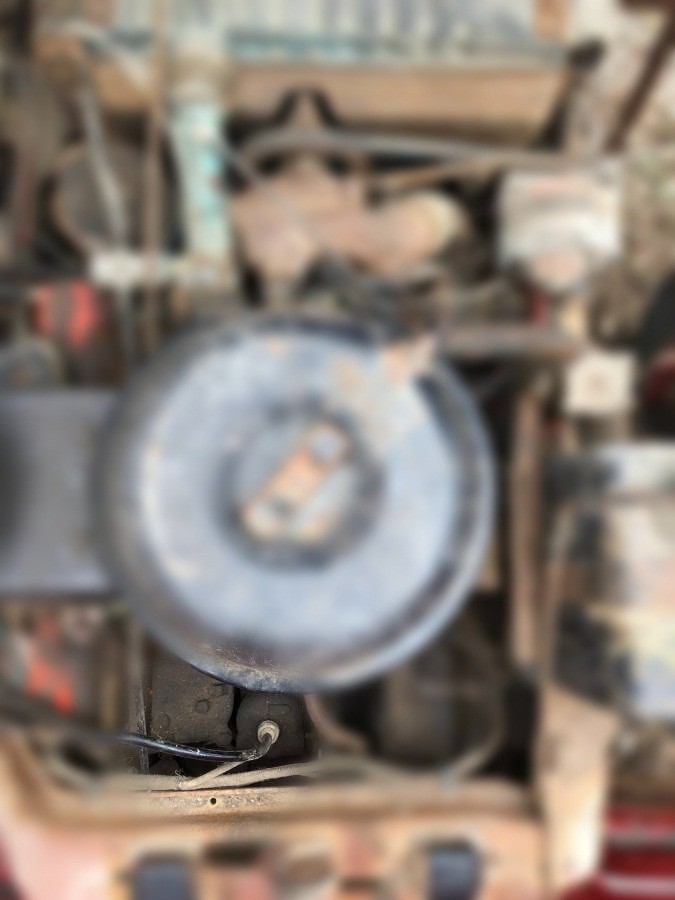
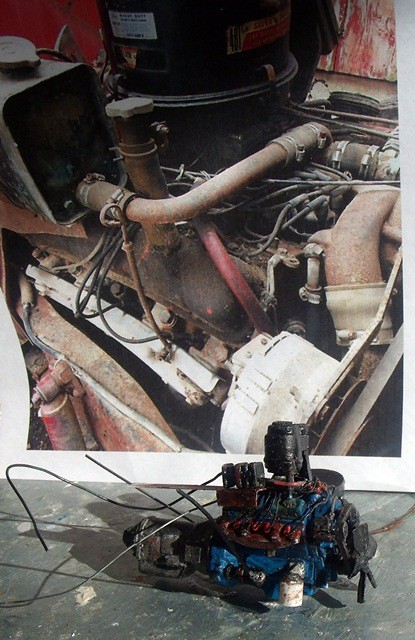
Here is what has me stumped w/ the engine governor...........I've blurred out the rest of the engine so as to focus on the governor itself......
Notice the very top of the governor....there is a cable that has a threaded end the screws onto the the governor.
This picture shows the cable attached to the governor.....from what I have seen with the other Ford truck engines, it goes over to the Left side of the engine area and disappears, It's that cable that I need to know where/what it goes to....I have everything else with the engine figured out,this is the last piece of the puzzle that is holding me up
-
On 1/15/2024 at 10:46 AM, Eric said:Looks great so far
On the fuel tank you'll see three fittings close to the frame on top of the tank that is where the fuel pickup and returns would have gone the larger circle out towards the outside of the tank was just the fuel sending units for the gas gauge and would have had two wires connected to it a ground wire under one of the out circle retaining bolts and a signal wire to the center of the sending units.
...Been doing too many stock car fuel cells.
 Sounds like an easy enough fix...needed to show more electrical type wiring going to the cab anyway.
I do have one question: Where does the cable that is attached to the engine governor go? (see picture of the upper,back side of a 1:1 engine,above) Does it drive the tach. or go elsewhere?
-
As you have discovered, the hydraulic lines are pretty much generic in the kit...p.t.o pump to the front, underneath control valves to the hydraulic tank and whats visible on the hopper even though they designed the cover panels on the side of the hopper to be removable for display.
Here is where I am at presently..........
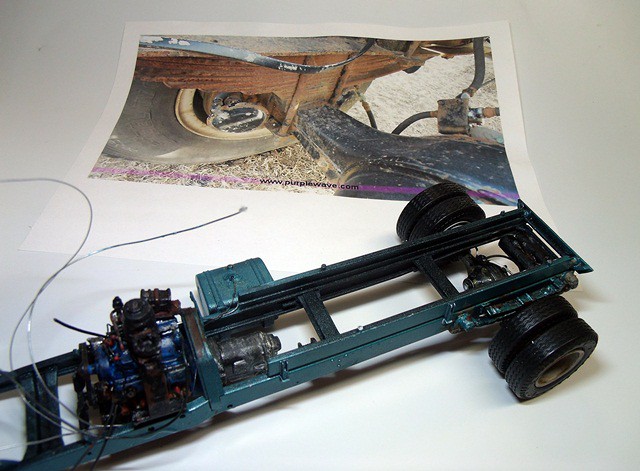
Got the steel air lines plumbed from the compressor to the primary and secondary air tanks, and from the air tanks back forward to the cab area. Added some fuel stain paint to the gas cap area on the fuel tank and weathered some small areas around the air lines. Attached the fuel line to the tank.
-
 1
1
-
-
Thanks Eric, excellent first post...
I made contact with Eric Voytko at Classic Refuse Trucks prior to starting this build. Needless to say, I have scoured the Garwood section quite thoroughly a few times and discovered where AMT had made some mistakes, whether intentional or not, with the packer body. The Purple truck is what I'm using as a base for the exterior weathering that I am doing.....found another Ford C-900 trash truck that I'll use for the cab interior weathering and another 2 or 3 packer body interiors that I'll use for weathering the interior packer body. I plan on displaying this build at model shows with the packer body roof off to show the correct packer body interior details.
-
 1
1
-
-
...I see from the link you provided (build thread) that you did some printing.....looking to getting into that myself.....couple of questions:
1) Did you scan anything or just printed from files? I'm leaning towards wanting to scan since I build masters of pieces that I resin cast...seems to me that the scan-print process would be easier/quicker vs. making a mold and resin casting.
2) Is the process fairly easy as far as printing in a particular scale (1:25) or scales of the same item. (1:32 and 1:25)
-
THANKS! wish I was farther along with the progress.....I've got the engine/trans in place and started running the air lines to the primary and secondary air tanks....suppose I could post a picture or two.
-
..........Interesting build.
This bears more than just a striking resemblance to some of the oil field trucks I've seen down around Great Bend, Ks. Some of the trucks are X-Army 6X6's others are the usual makes that are found in the oil fields. Like yours, they tend use the conex/road-railer containers for storage, to house generators, shops, field offices, etc. etc.
-
 1
1
-
-
Greetings from Topeka,
Not sure of the other Kansans here on the forums other than Paul, who is a fellow member of the Ad Astra modeling club here in Topeka and member of the forum.
From the looks of things, I will be getting more build time in the hobby room since Mother nature is going to be releasing a fury of Winter weather here in N.E Kansas which will put the kibosh on any outdoor activity that I had planned for the next few weeks.
-
..great looking build...any details?
-
3 hours ago, Gary Chase said:................................... it was the funnel that looks to be made of polypropylene that didn’t stick.
For polypropylene, I would use J.B Weld High Strength Plastic Bonder...it comes in 2 choices, one dries in a Tan color the other dries in Black and both can be sanded after 30 min's. AND if you look on the front of the package, it says "HD Truck Approved" so you know it was meant for truck builds....right?

-
1 hour ago, Gary Chase said:..................... None of my glues would adhere to the PVC walls.
...Would Oatey PVC cement work?
-
...been fallowing your progress with interest.....looks as if that tank was a build unto itself.
-
 1
1
-
-
THANKS! It's almost a shame that I will end up weathering the chassis with rust and stains, but it is what it is. My wife is concerned that the trash truck wont look the part of a trash truck that see's a daily route up and down alleys and trips to the land fill.....
-
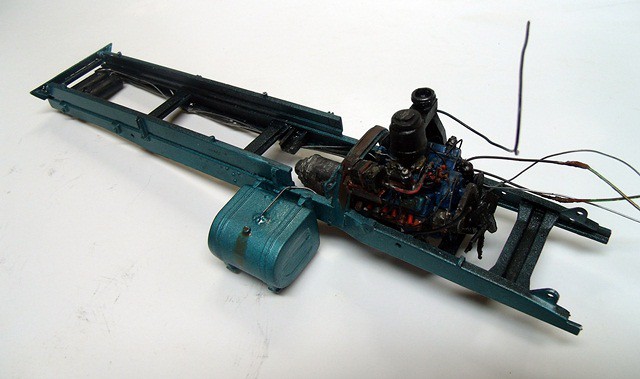
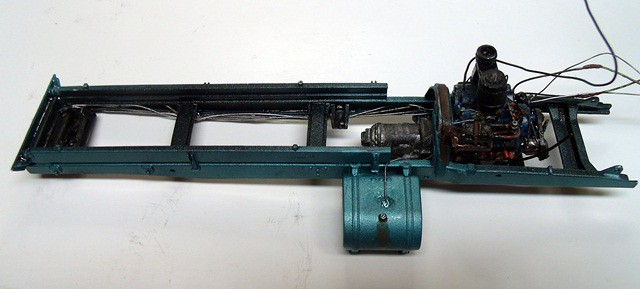
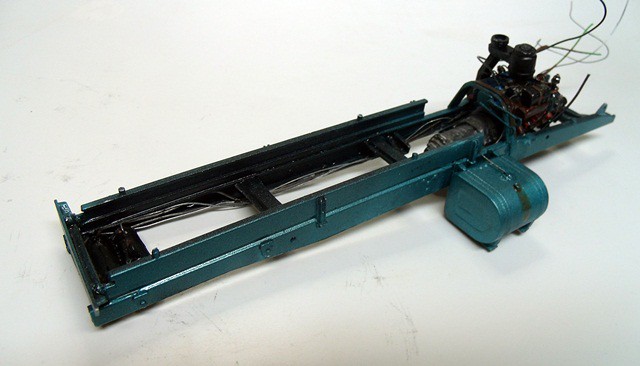
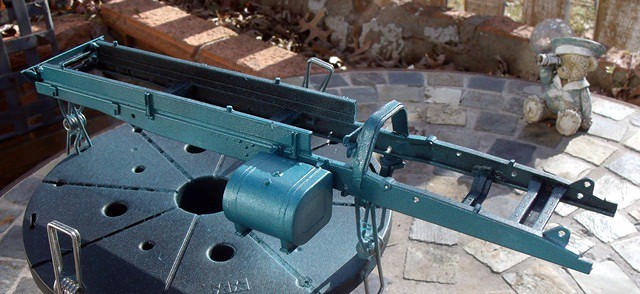
My first learning curve with building trucks....
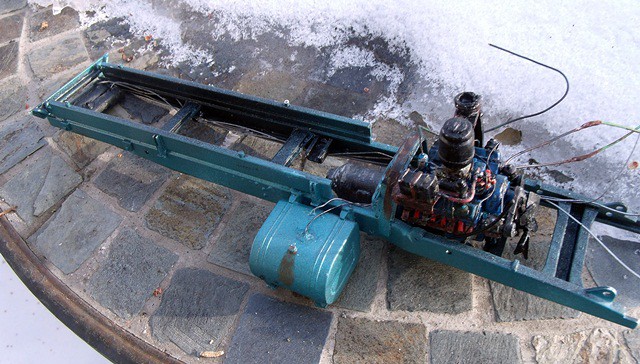
For 16 years I have been building cars....the kit frames are all 1 piece...trucks, a different animal all together as I have come to find out. I have jigs for the different stock car frames/chassis that I scratch built...looks like I have to do the same with truck frames and build 1 or 2 or 3 or....... I have a magnetic base that I used to get this frame square, even with that base it still took patience and time.
I first shot the inside portions of the frame including cross members with a Matte Black to replicate what color it would have been coming out of the factory. The outside portions are Model Car World Seafoam Turquoise Metallic shot with an air brush to give it the appearance that custom colors where applied after leaving the factory but prior to being placed in service.
-
 1
1
-
-
Earth tones is something I borrowed from the military armor and diorama guys in the modeling club...I have used it on my last few builds (dirt track stock cars) and the results have been fantastic...I have also used earth tone pastel chalks with equal success.
I will need to clean up my act....there's a piece of fire fighting apparatus (the 900 series America La France in my profile picture) that's been calling my name lately every time I step into the hobby room
-
...Finished Black washing and dull coating the engine...still a couple of shiny spots that need knocked down some more.
Started out with a shiny Pewter Gray from the rattle can.....the end result after applying some earth tone colors, Black wash and a couple coats of dull coat. My wife Amy is choosing all the color for this rig and I must admit that she has a better eye for color coordination than I do.....should turn out to be a unique trash truck yet fill the bill as far as trash trucks are concerned if that makes any sense. Next up is the frame/chassis
-
 1
1
-
-
I am starting to round up the necessary parts needed for my next build. I am in need of some 1:32 tires for a fire apparatus build and I am not able to locate any tires. Auslowe has the tires, but its a tire/wheel combo and I have no need for the wheels...unsure if they would sell tires only in 1:32 scale.
-
That transition from a vertical surface (hood) to a horizontal surface (fender) can be tricky, especially since there is a slight curve and not a 90 degree angle to work with....might try the sealing of the tape method that I previously mentioned.
-
Big fan of this era of Mack conventionals. Question: is there anyone handling AITM products? I understand what happened with the owner, I just don't know if anyone has picked up with the line of products as far as retail sales go.


Greetings to All!!!
in Introductions
Posted
Welcome aboard! Tried to locate you on eBay with no luck, BUT did score a fire fighting apparatus that I had been looking for , so it wasn't a total bust. Could you please post a link to your eBay store...much appreciated.