

Chariots of Fire
-
Content count
155 -
Joined
-
Last visited
-
Days Won
13
Posts posted by Chariots of Fire
-
-
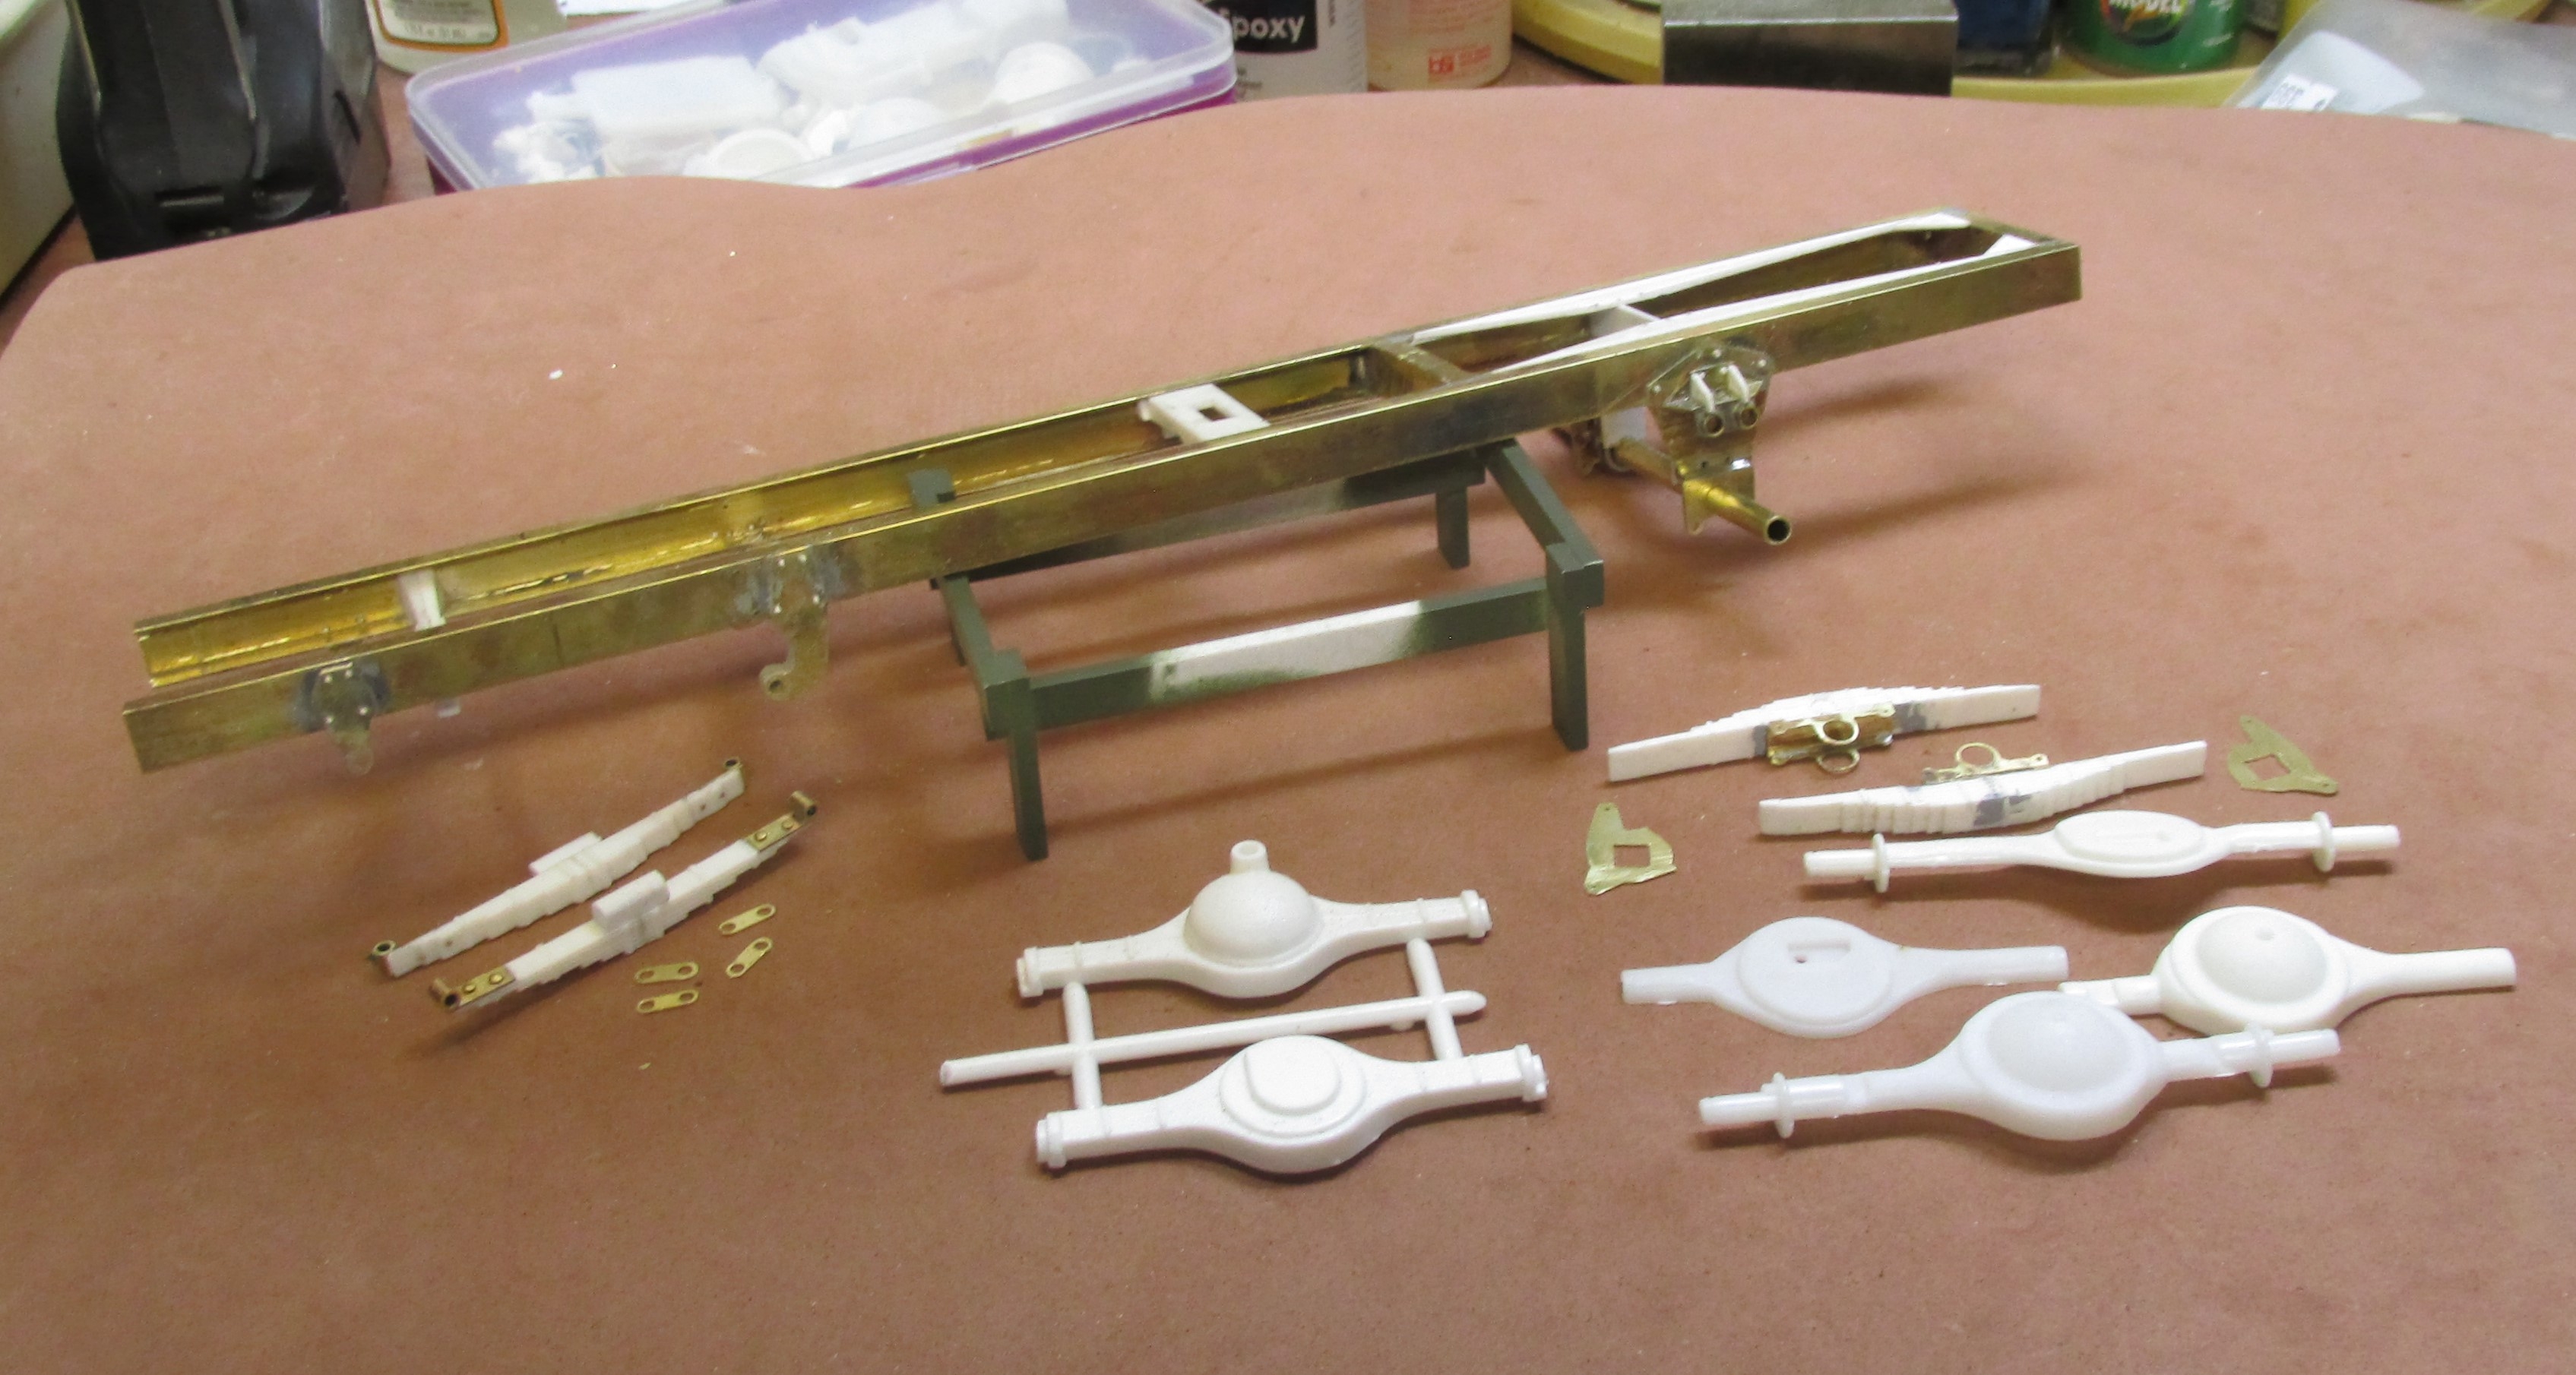
A bit more done on the chassis. Rear tandems are beginning to take shape. Work has begun on the front axle as well.

-
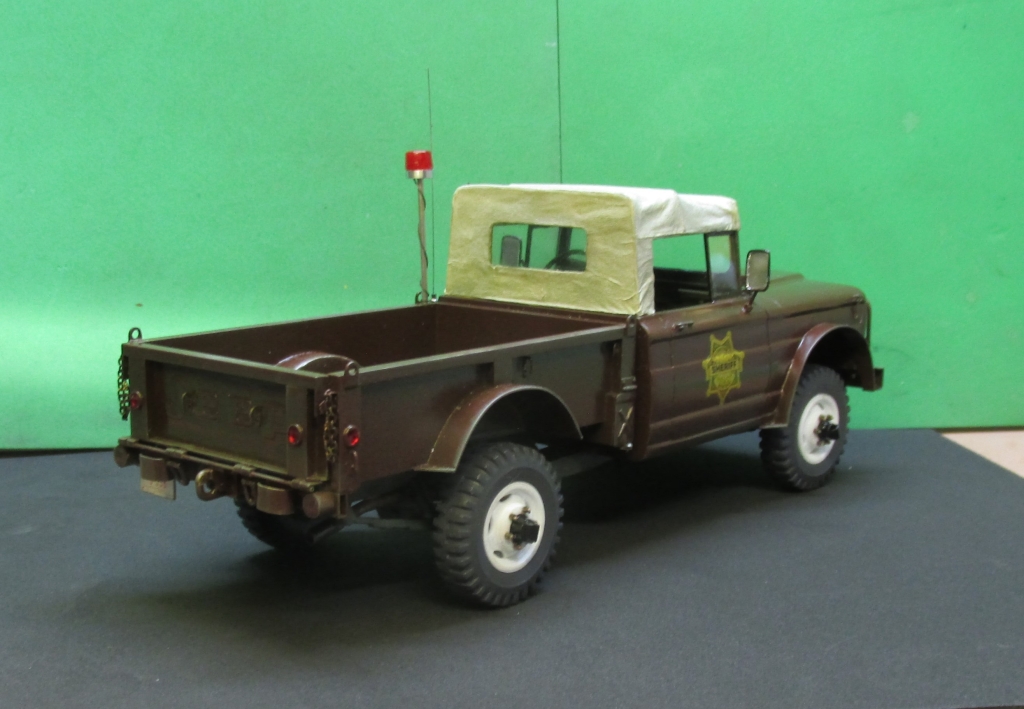
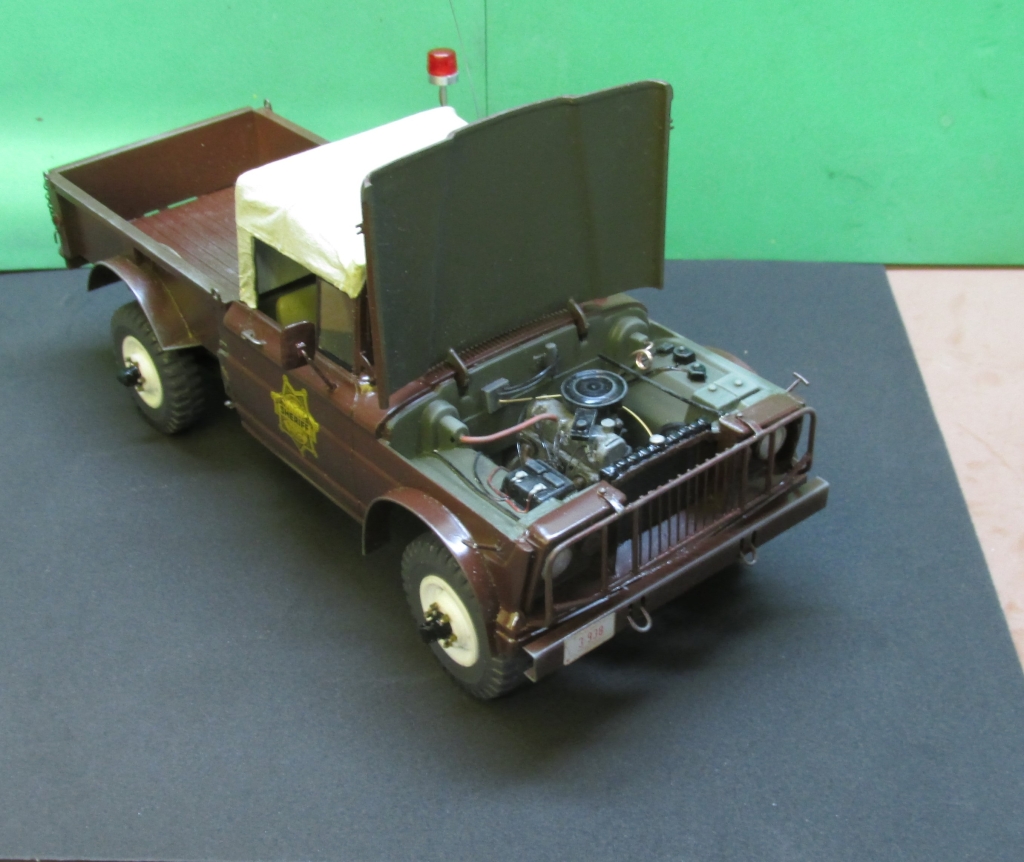
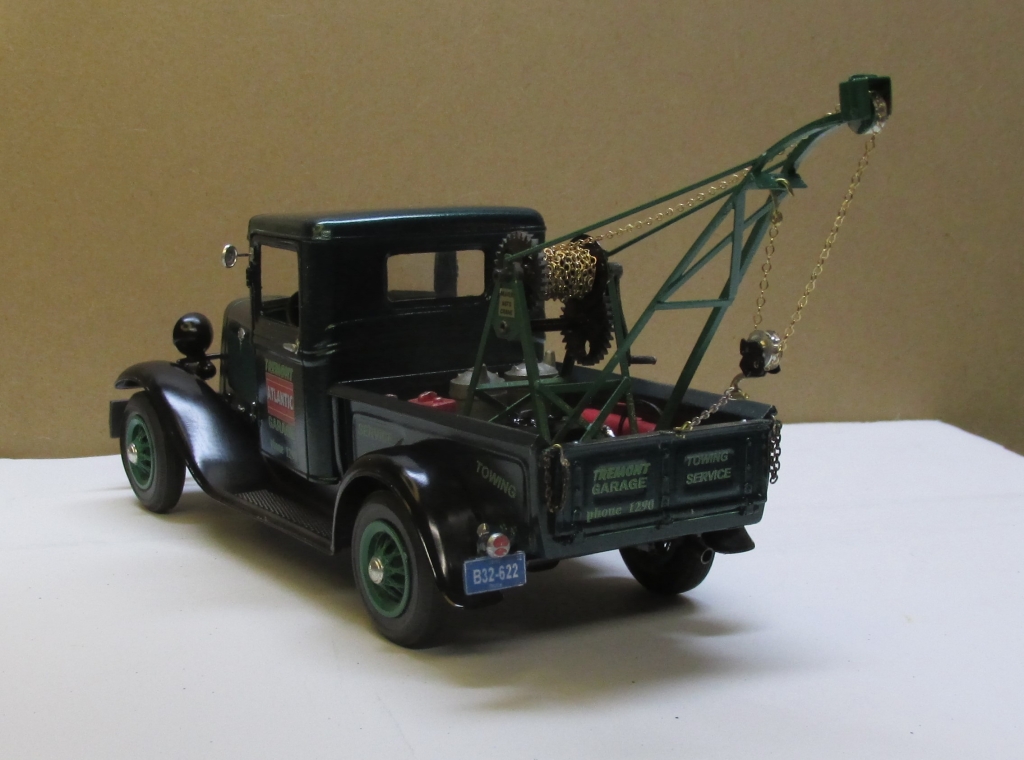
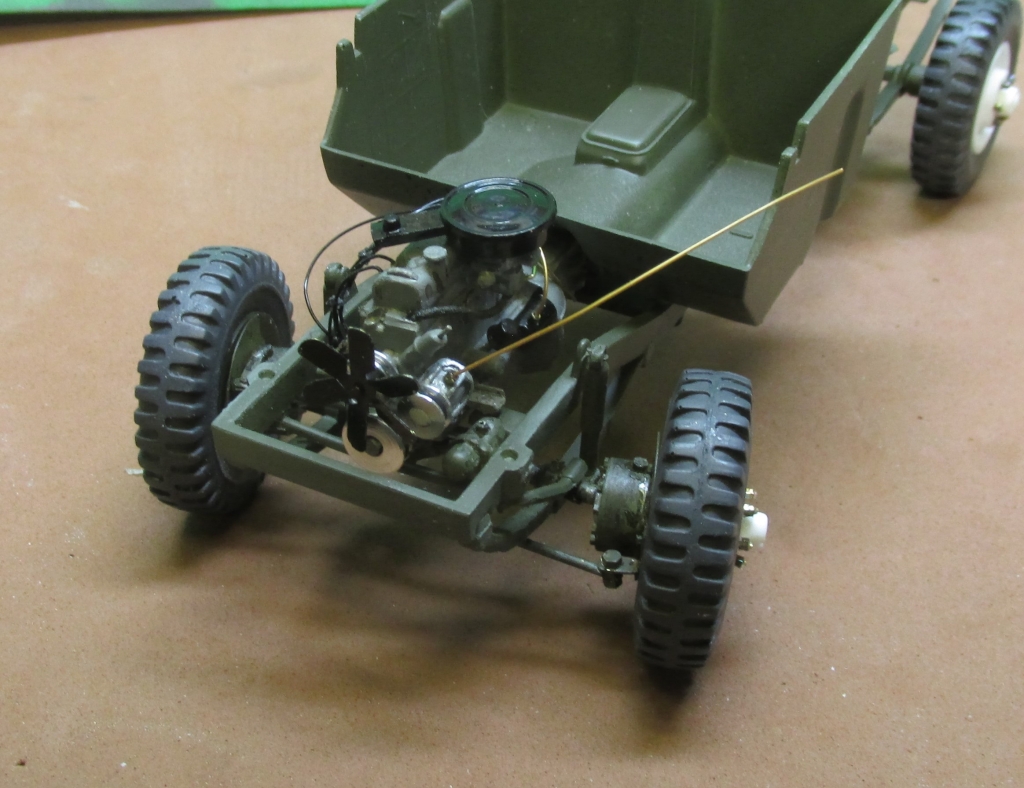
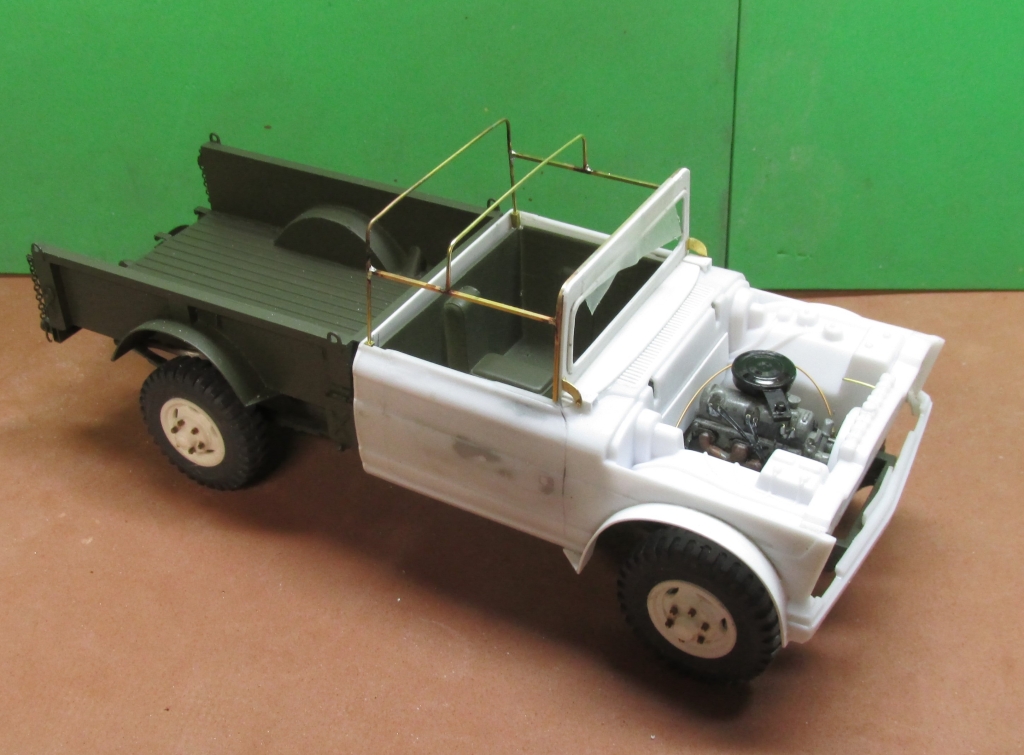
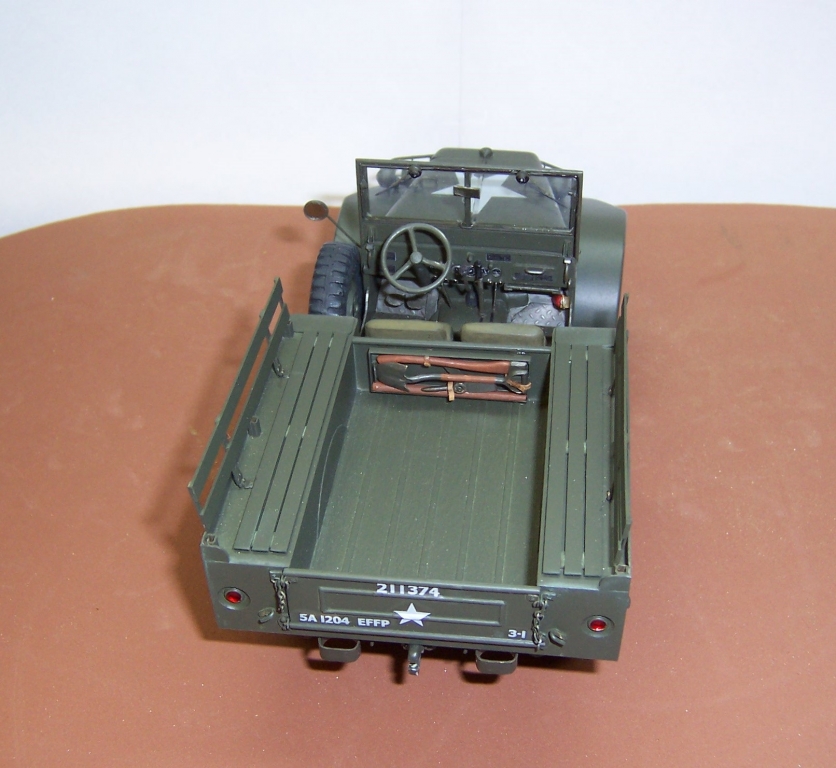
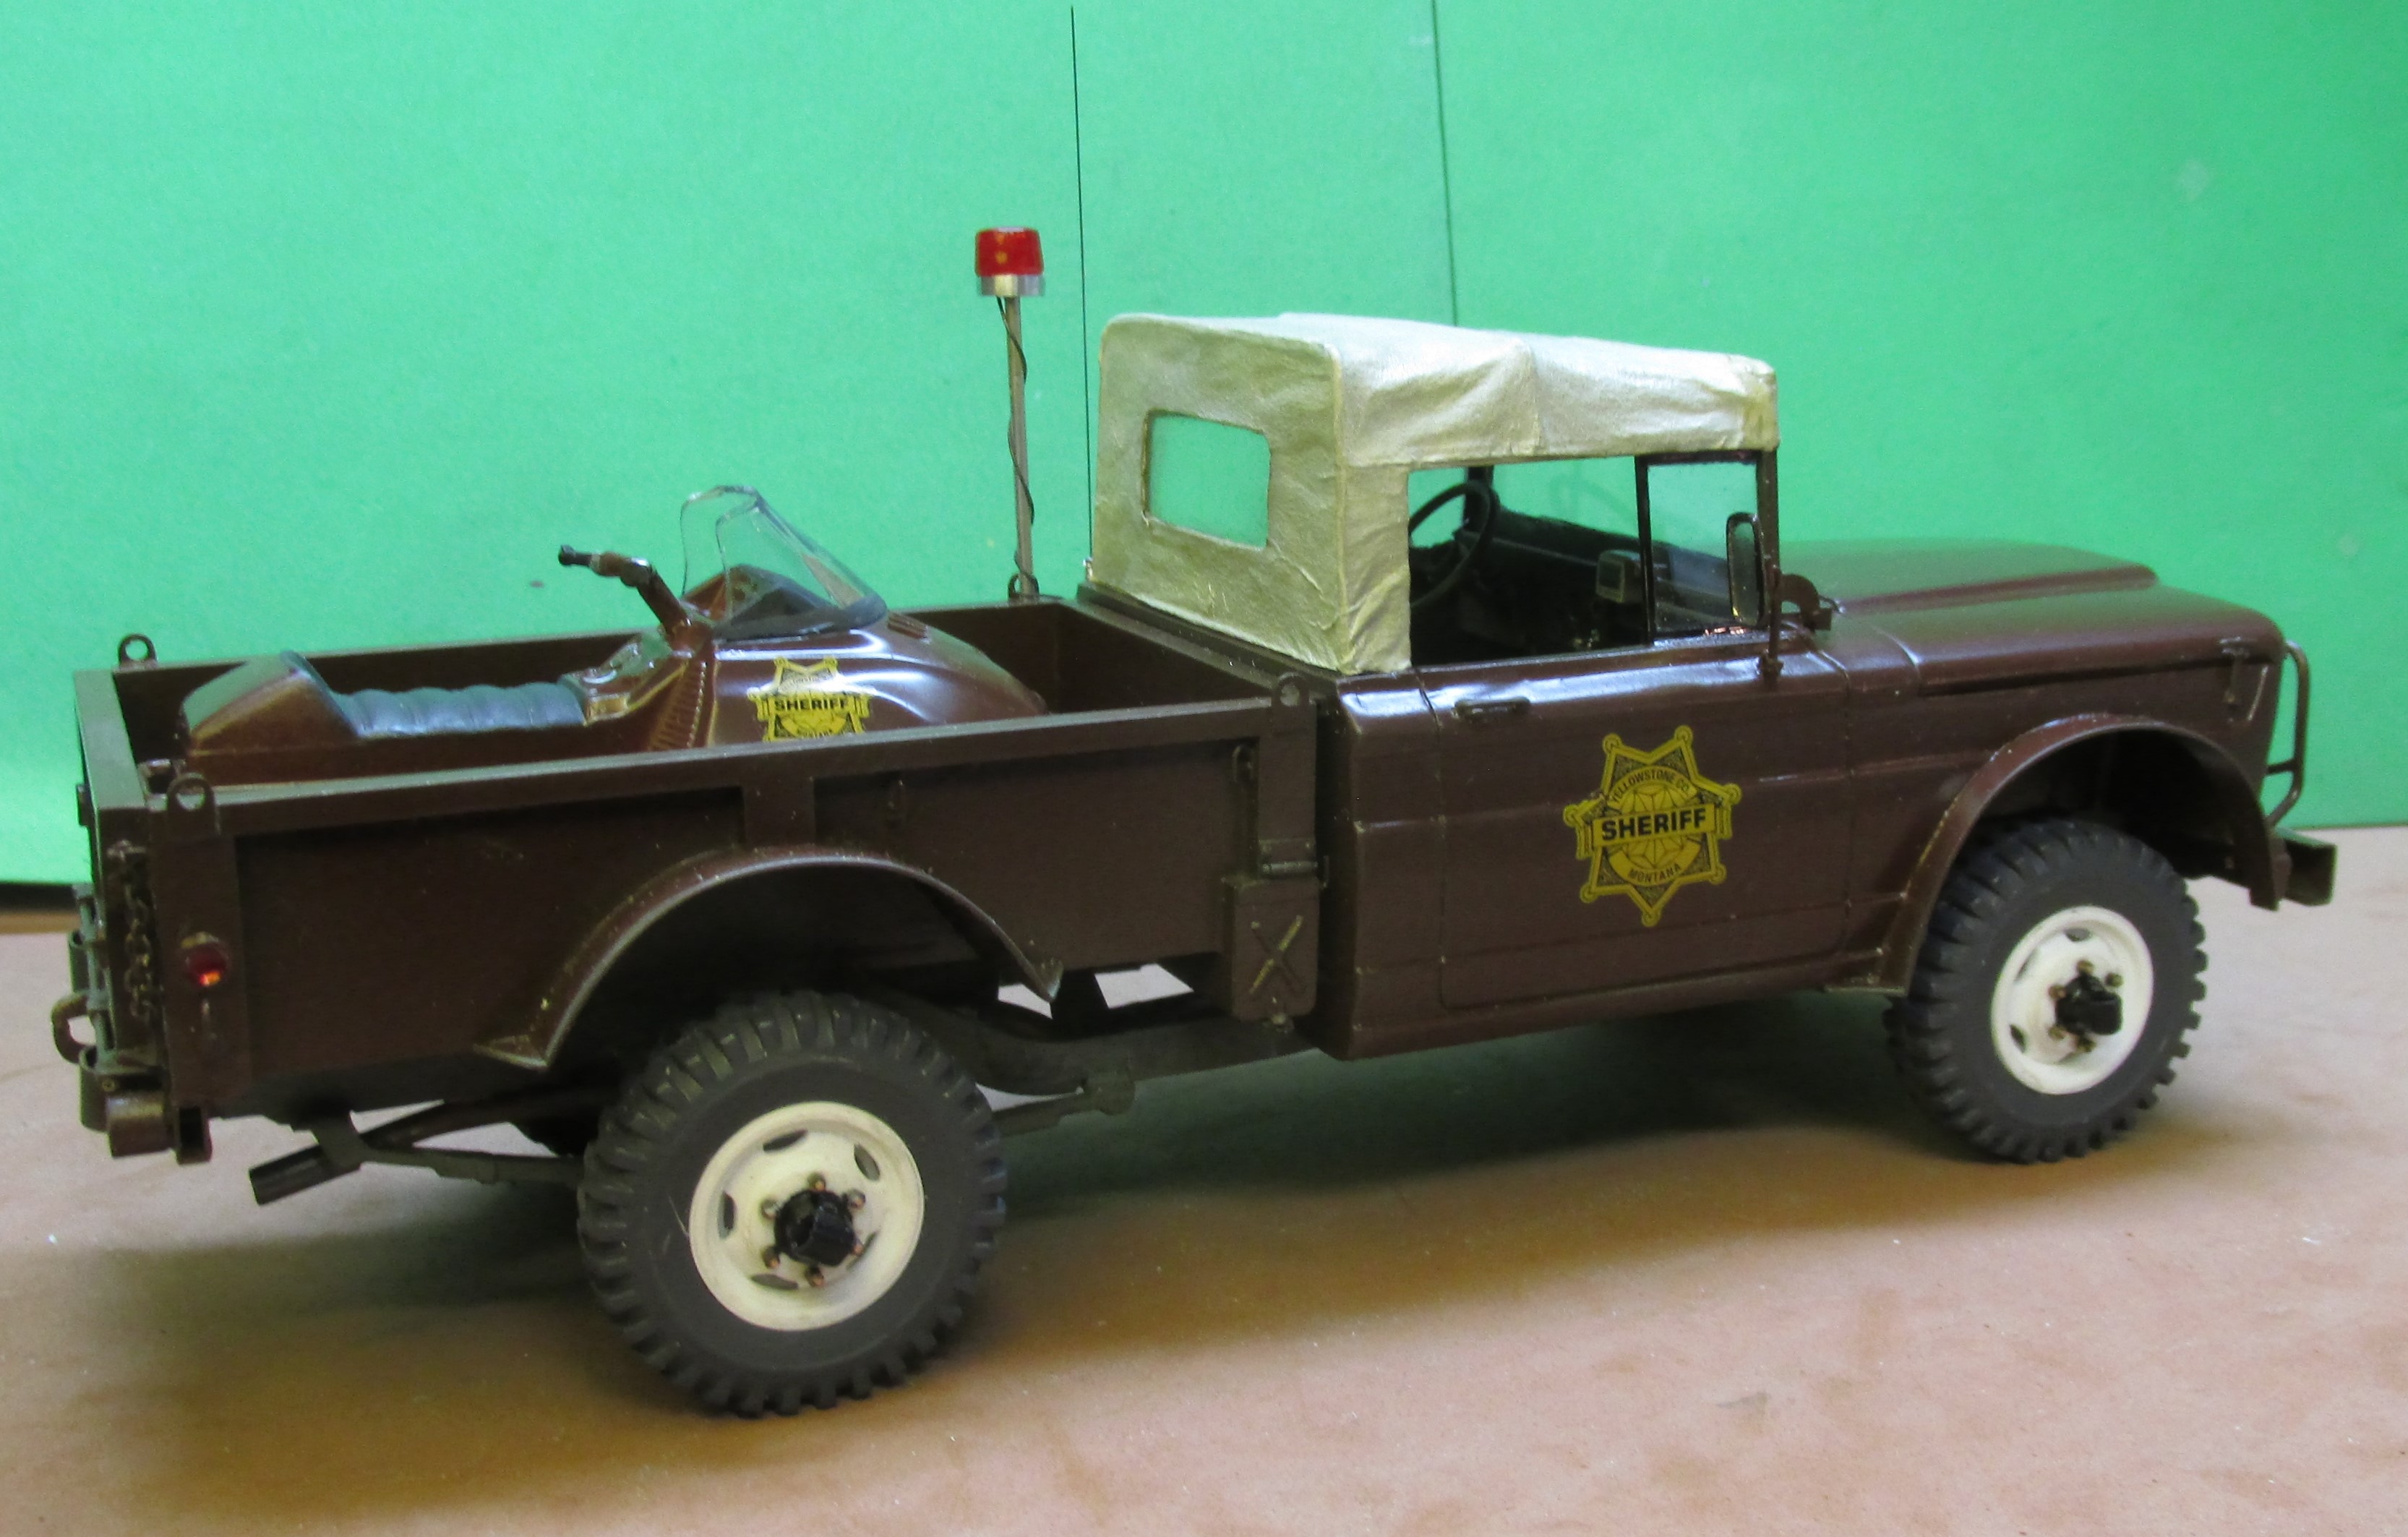
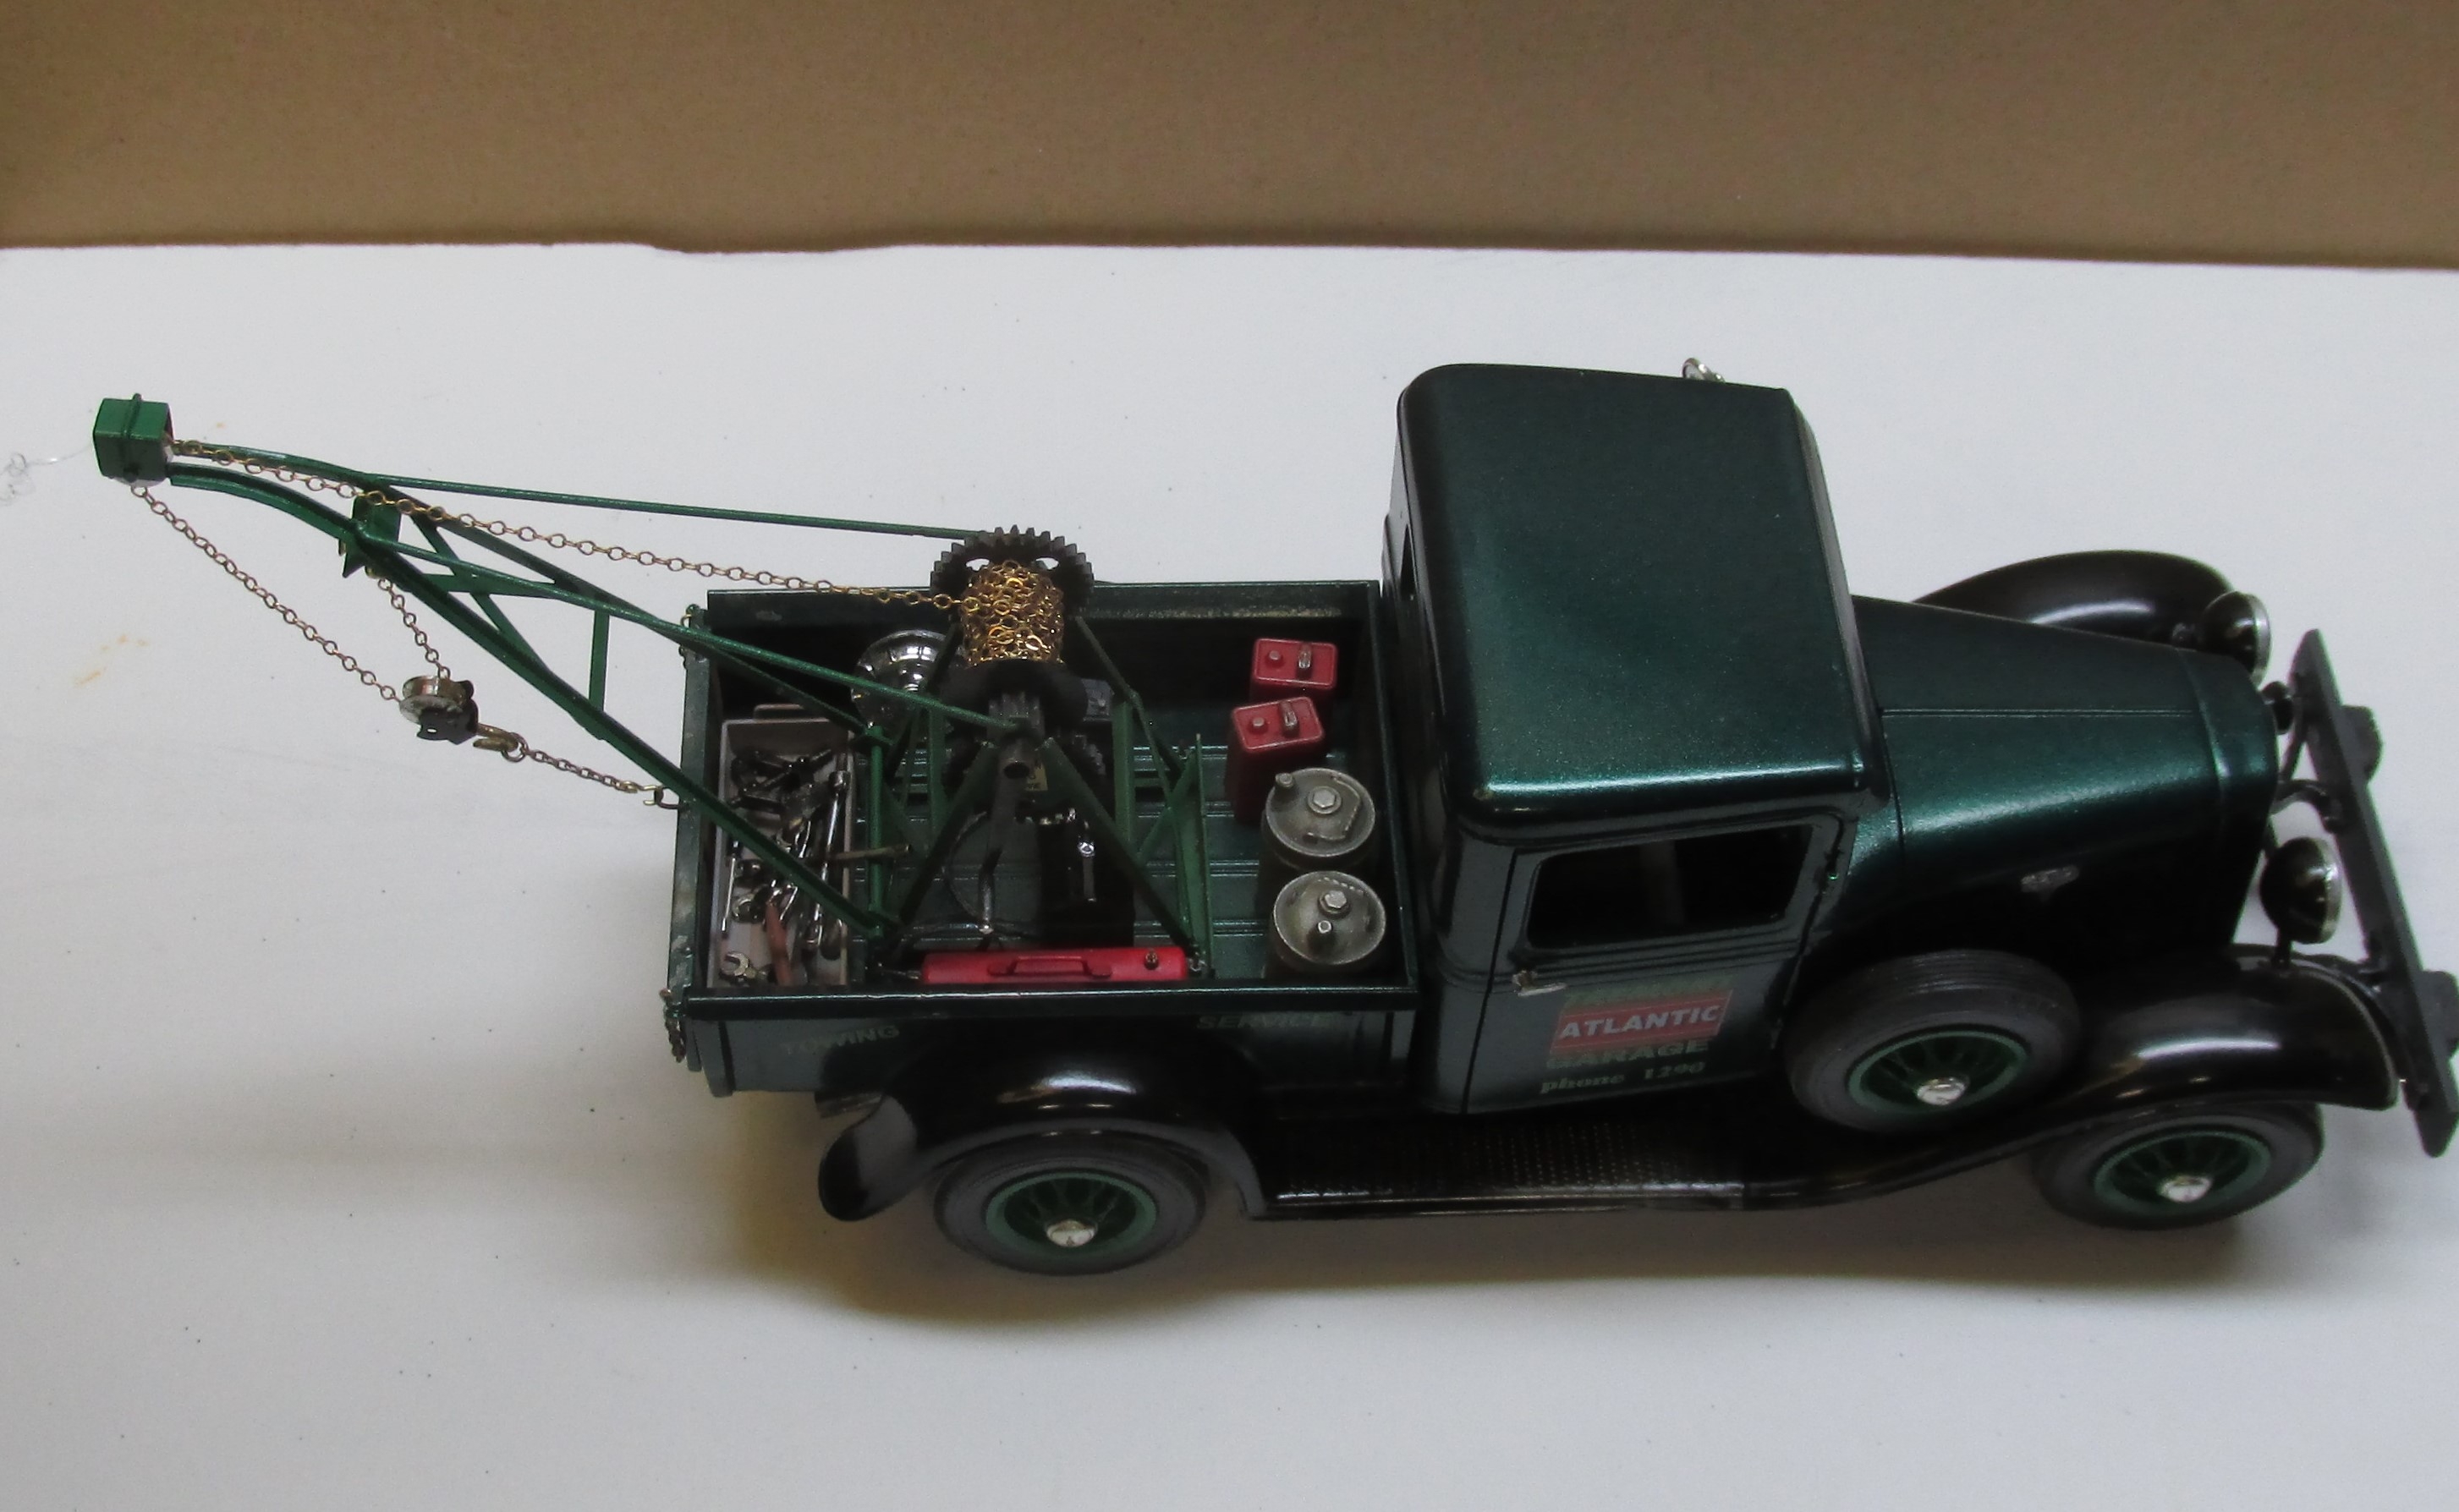
Done in the motif of a Montana Sheriff's rig. Top is two ply tissue first painted in 50/50 white glue and water, light tan acrylic and then painted again with some off white. The beacon on a pole was a feature of the real rig also. The underside of the truck is still OD color as they didn't go out of their way to do a fancy paint job. Grill bars and bumper are brass stock. Here's the back end and a look at the OHC 6 cylinder Hurricane engine. Tailgate is functional and the pintle hook opens up.
-
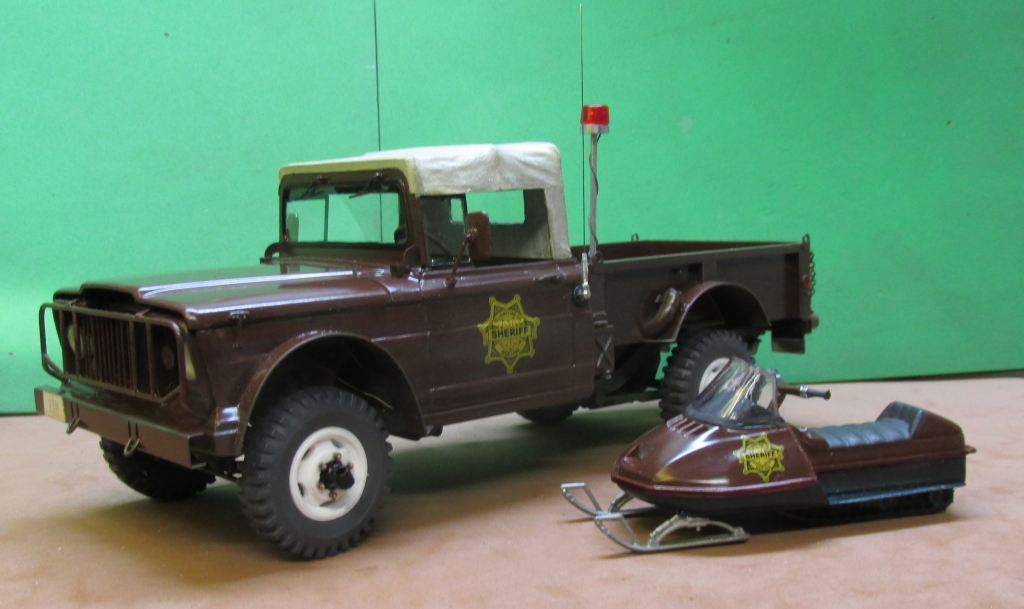
Humm! I forgot to post the final product! So here it is!

-
Wow! Never actually gave that much thought. But it is probably 95% scratch vs 5% kit or after-market.
I always approach a project from the frame up just as a real builder might. The difference being that while the frame is done in one factory, the body parts are being stamped and assembled in another location. In this case it is much like building a house. Get the foundation true and square and the rest should follow along. Same thing with the frame and the location of mounting points, etc. But I don't have a separate cab or body factory so they will be done after the frame is built.
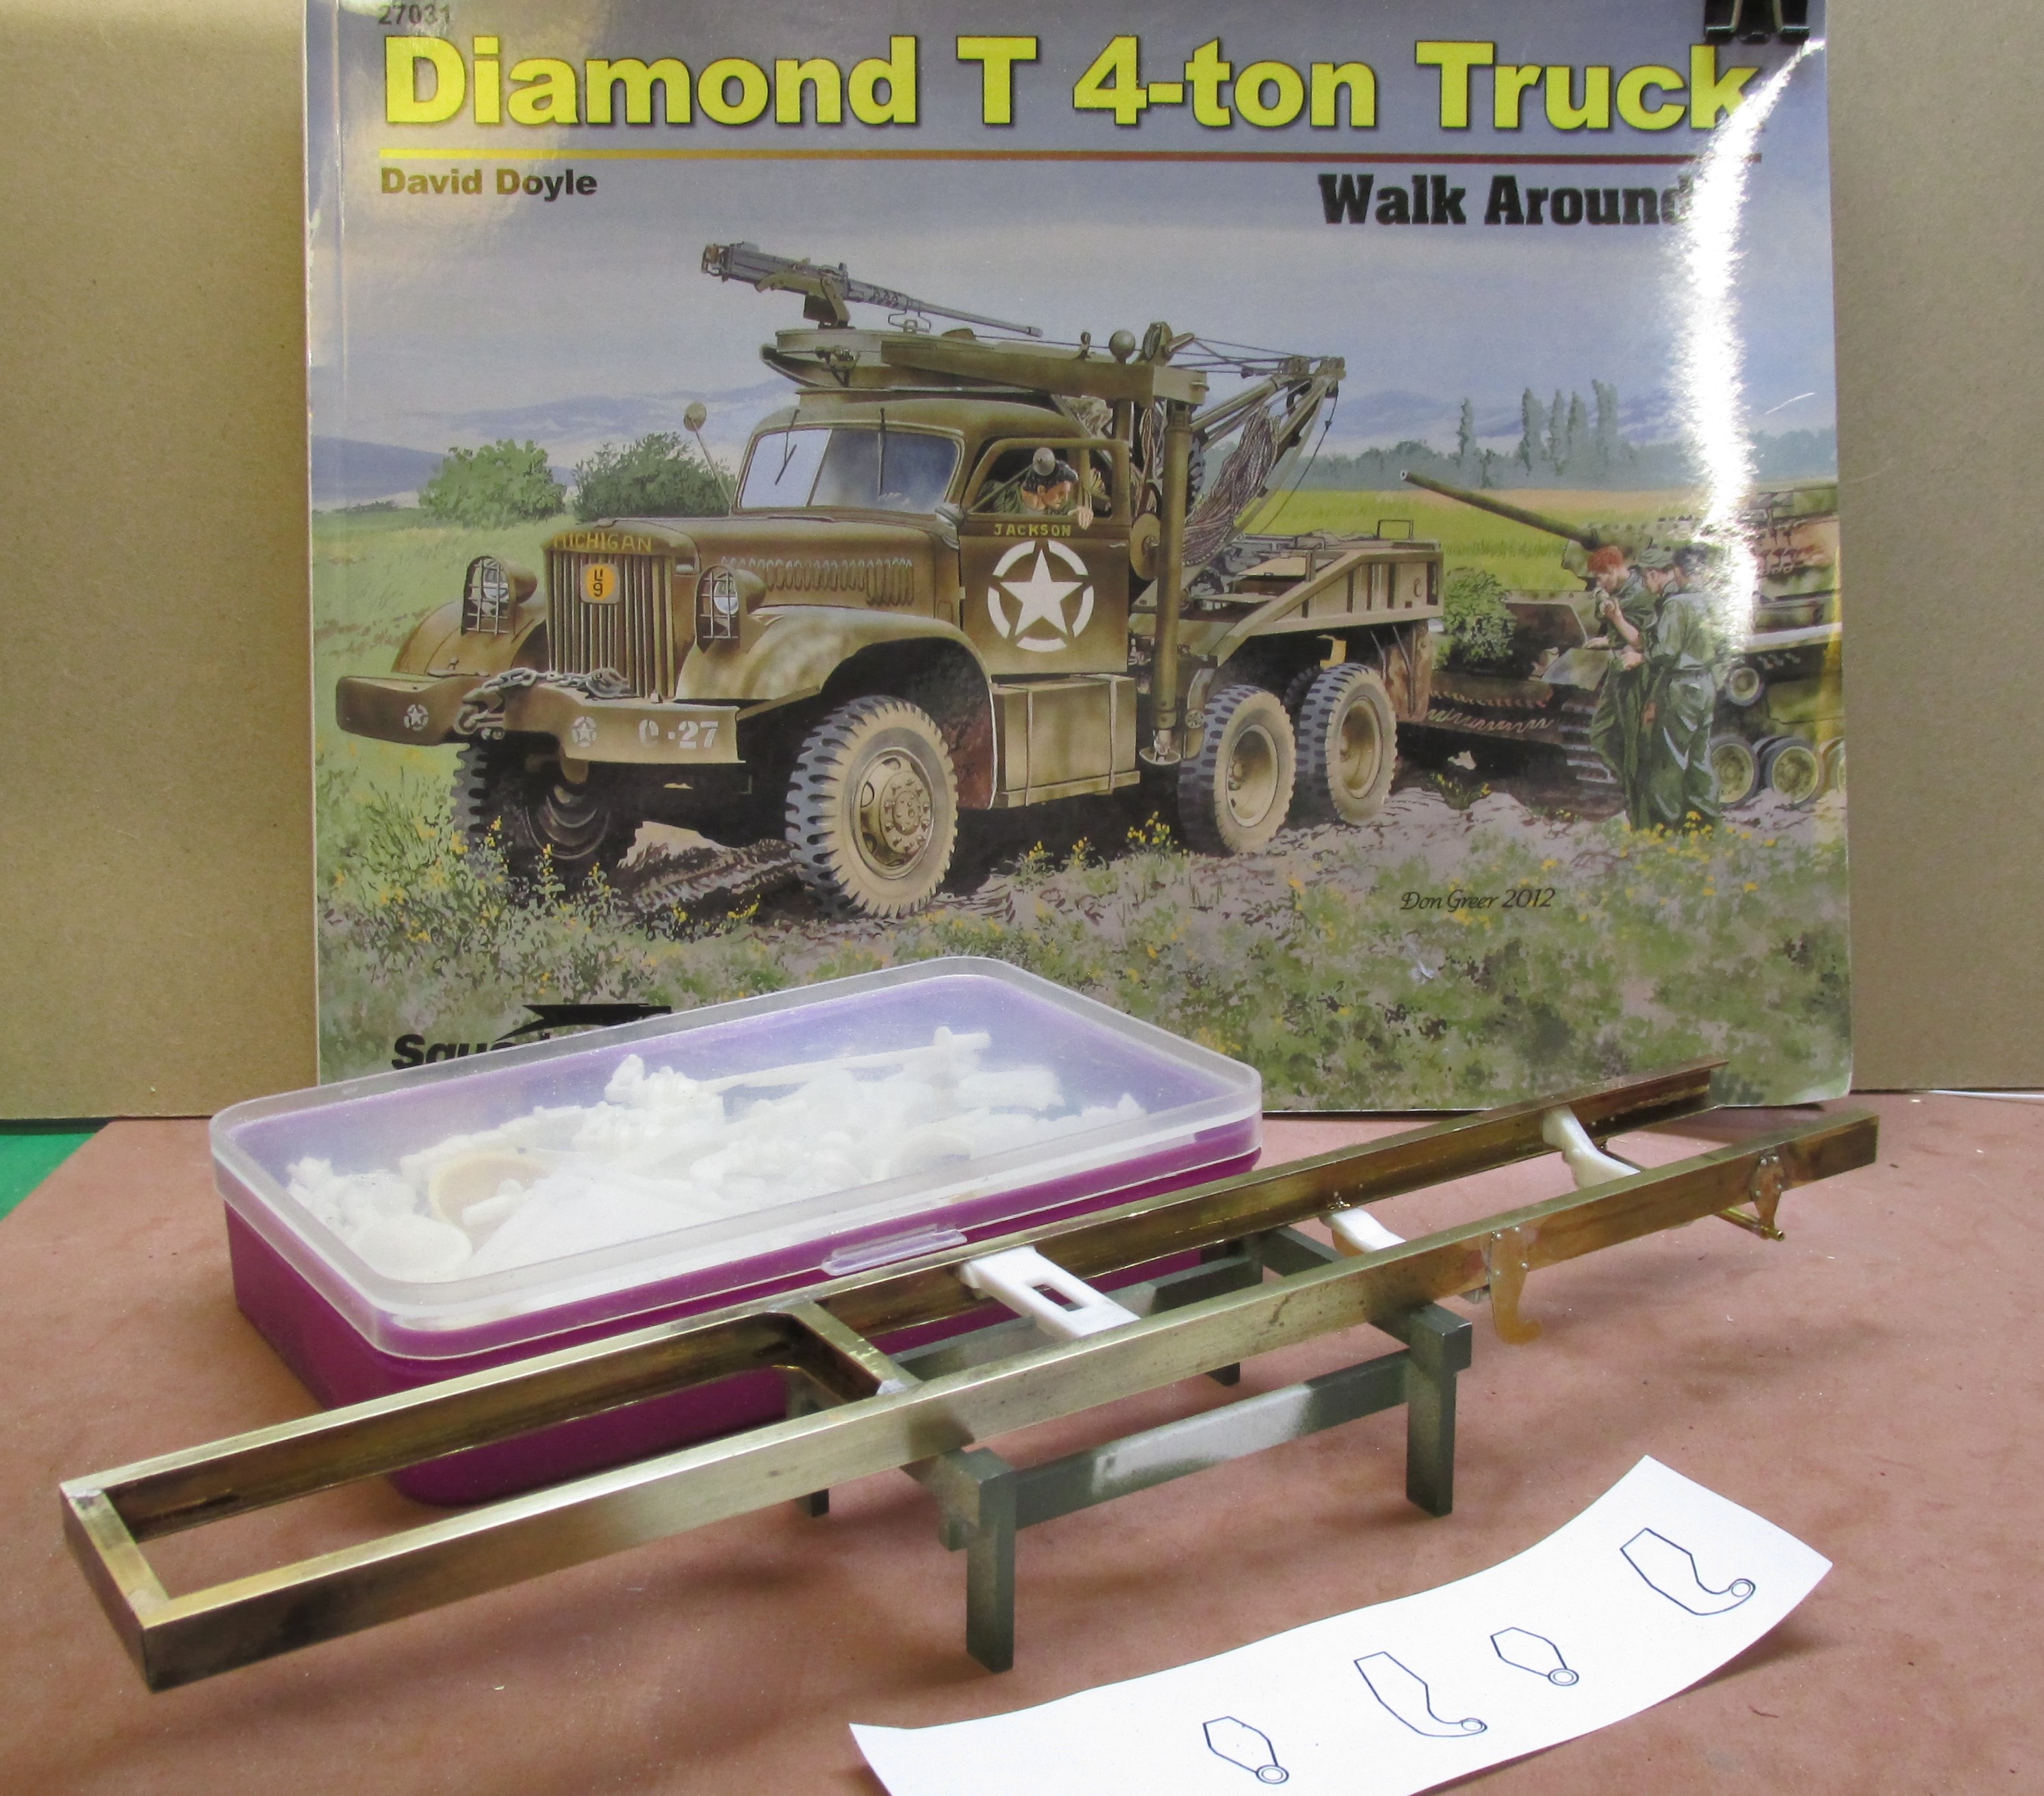
There is a fair amount of study of photos and information such as is contained in the Walk Around book like you see in the photo. The questions to answer revolve around how a certain feature will be built and out of what materials. Right now I am working on the rear tandem setup. Up until yesterday I needed to know how the pivot was built and attached to the frame. I finally came across a maintenance manual that had photos of exactly what I was looking for and will use them to create the parts in brass. I also know where the mounting points will be on the frame because the parts are centered on the length of the wheel base. The front spring hangers are in place so I know where that center will be. From there it is just marking out the length of the wheel base on the frame and holding everything to it.
I'll try and include some added information as the project moves along.
-
 1
1
-
-
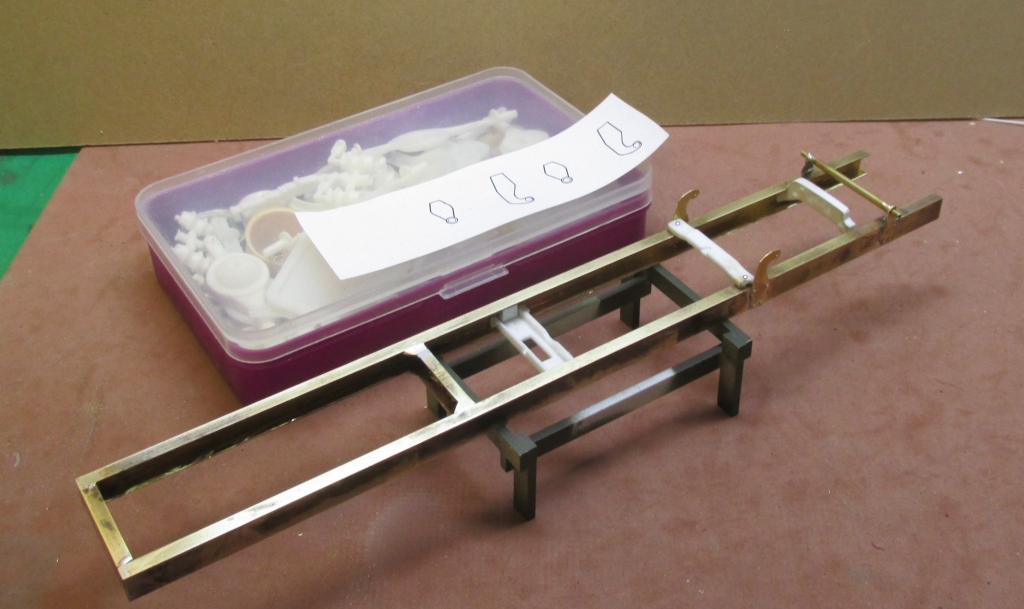
This will become the latest project to build. It's been on my mind for a while now but was put on the back burner until the modeling juices were re-energized. So the frame has been started. Completed since this photo was taken is the main frame bracket for the tandem rear axles. Will be making a trip to the LHS to get some strip brass for the springs. Front springs are 49" long and 3" wide. Rears are 4" wide and roughly 51" long. Since I work at 1/25 scale, metric measurements come in handy so I will be looking for 3mm and 4mm strip stock.

-
Looking pretty nice, Greg! Will it haul a fire tanker trailer? (Just wondering😎)!
-
Johnny: It's done on a graphics program and then sent to the special printer for decals. Micrographx which is now owned by Corel, I think, is what I use. It is vector based which means all of the line work is smooth and not pixelated like it would be if you tried to do designs in Windows Paint.
-
4 hours ago, Johnny M said:Sweet! Love the two-tone green and black.
How did you do the door signs -- or did you find them in your door sign drawer?
")
Also, that doesn't look too big, maybe 1:43 or 1:50? That's my favorite size range.
Johnny
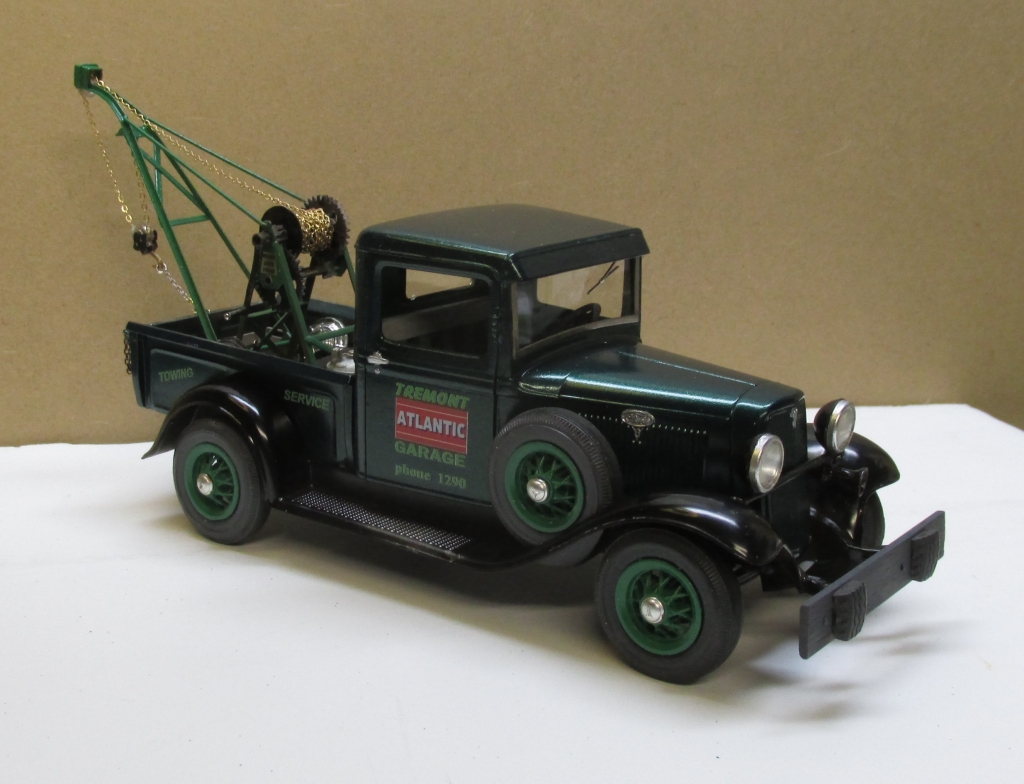
All of the signage are decals done on my computer and ALPS printer. The model is 1/25 scale. Remember that these vehicles were very small in comparison to today's big pickups. Basically the same size as a Model A Ford.
-
It does function, Vince. I bought a set of gears and found large and small ones that had the same tooth arrangement. I drilled holes in the larger ones and then fitted brass shafts to each one. It took a bit of trial and error fitting to get the gears to mesh well and turn with the hand crank but they worked out well.
-
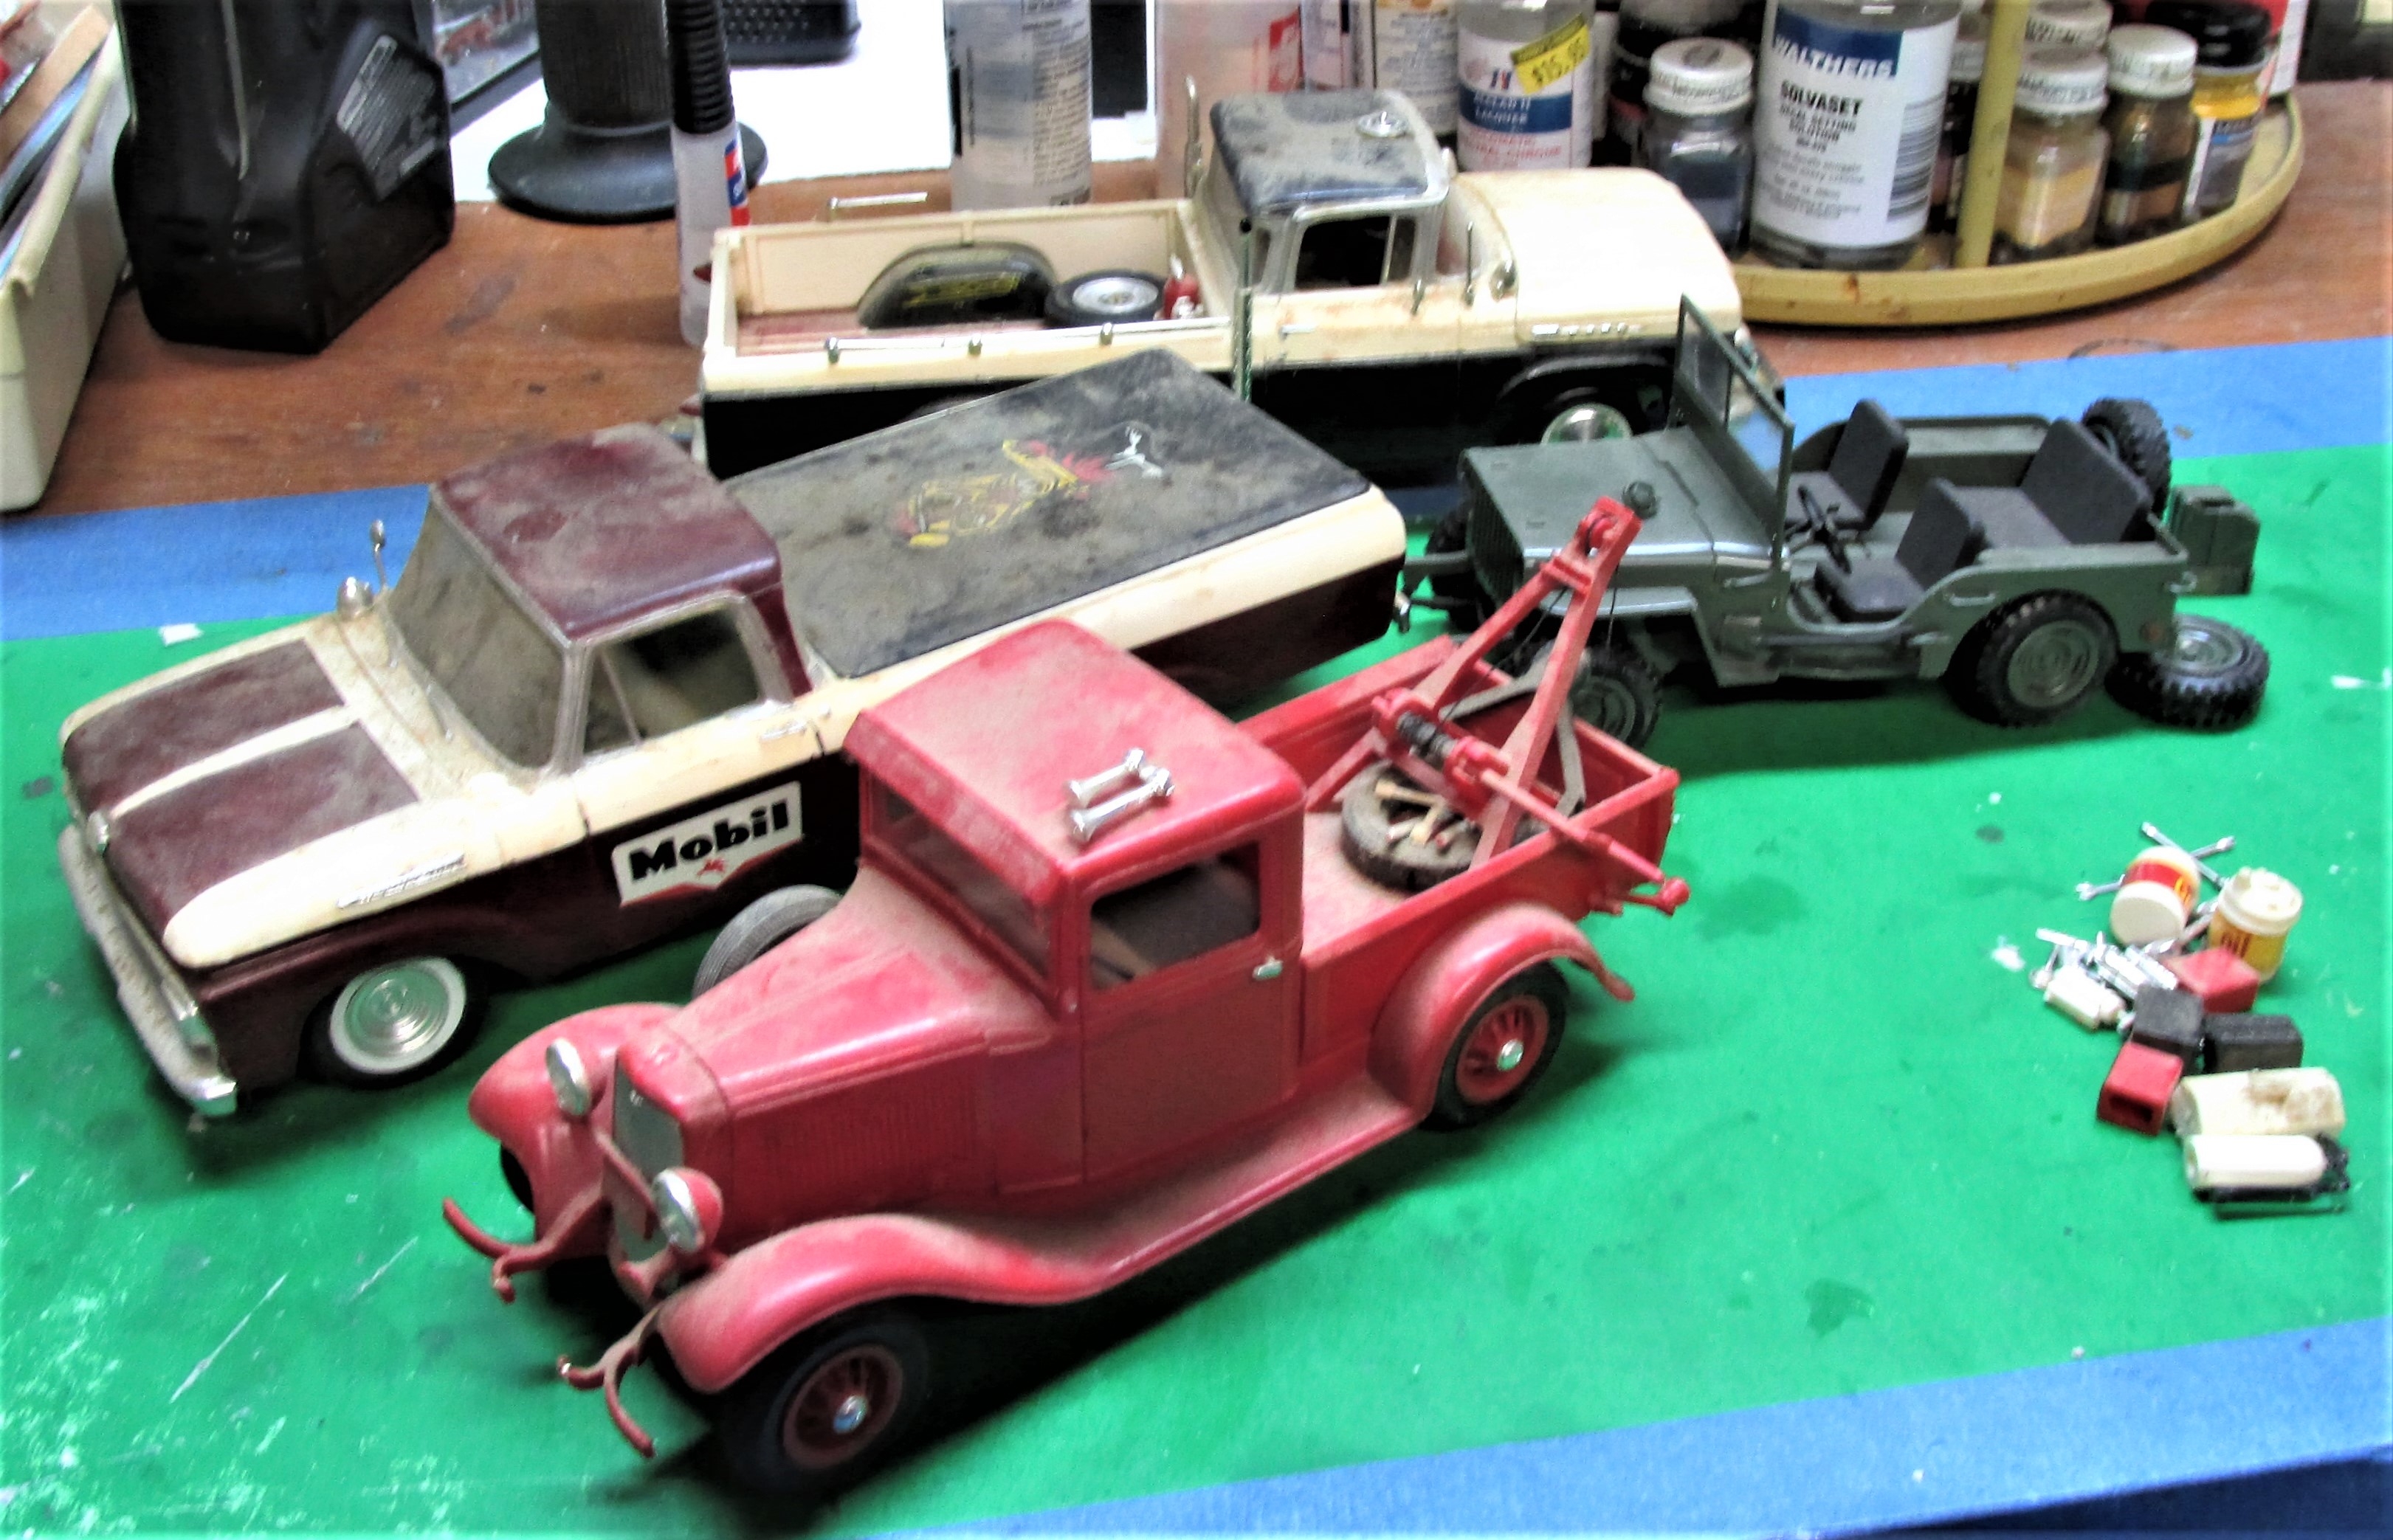
Got this little '34 Ford p/u and the others along side it at the LHS a while ago. Here is what it looked like when I got it home. And below is what it looks like now.


-
Well, that sure is different in a sort of nice way! Not exactly my style of building but I like it!😃👍
-
Nice clean work, Brian. Decals look great!
-
Locktite CA, 2 part epoxy, Gorilla glue, white glue. Whatever the project calls for. Each one has its purpose in modeling.
-
Check out Shapeways, the 3D printer guys. They might have something in your scale.
-
Nice work on a unique piece of trucking! Thanks for sharing.
-
Nicely done, Brian! The dozer is done just right! Plenty of wear and a bit of dirt just where it should be!👍
-
I saw the Glosson and thought they looked familiar. Now I know!!🤣
-
Nice paint combo. I like it!
-
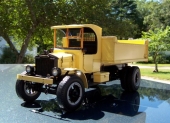
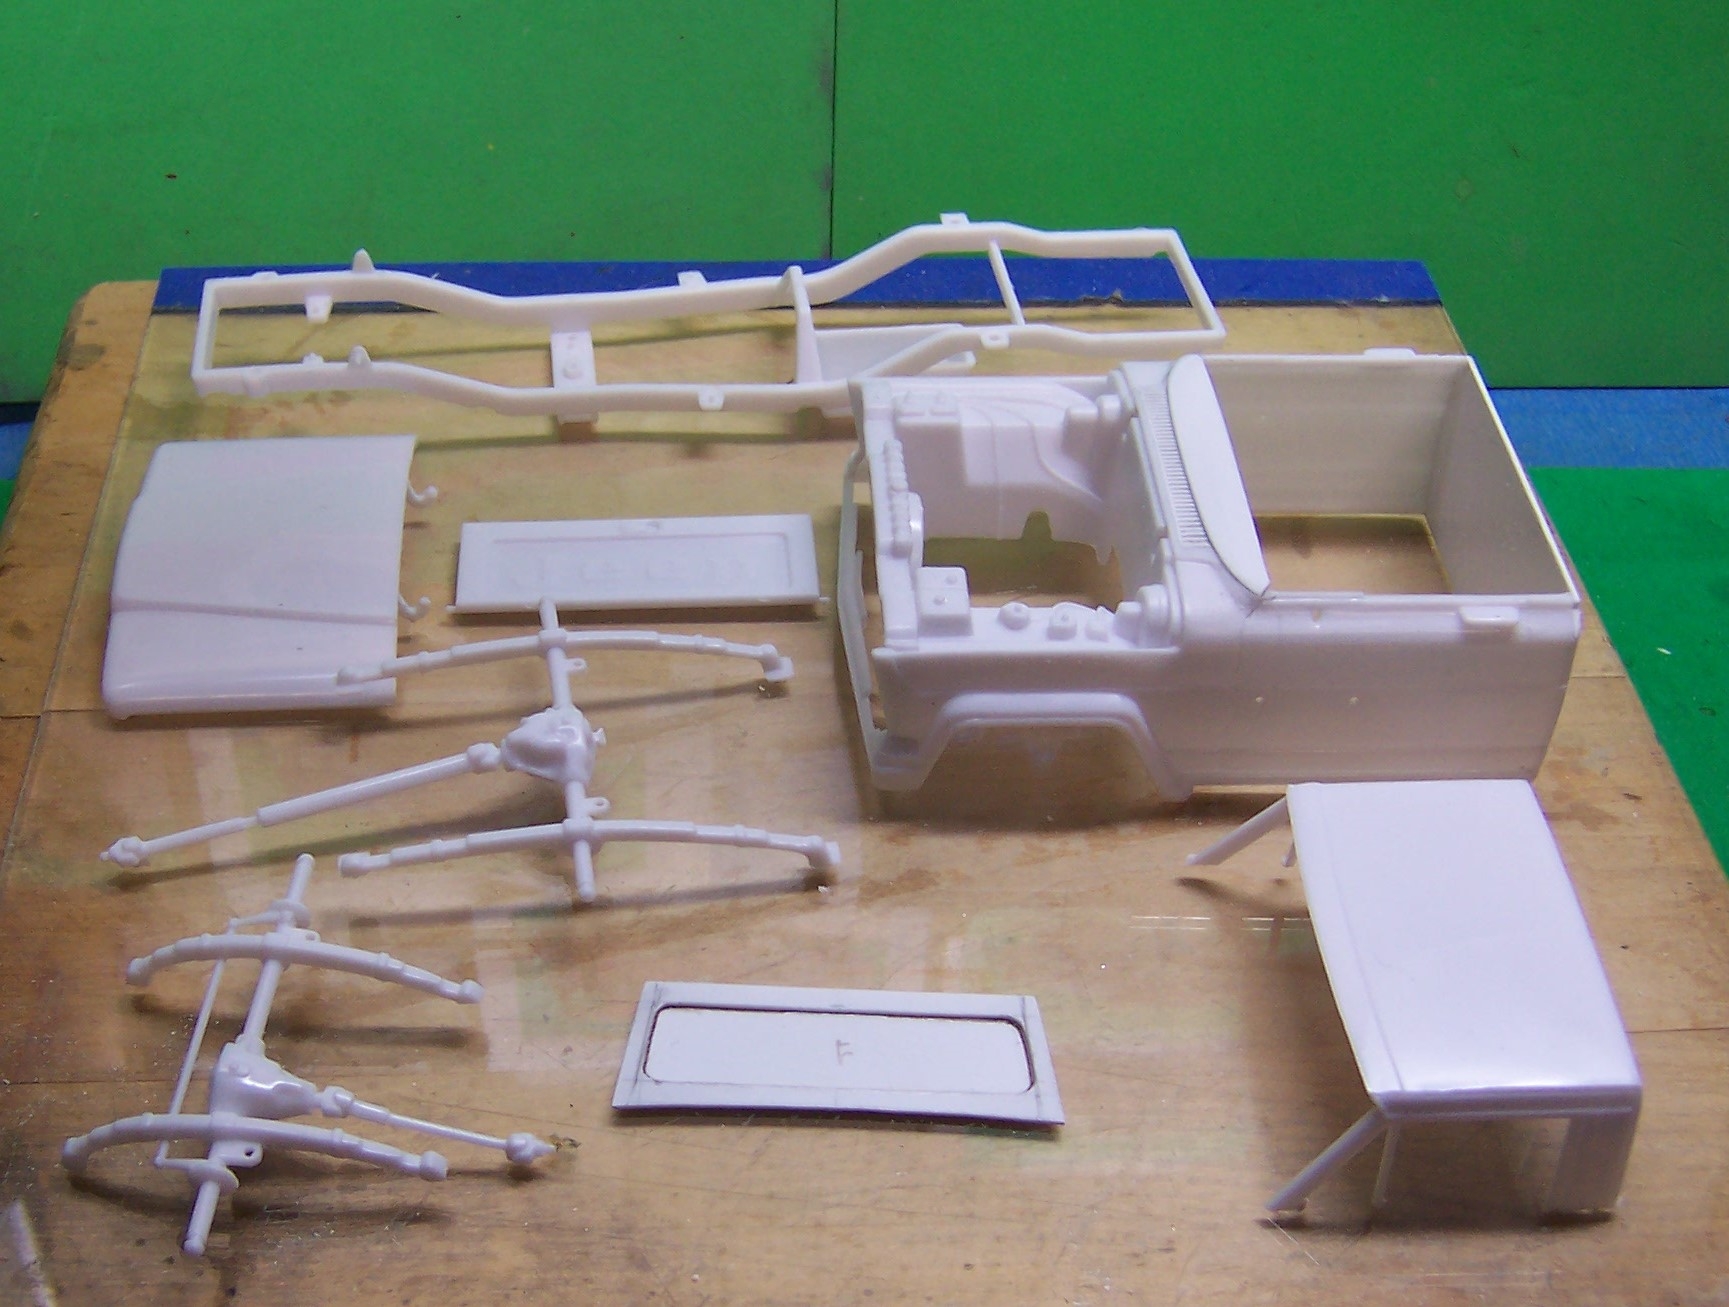
Began this build a few weeks ago. The basics for it came from the Jeep Honcho kit. The M-715, is descended from the M-37 that was used in Korea. But when it was produced with the Tornado OHC 6 cylinder engine it was a poor performer. It was under powered and did not have good overall performance. More than one, as surplus equipment was repowered by other engines such as a Chevy V-8. It had a standard 4 spd transmission. This is just one example.
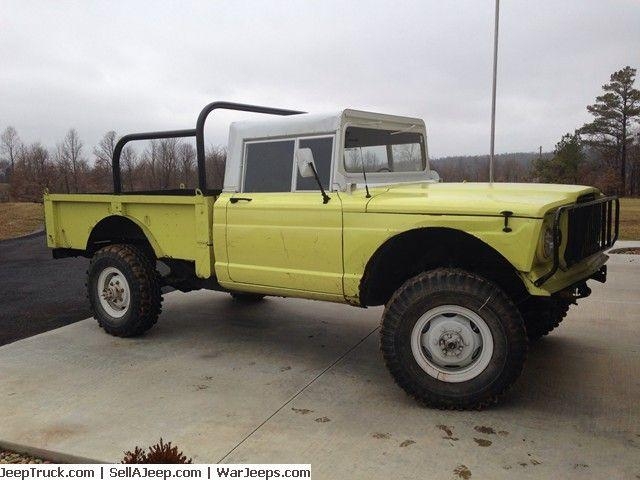
Construction started with the Honcho frame, springs and cab. The top was cut free for the soft top version and the fender wells were reshaped. A new windshield was made of sheet plastic stock and the cowl was modified to remove the cast in windshield wipers.

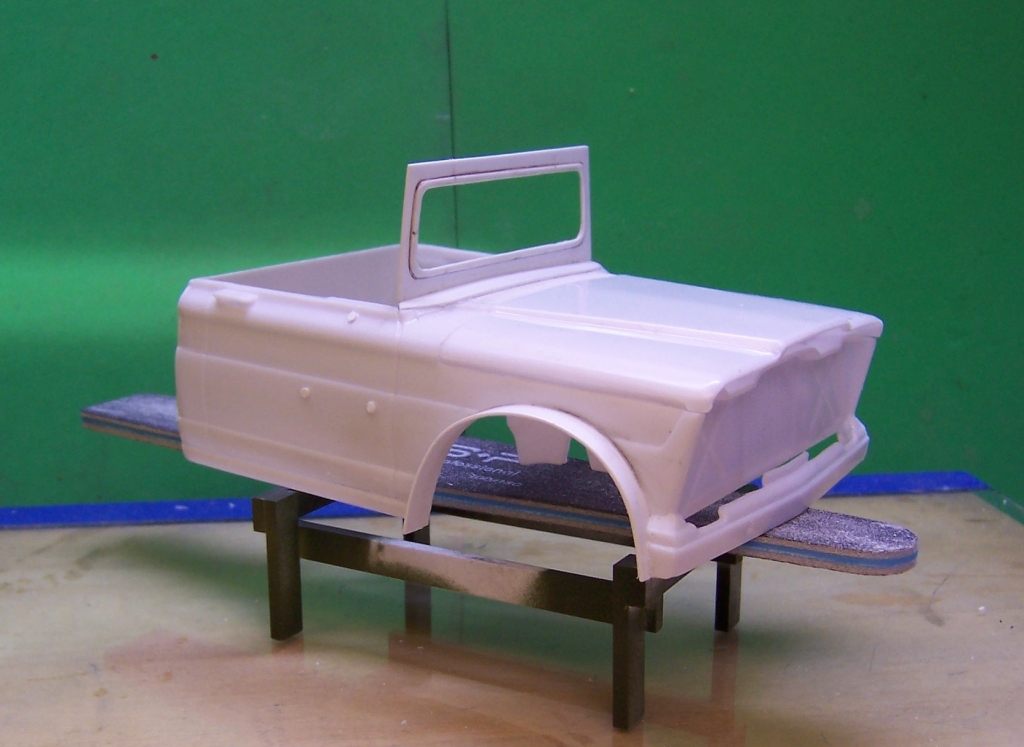
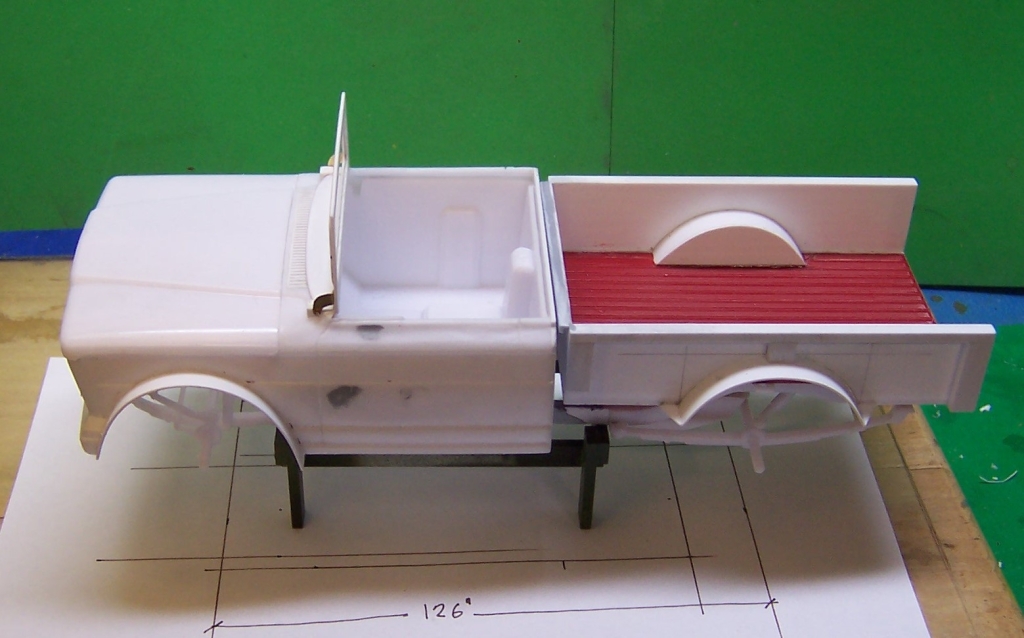
The body was very utilitarian. The interior was taken from a Dodge snap kit and the outside box was built around it.
The engine has been made using a resin cast block and oil pan. Other parts are just bits of plastic stock. Fan belt pulleys were turned from aluminum rod. The fan is made from brass sheet stock and a computer drawn pattern. The air cleaner is from the Honcho kit. A strip of electrical tape makes up the fan belt.
Tires and wheels are resin castings. The original 5 lug pattern was removed and replaced with 6 lugs using wire and fusion beads. The frame for the top is made of square and round solid brass stock soldered together. The top is made of two ply facial tissue soaked with 50/50 water and white glue. The tissue is laid on the frame and the mixture is applied with a brush to let the tissue form itself to the frame.
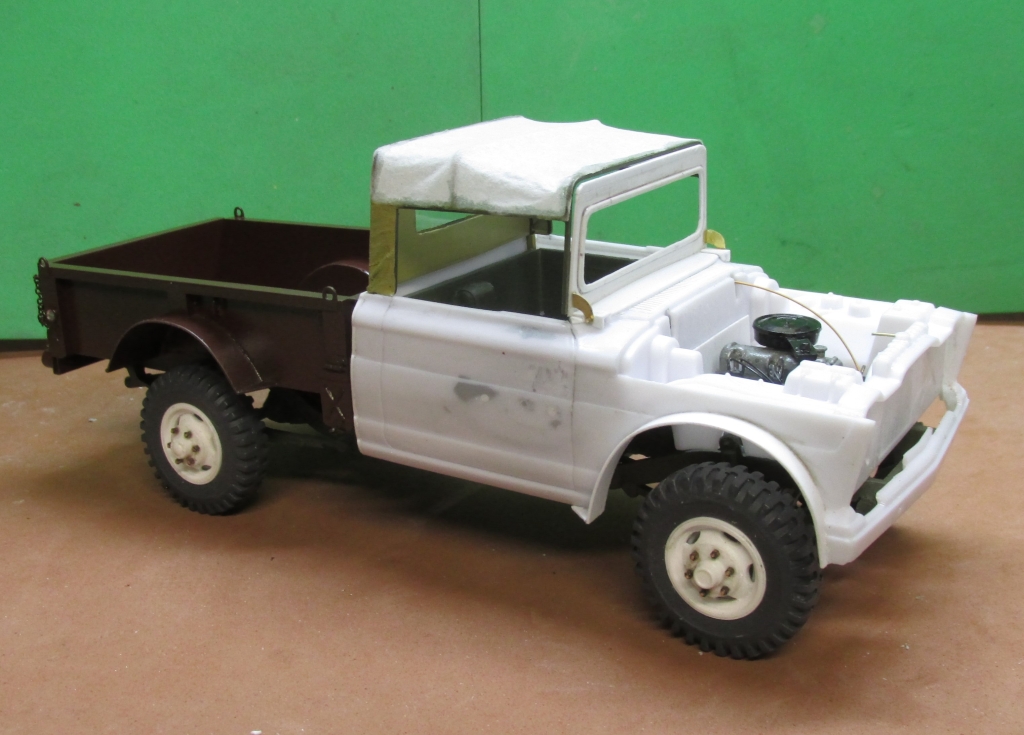
So this is where we are today. Still plenty of work to do.
-
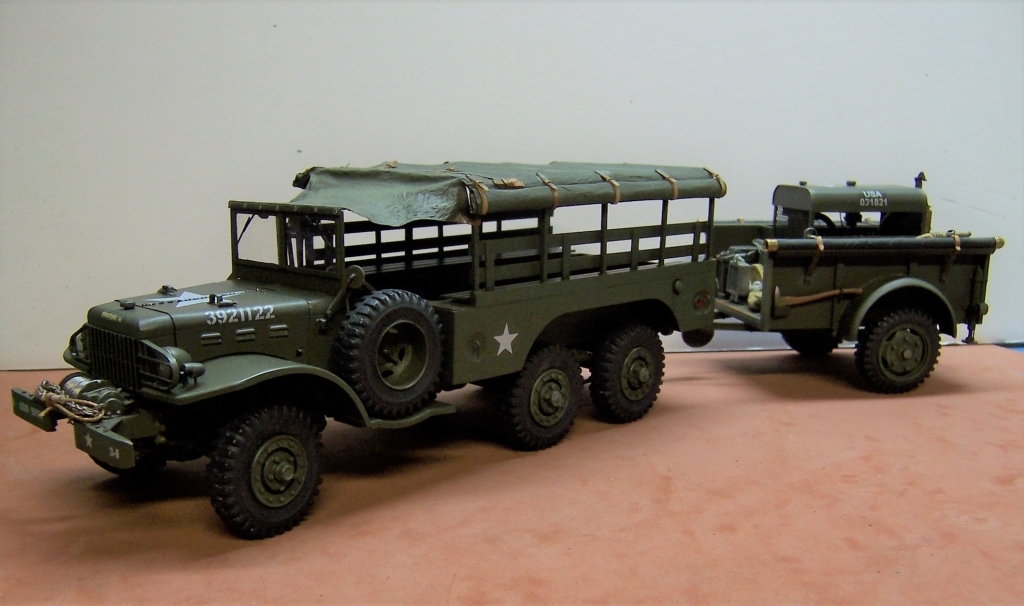
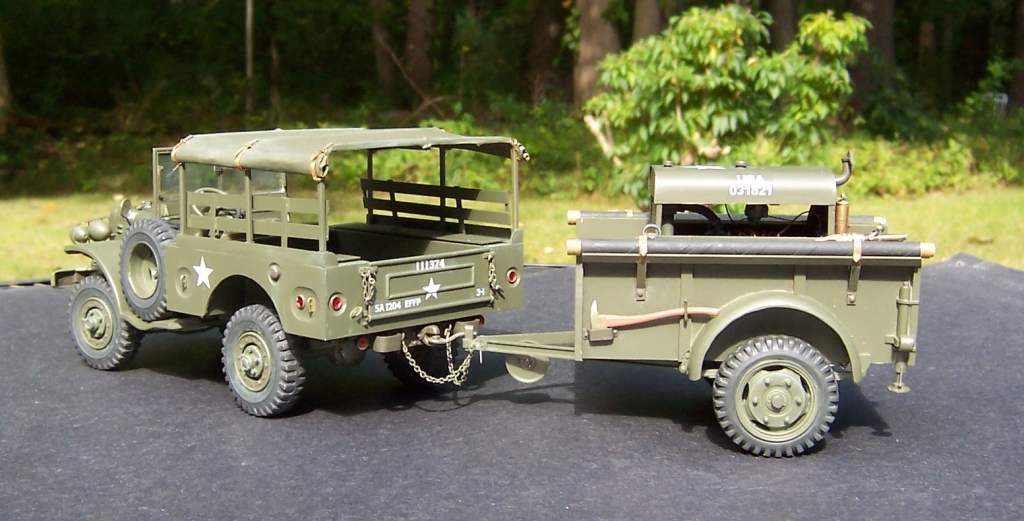
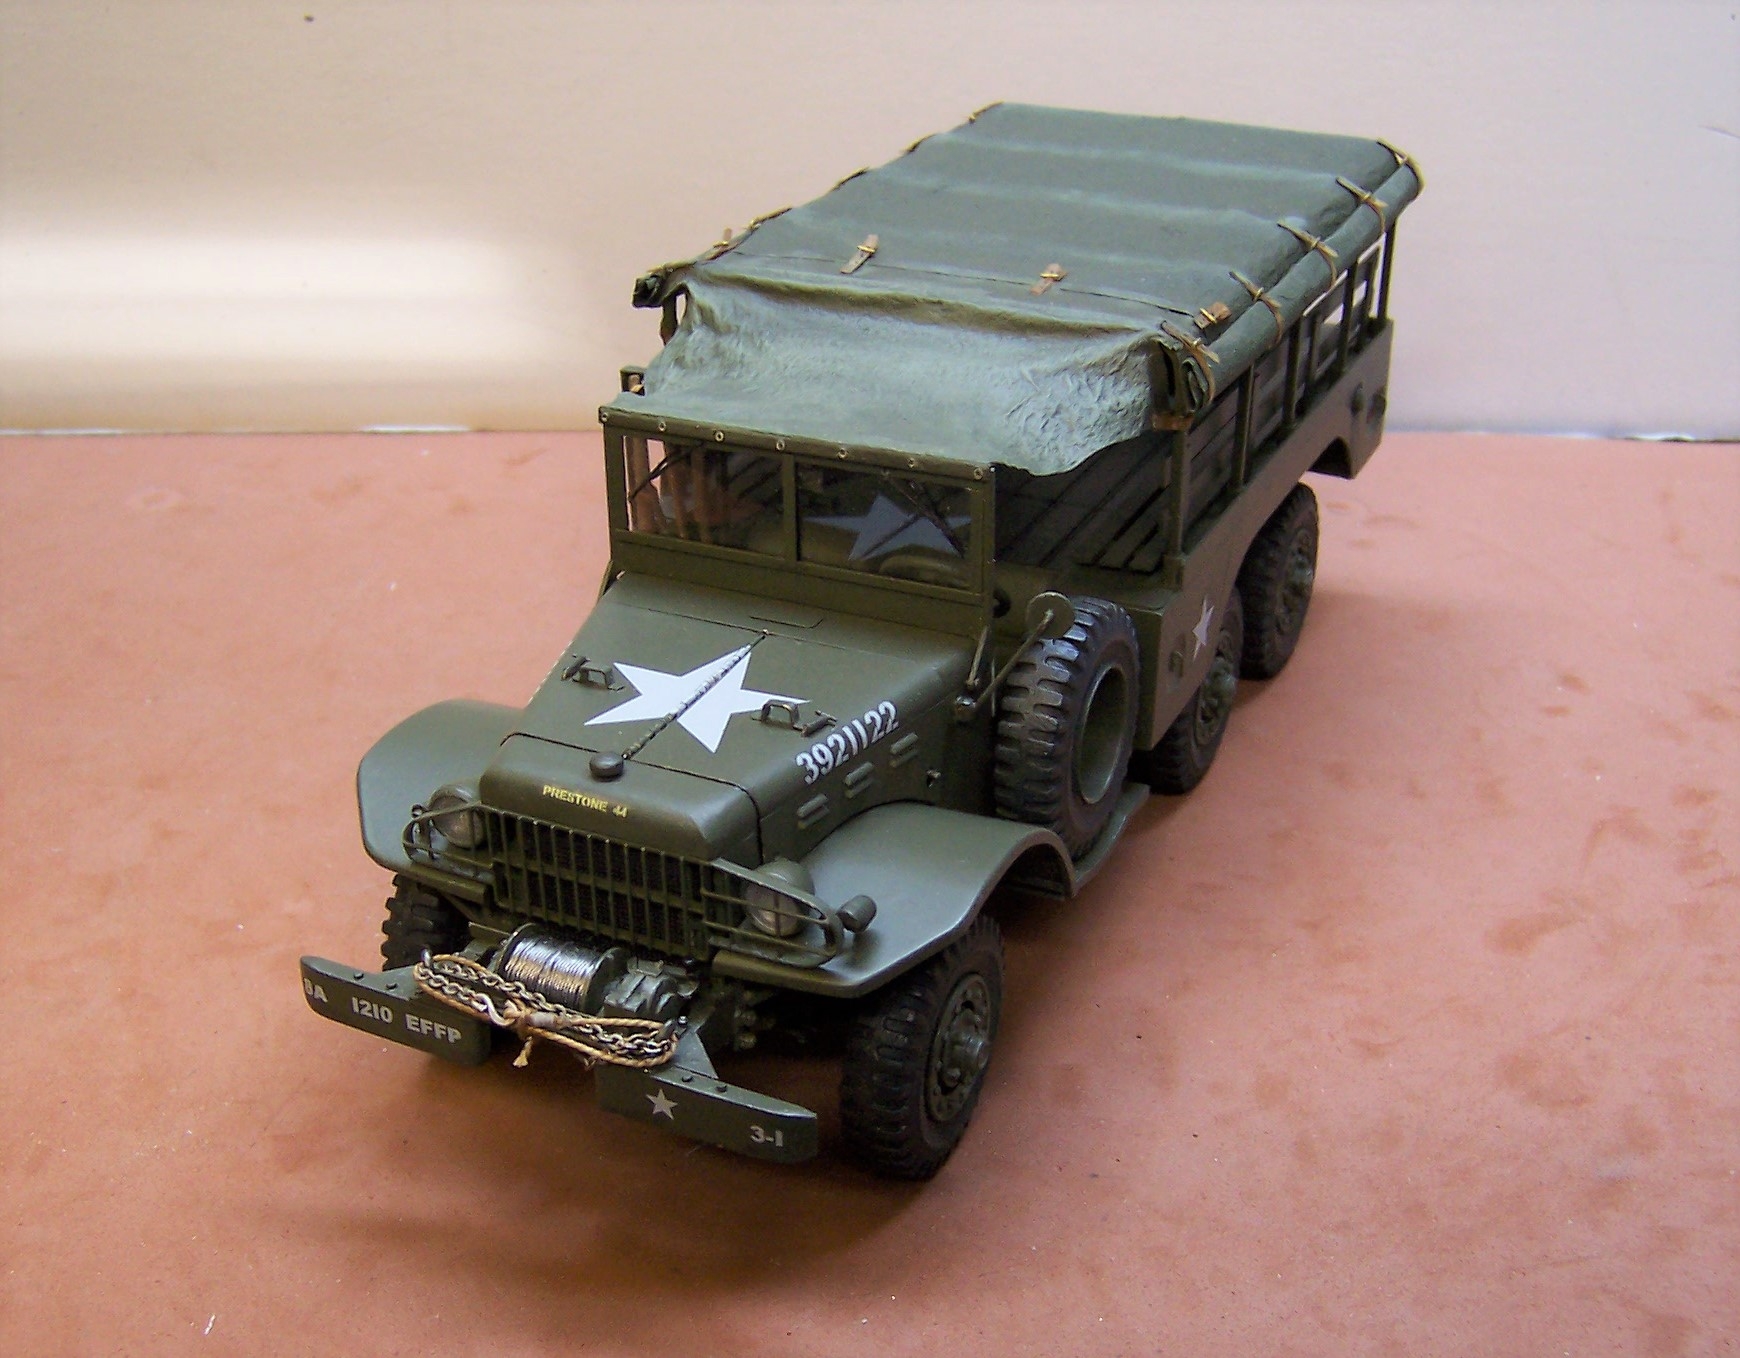
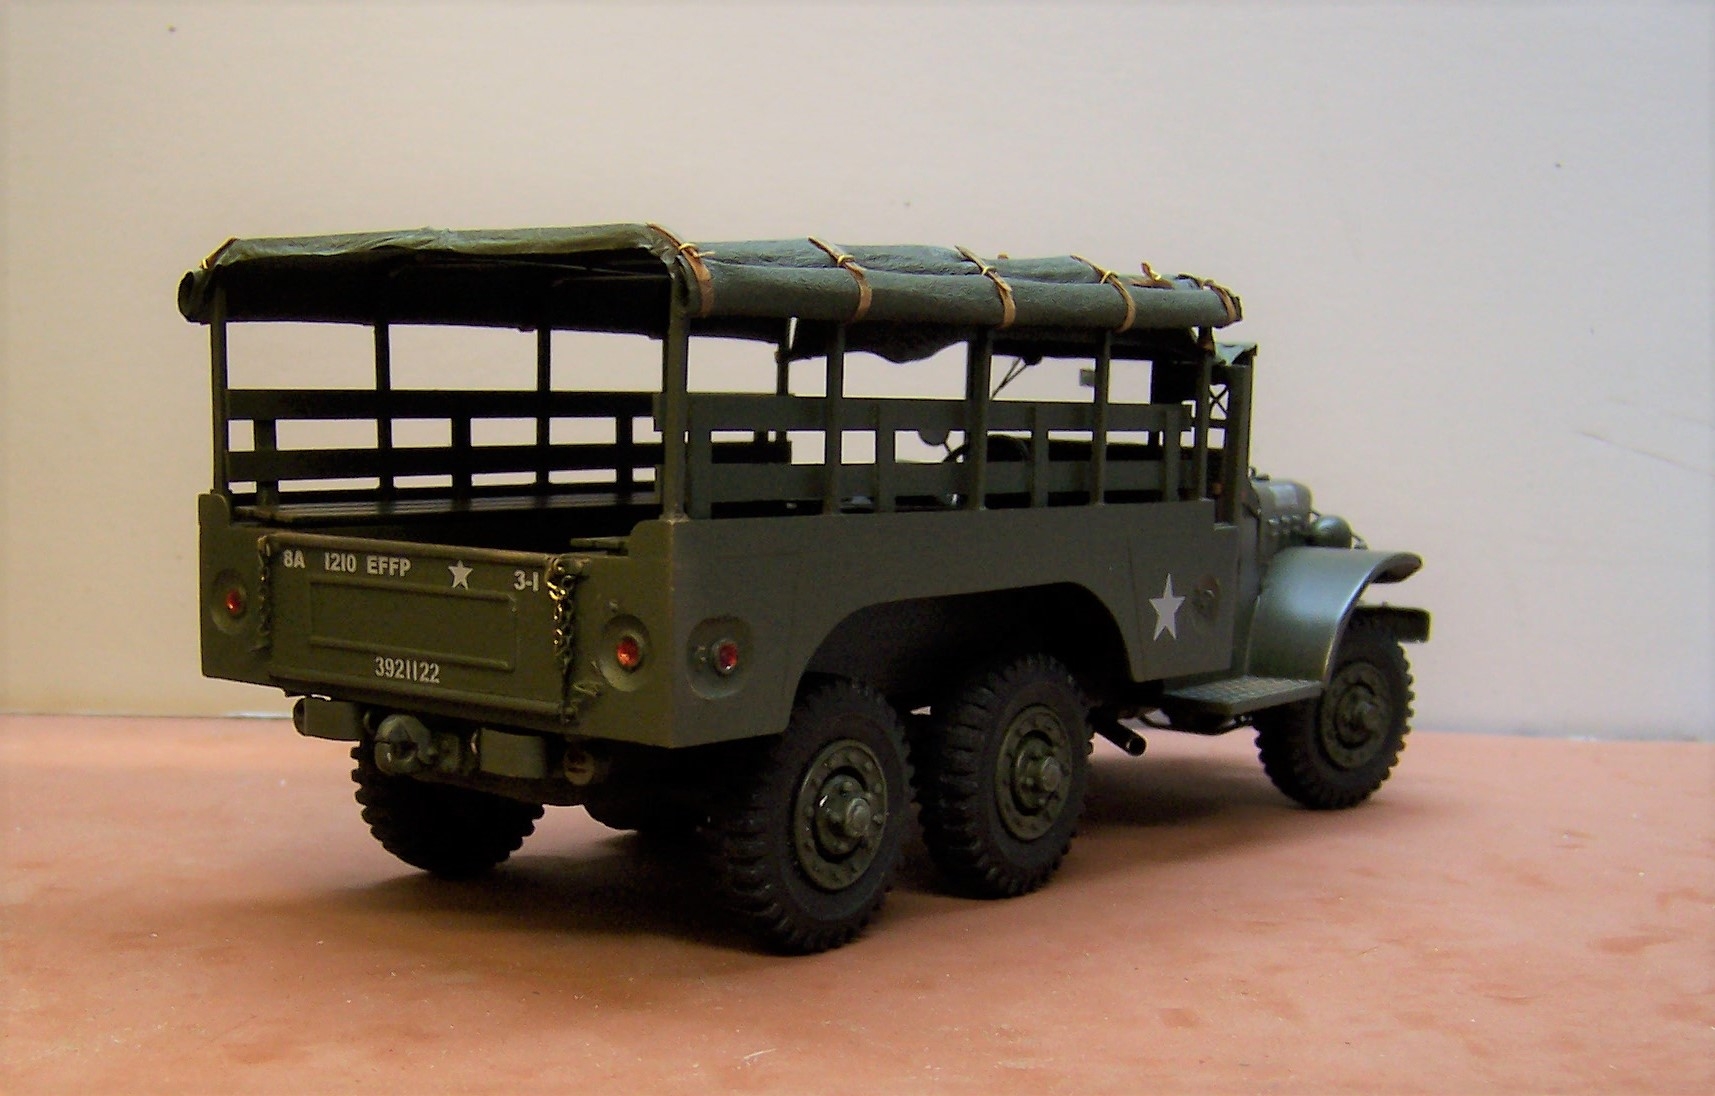
This WC-63 is classified as a 1.5 Ton 6x6 Personnel and Equipment Carrier. Dodge built tons of these for WW-2. This unit is scratch built at 1/25 scale. The trailer pump is the same one I did for the WC-52 project. Both the 52 and 63 were used by fire fighting platoons during the war.


-
I'll be working on the WC-s cousin the WC-63 soon. It will be a 1.5 ton version that is 4 feet longer and had a tandem axle setup for 6x6 drive. Same front end and body style; just longer.
-
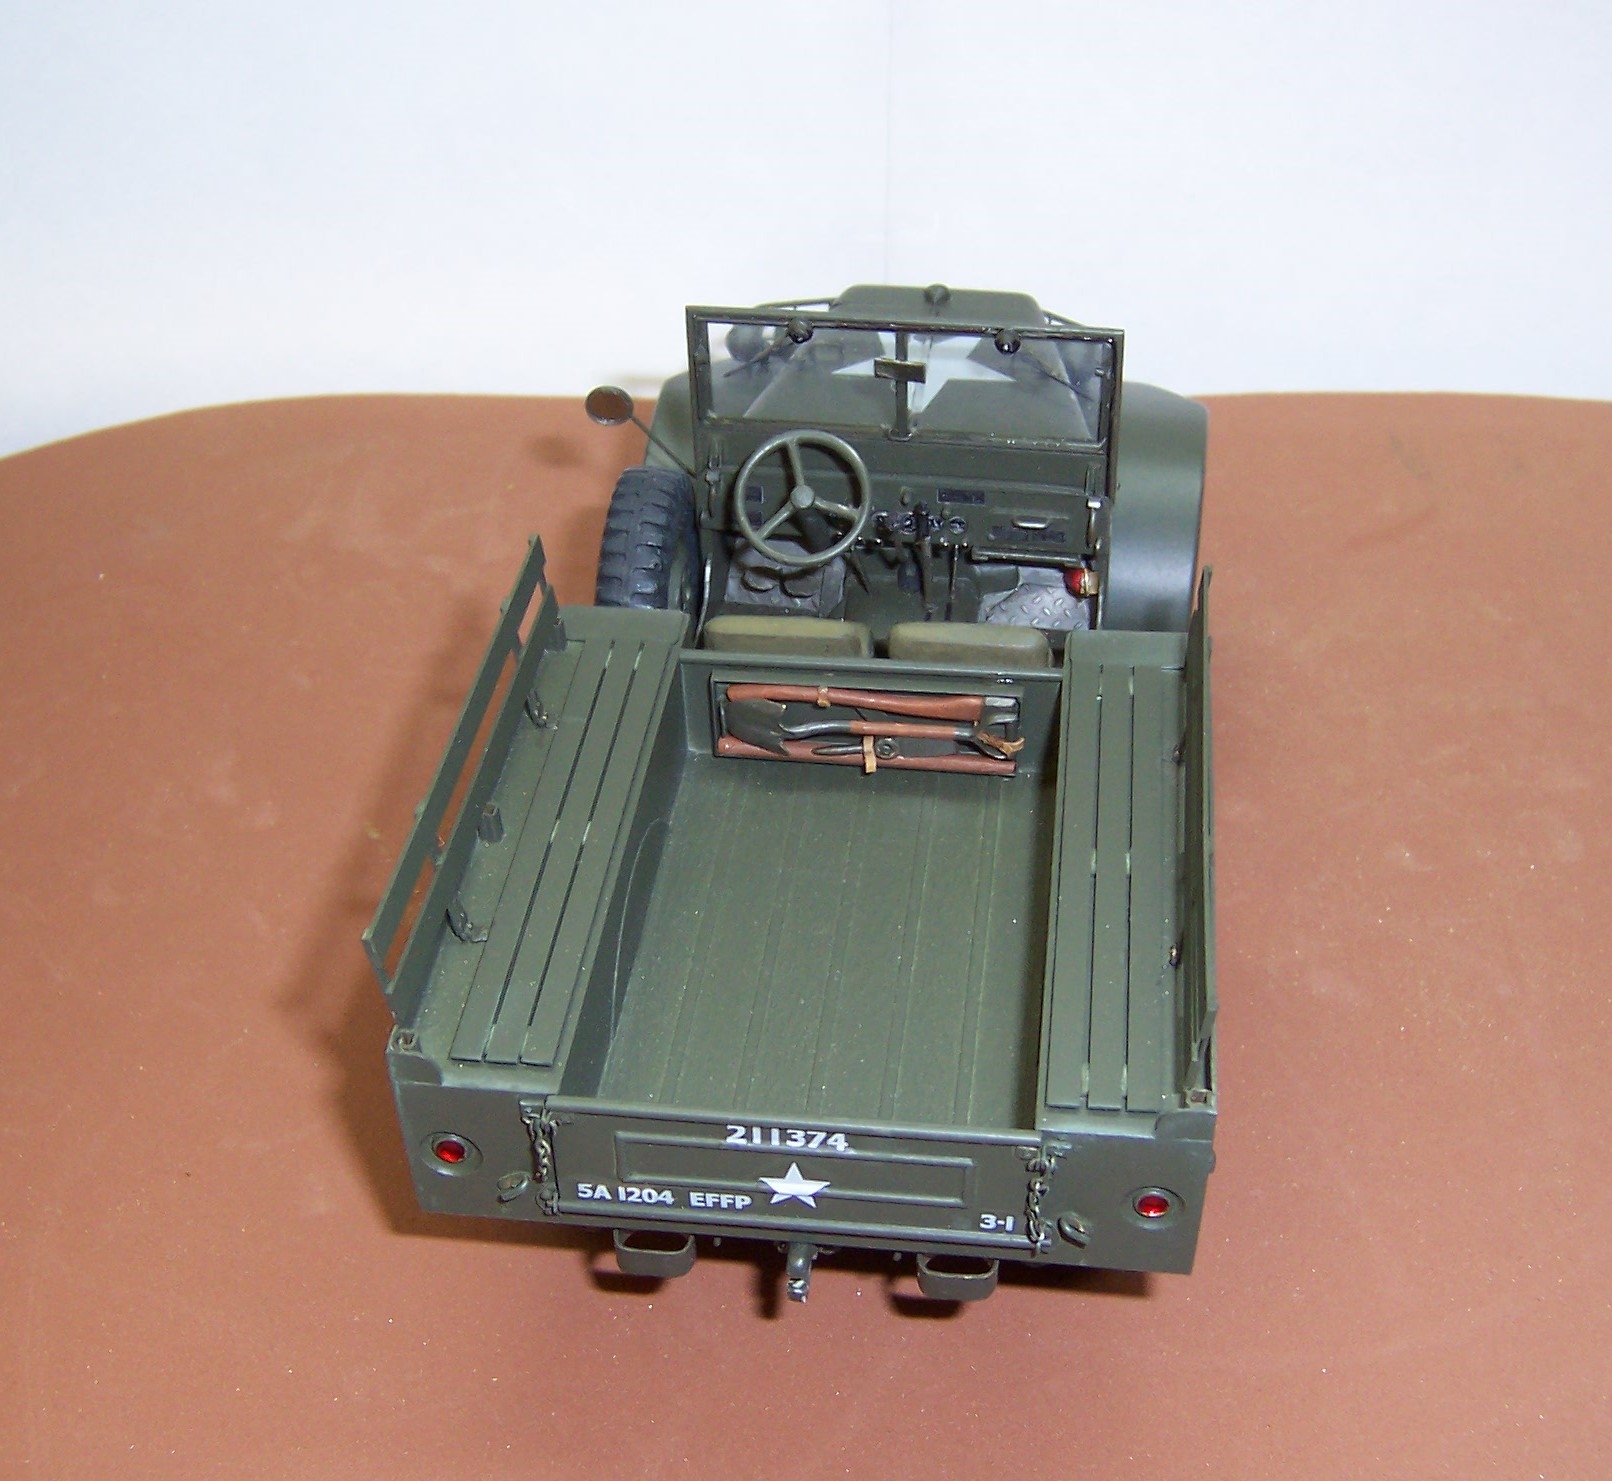
That's a Dodge built T-214 engine, Vince. I had some good pictures of one in a military manual reprint and also a diecast one in a Danbury Mint '41 Plymouth pickup to draw from. The engine is scratch built. Incidentally the same engine is in the WC-52 as well.
-
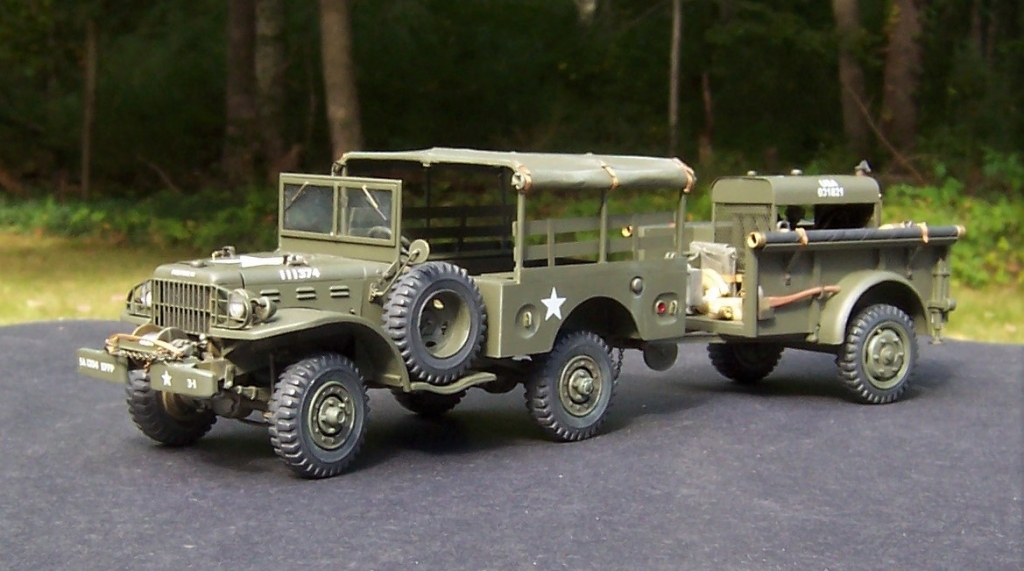
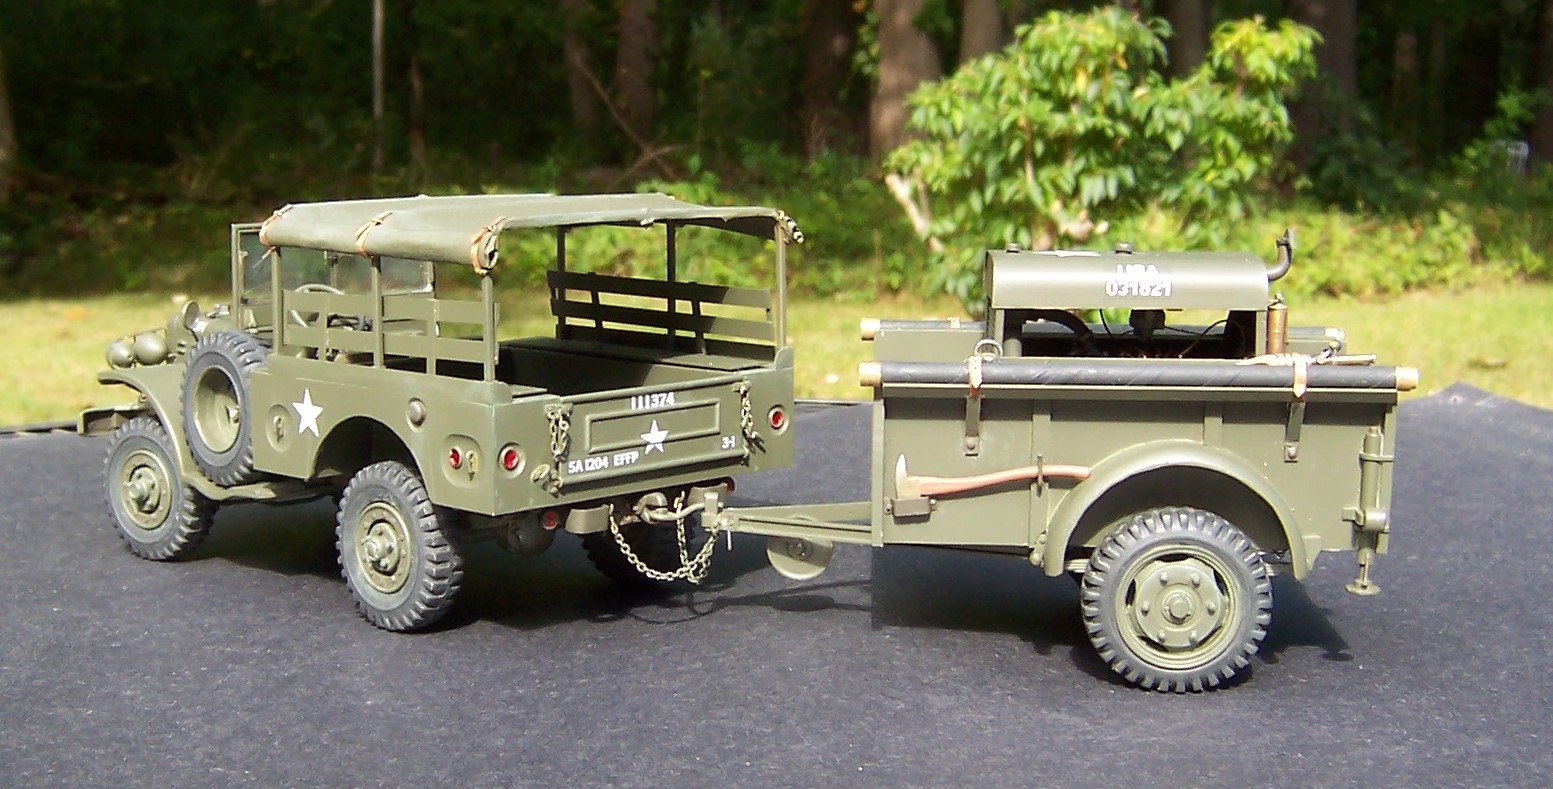
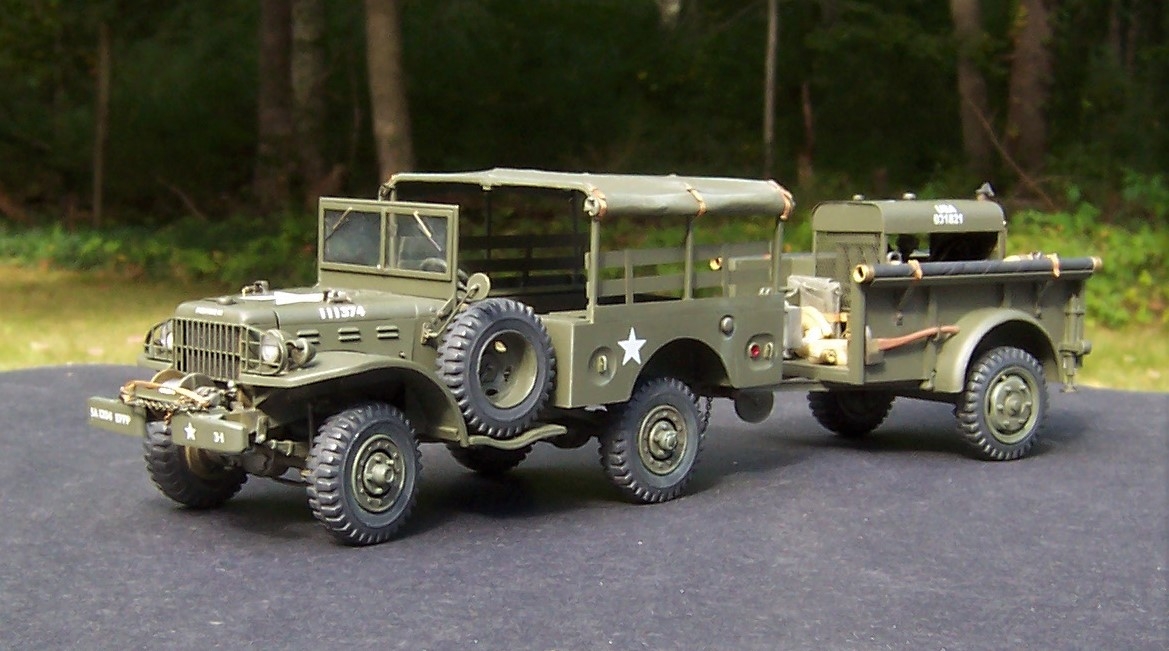
Not exactly a big truck (3/4 ton rating) but they made a lot of these during WW II. Dodge powered the WC-52 was given the task of pulling a fire pump trailer for the fire fighting platoons. It was used for a lot of different roles but this was one. This model(s) is scratch built at 1/25 scale. Most military models are the preferred 1:35 scale but I like the larger size in keeping with the other builds I have done. Between the truck and the trailer there are about 200 scratch building hours into them. One of the photos shows a different number on the truck hood and tailgate. That's because I changed it during the latter part of construction.

-
Hey Brian. I love the pix above. The hood came out great. Thanks for sharing!


IH Paystar 5000 4x4
in Model Truck Workbench
Posted
I see that Dodge in the background. Still lookin' good!!👍