
Cornbinder
-
Content count
409 -
Joined
-
Last visited
-
Days Won
67
Posts posted by Cornbinder
-
-
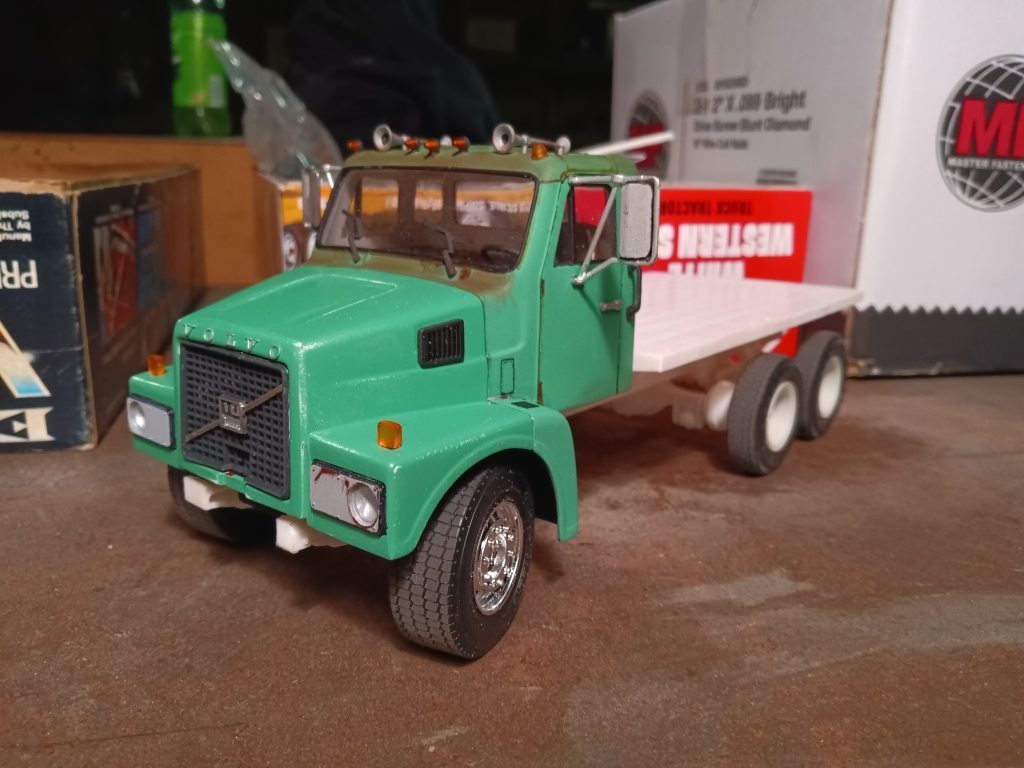
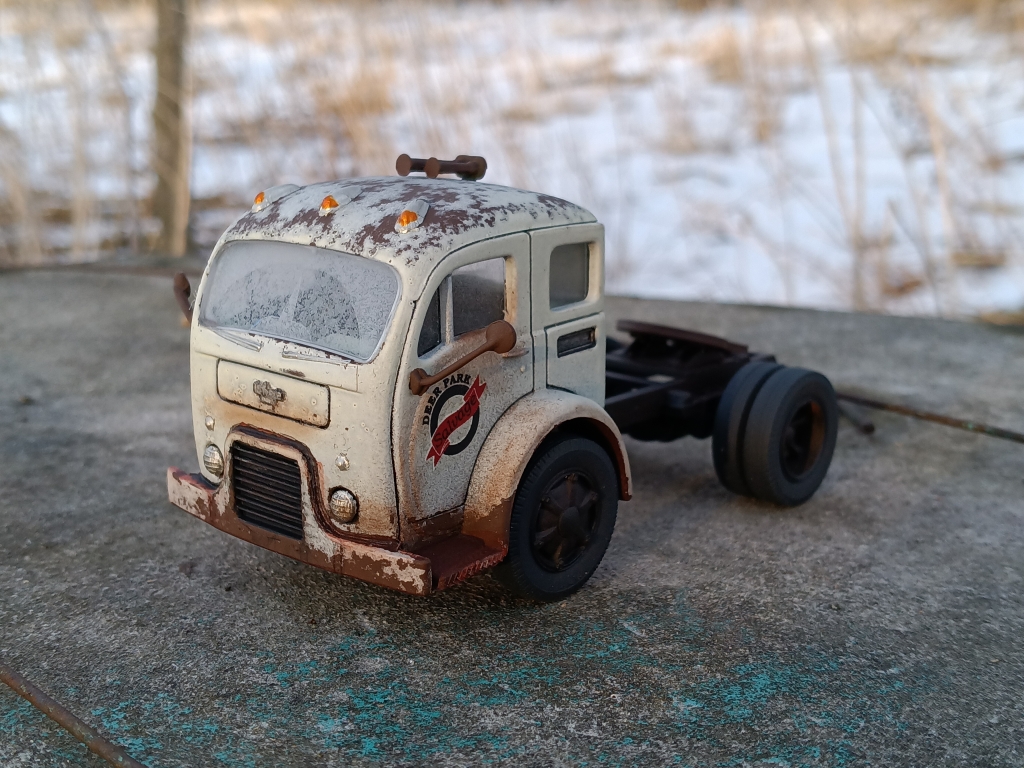
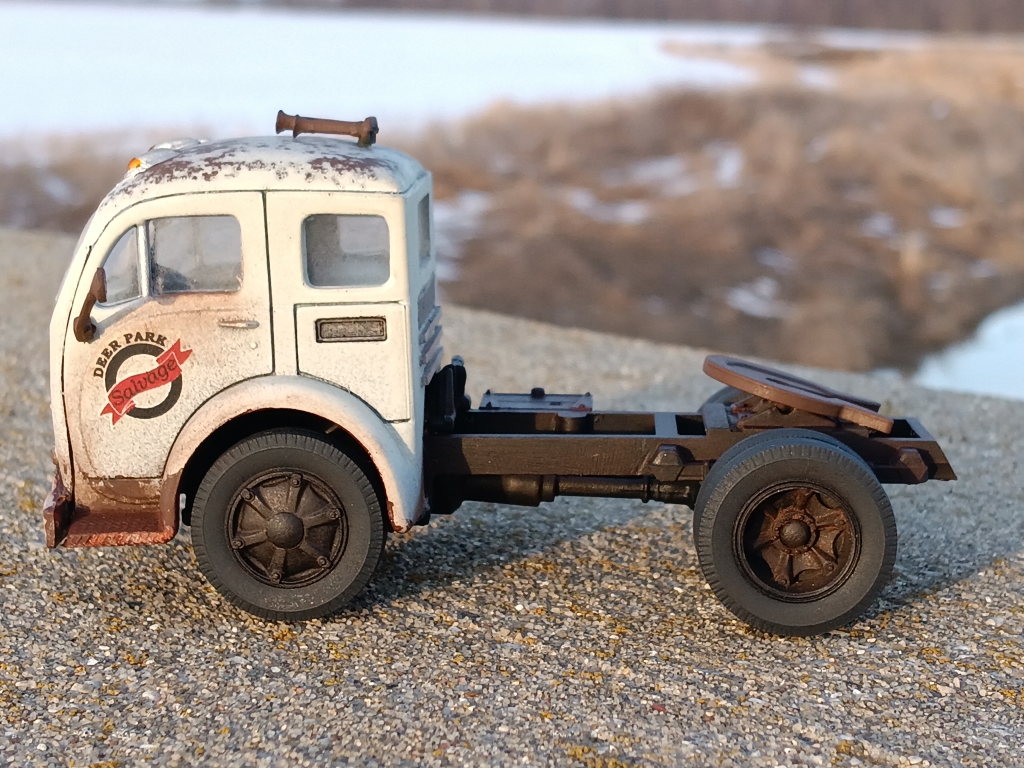
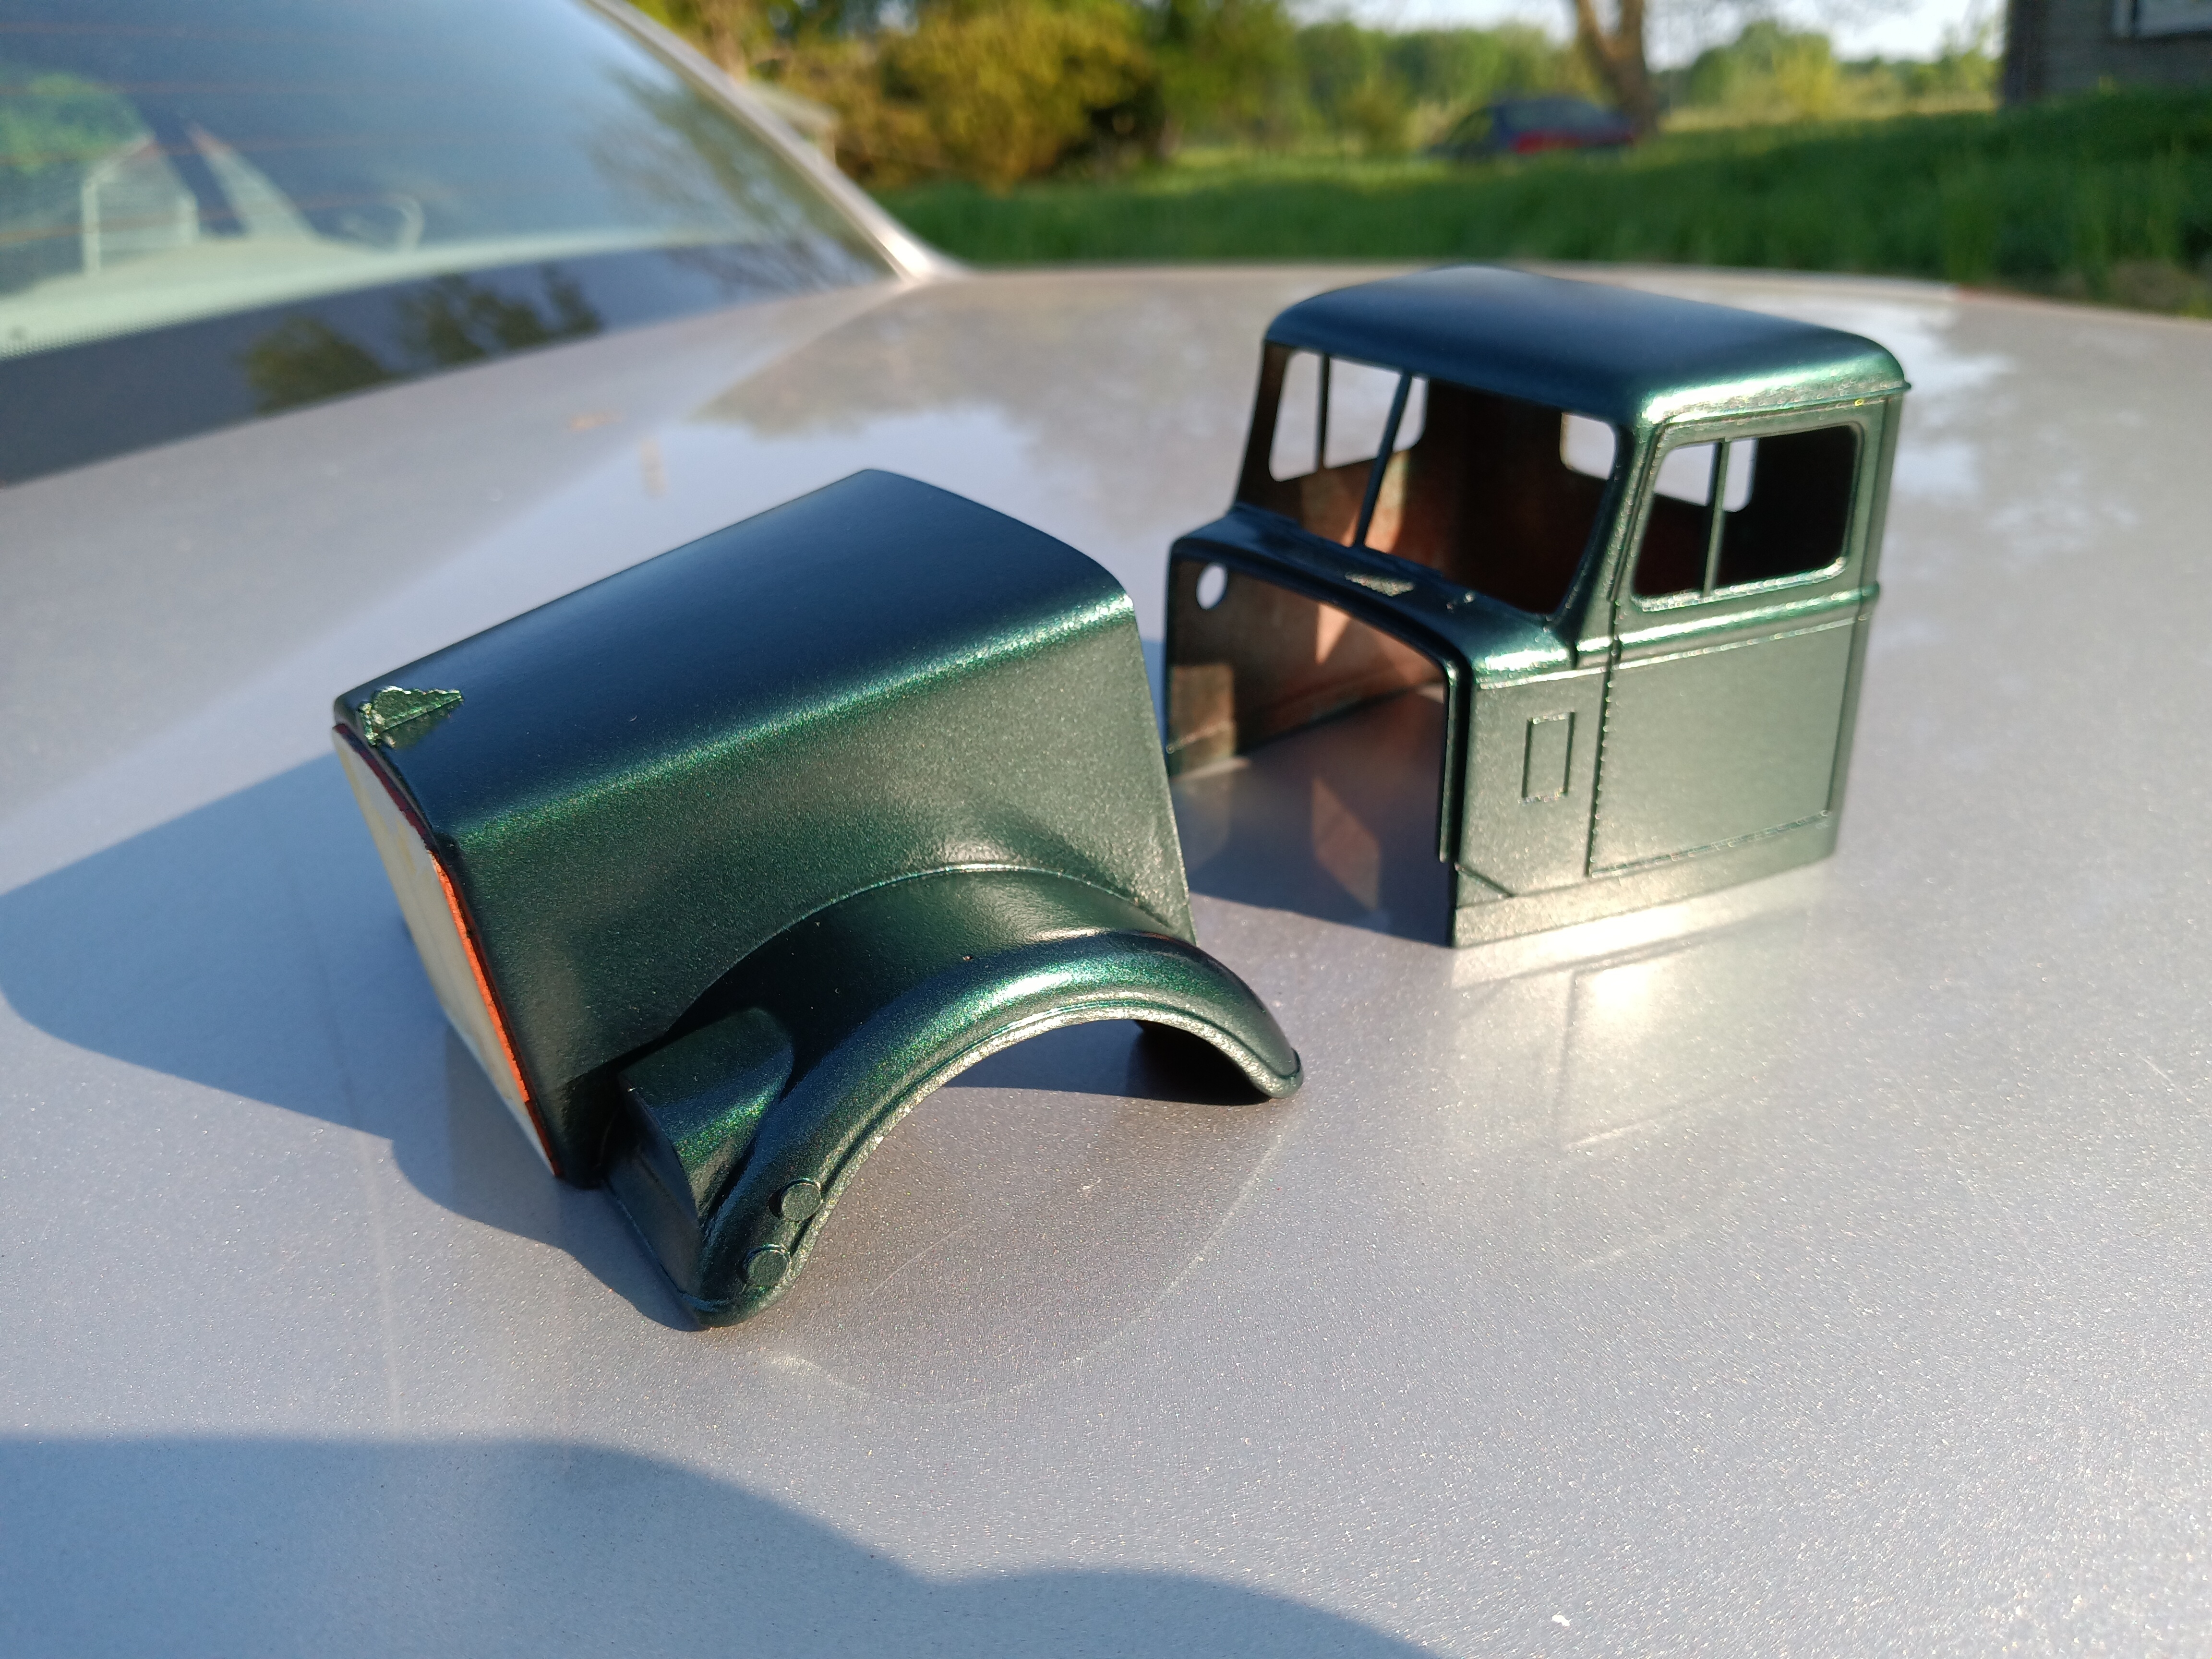
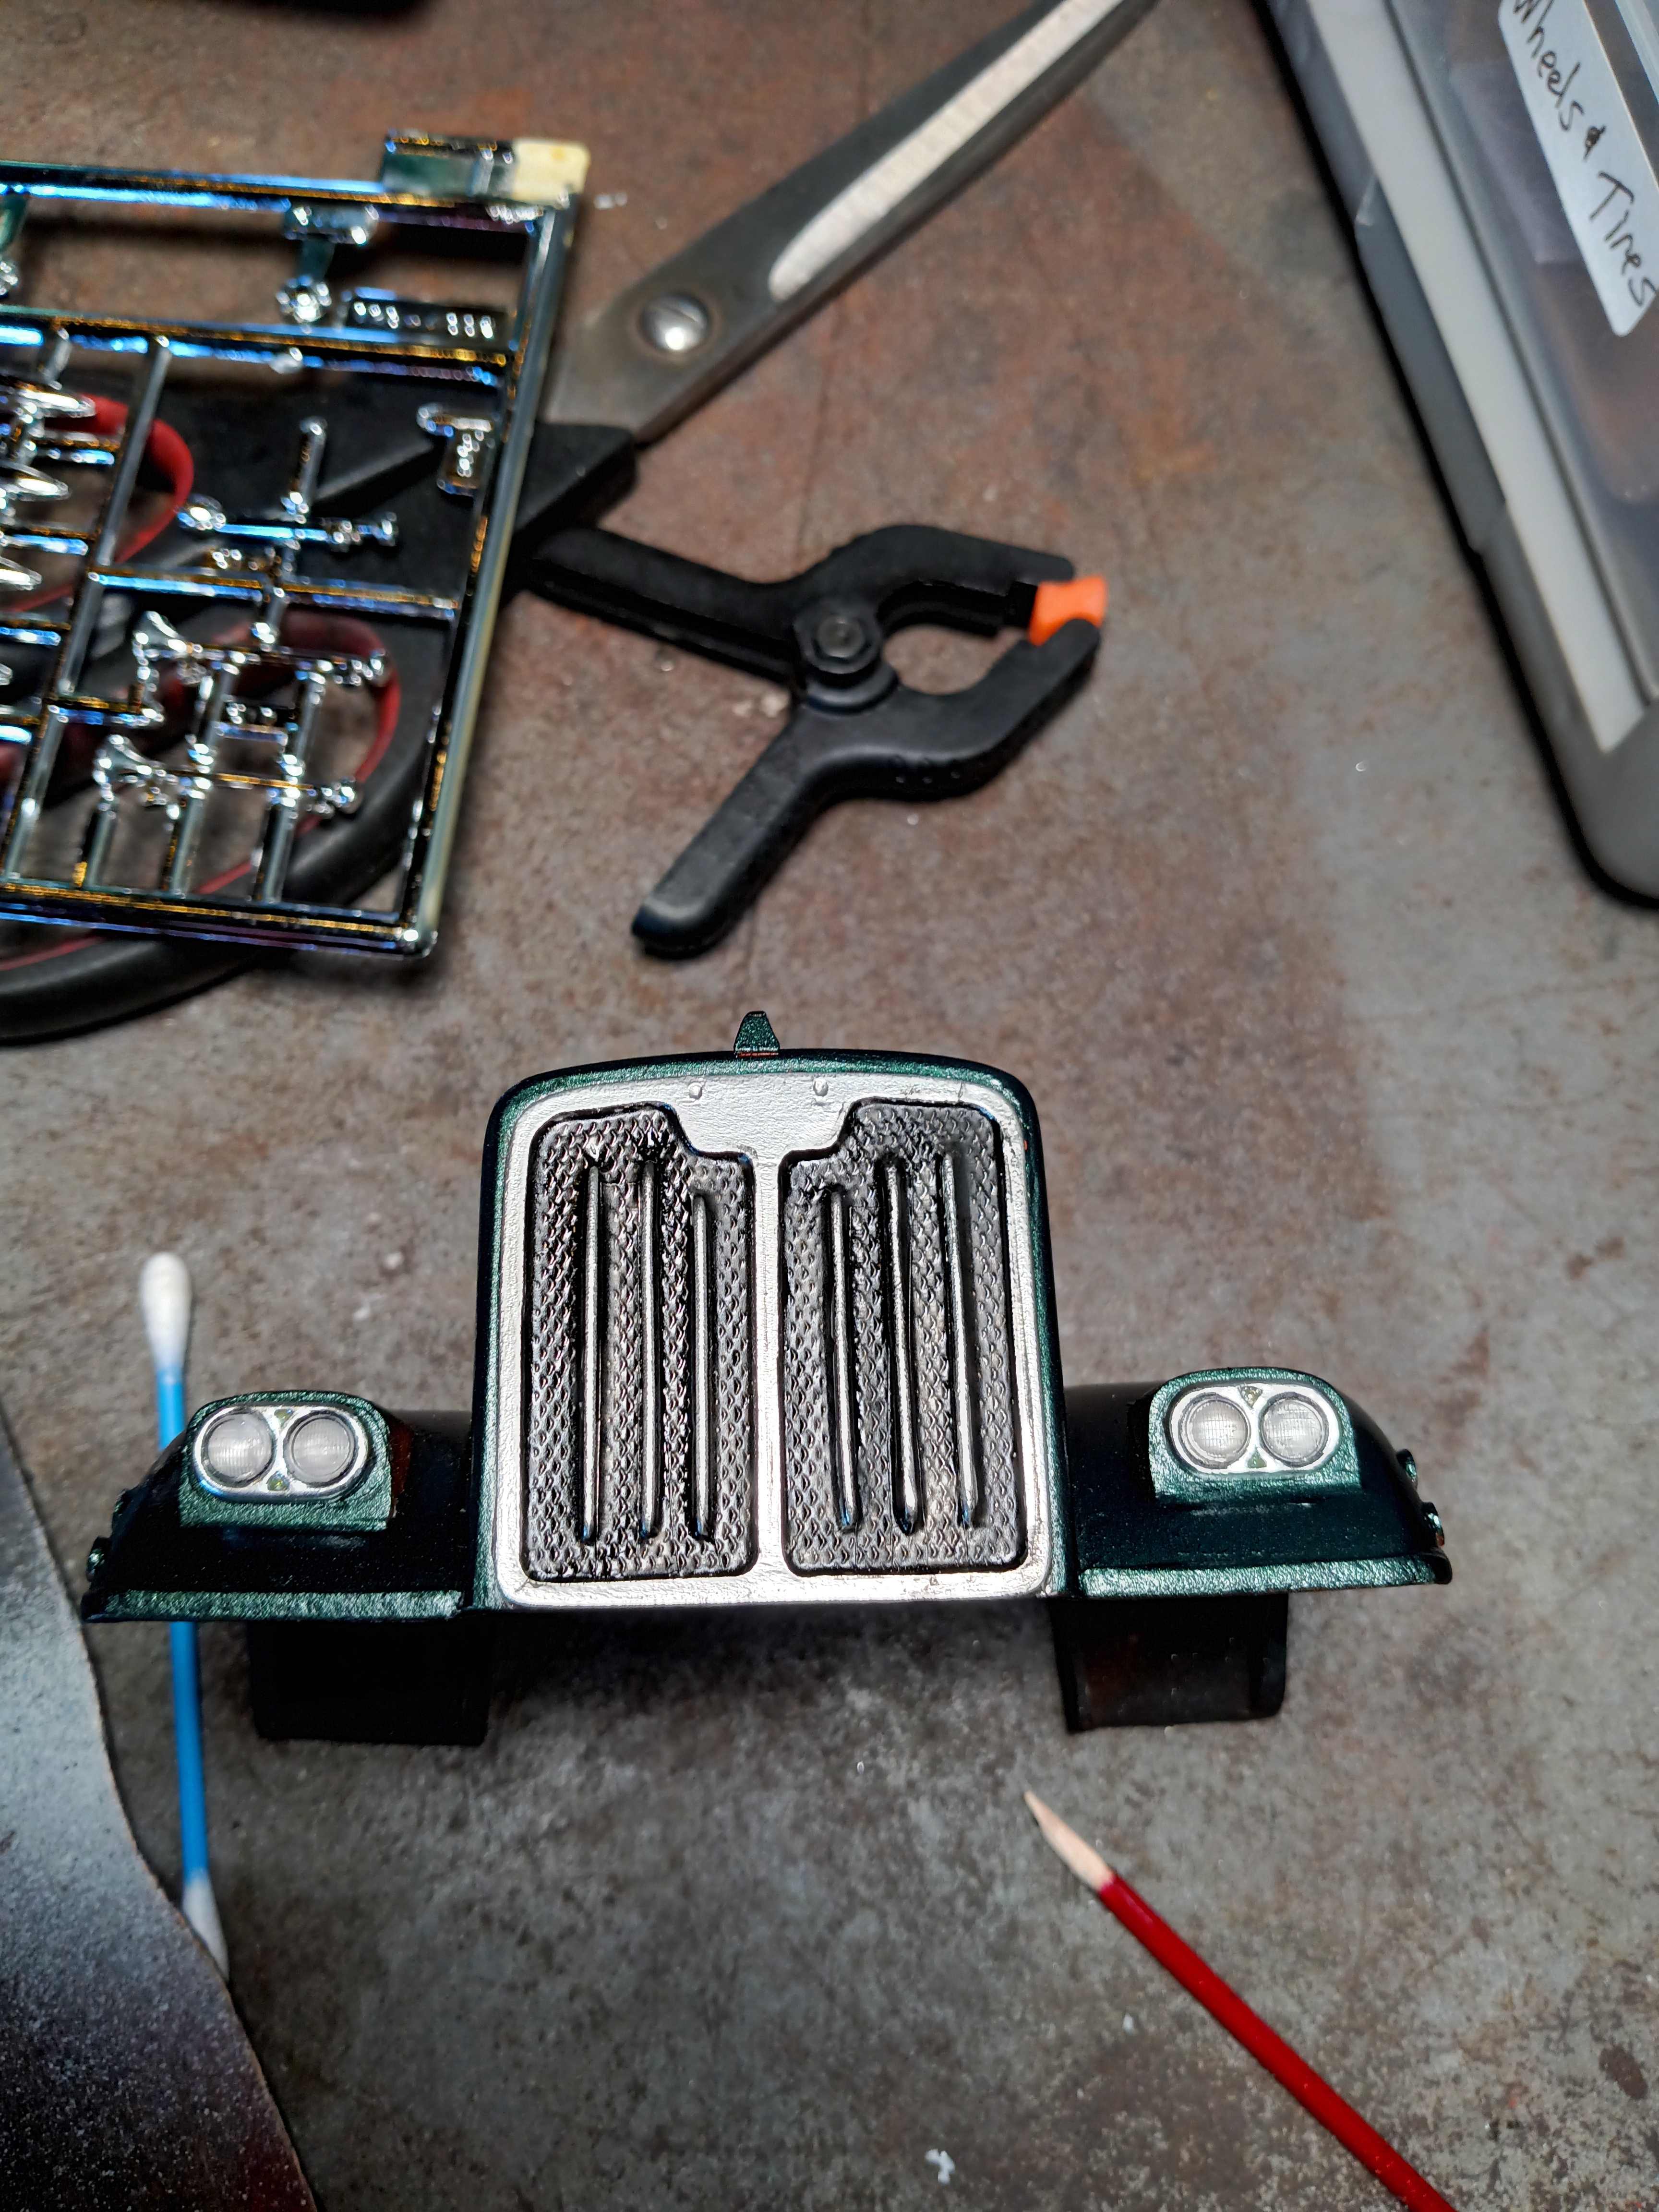
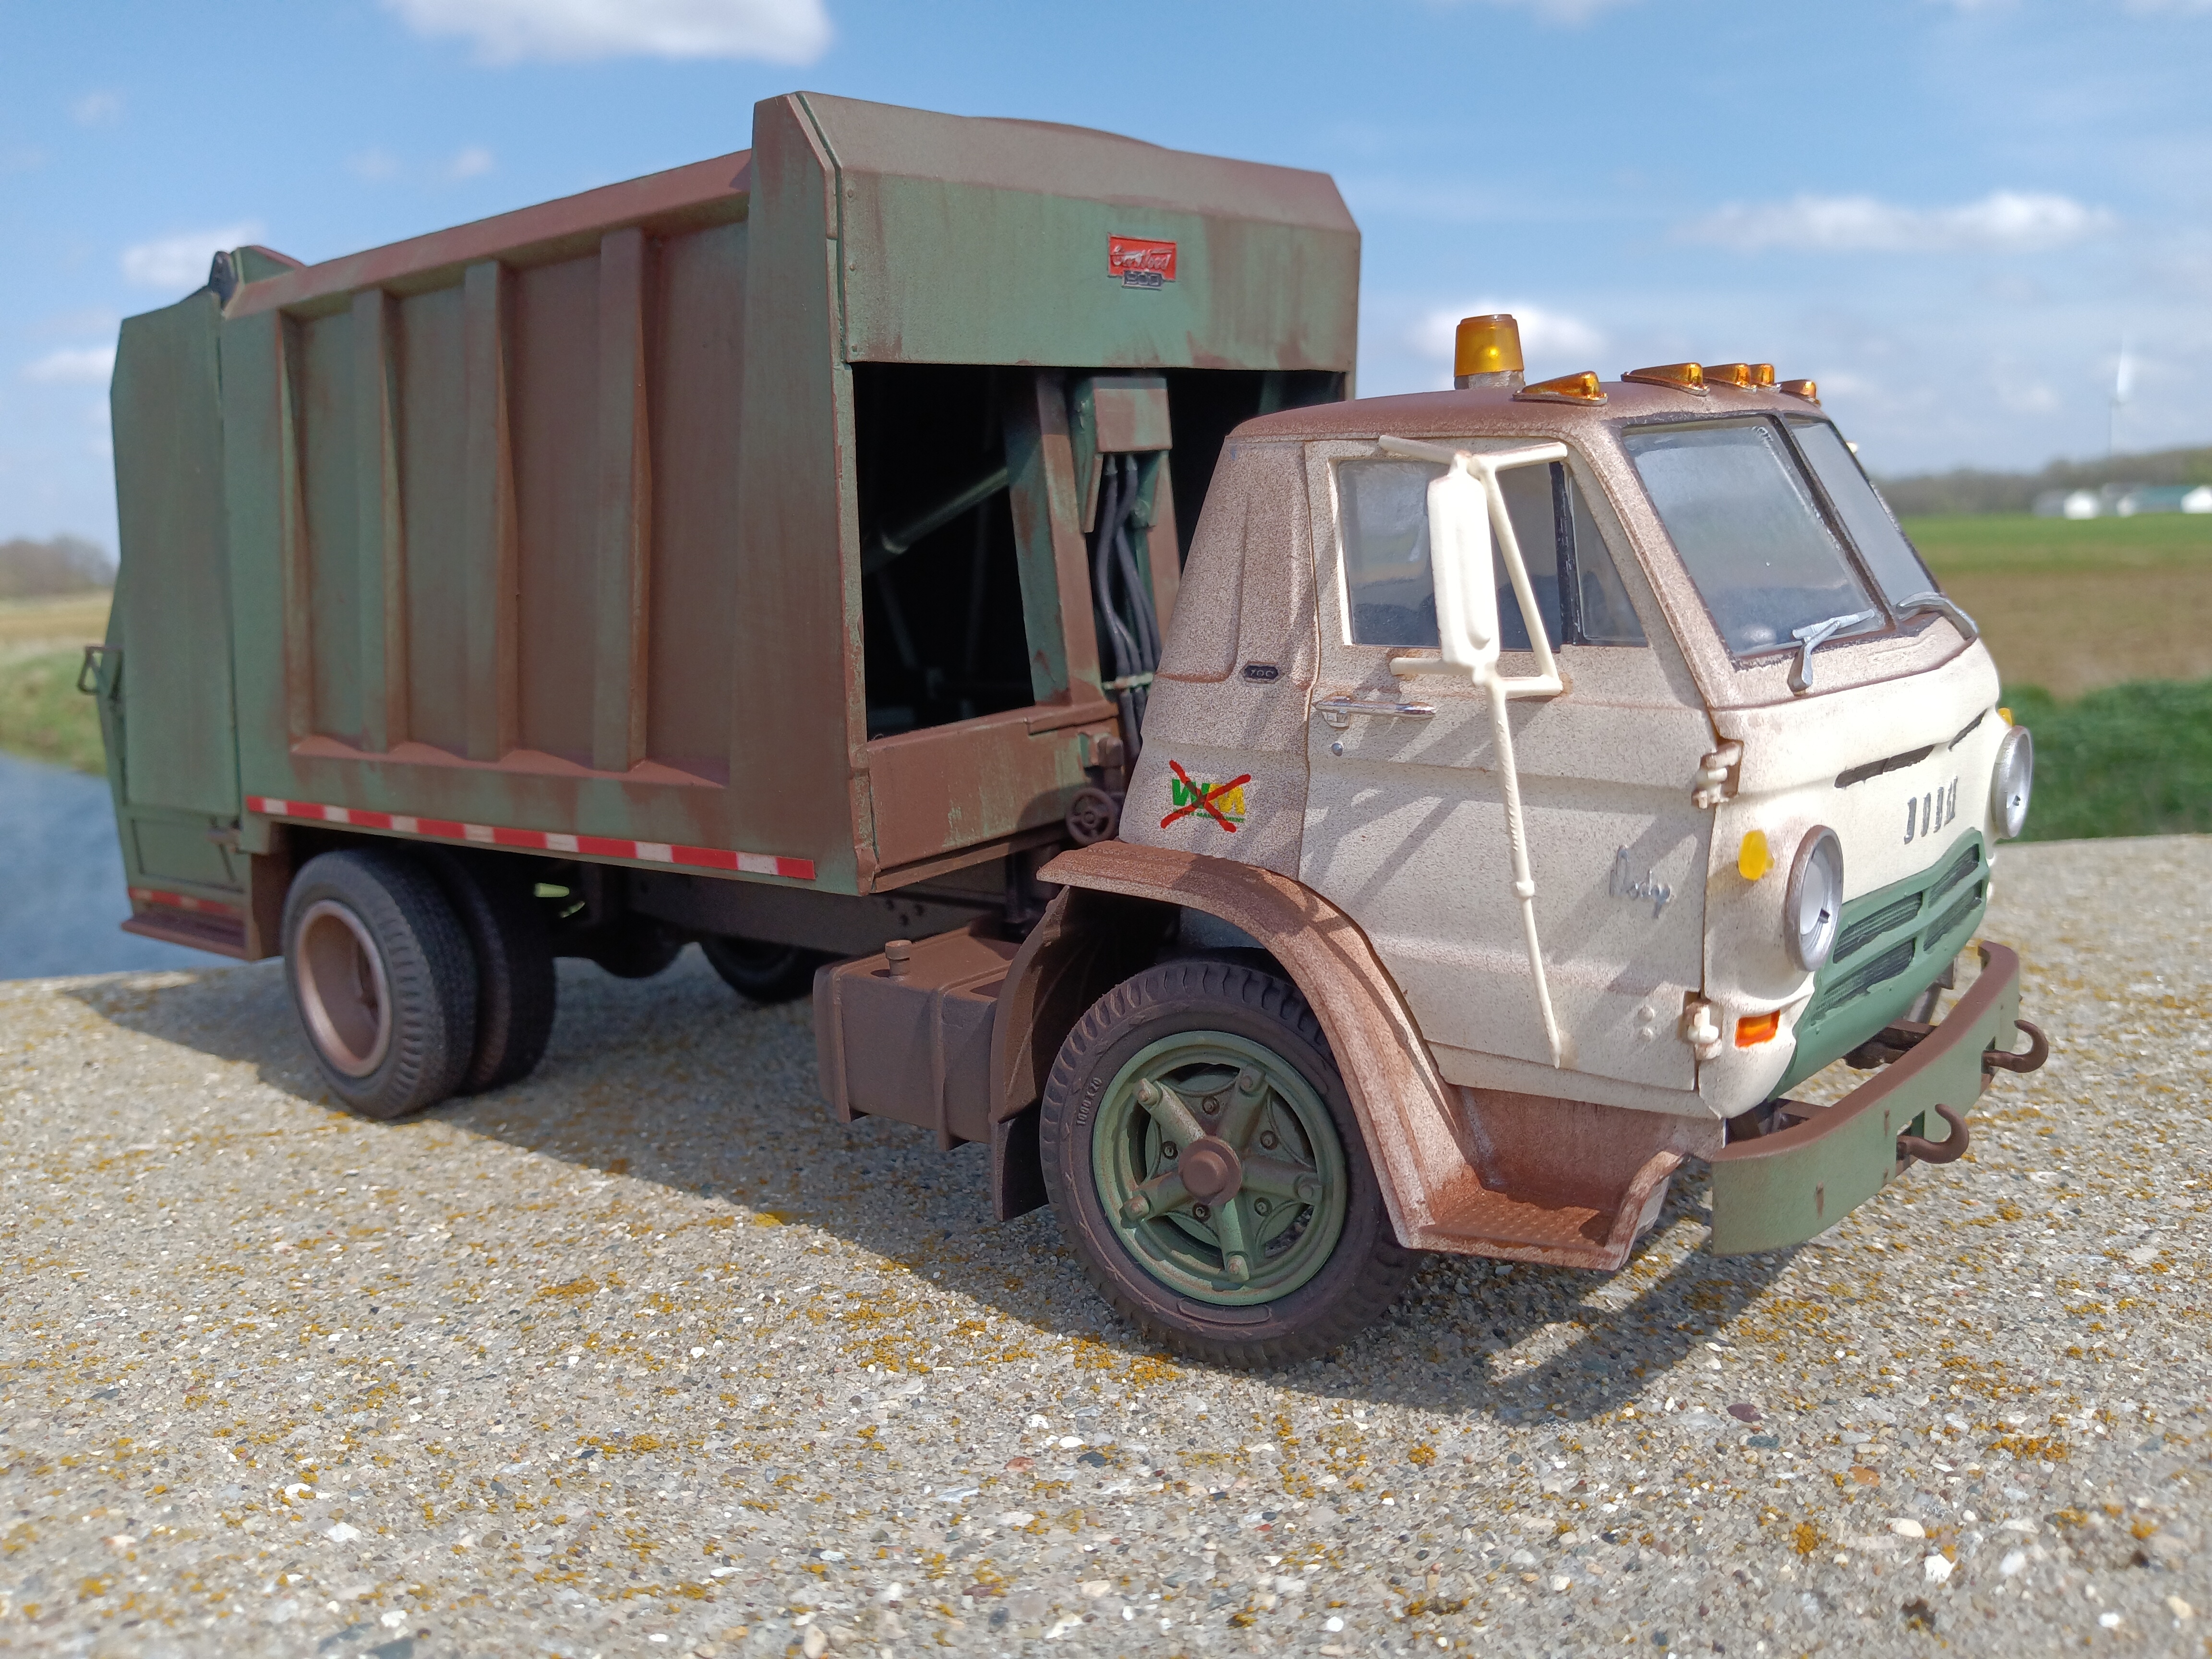
Well, after a long absence, this one is back on the bench.
The cab and hood have been painted in Chrysler Forest Green Pearl.

And now it finally has a face...

-
 1
1
-
-
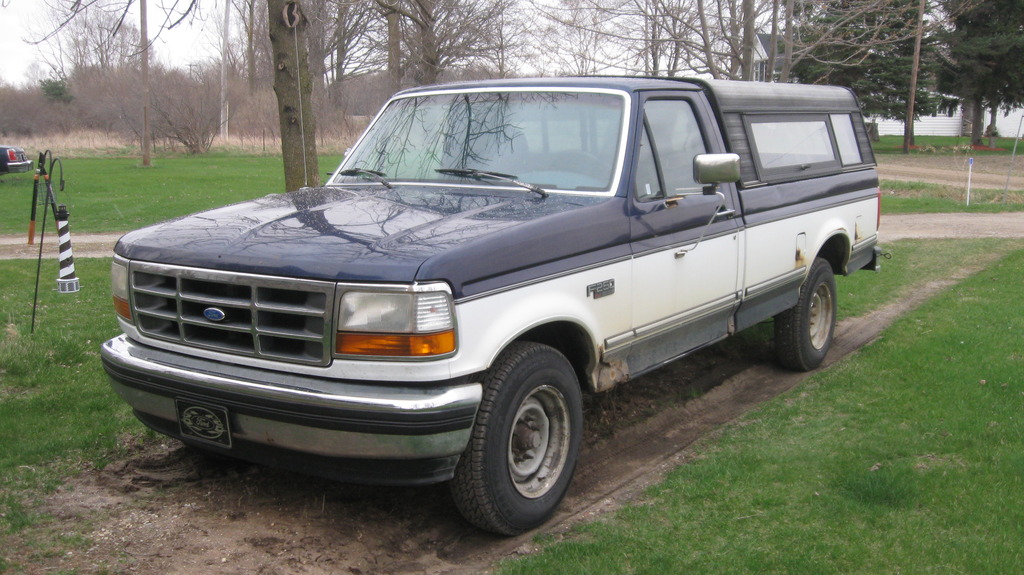
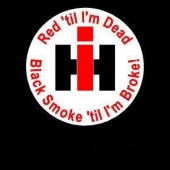
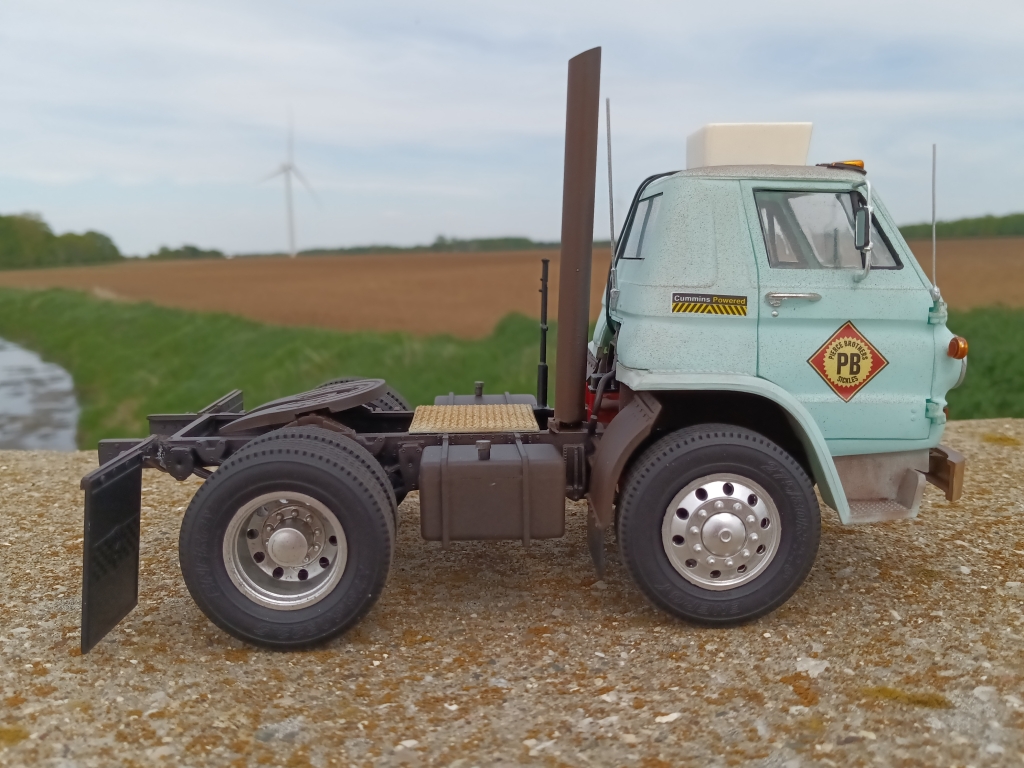
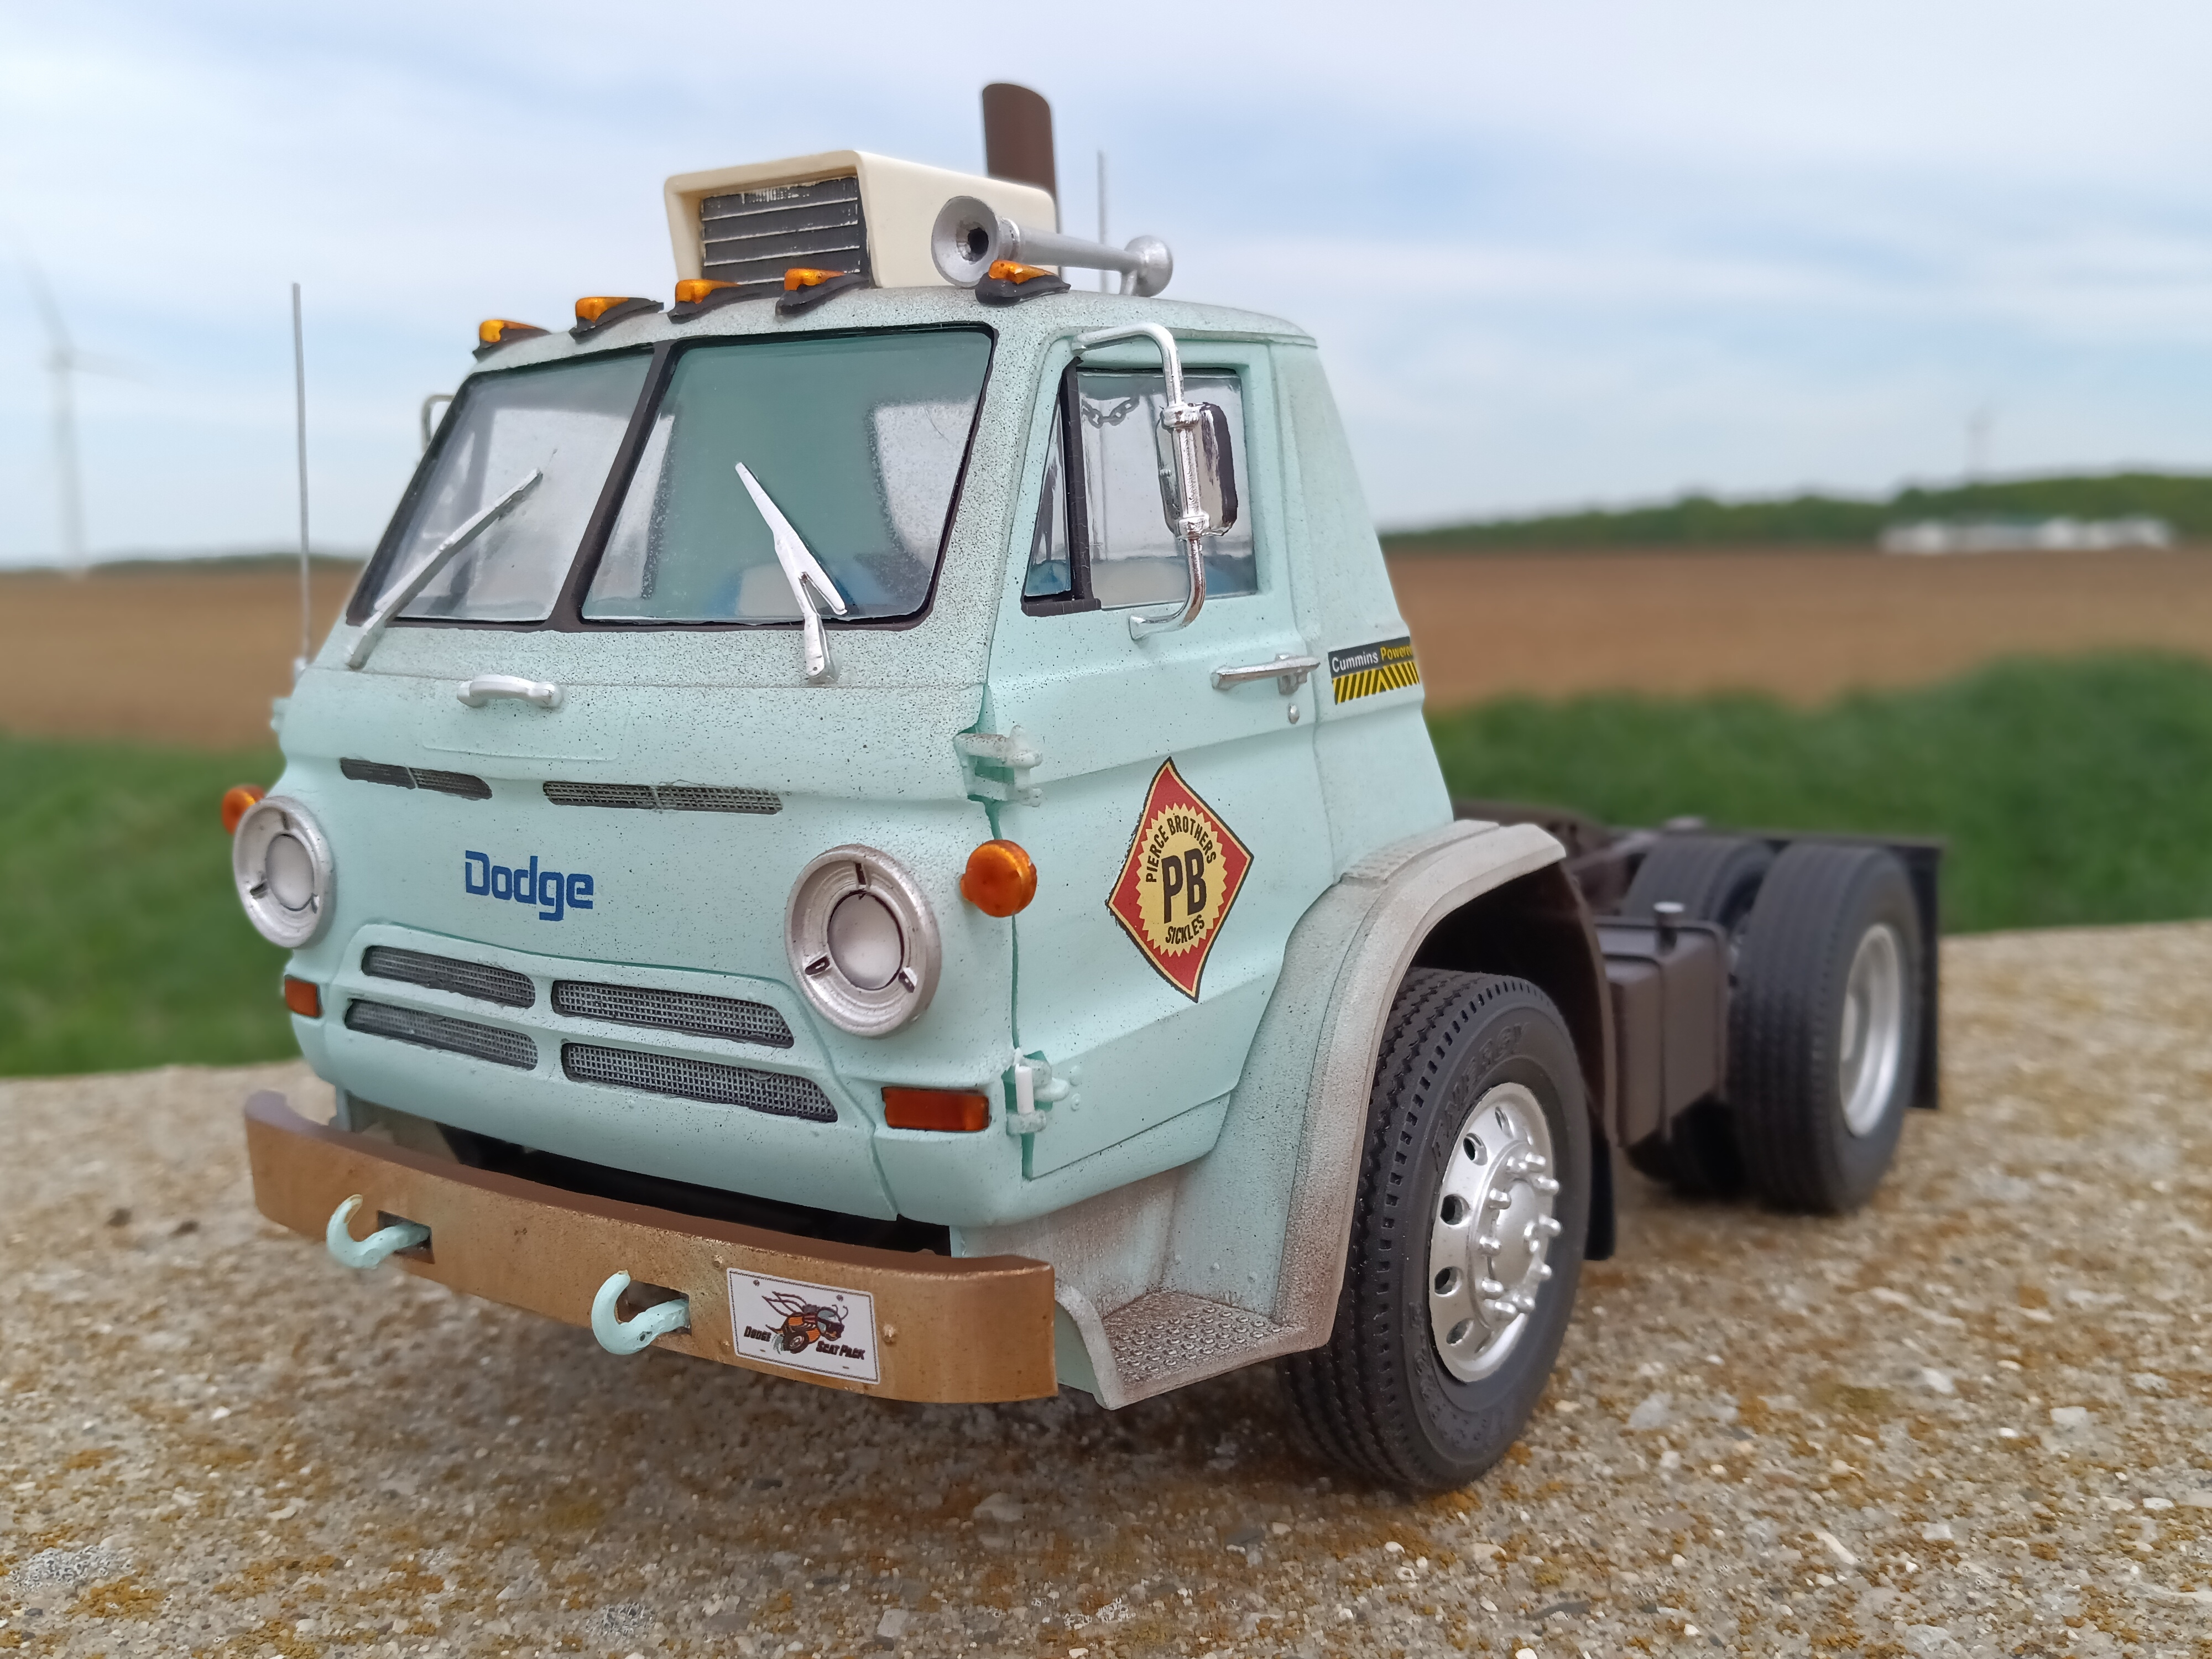
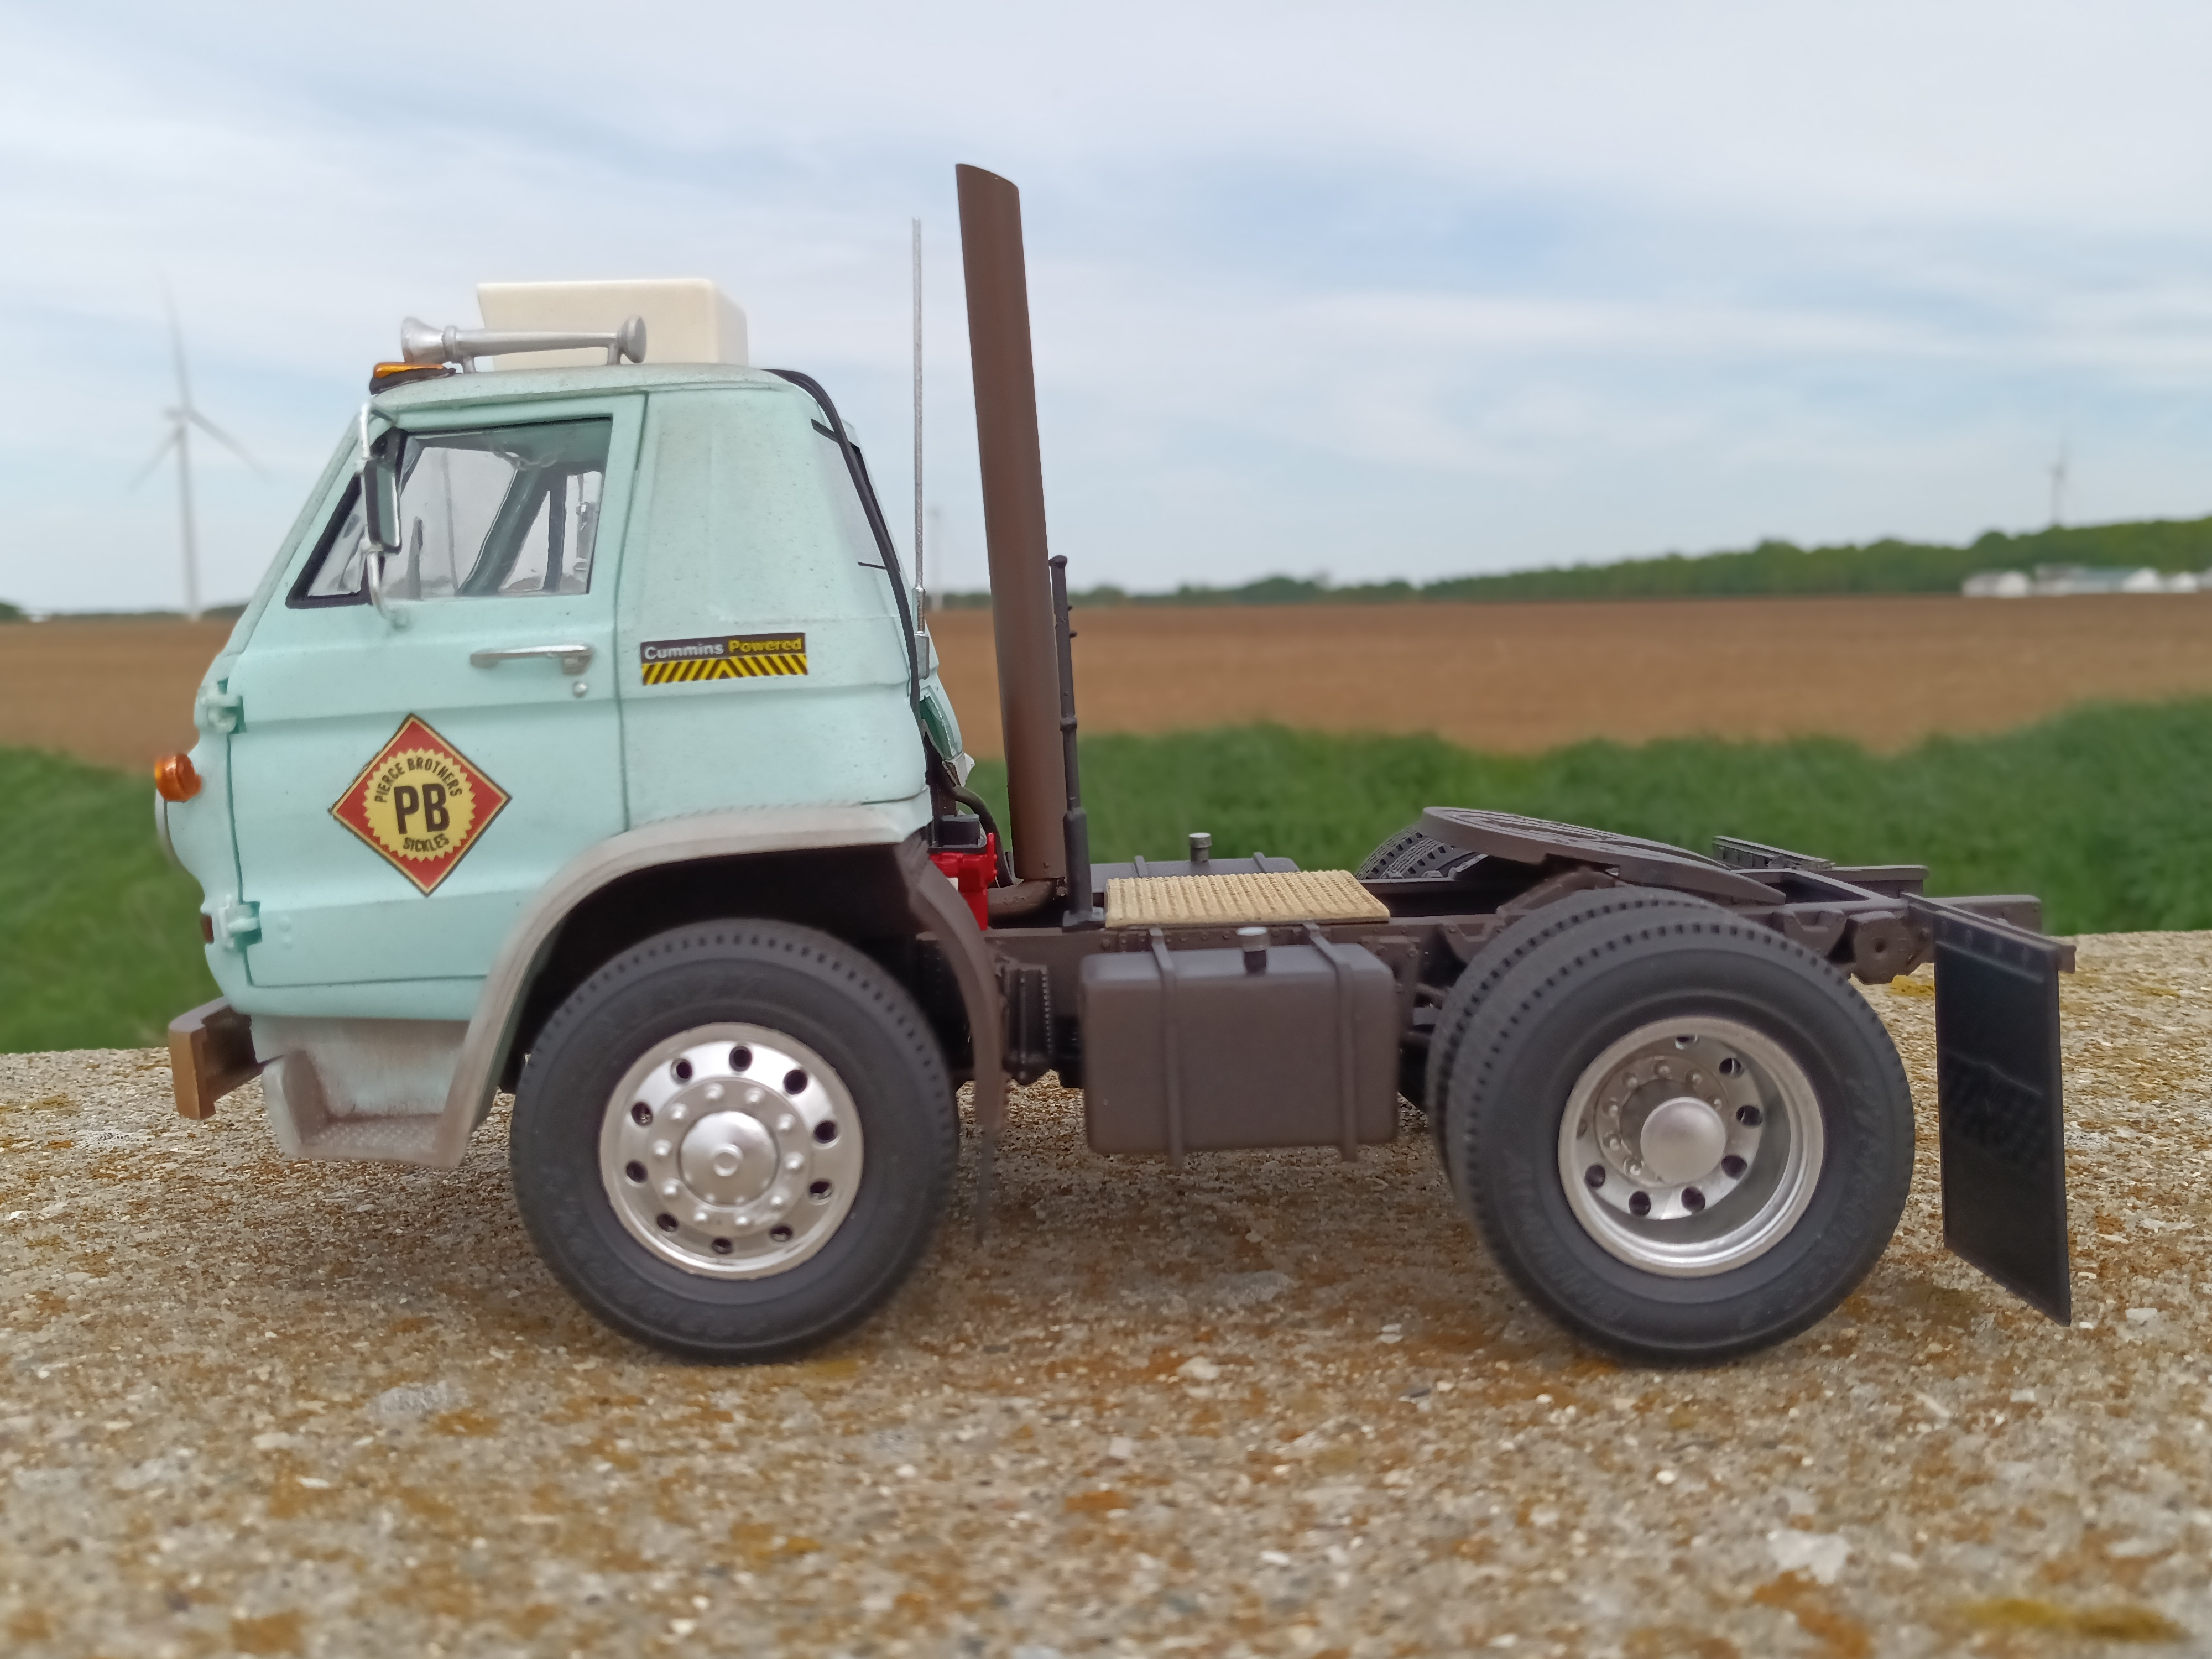
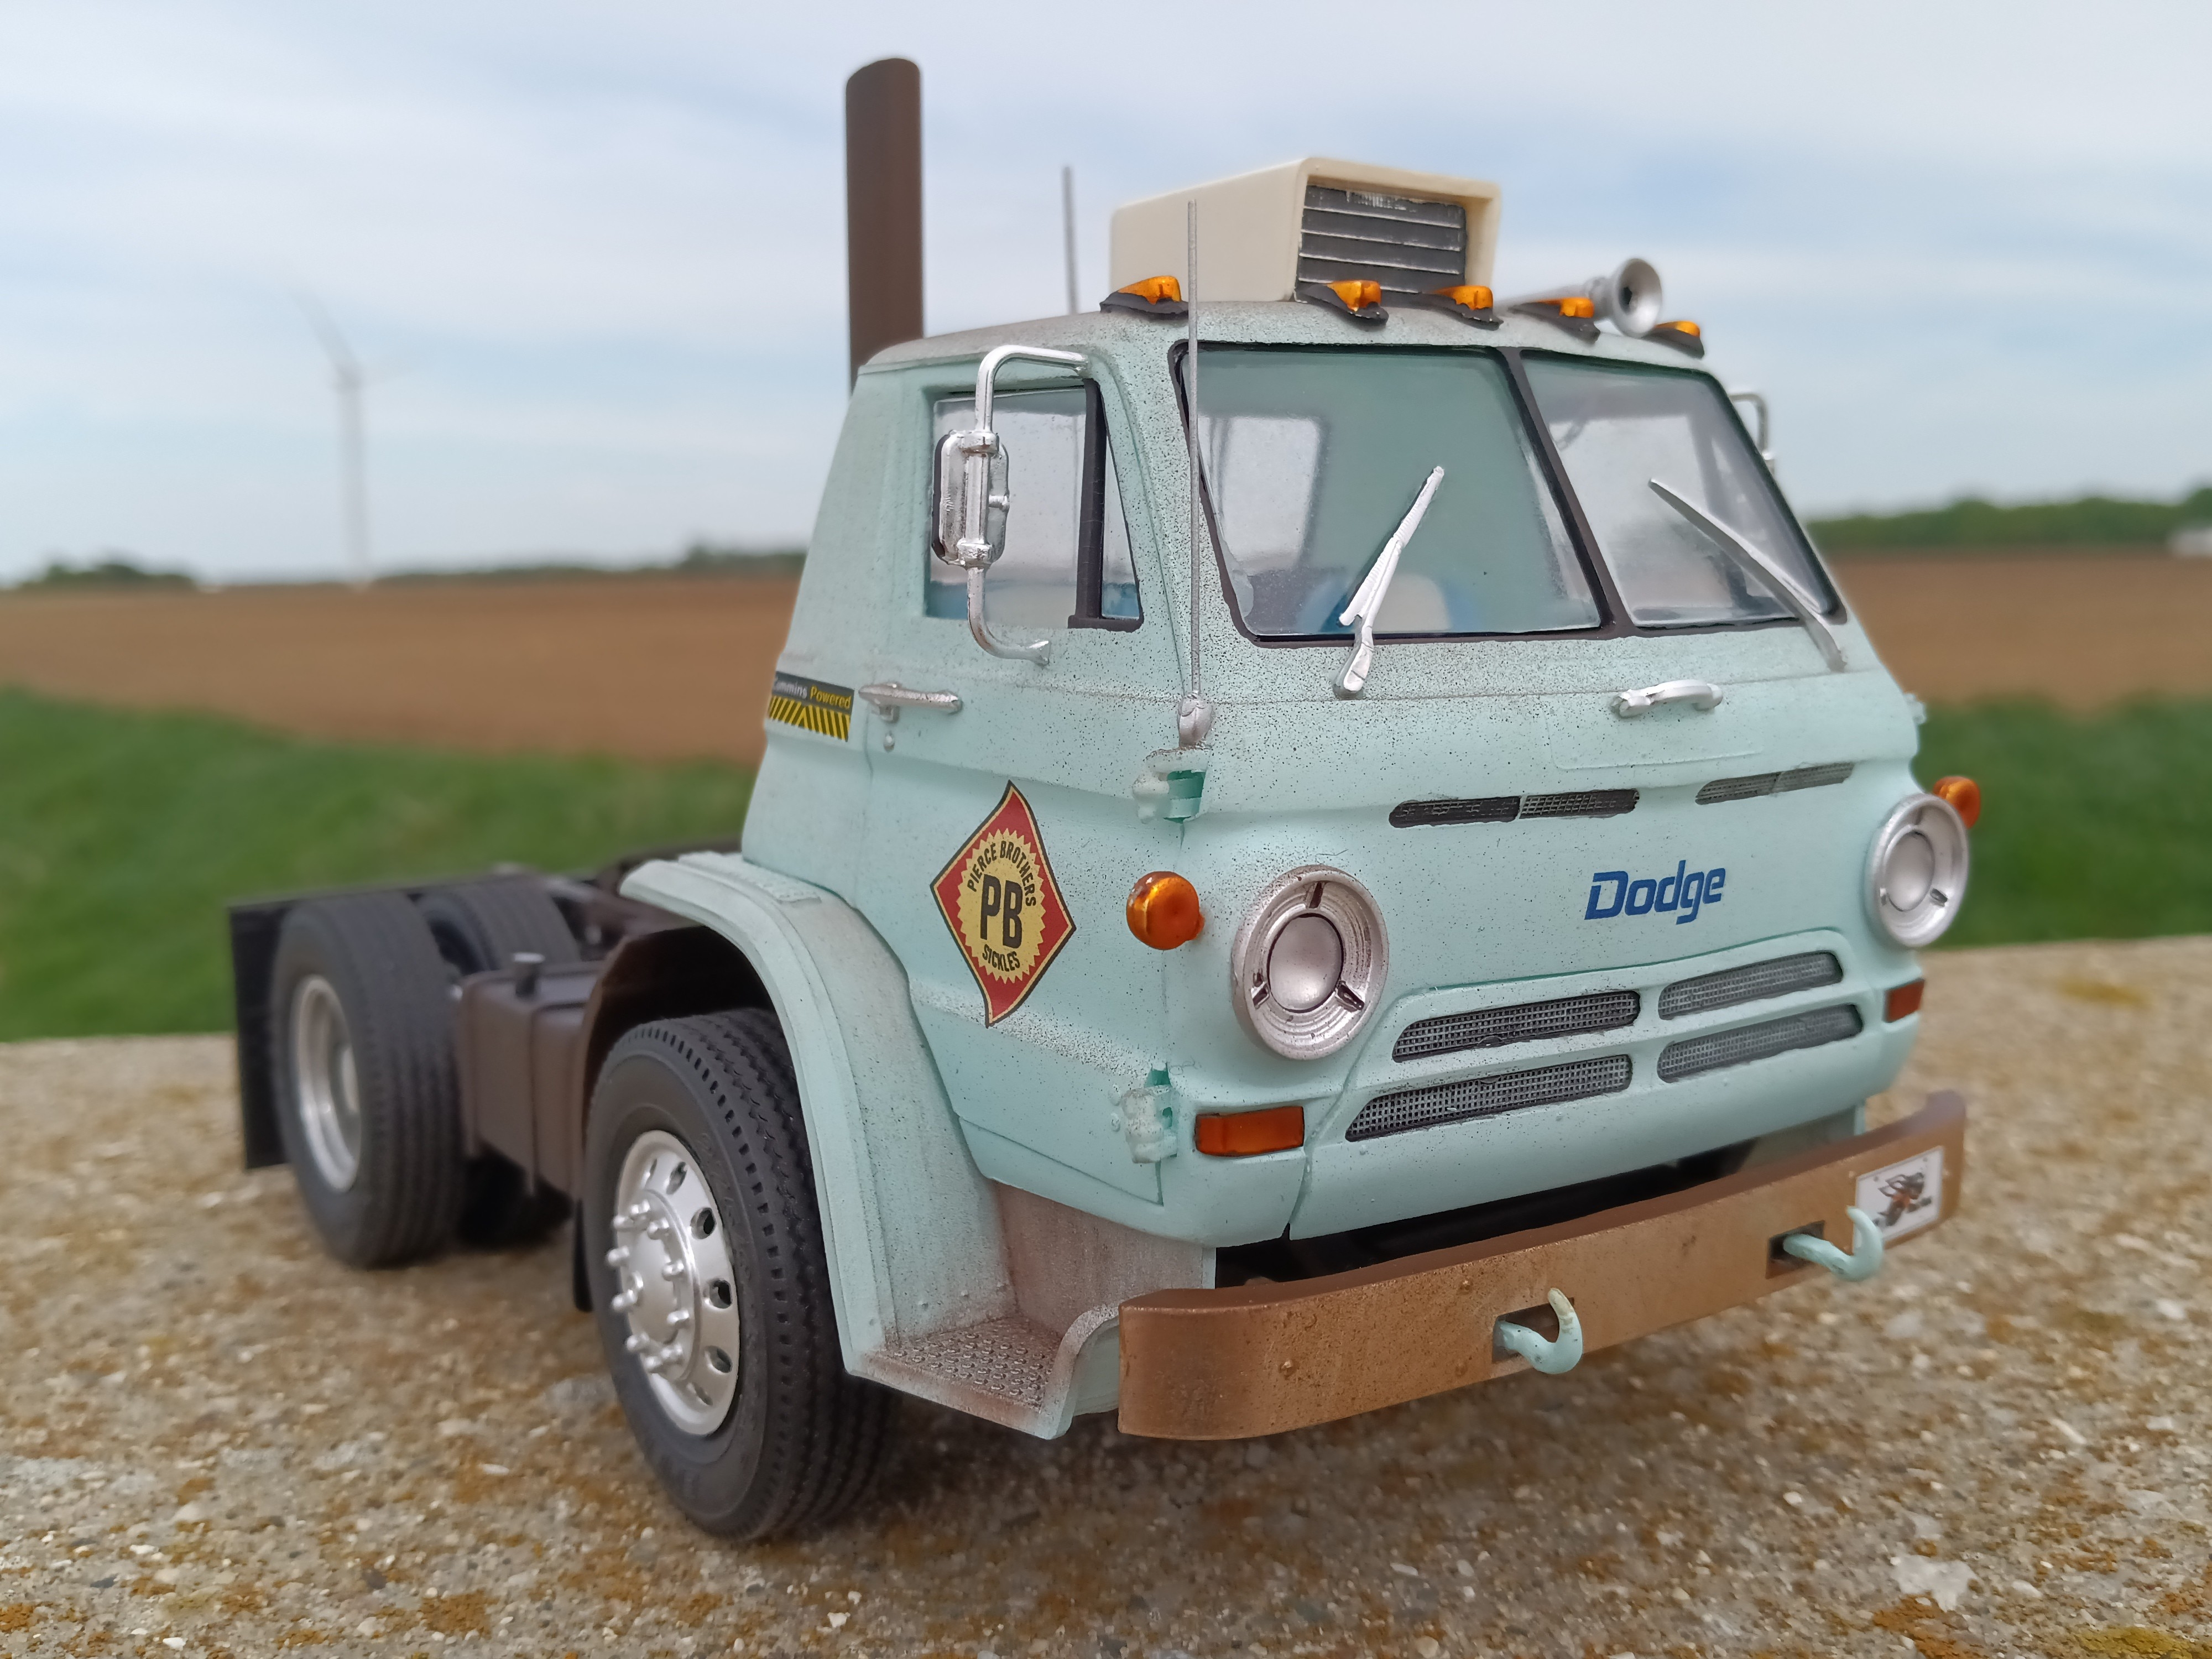
Pierce Brothers Fabrication in Sickles, Michigan, is known for many things. Orange Dodge trucks and Cummins 6BT swaps. While this Cummins swapped Dodge is not orange, it serves as a test subject and demonstrator for a typical Pierce Brothers swap.
Starting with a forlorn 1971 L700, the brothers swapped in a 6BT and 47RH automatic transmission. The hubs and brakes were upgraded with late model Freightliner parts, and the old cast iron wheels were then replaced with Alcoa aluminum wheels and modern radial tires.
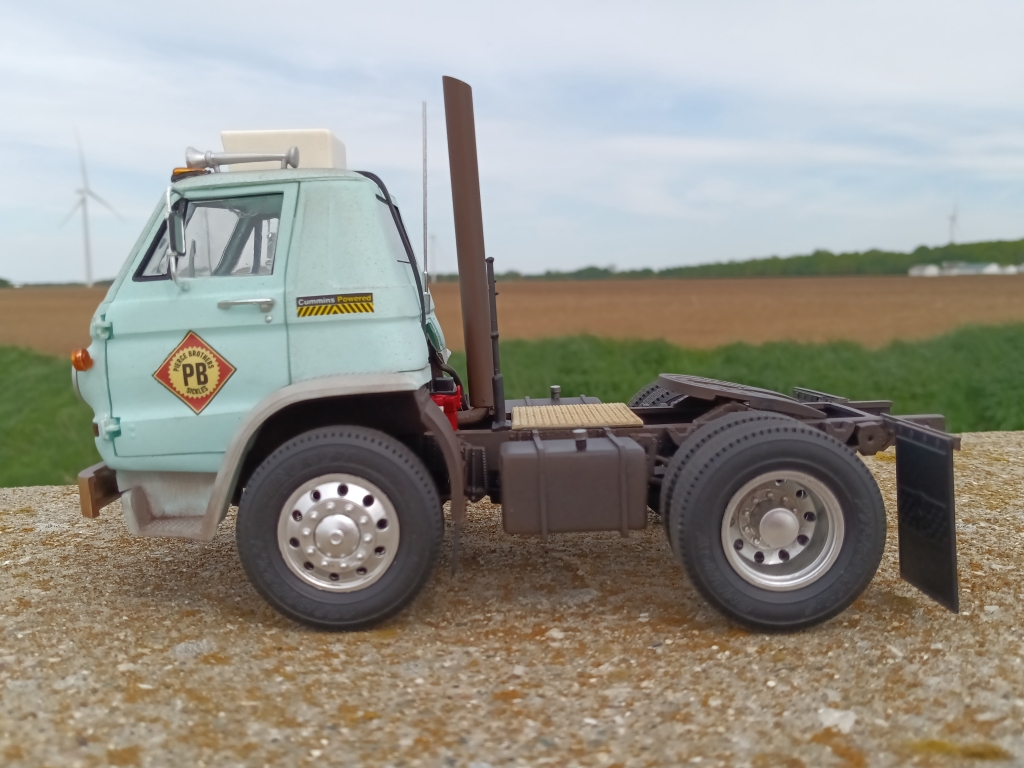
The brothers left the exterior exactly how they found it, aside from adding their logos to the doors, Cummins decals, and newer mud flaps.
The story is much the same inside, although the sears were recovered in blue and white material. Even the aftermarket cassette deck sound system and aftermarket air conditioner were left in place. And yes, it all still works.
Model is a Lindberg kit set up on Moebius wheels and tires. Iceman Collections supplied the Cummins 6BT and a Revell Sidewinder supplied the 47RH. My spares box provided the doodads found throughout. Paint is some matte aqua I had handy.


-
4 hours ago, Johnny M said:Beauty -- I love it.
What's that paint on the tanks and hubs? I could use some of that.
Johnny
Tamiya Linoleum Deck Brown
-
1
-
-
I'm not sure if I like that color... Or if I love it. 🤣
For whatever reason I can picture it pulling something farm related. Polished livestock trailer, milk tanker, something like that. Maybe a 40' van marked for hauling produce.
-
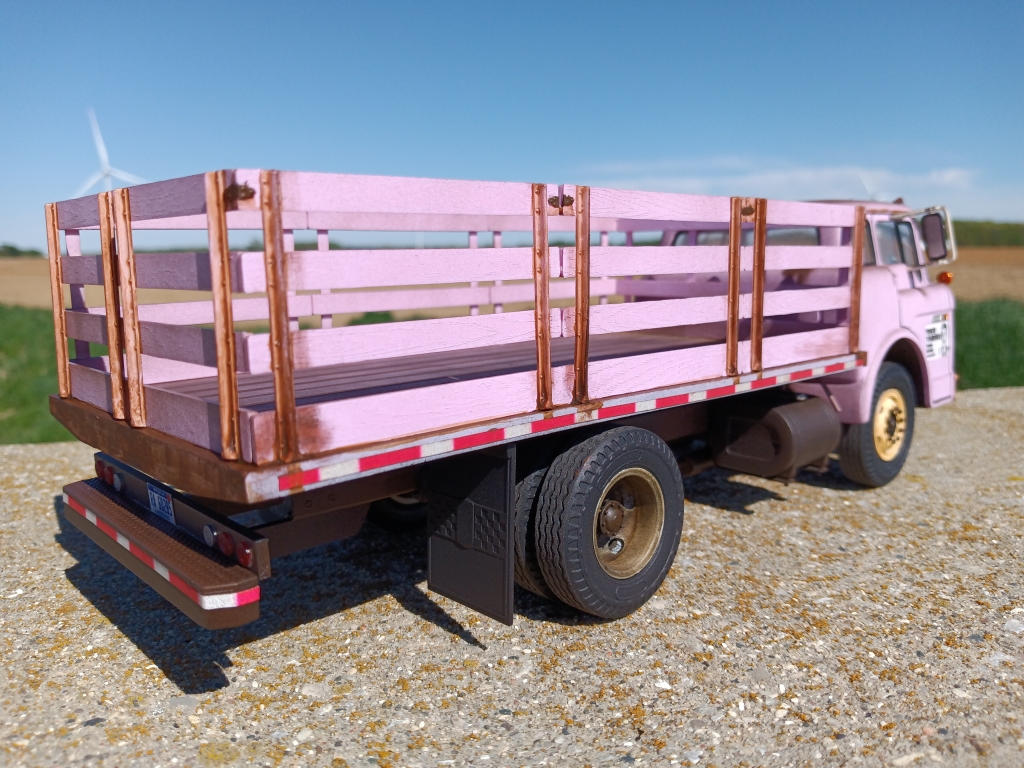
Minor updates, while I was working on the C Series stake bed, I dug this back out and added a few things. Mainly a front plate, hood pins, and an attempt at tank straps.

-
1
-
-
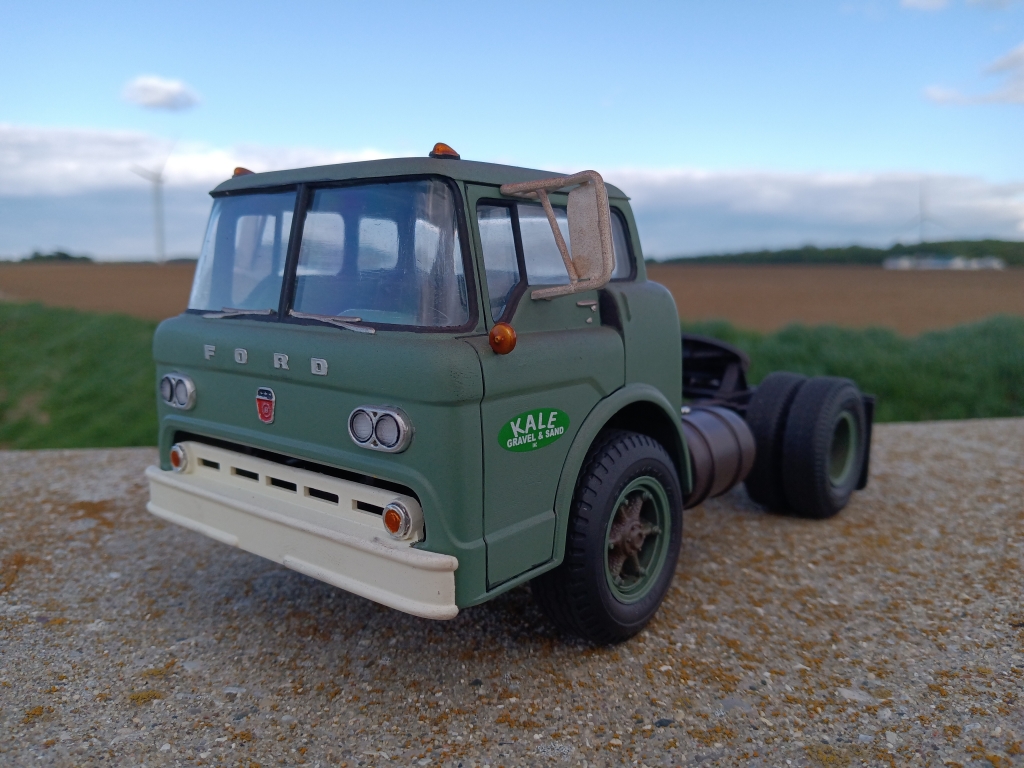
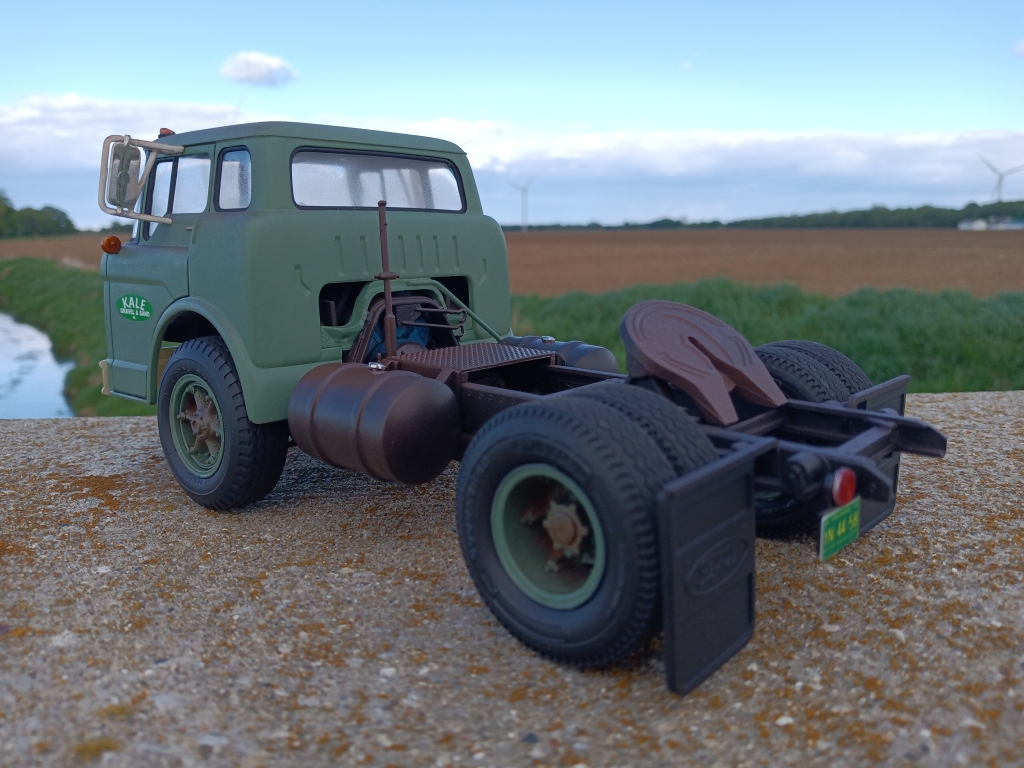
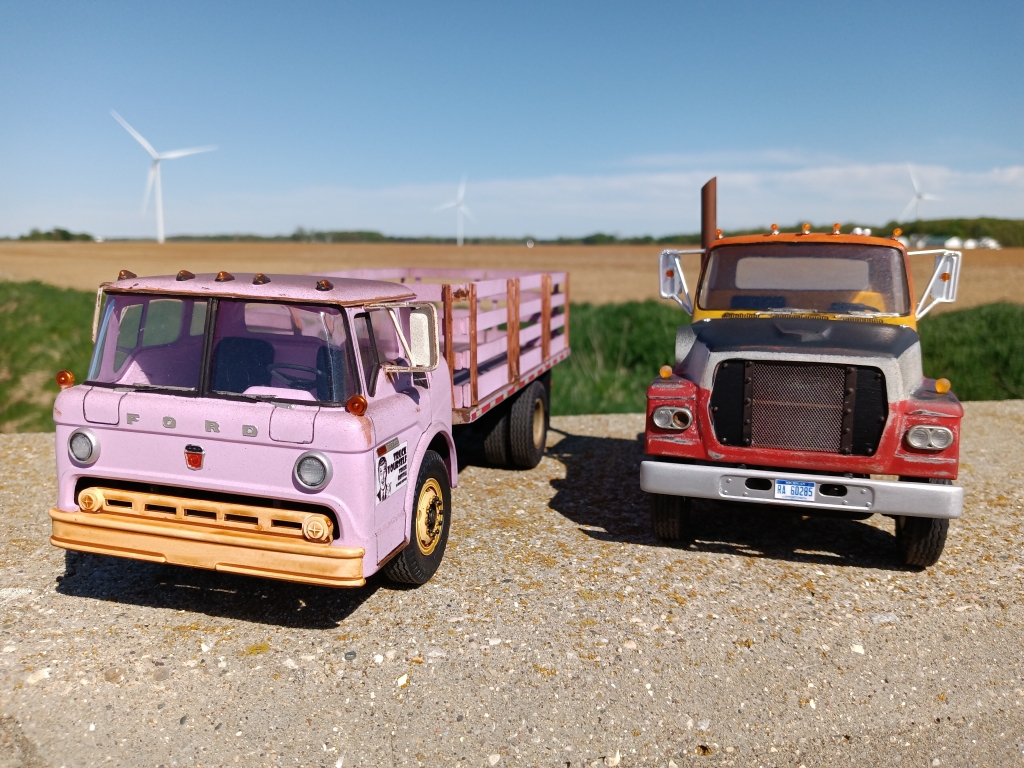
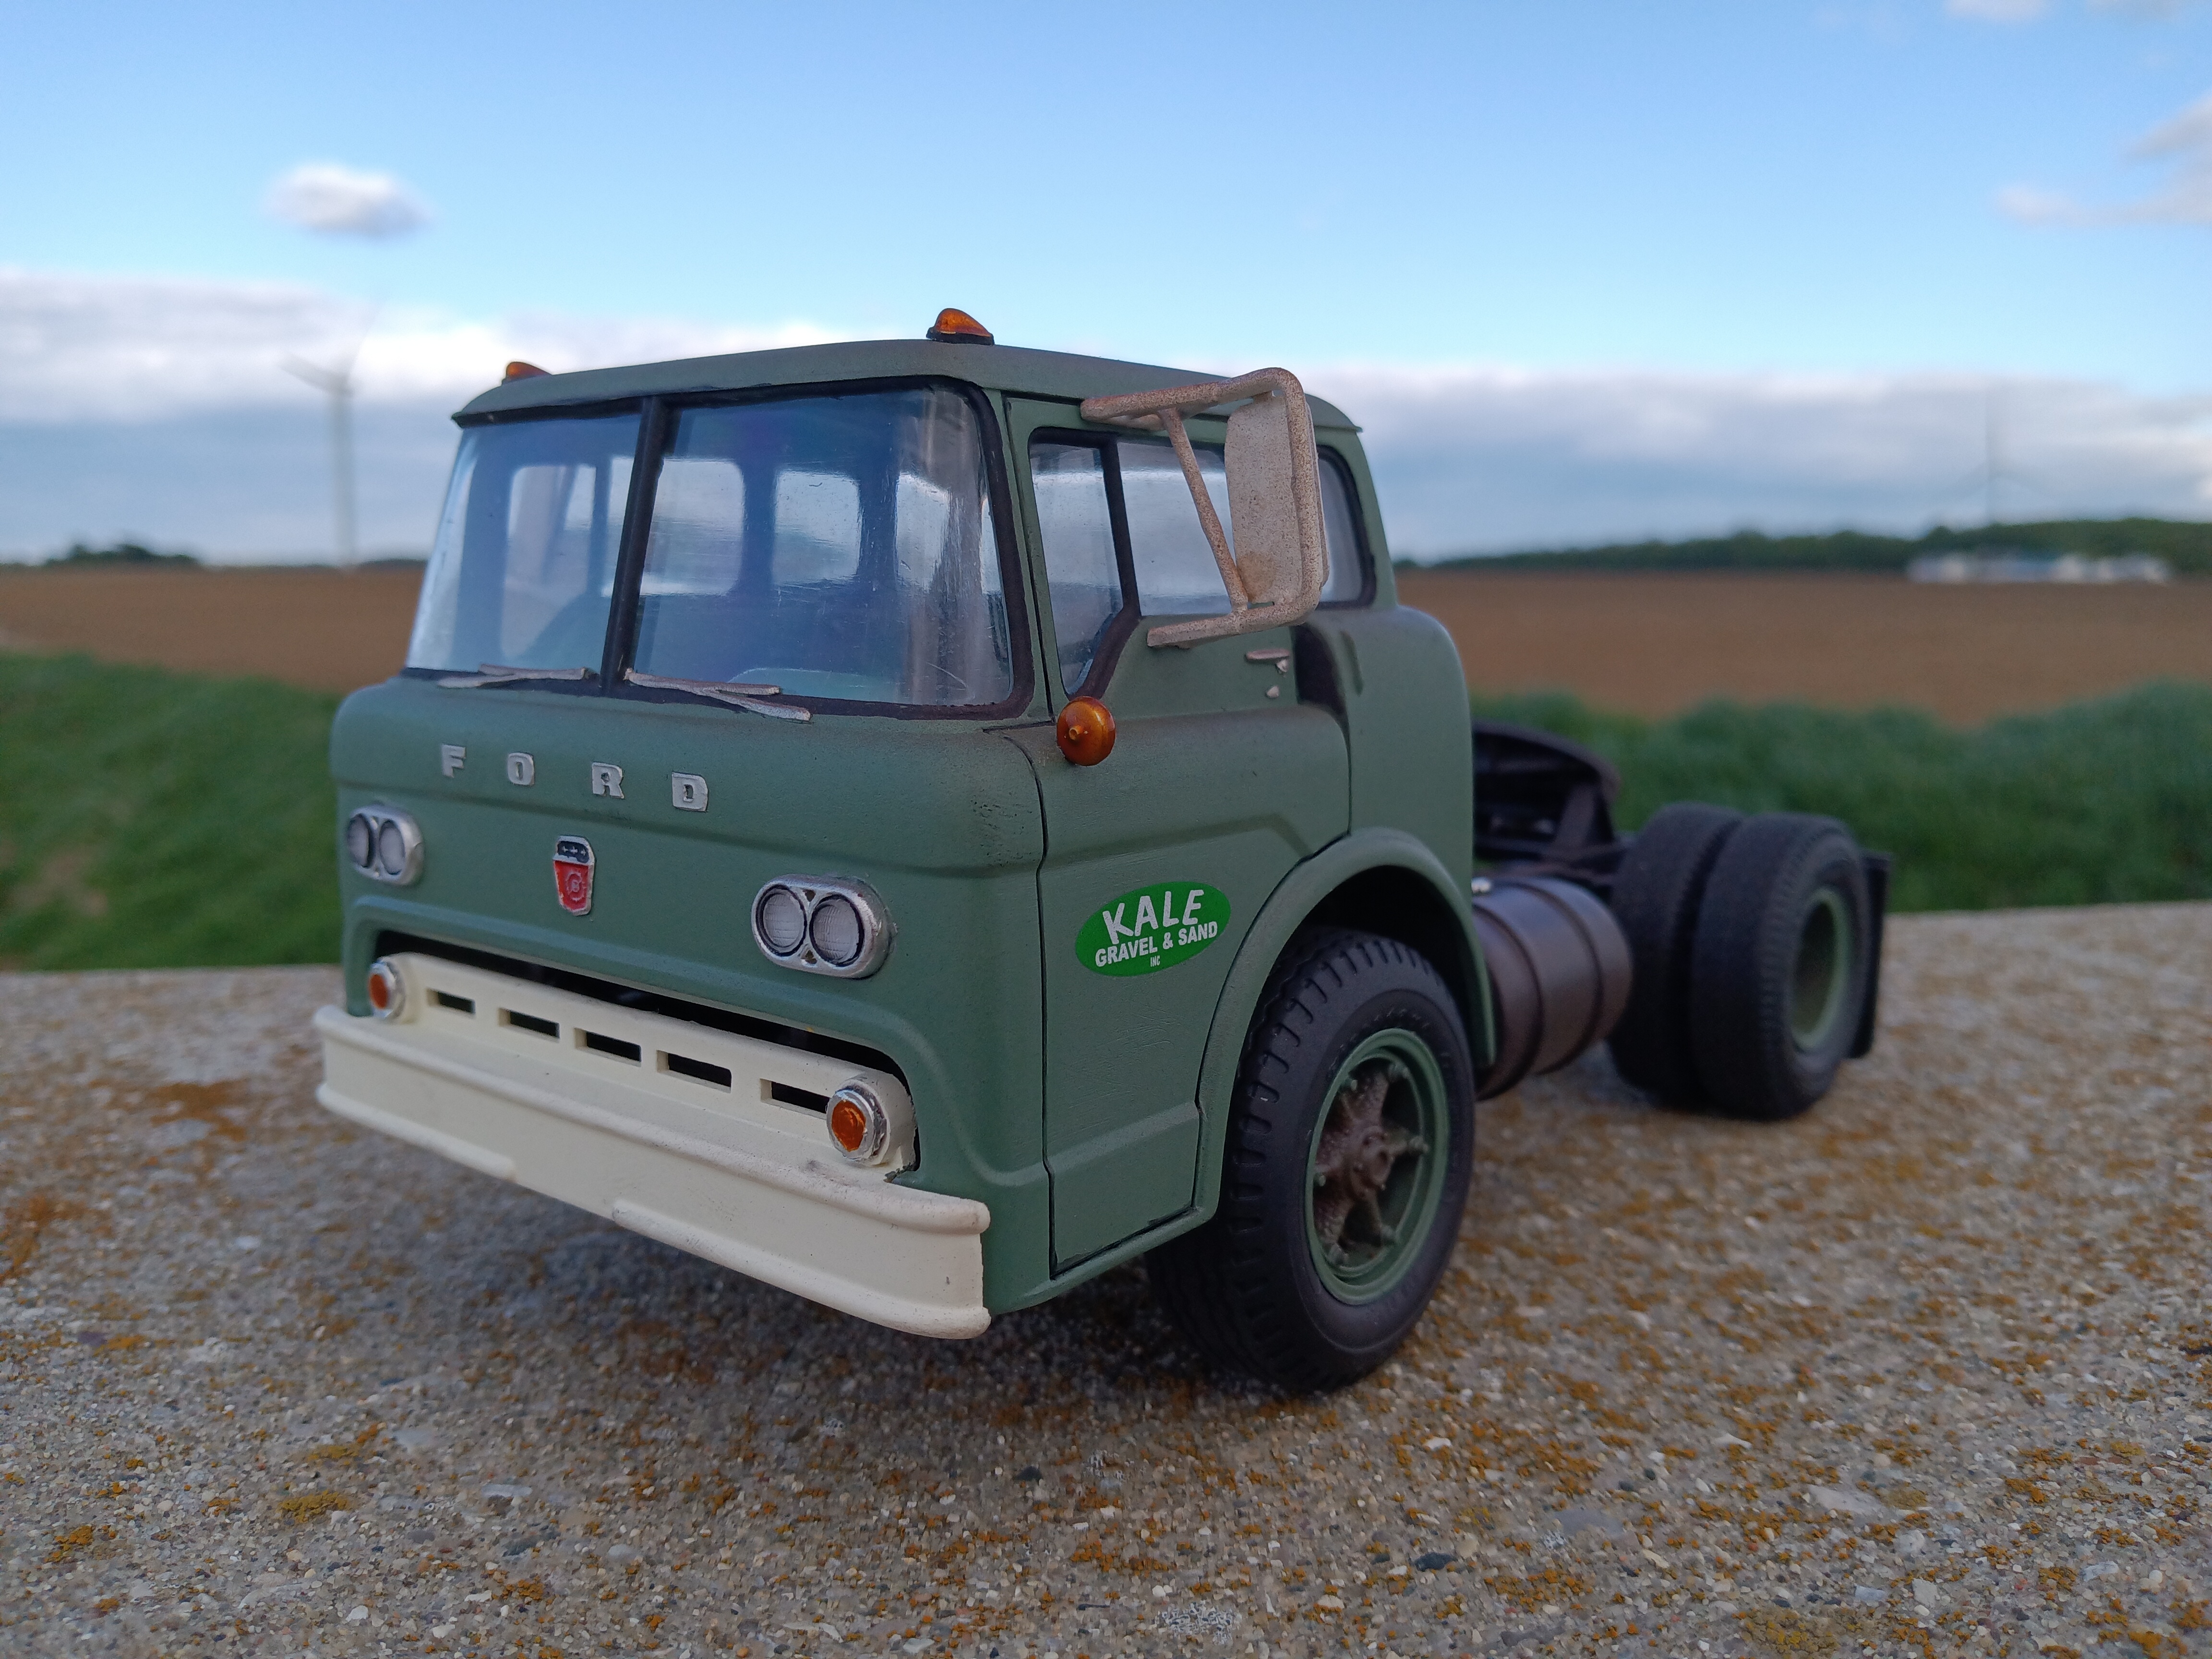
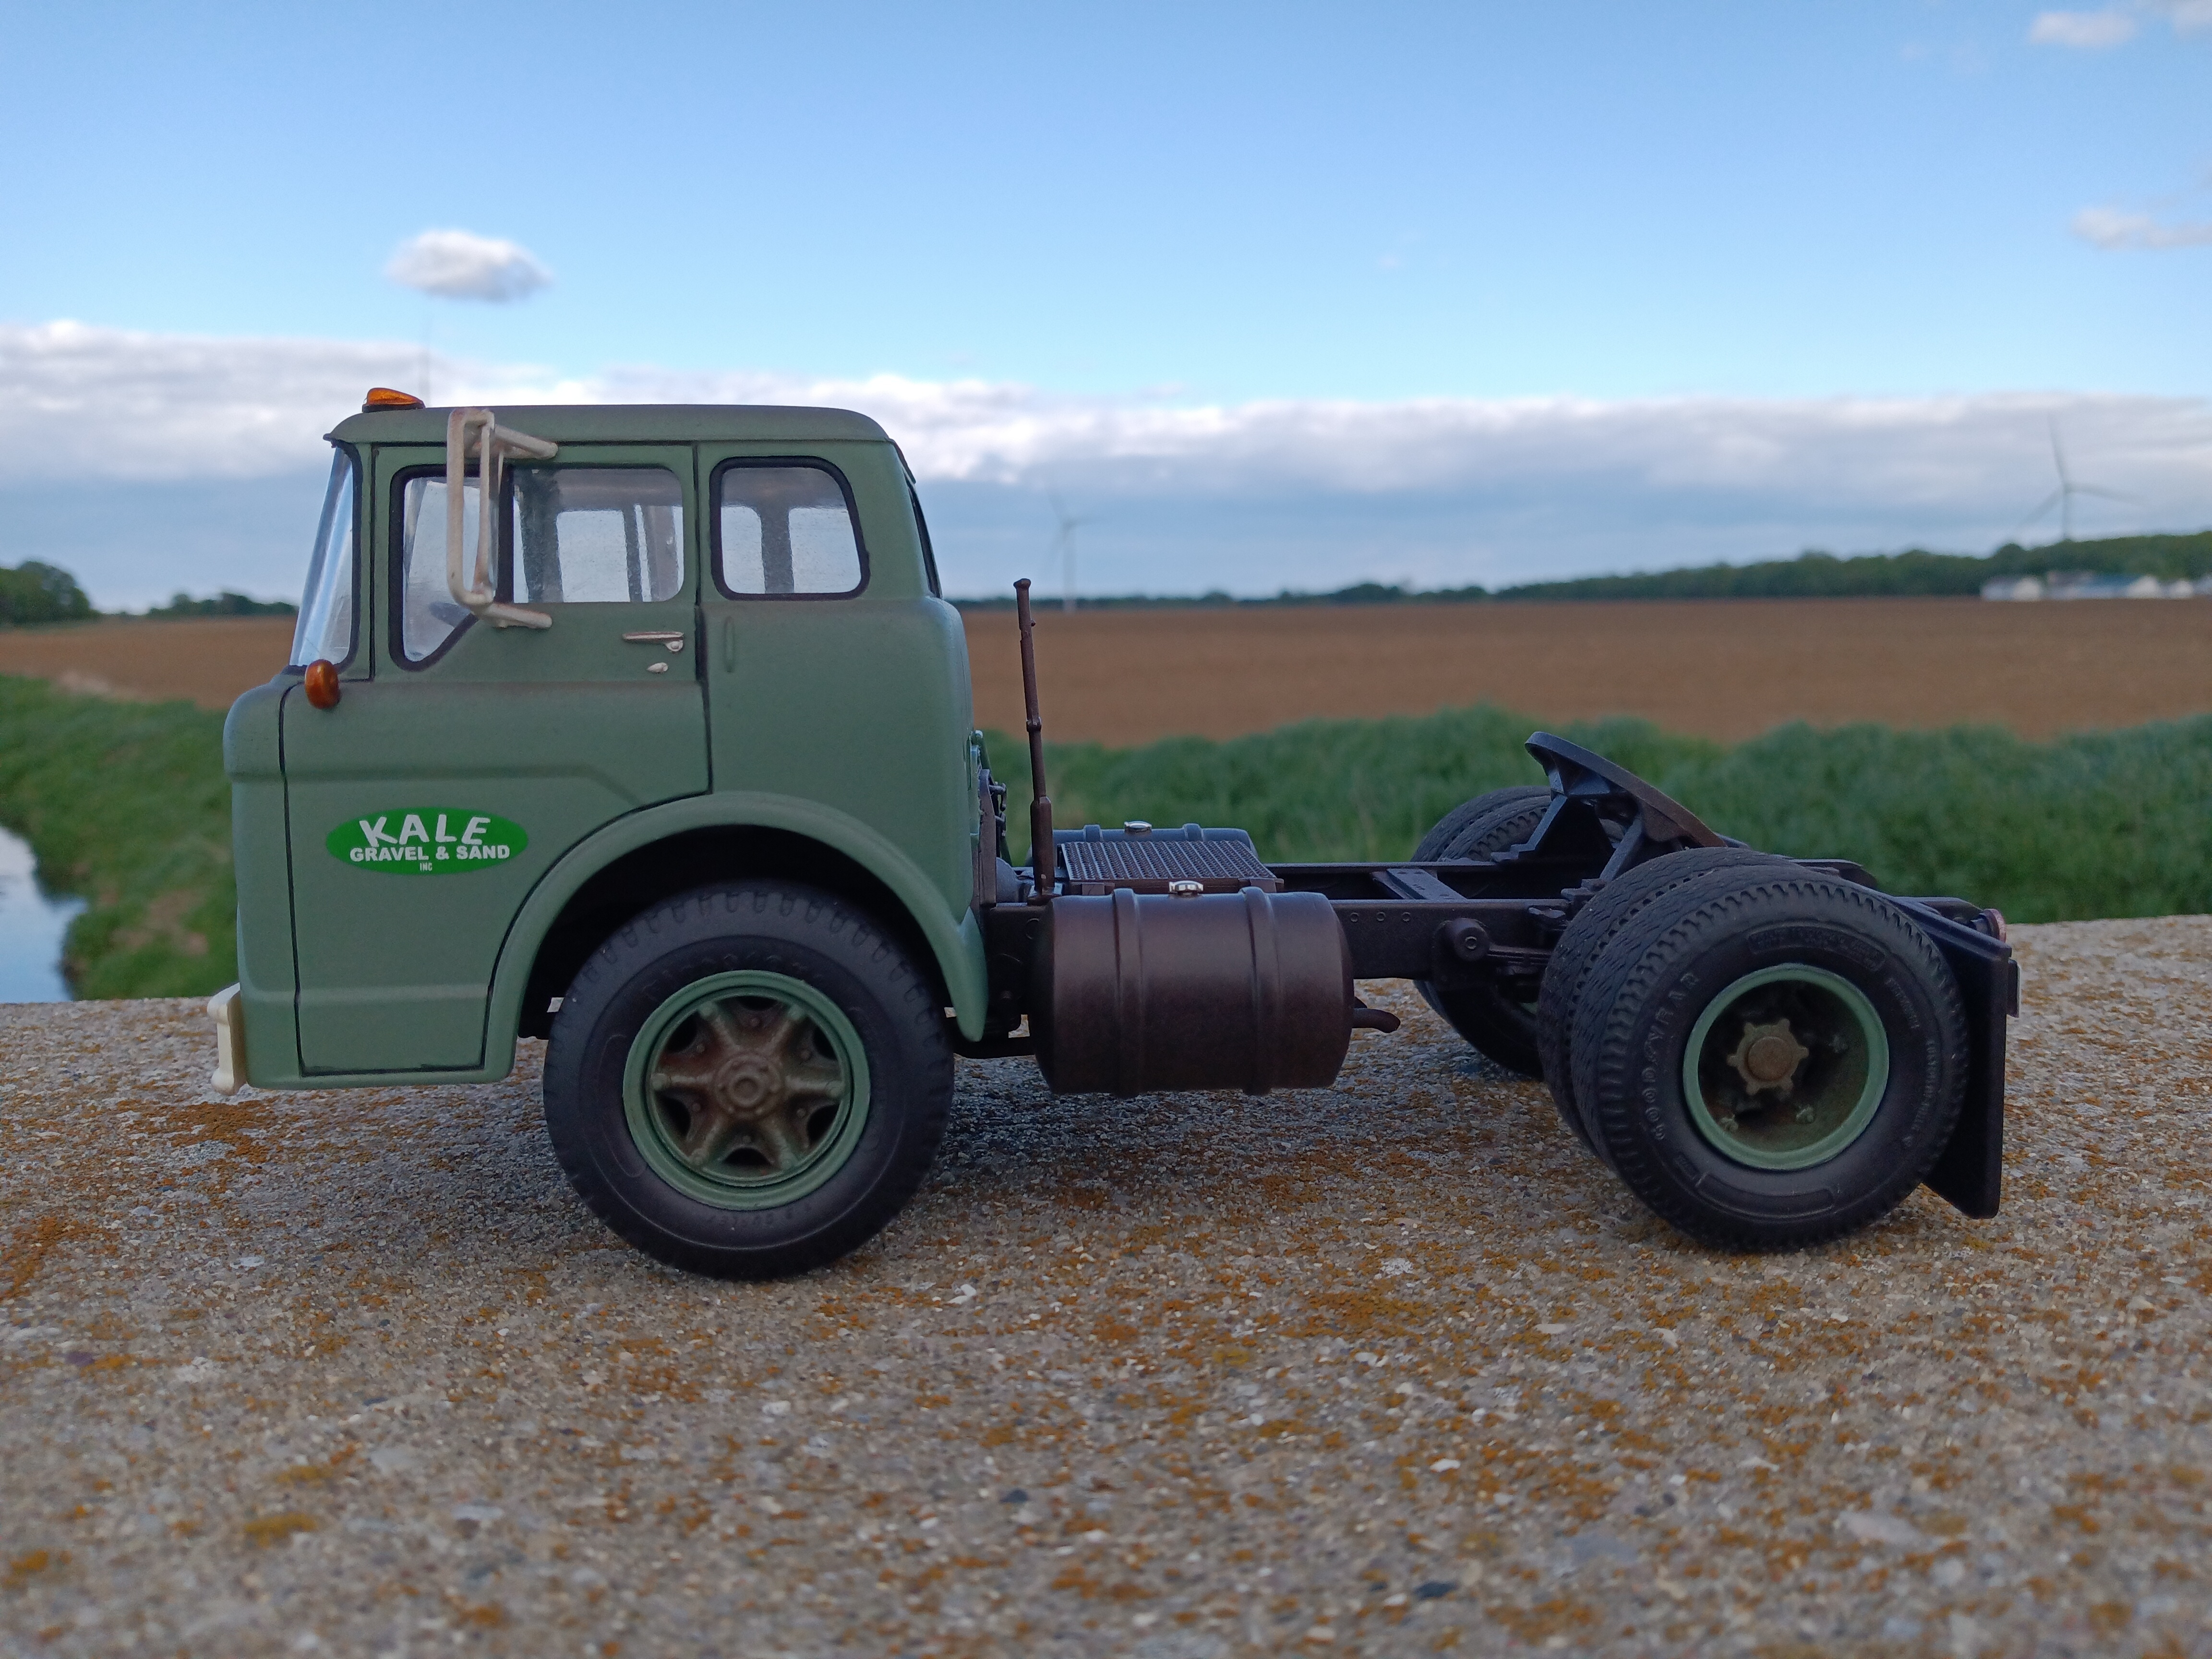
AMT tractor kit backdated with quad headlights, grille mounted parking lights, and a little shuffling of lamps and such. To represent the 15,000# front axle option, I modified some Mack cast six spokes. I also used Mack six spokes on the back. Front tires are Firestone floats from an AMT Autocar. Paint is the same Rust-Oleum Satin Moss Green left from the Dodge garbage truck, and the door logos are from a Gopher Racing sheet.

-
1
-
-
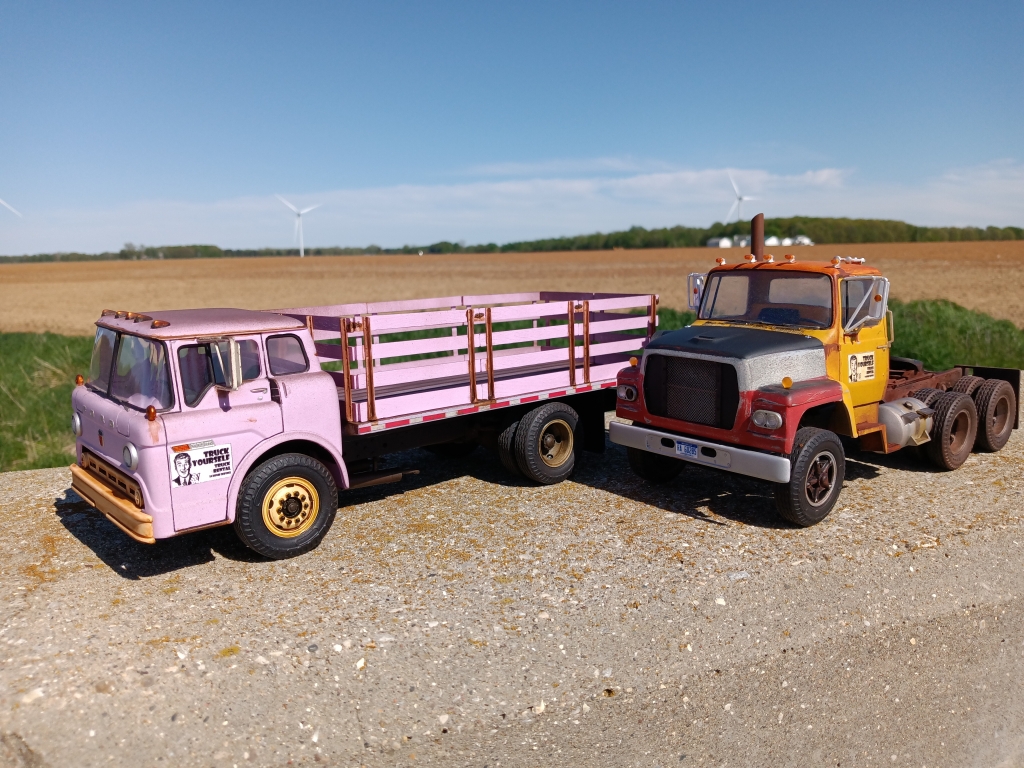
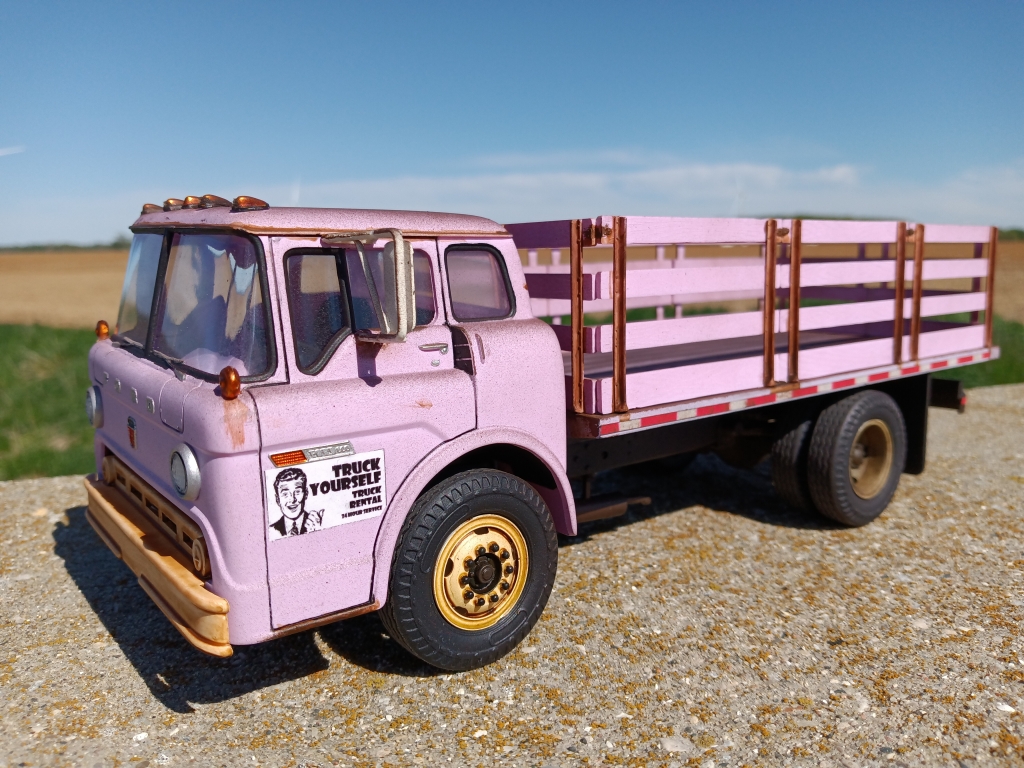
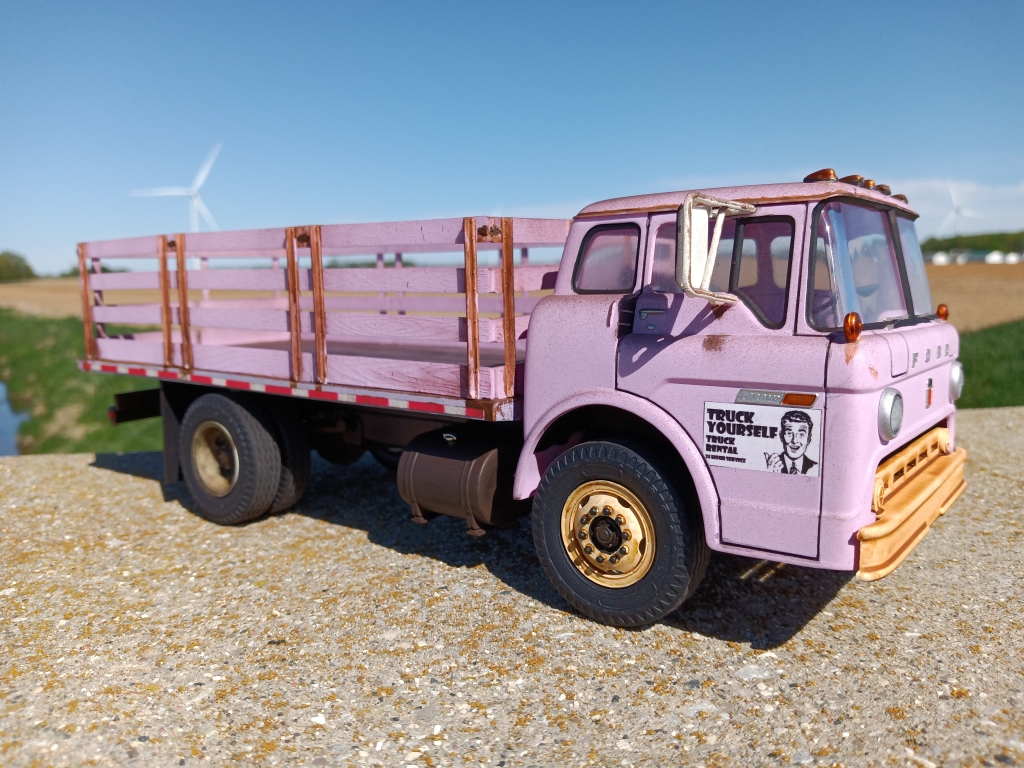
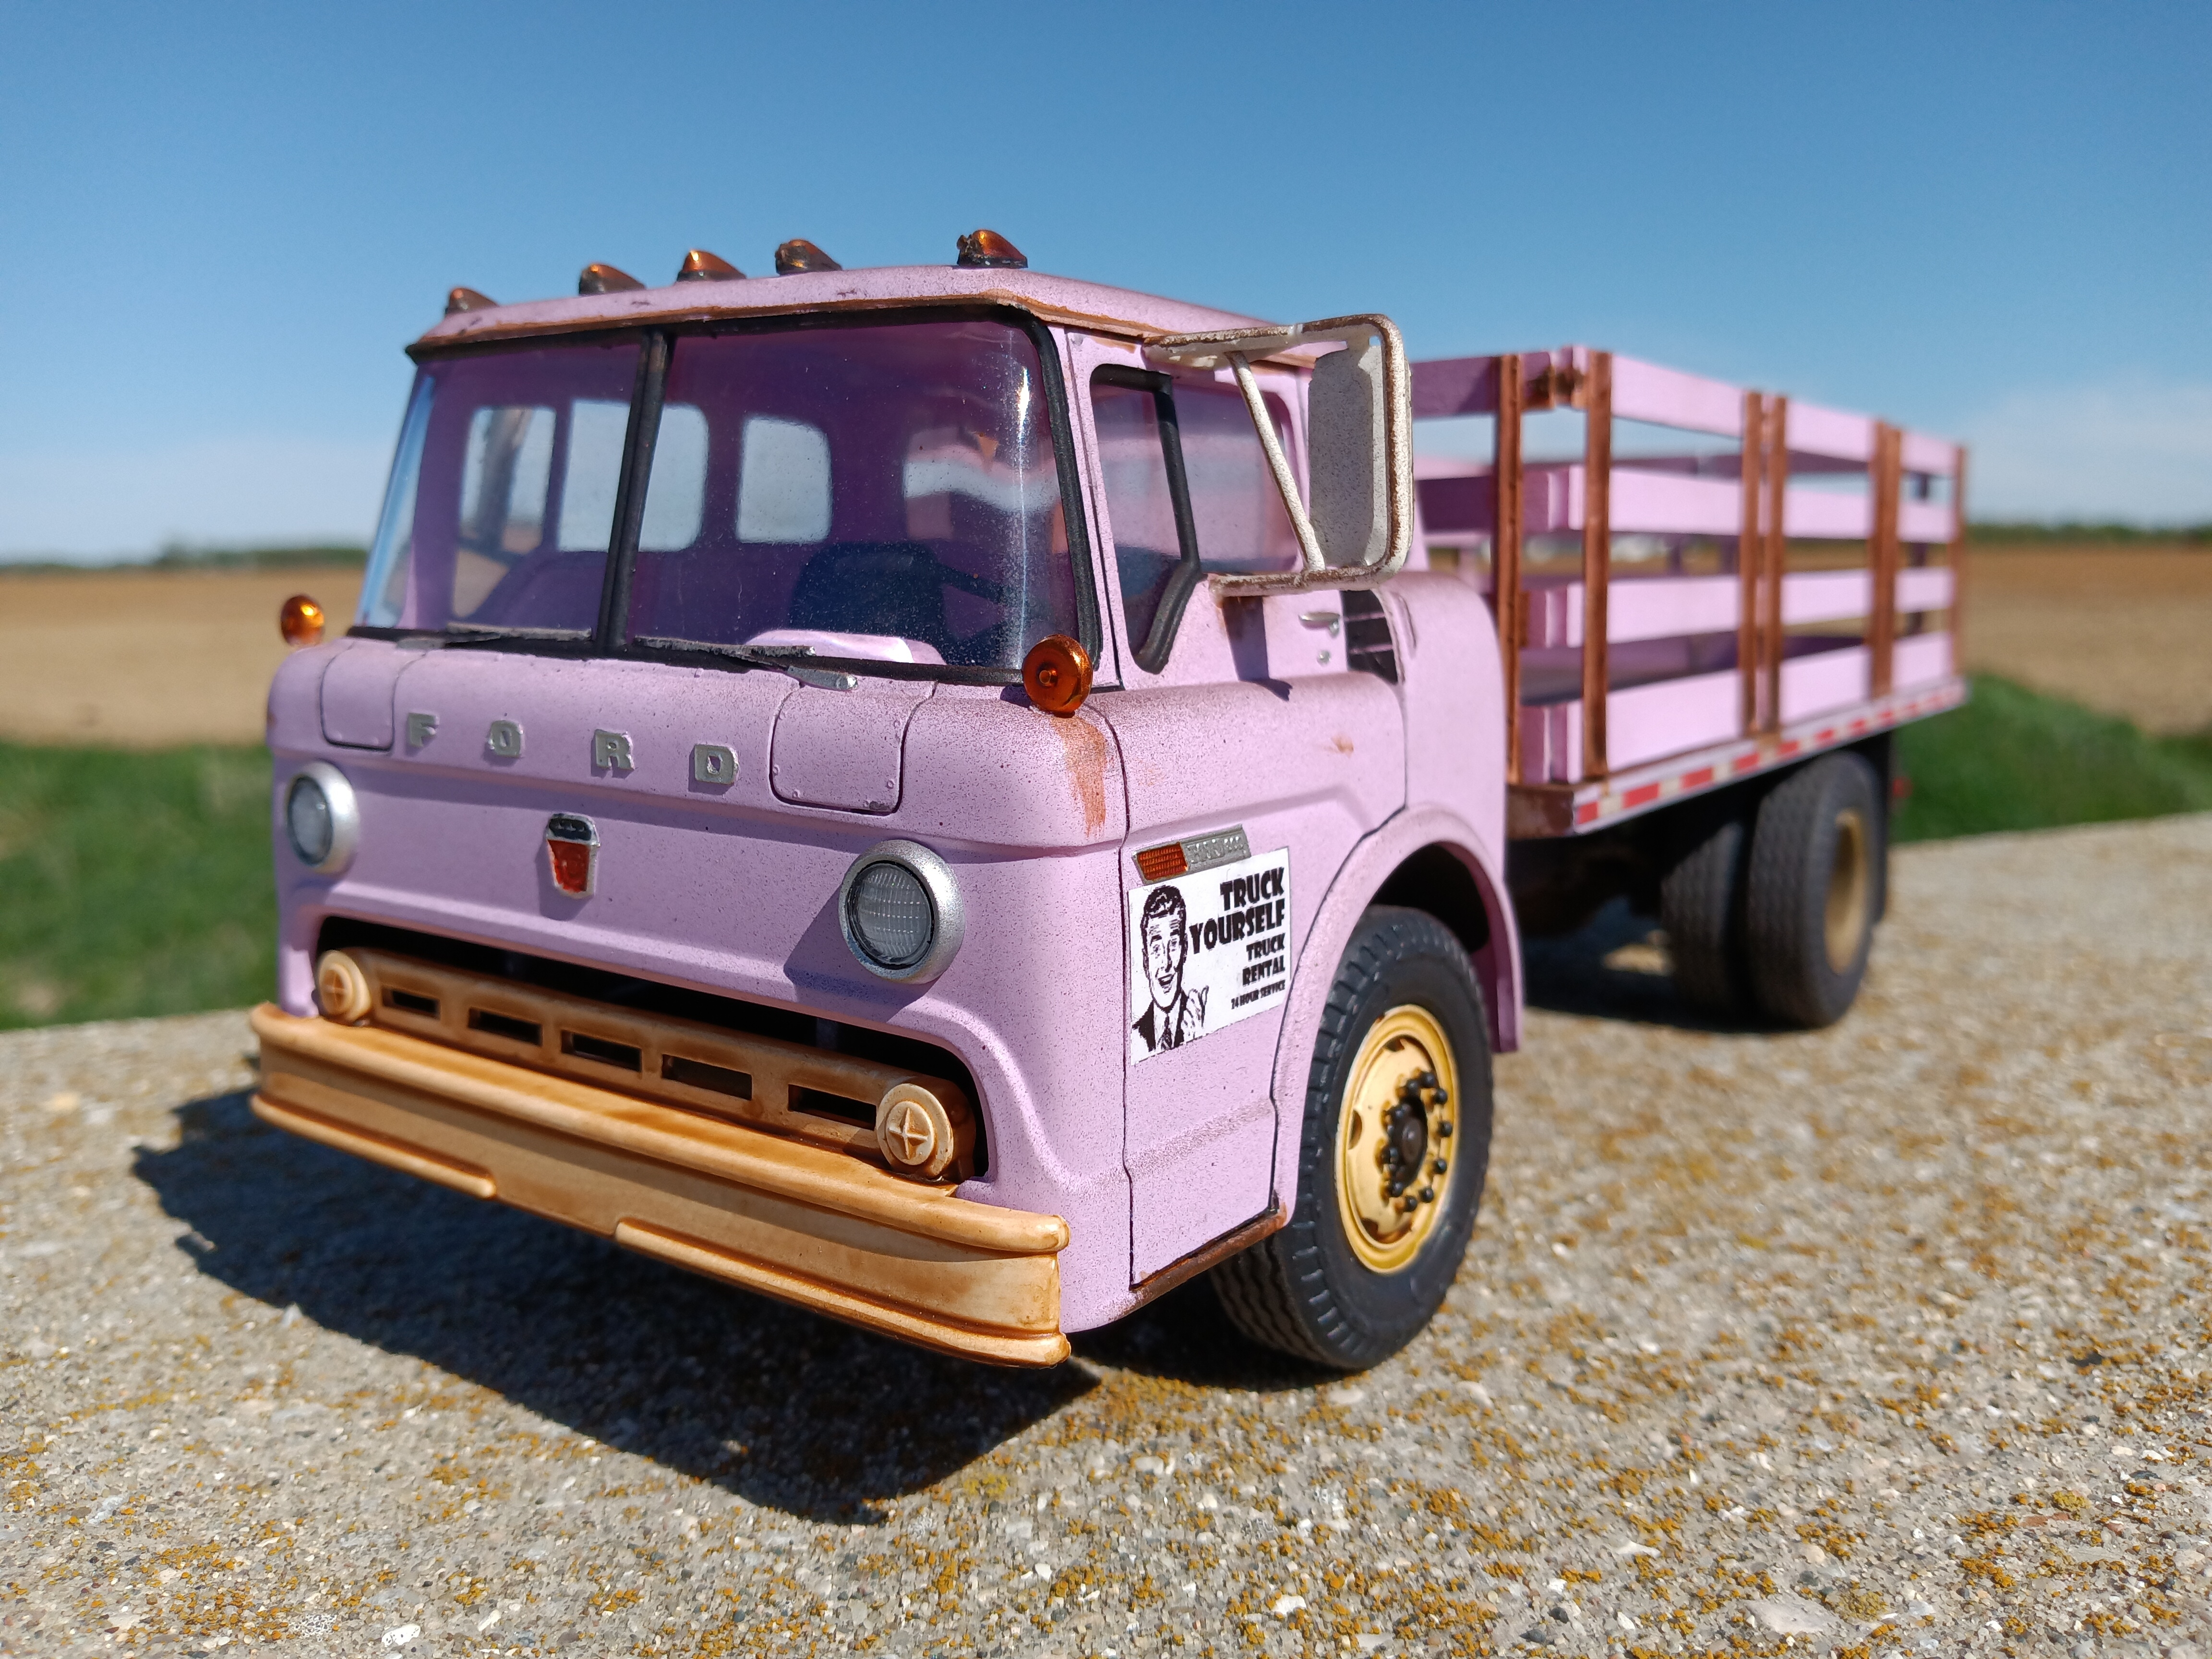
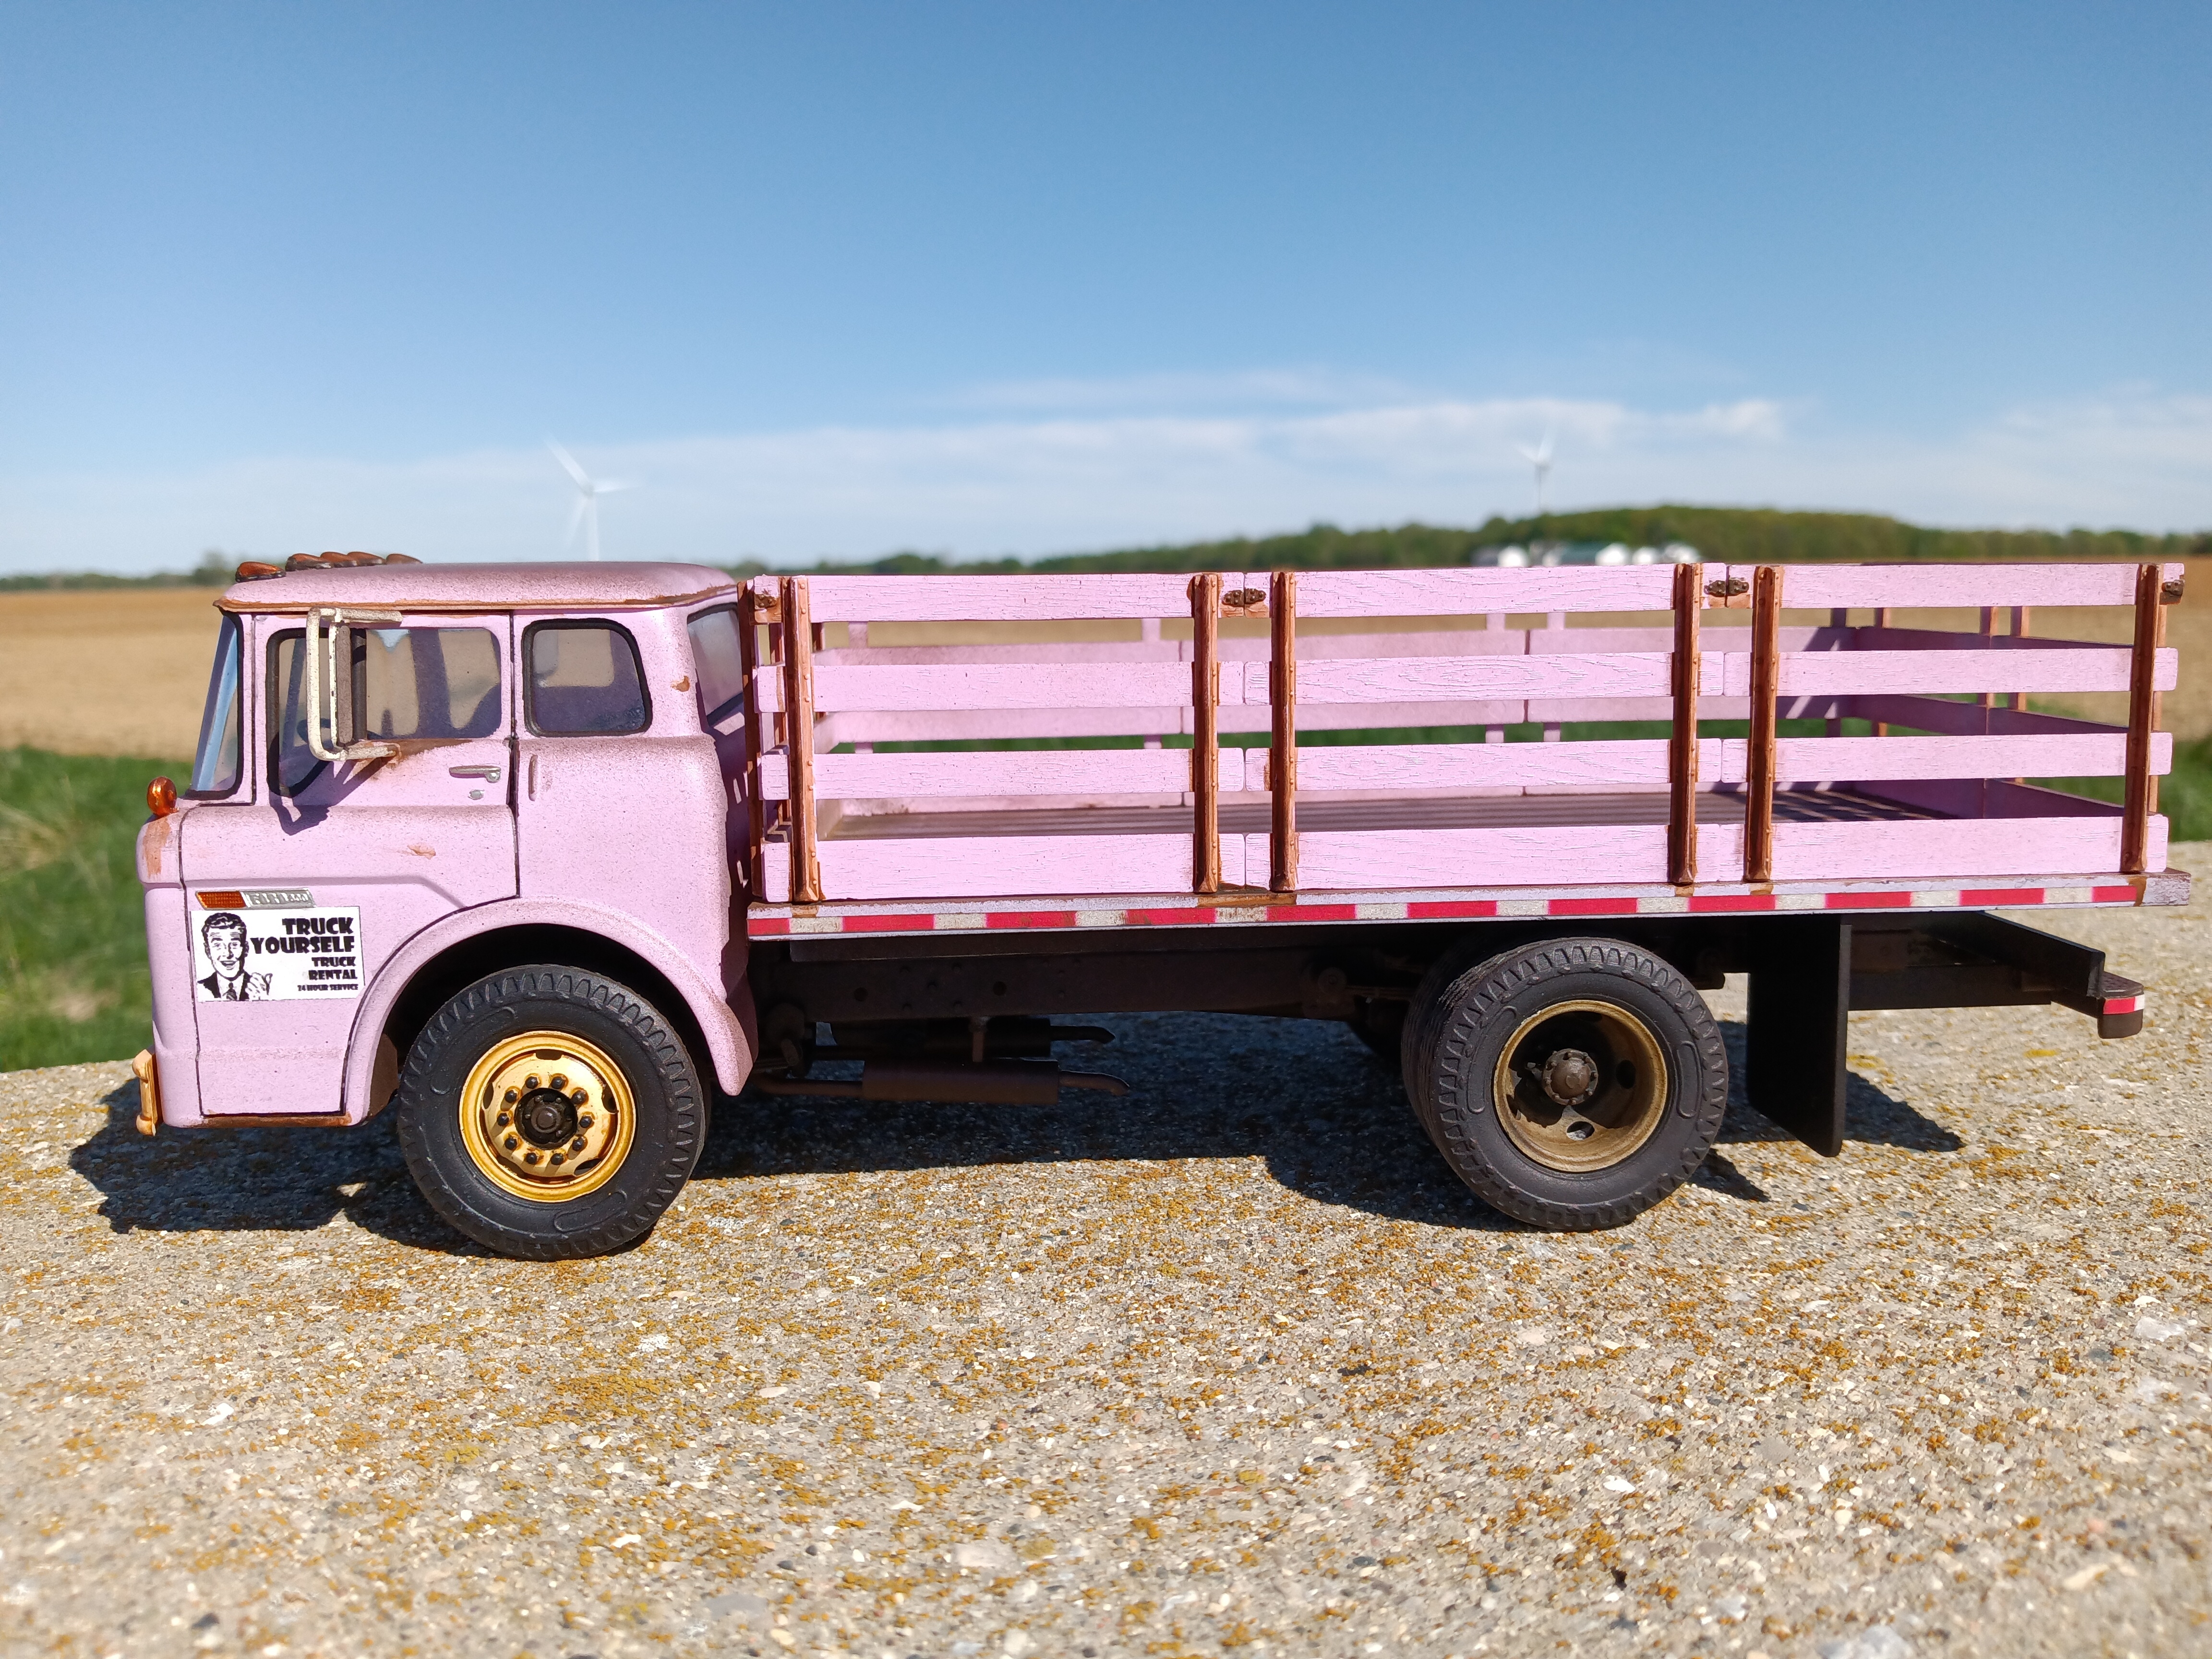
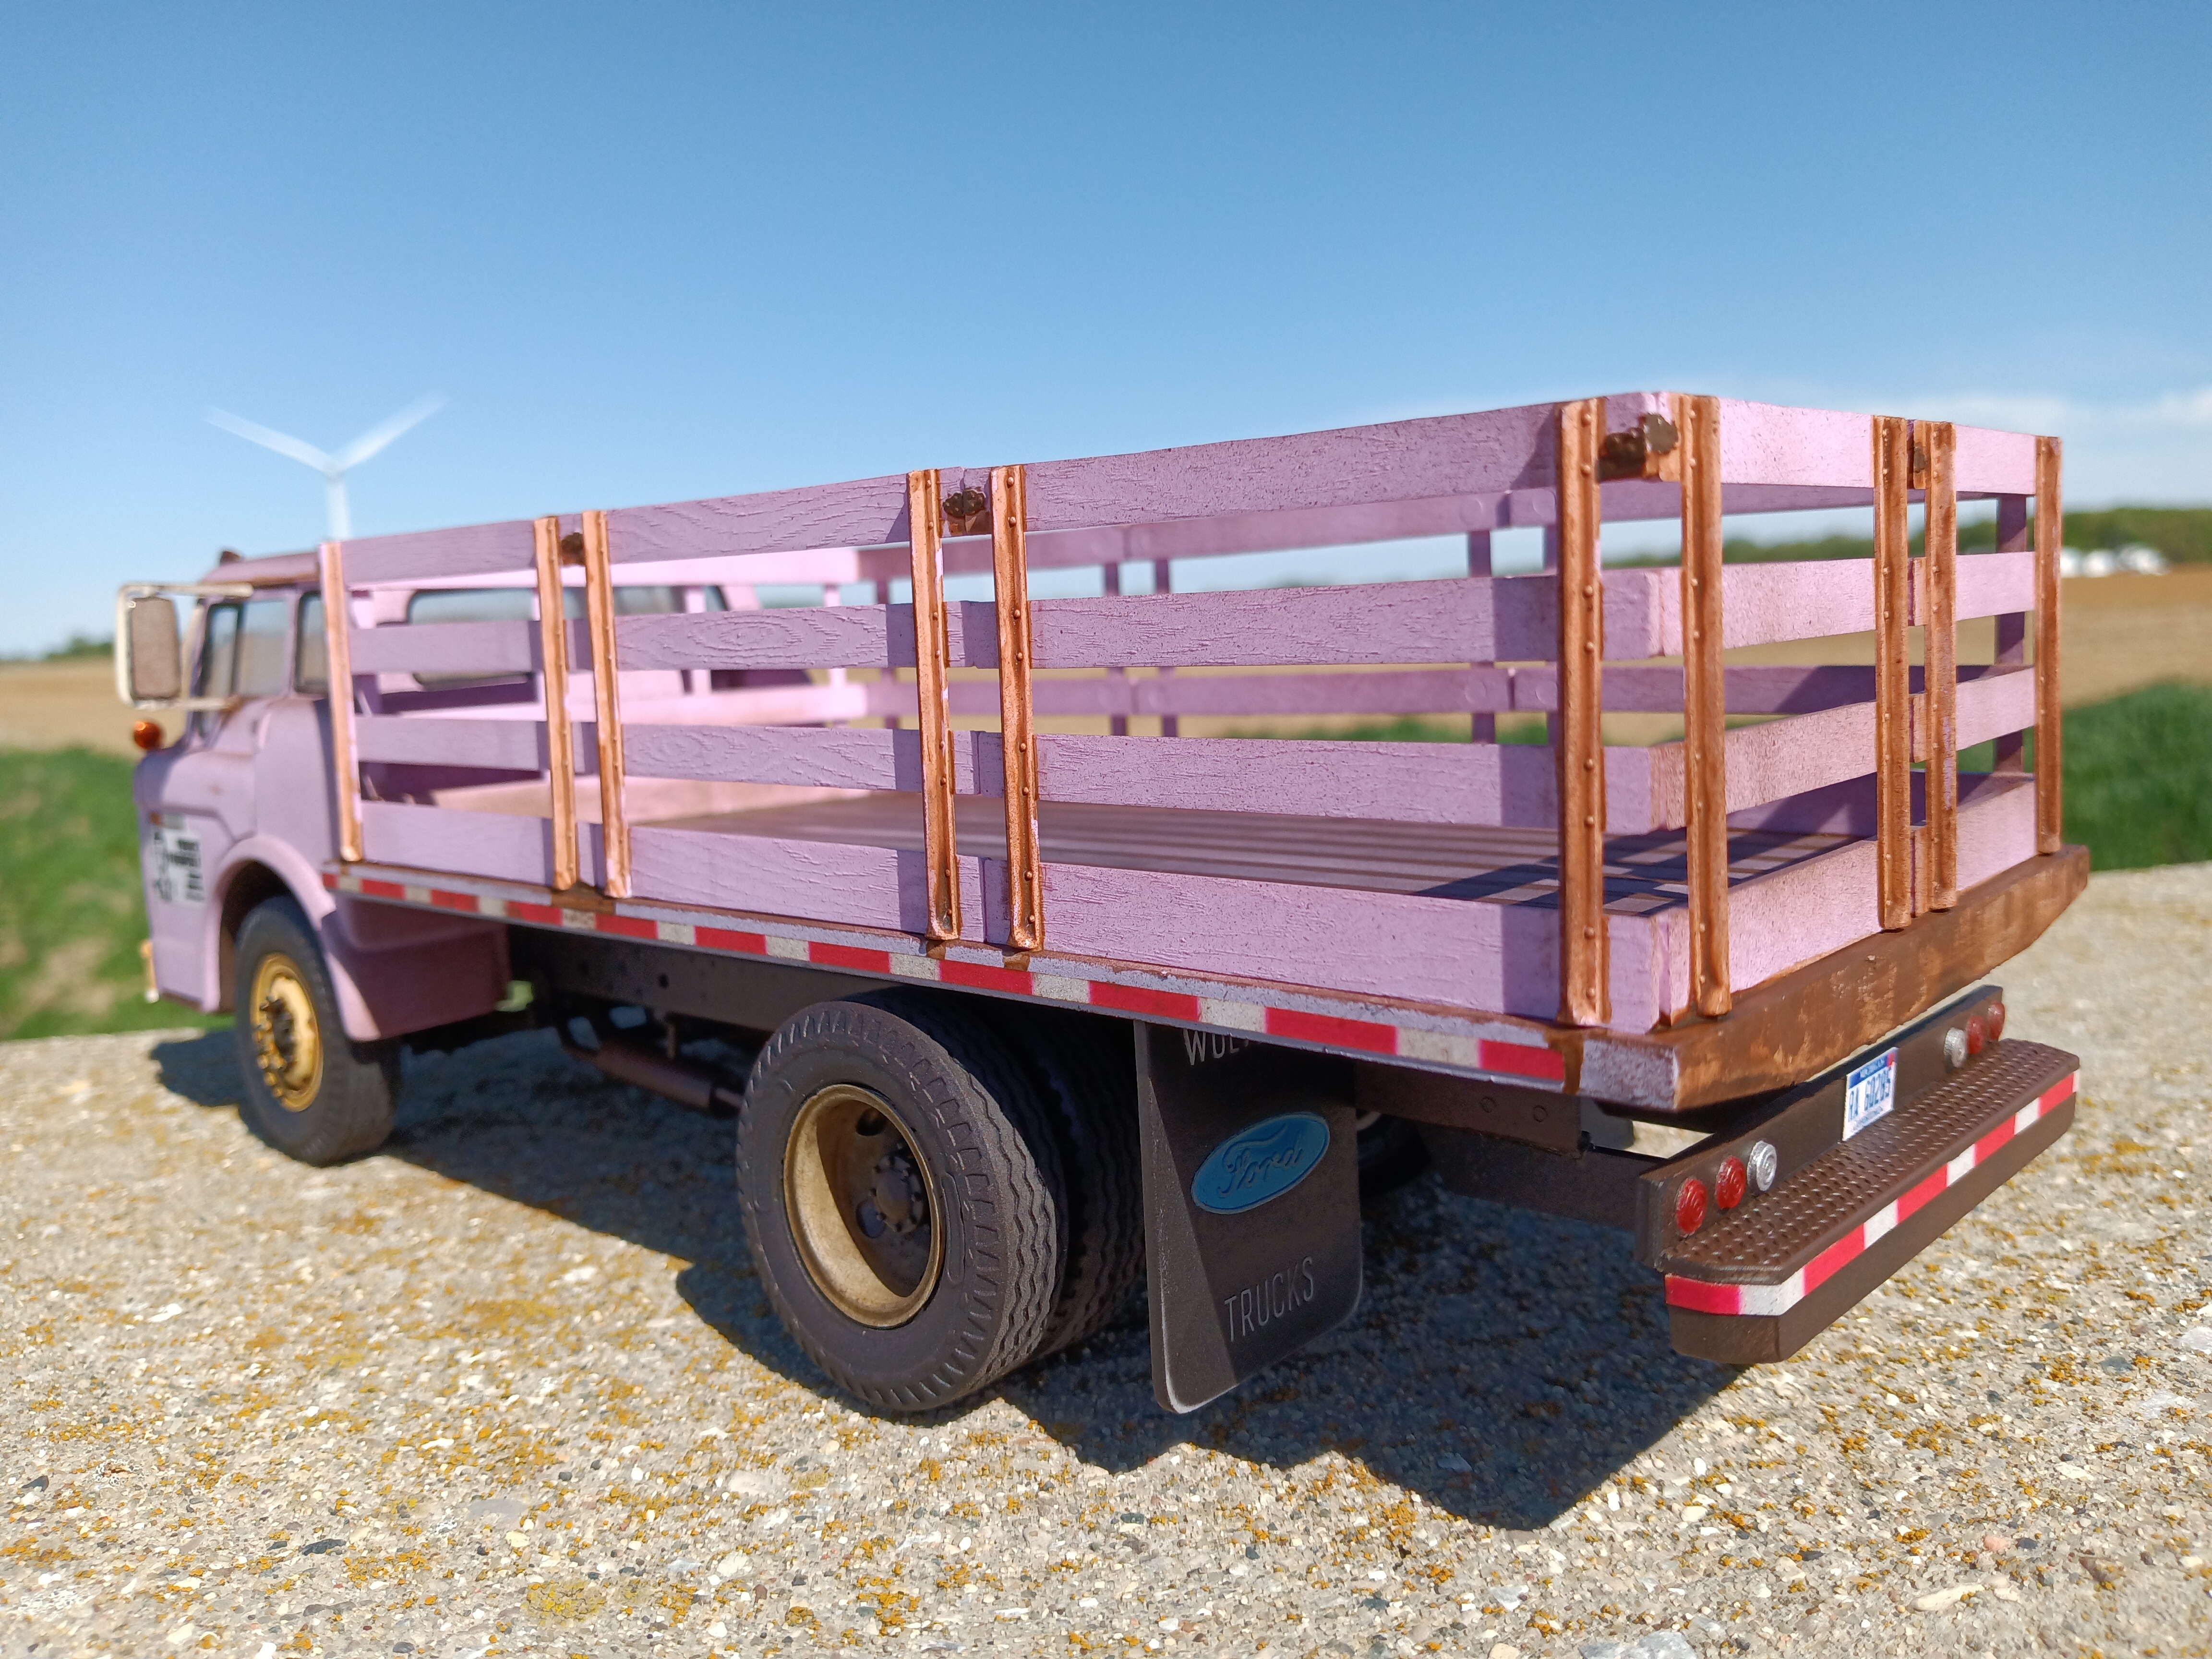
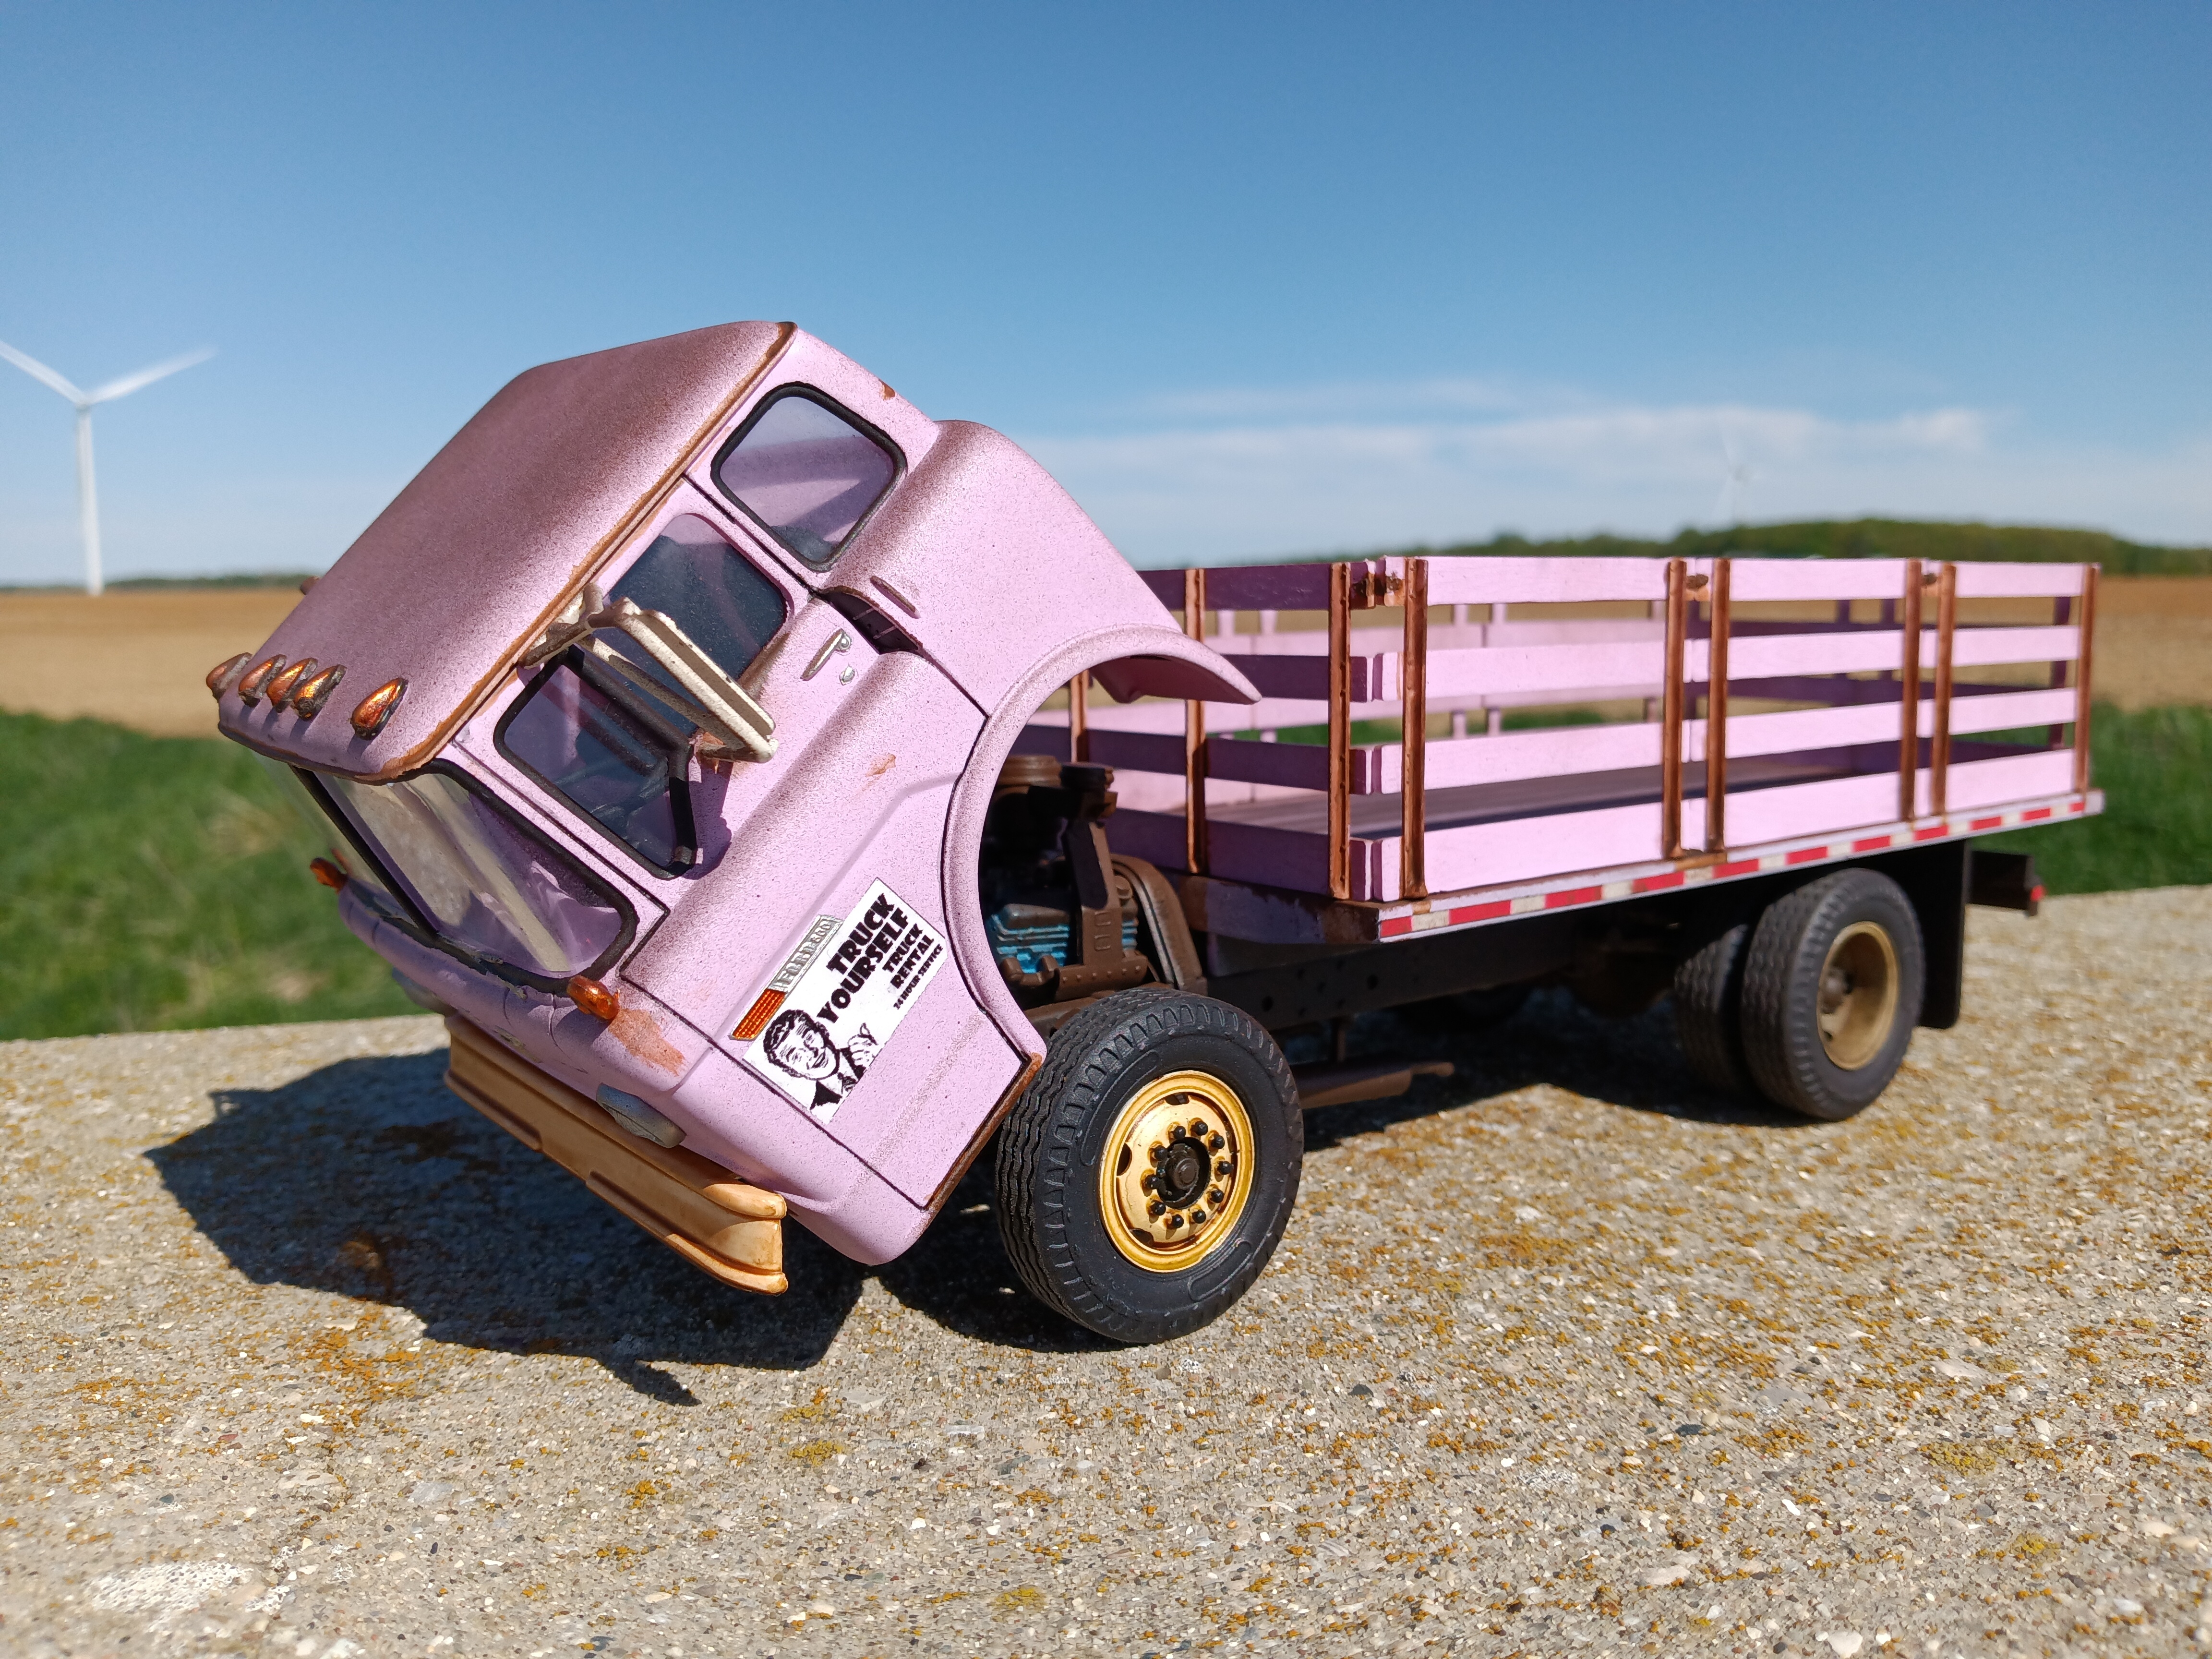
Basically made up of spare parts from four different incomplete AMT kits merged into one finished model. Paint is Krylon Matte Soft Lilac and the door graphics are home printed.


-
3
-
-
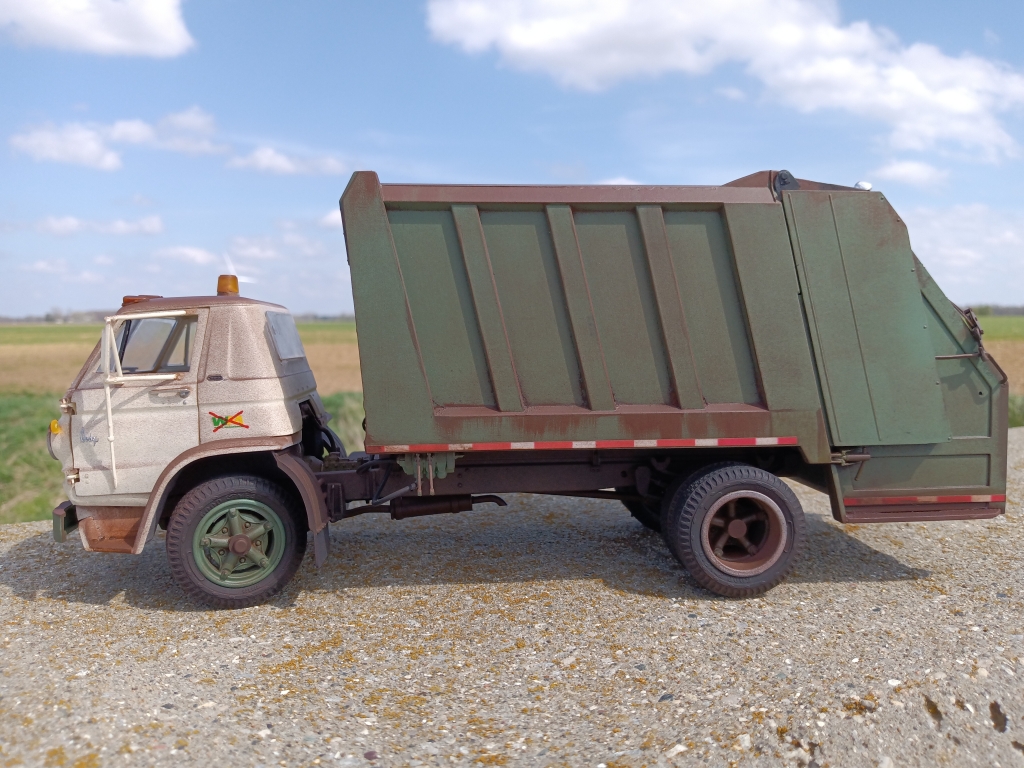
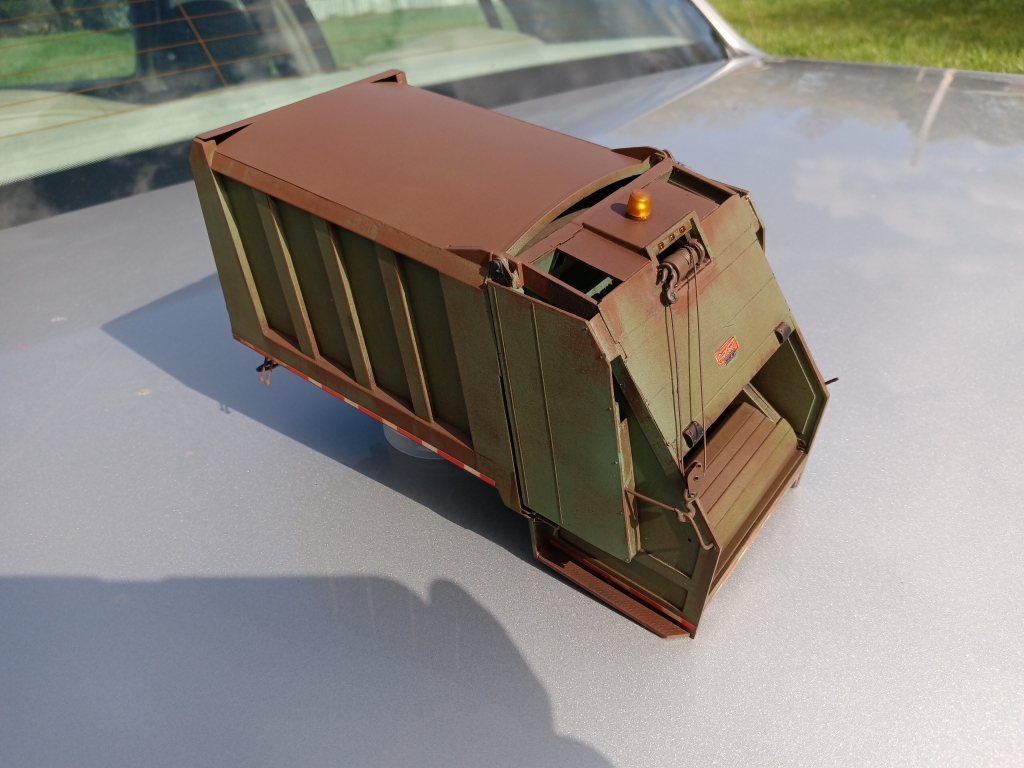
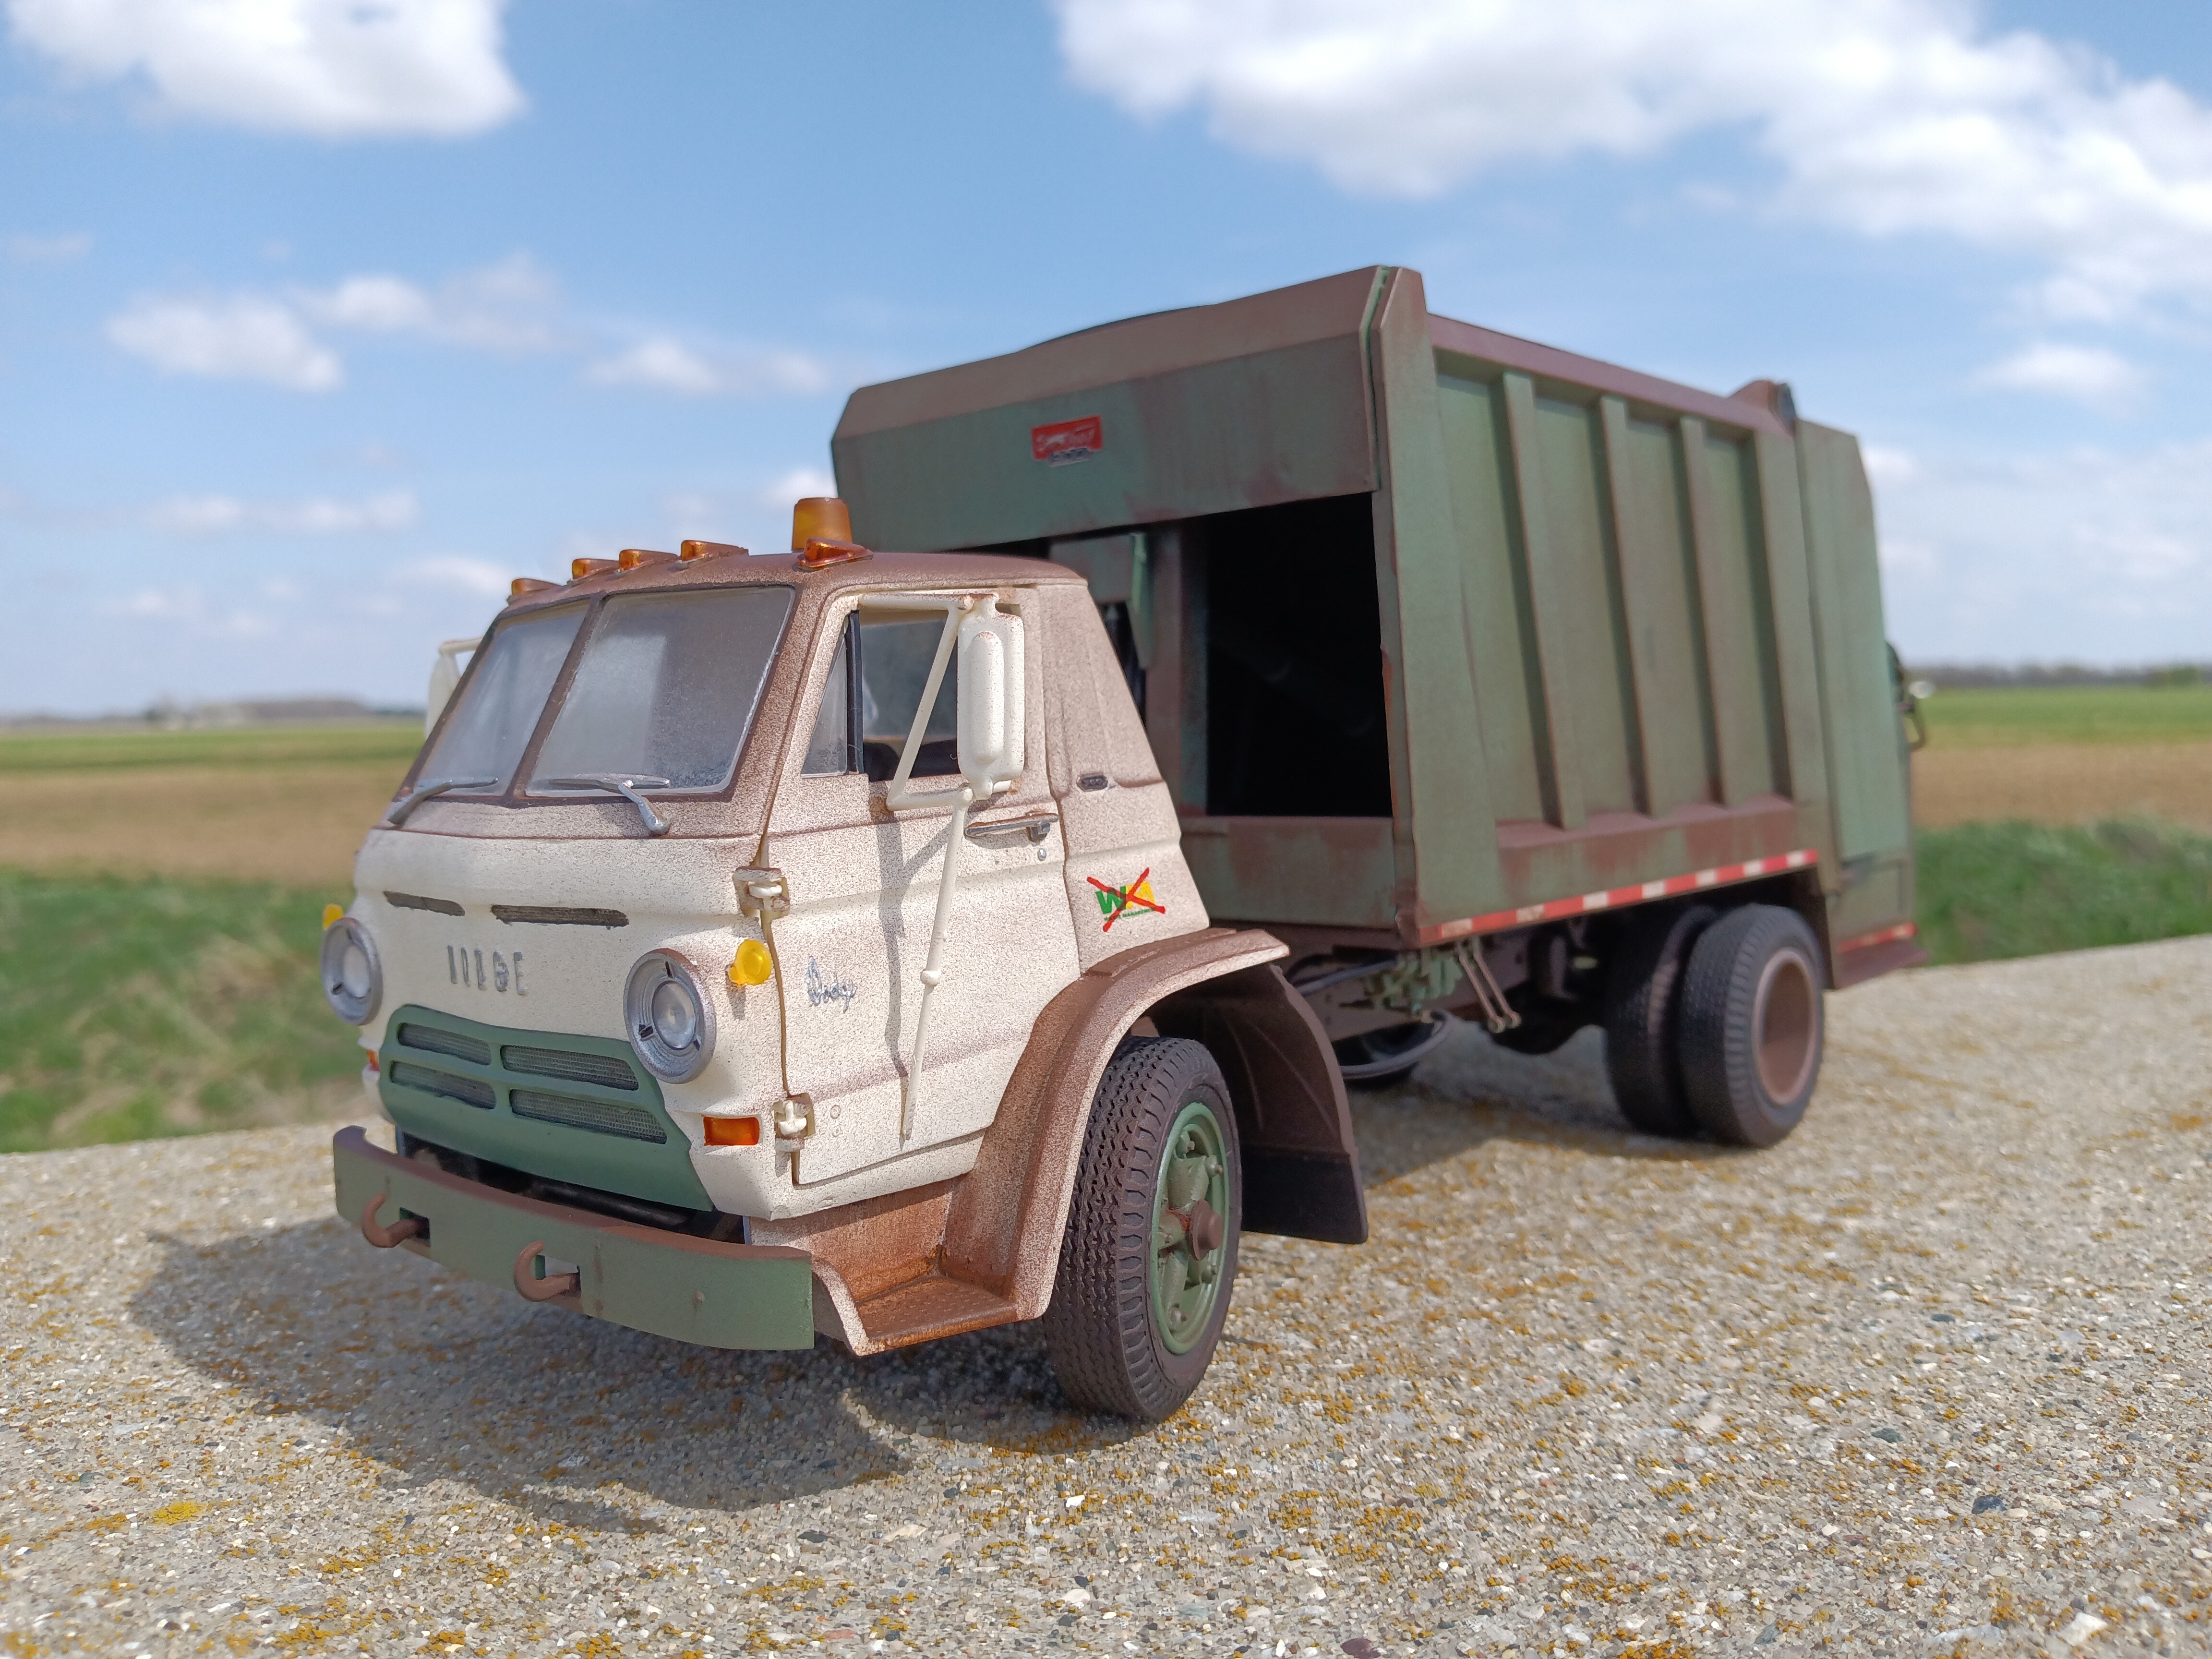
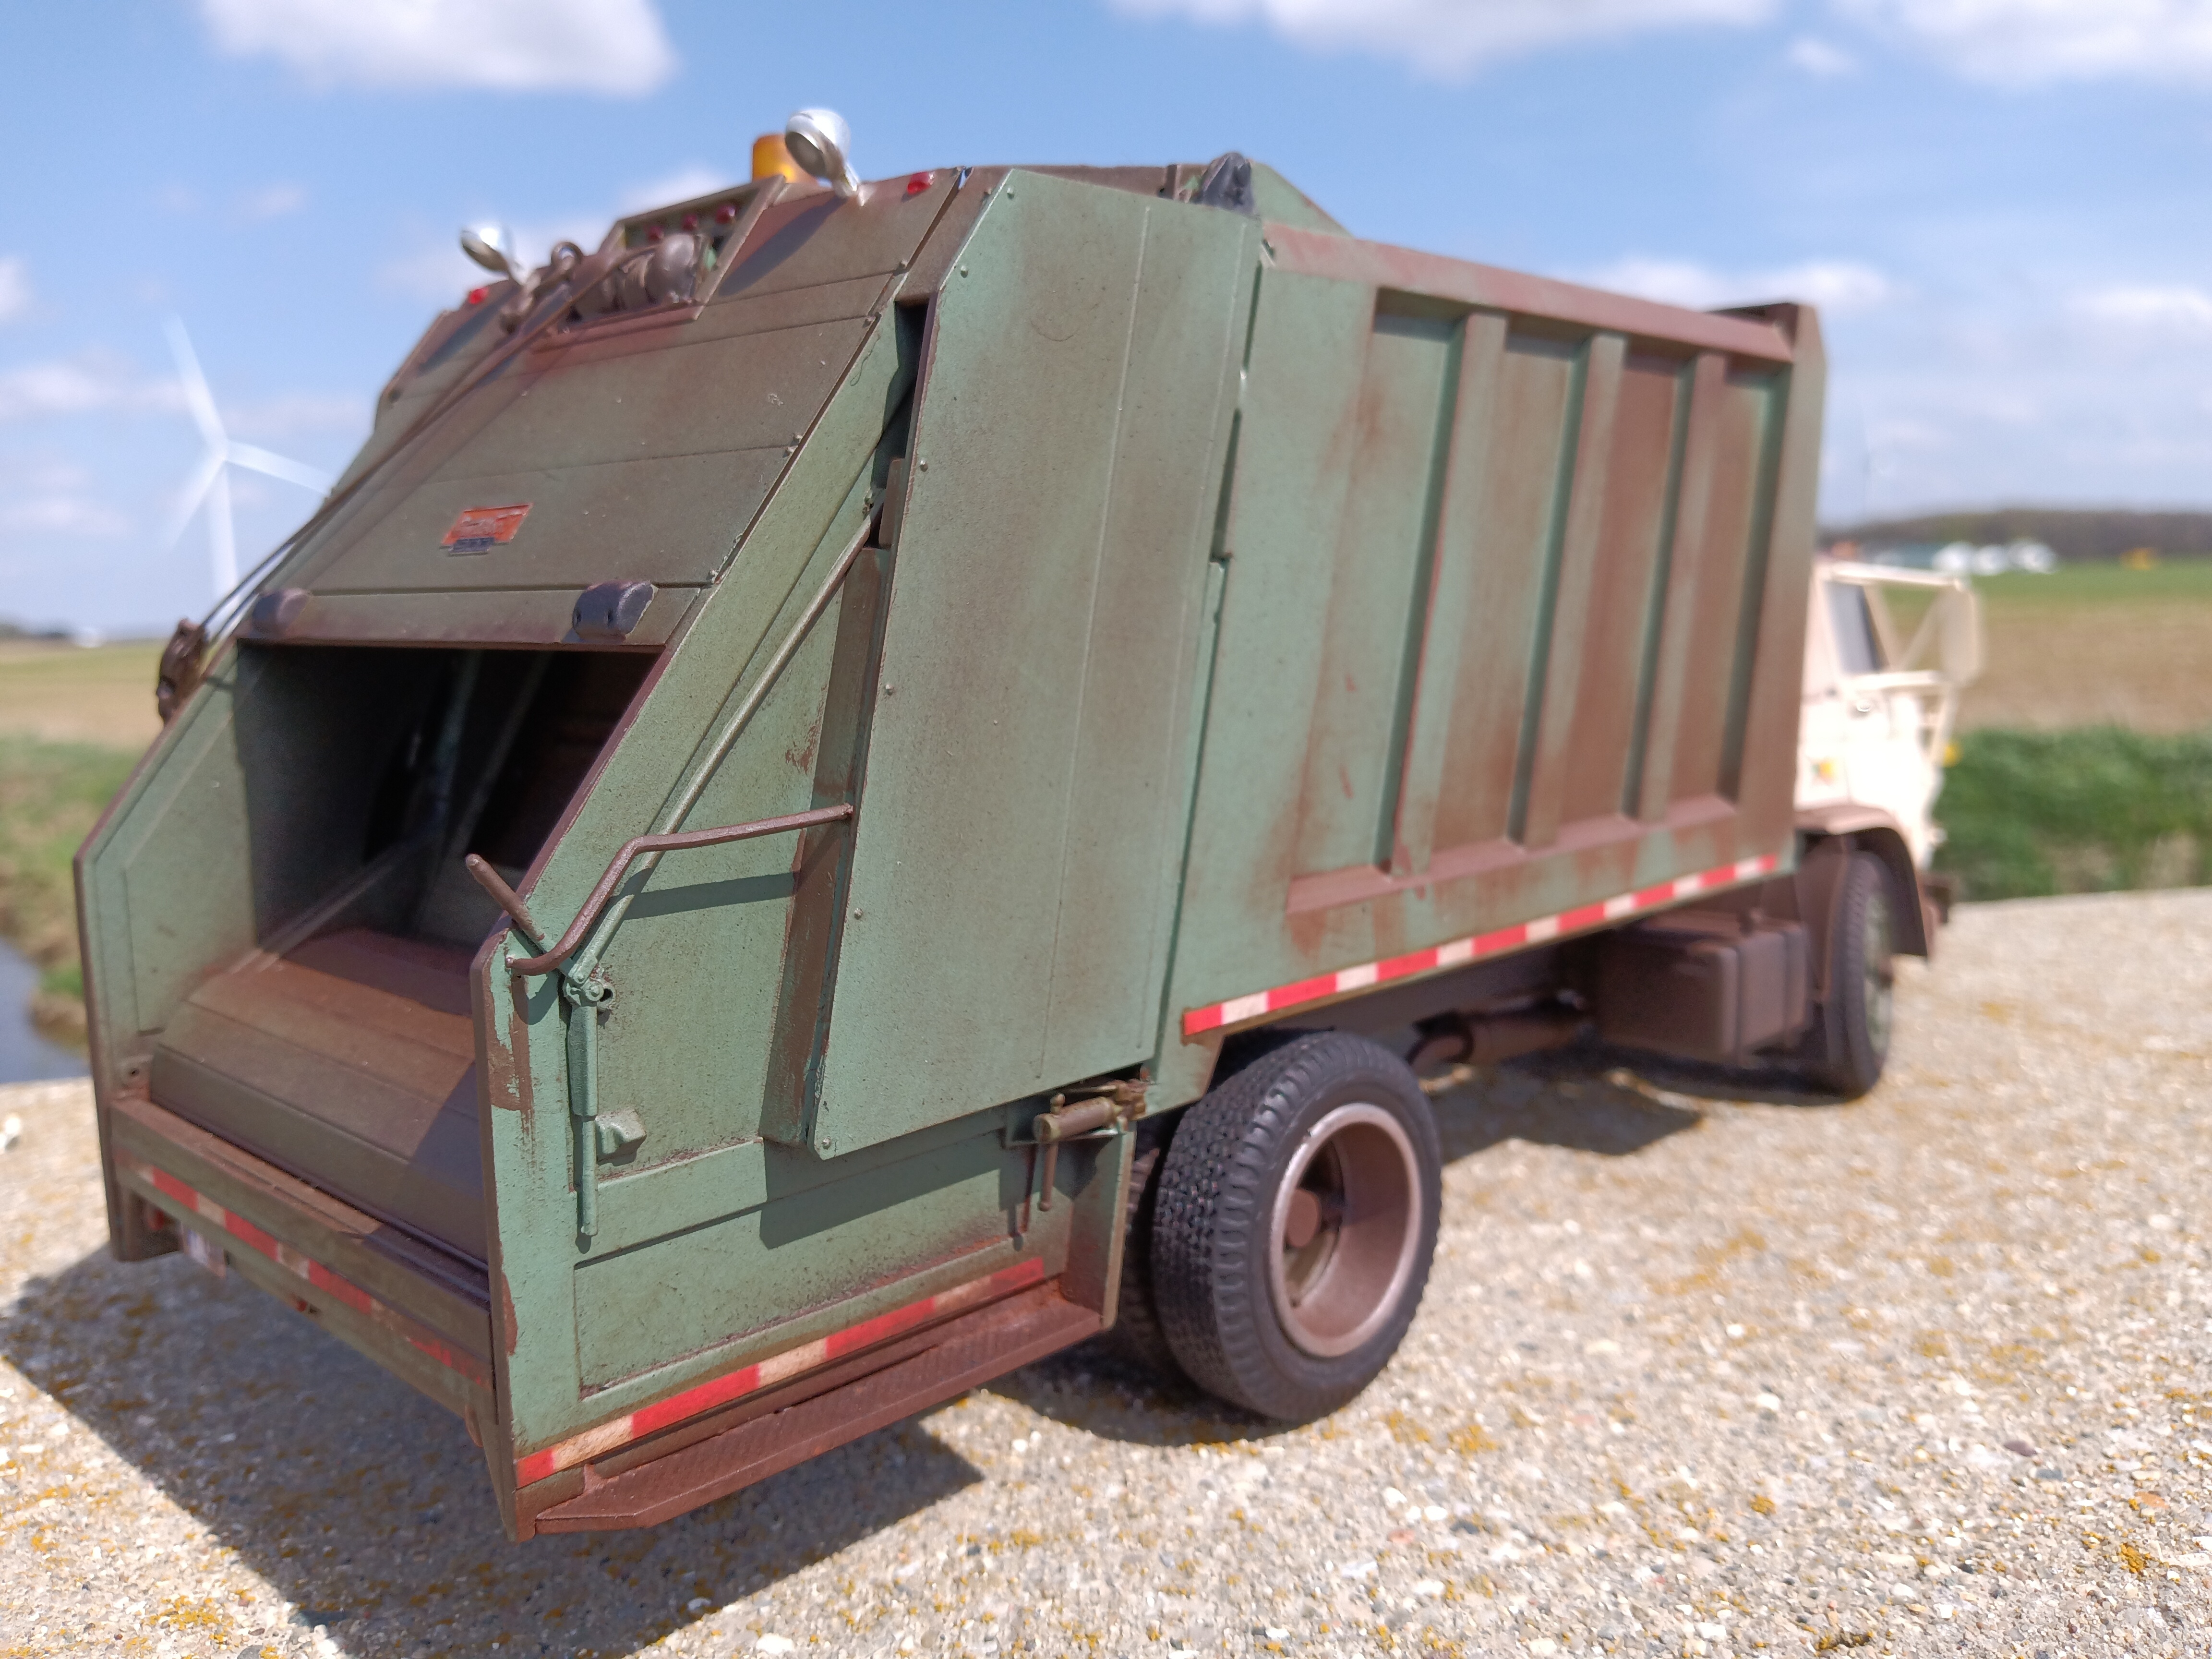
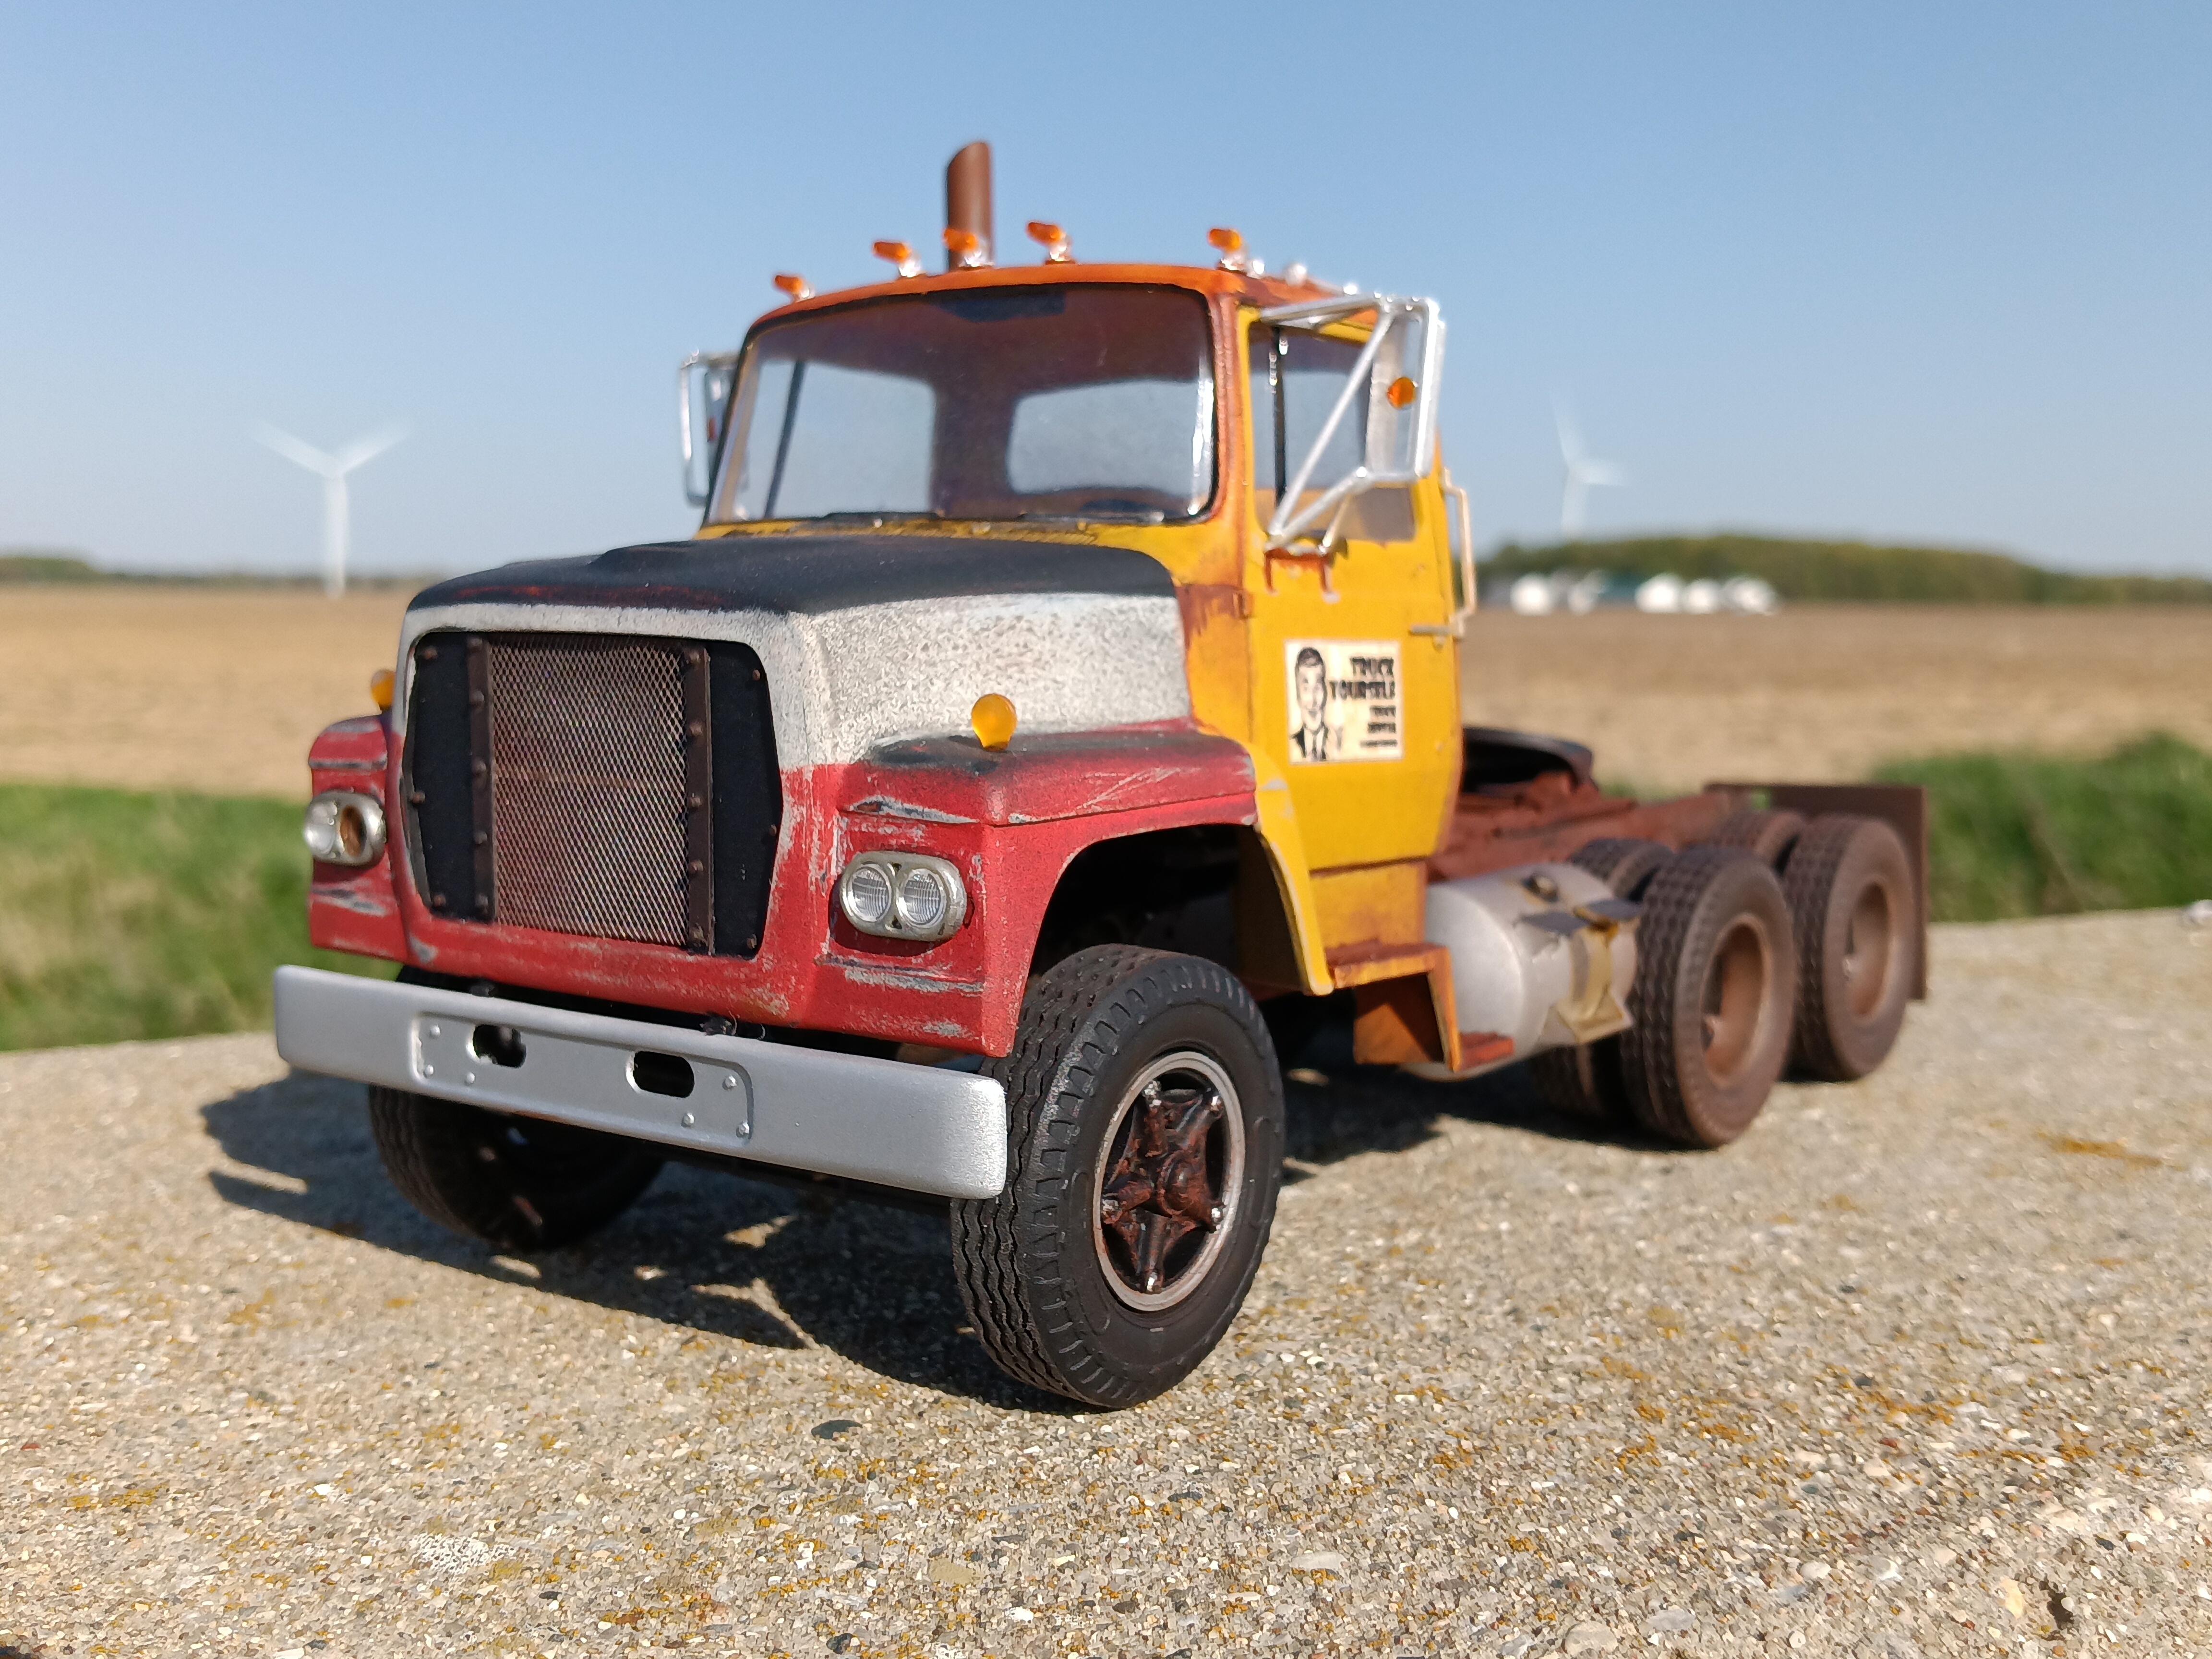
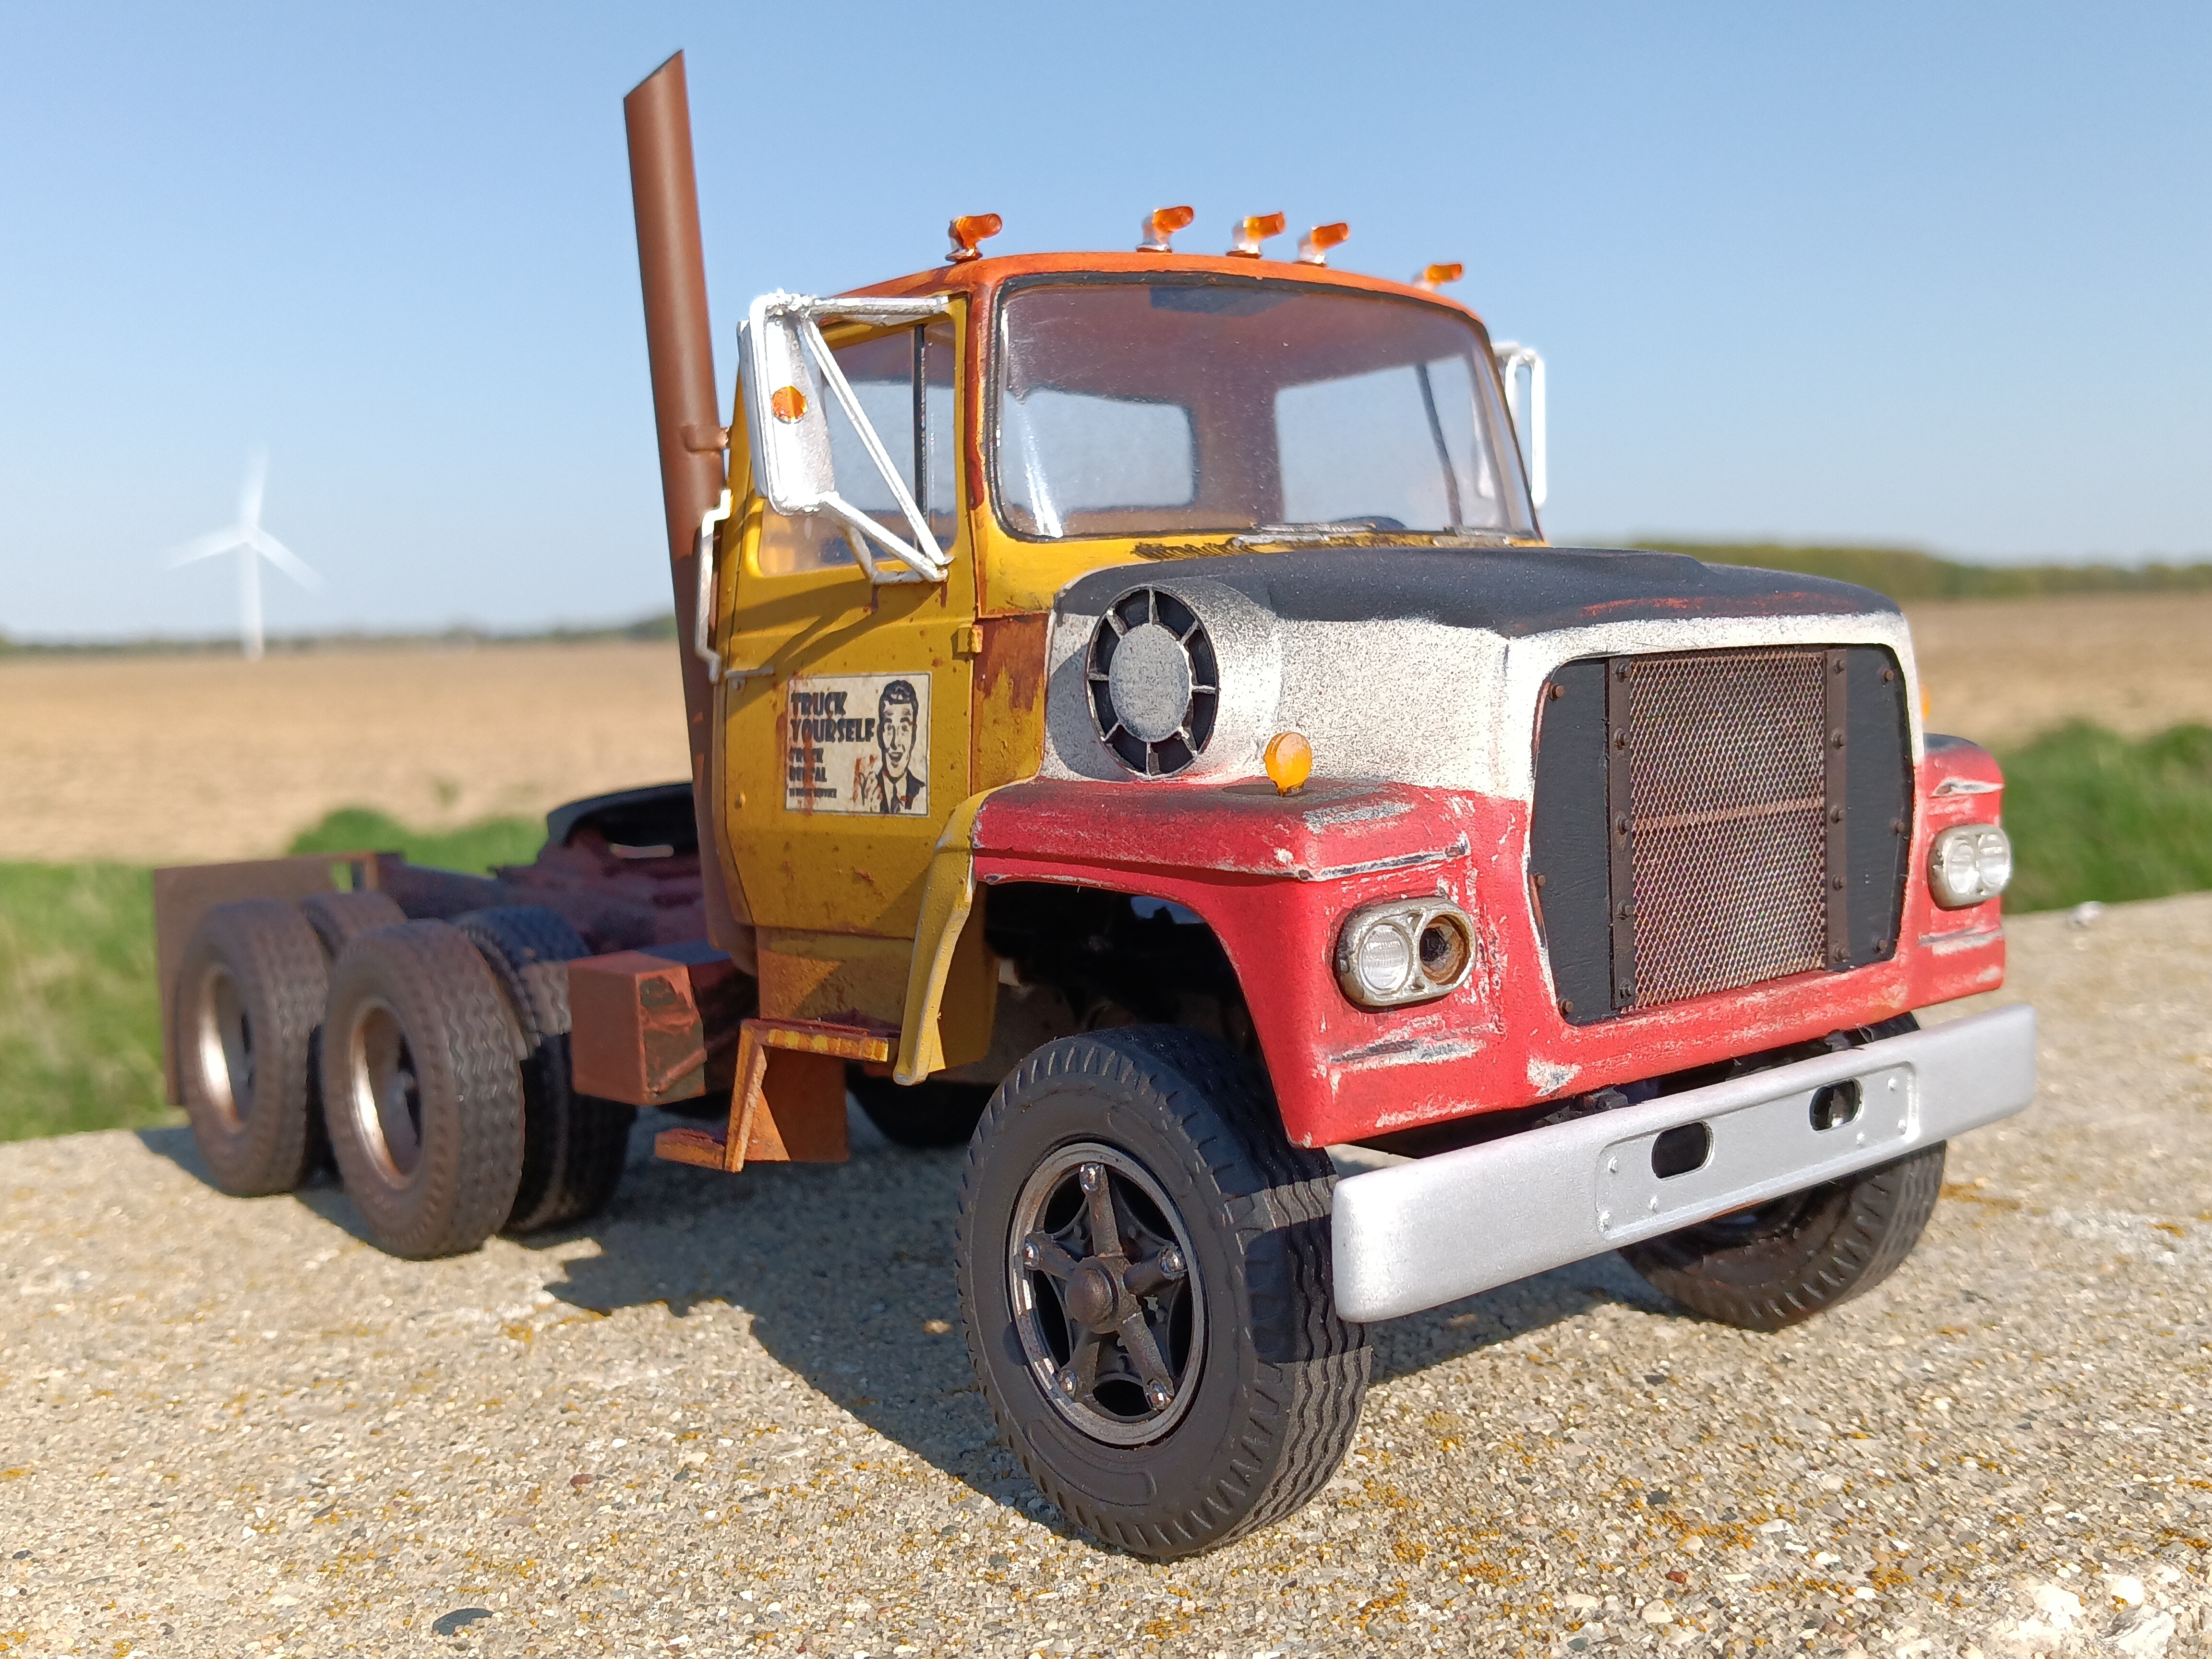
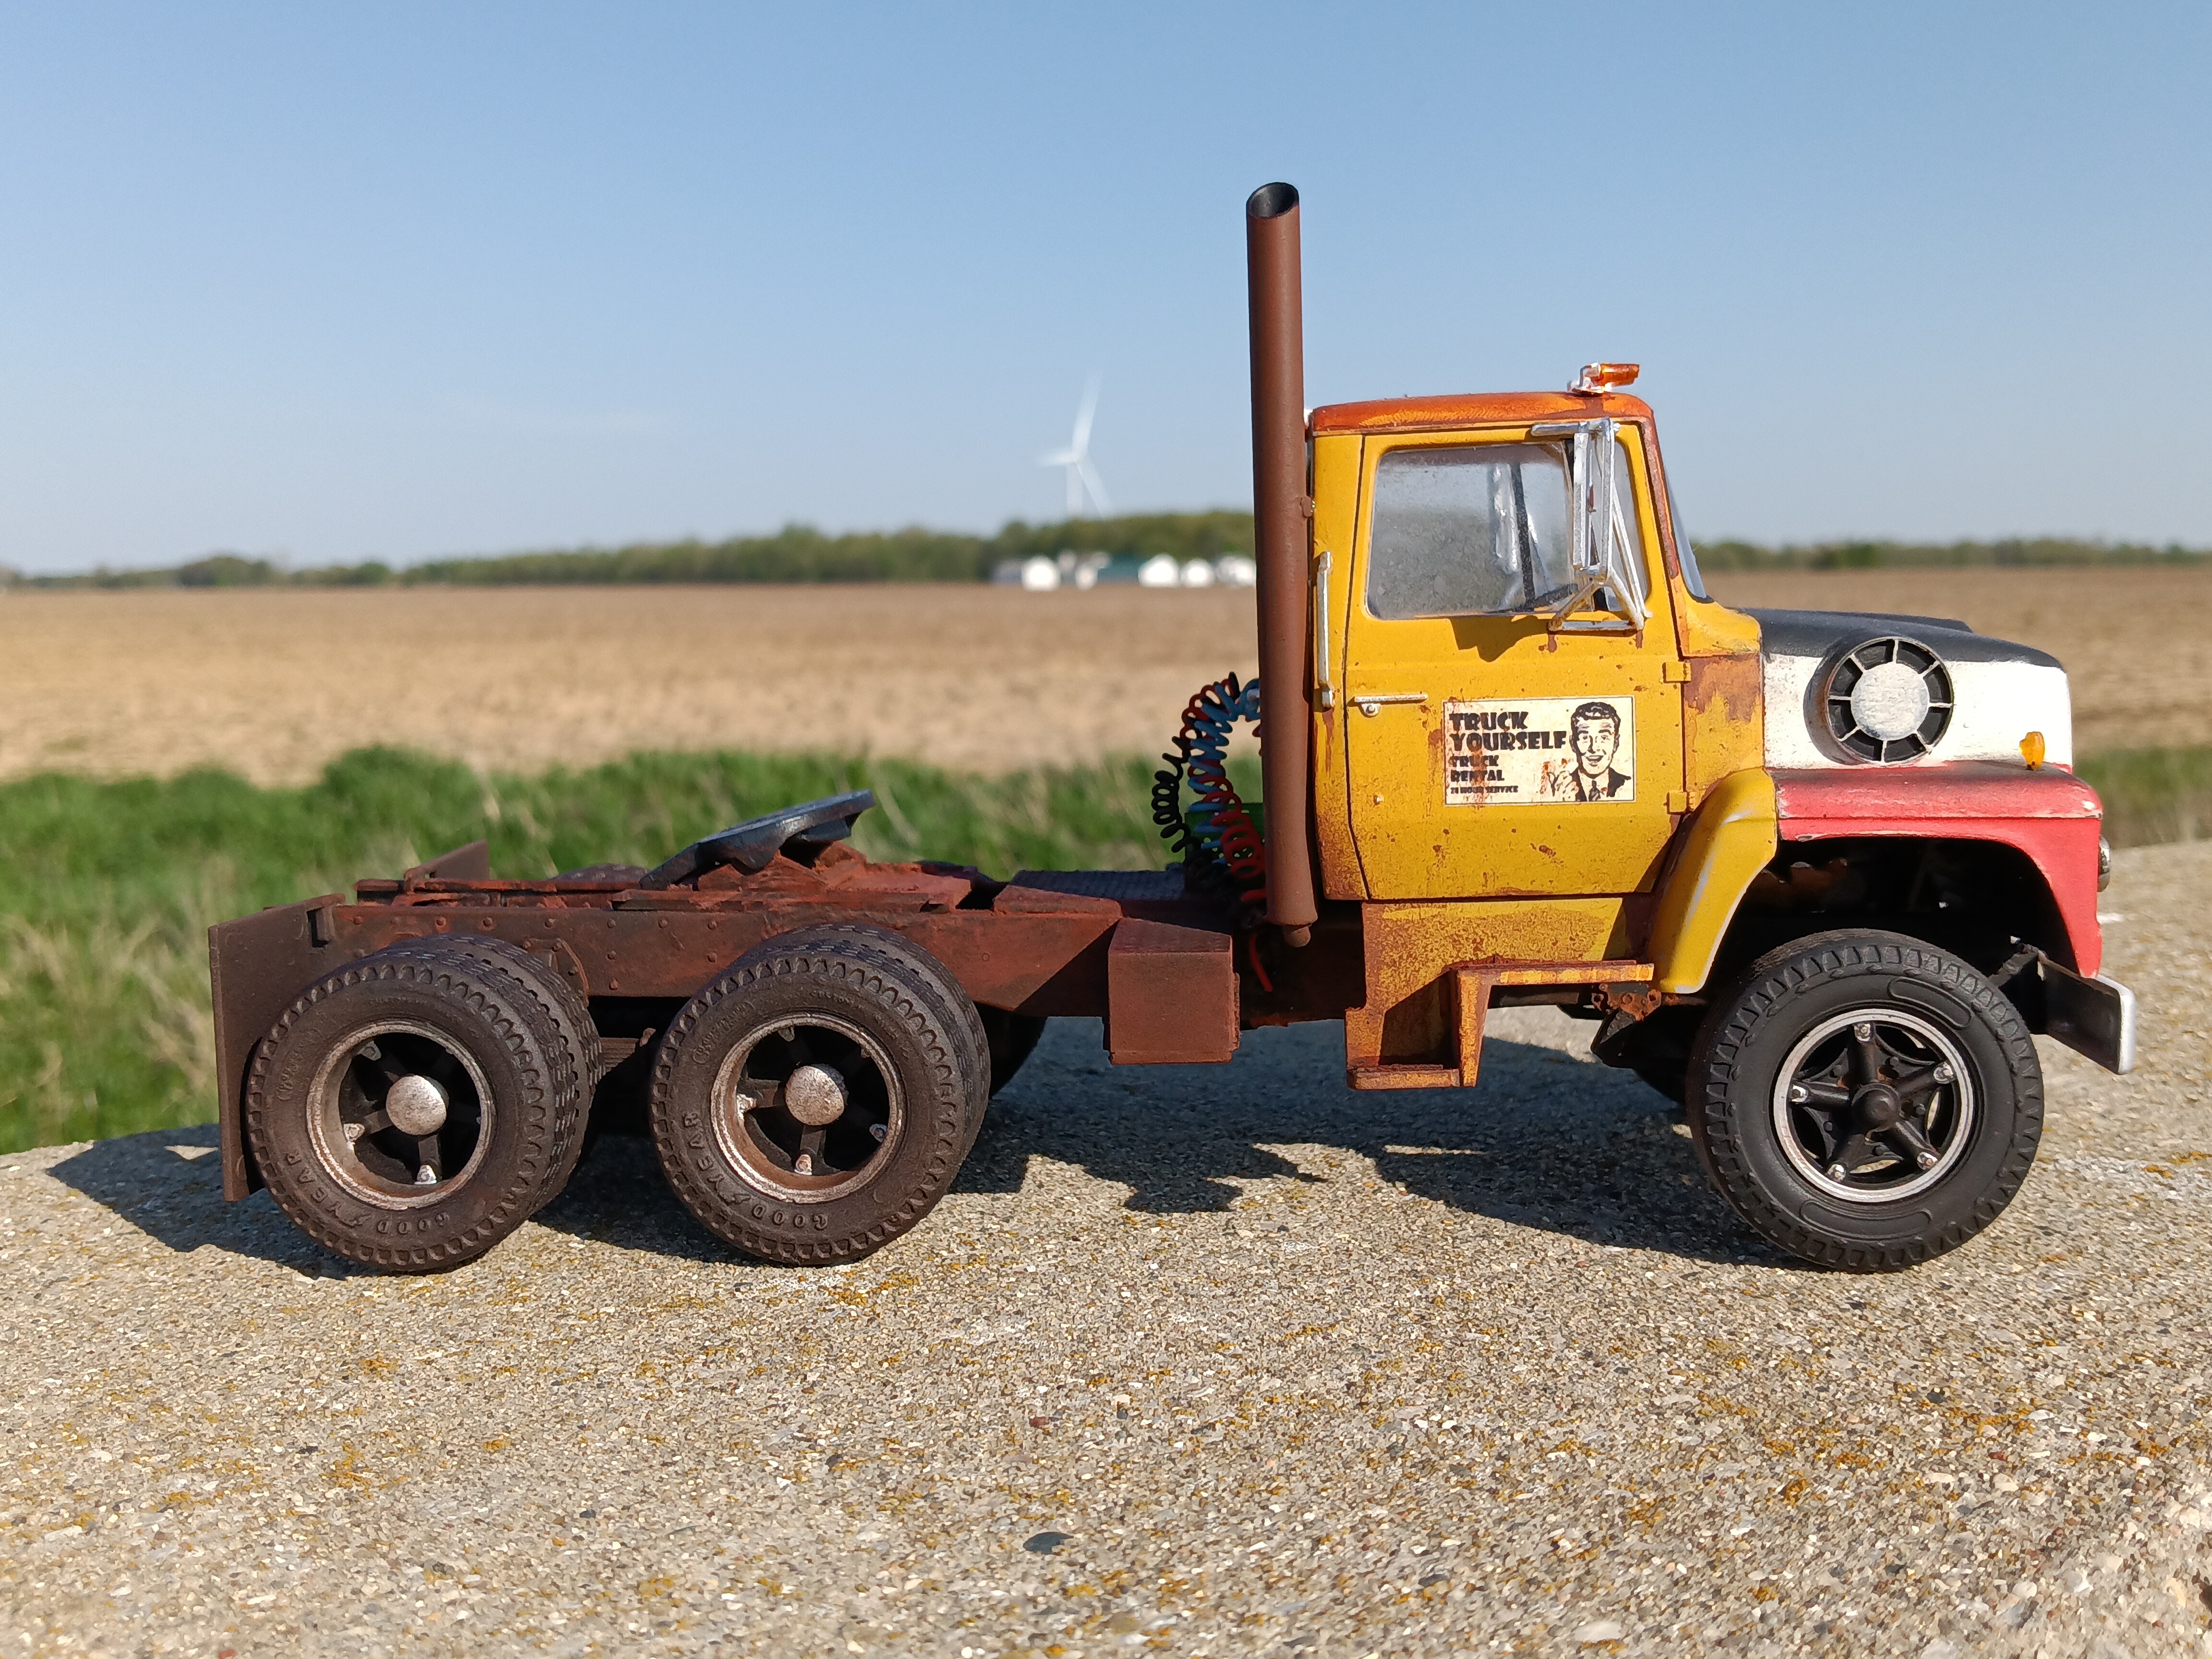
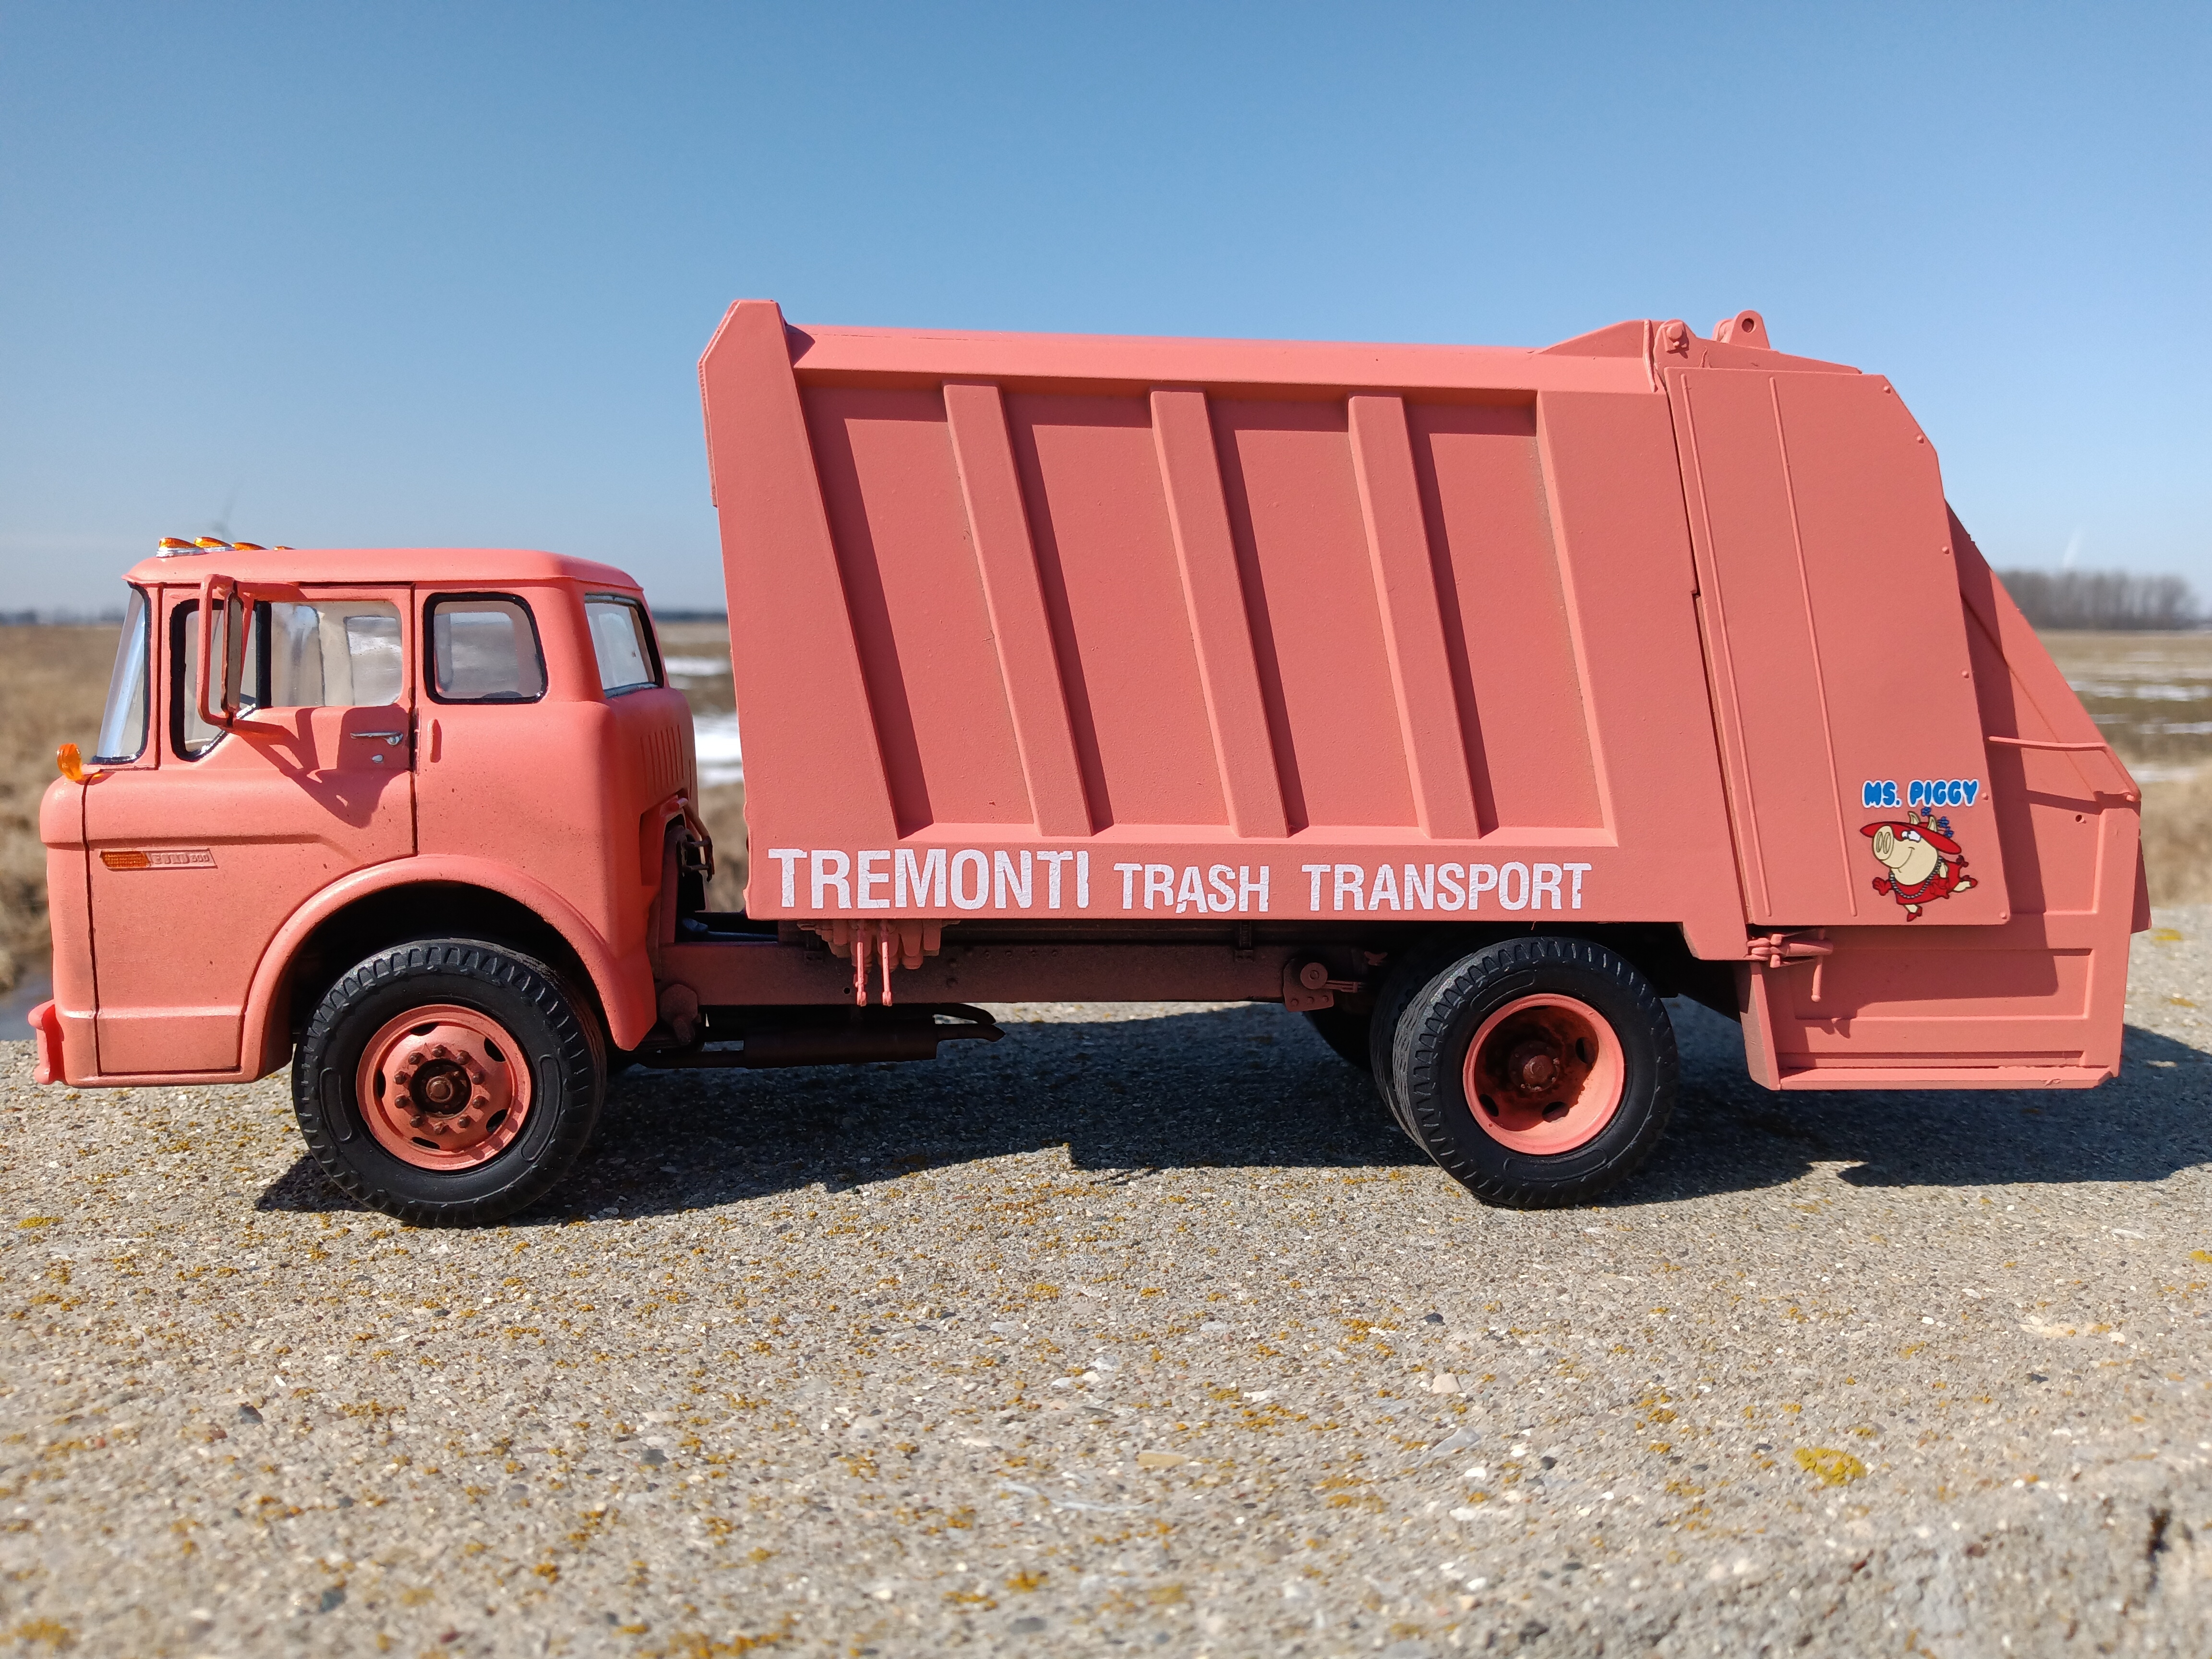
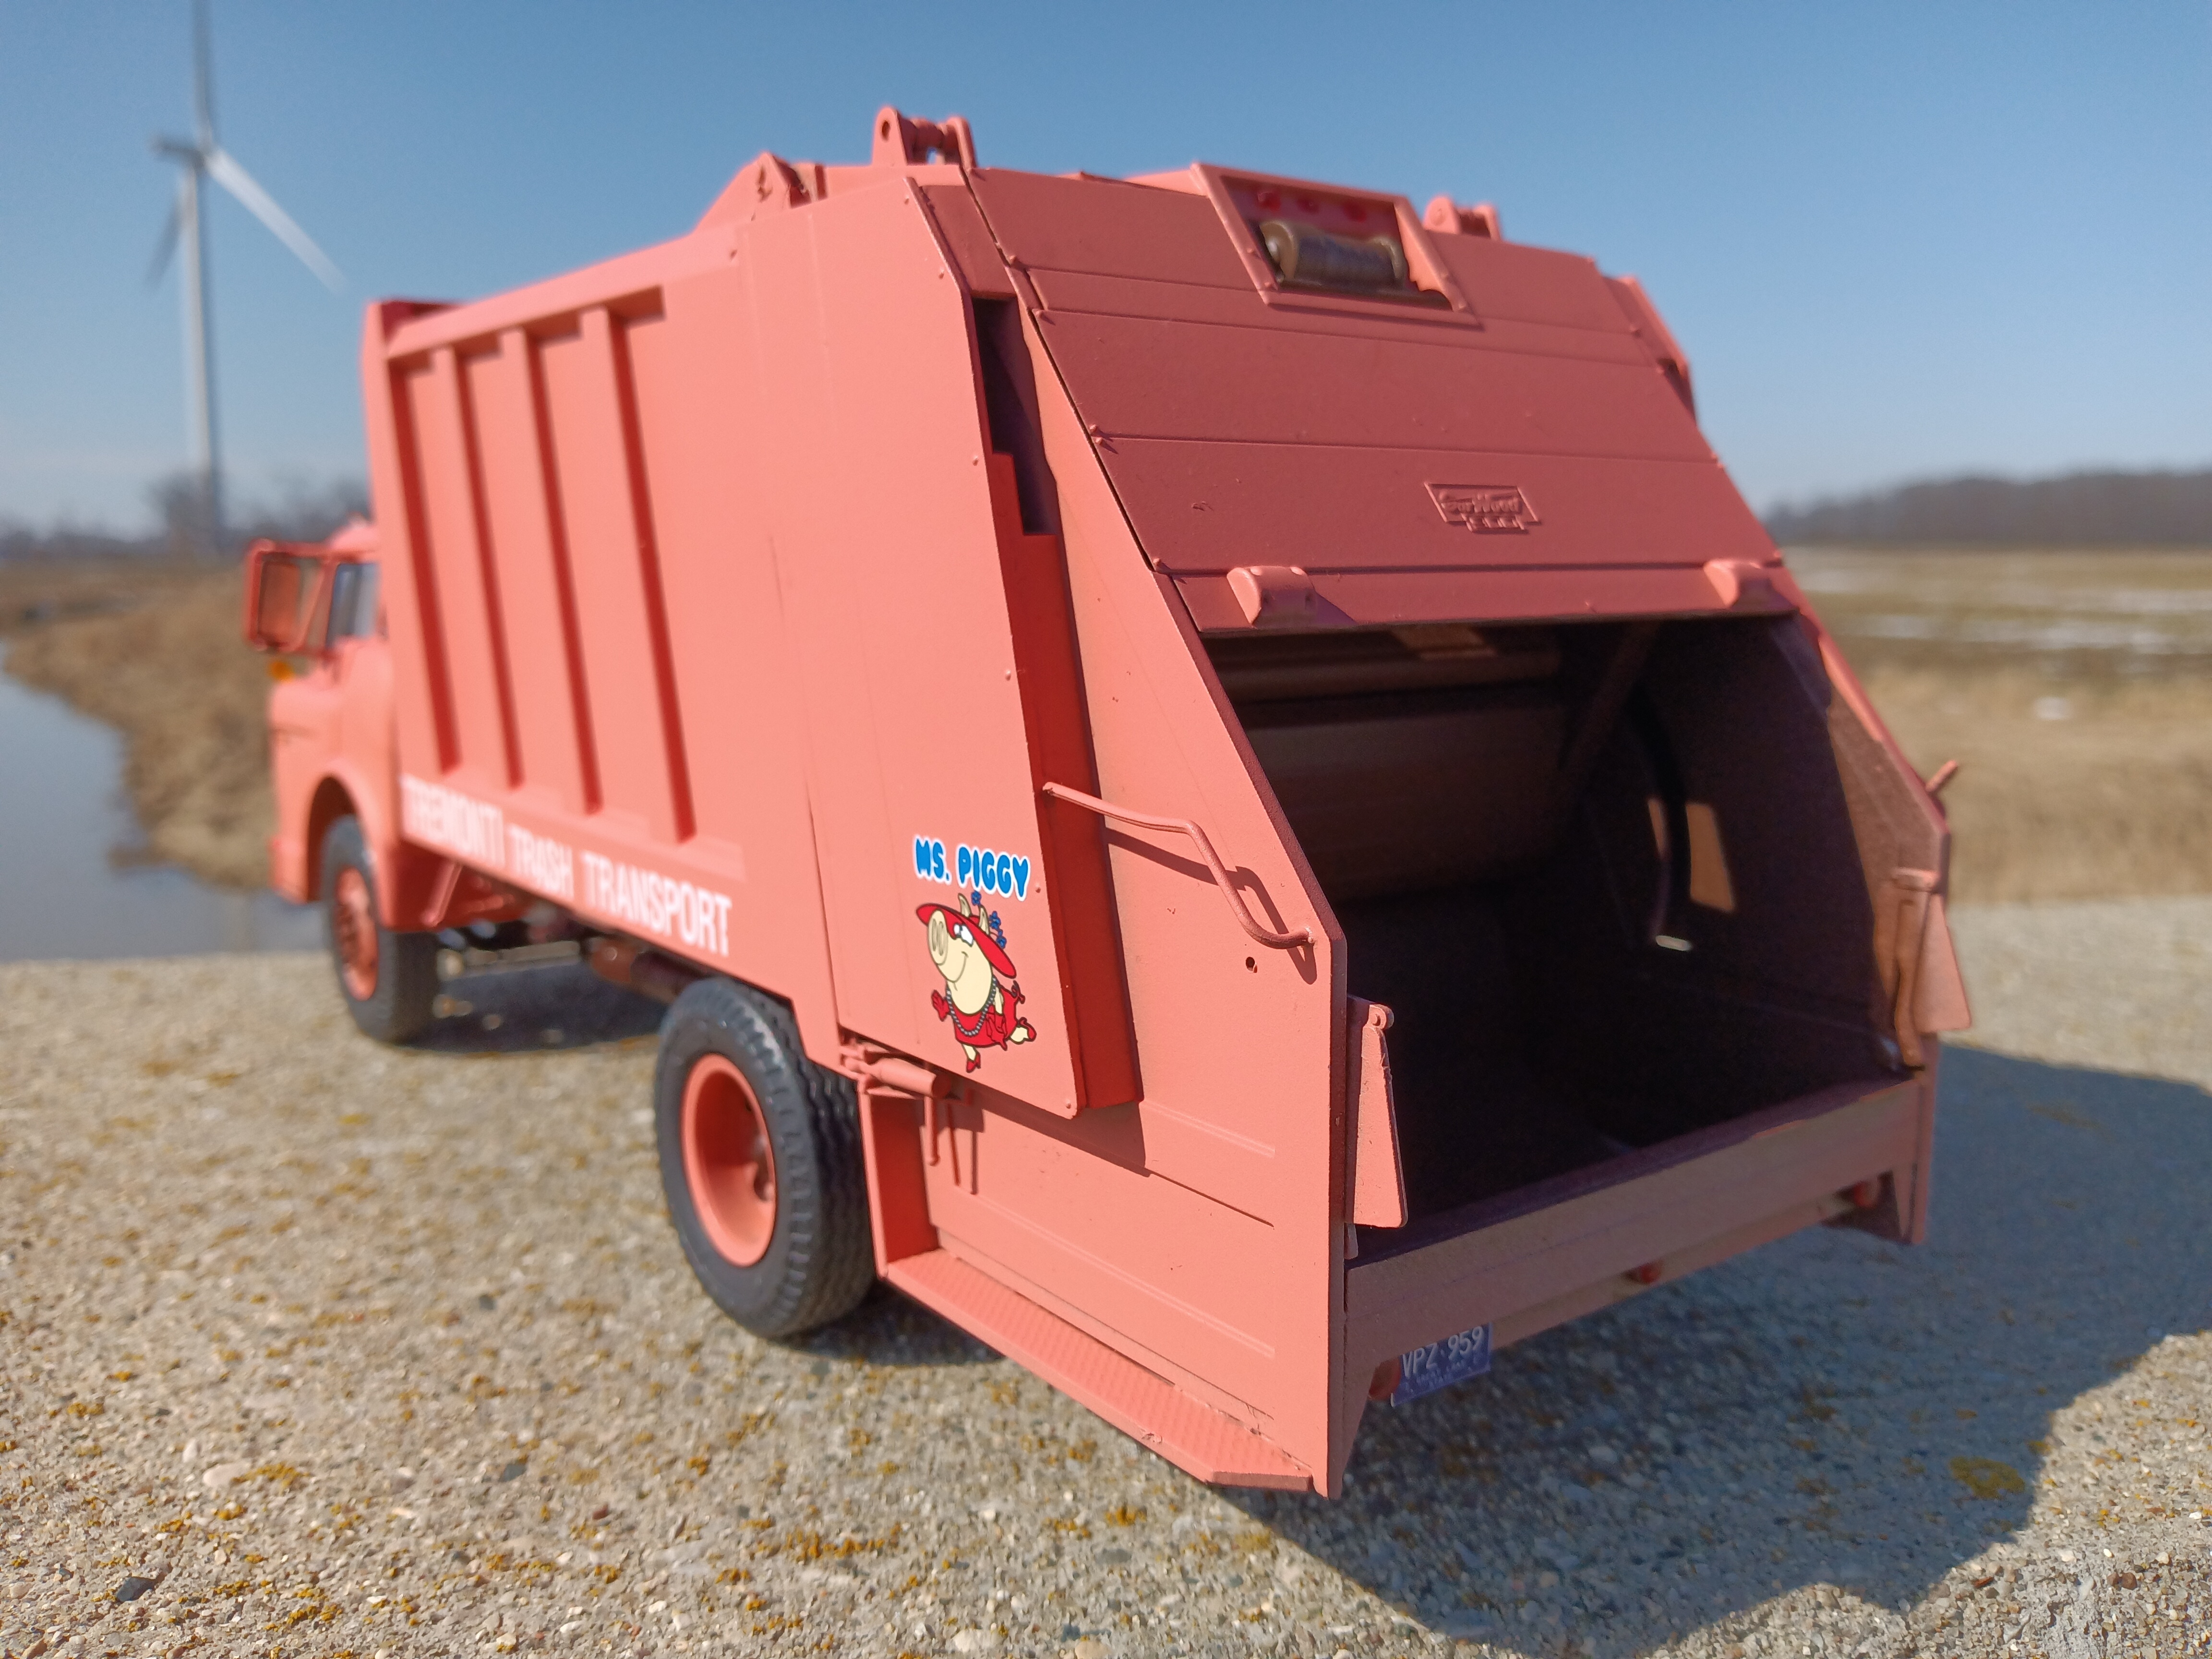
Basic kitbash of the Dodge L700 and Ford C900 Garwood, lovingly tossed together and weathered. There's a very brief build chronicle in the workbench section.


-
2
-
-
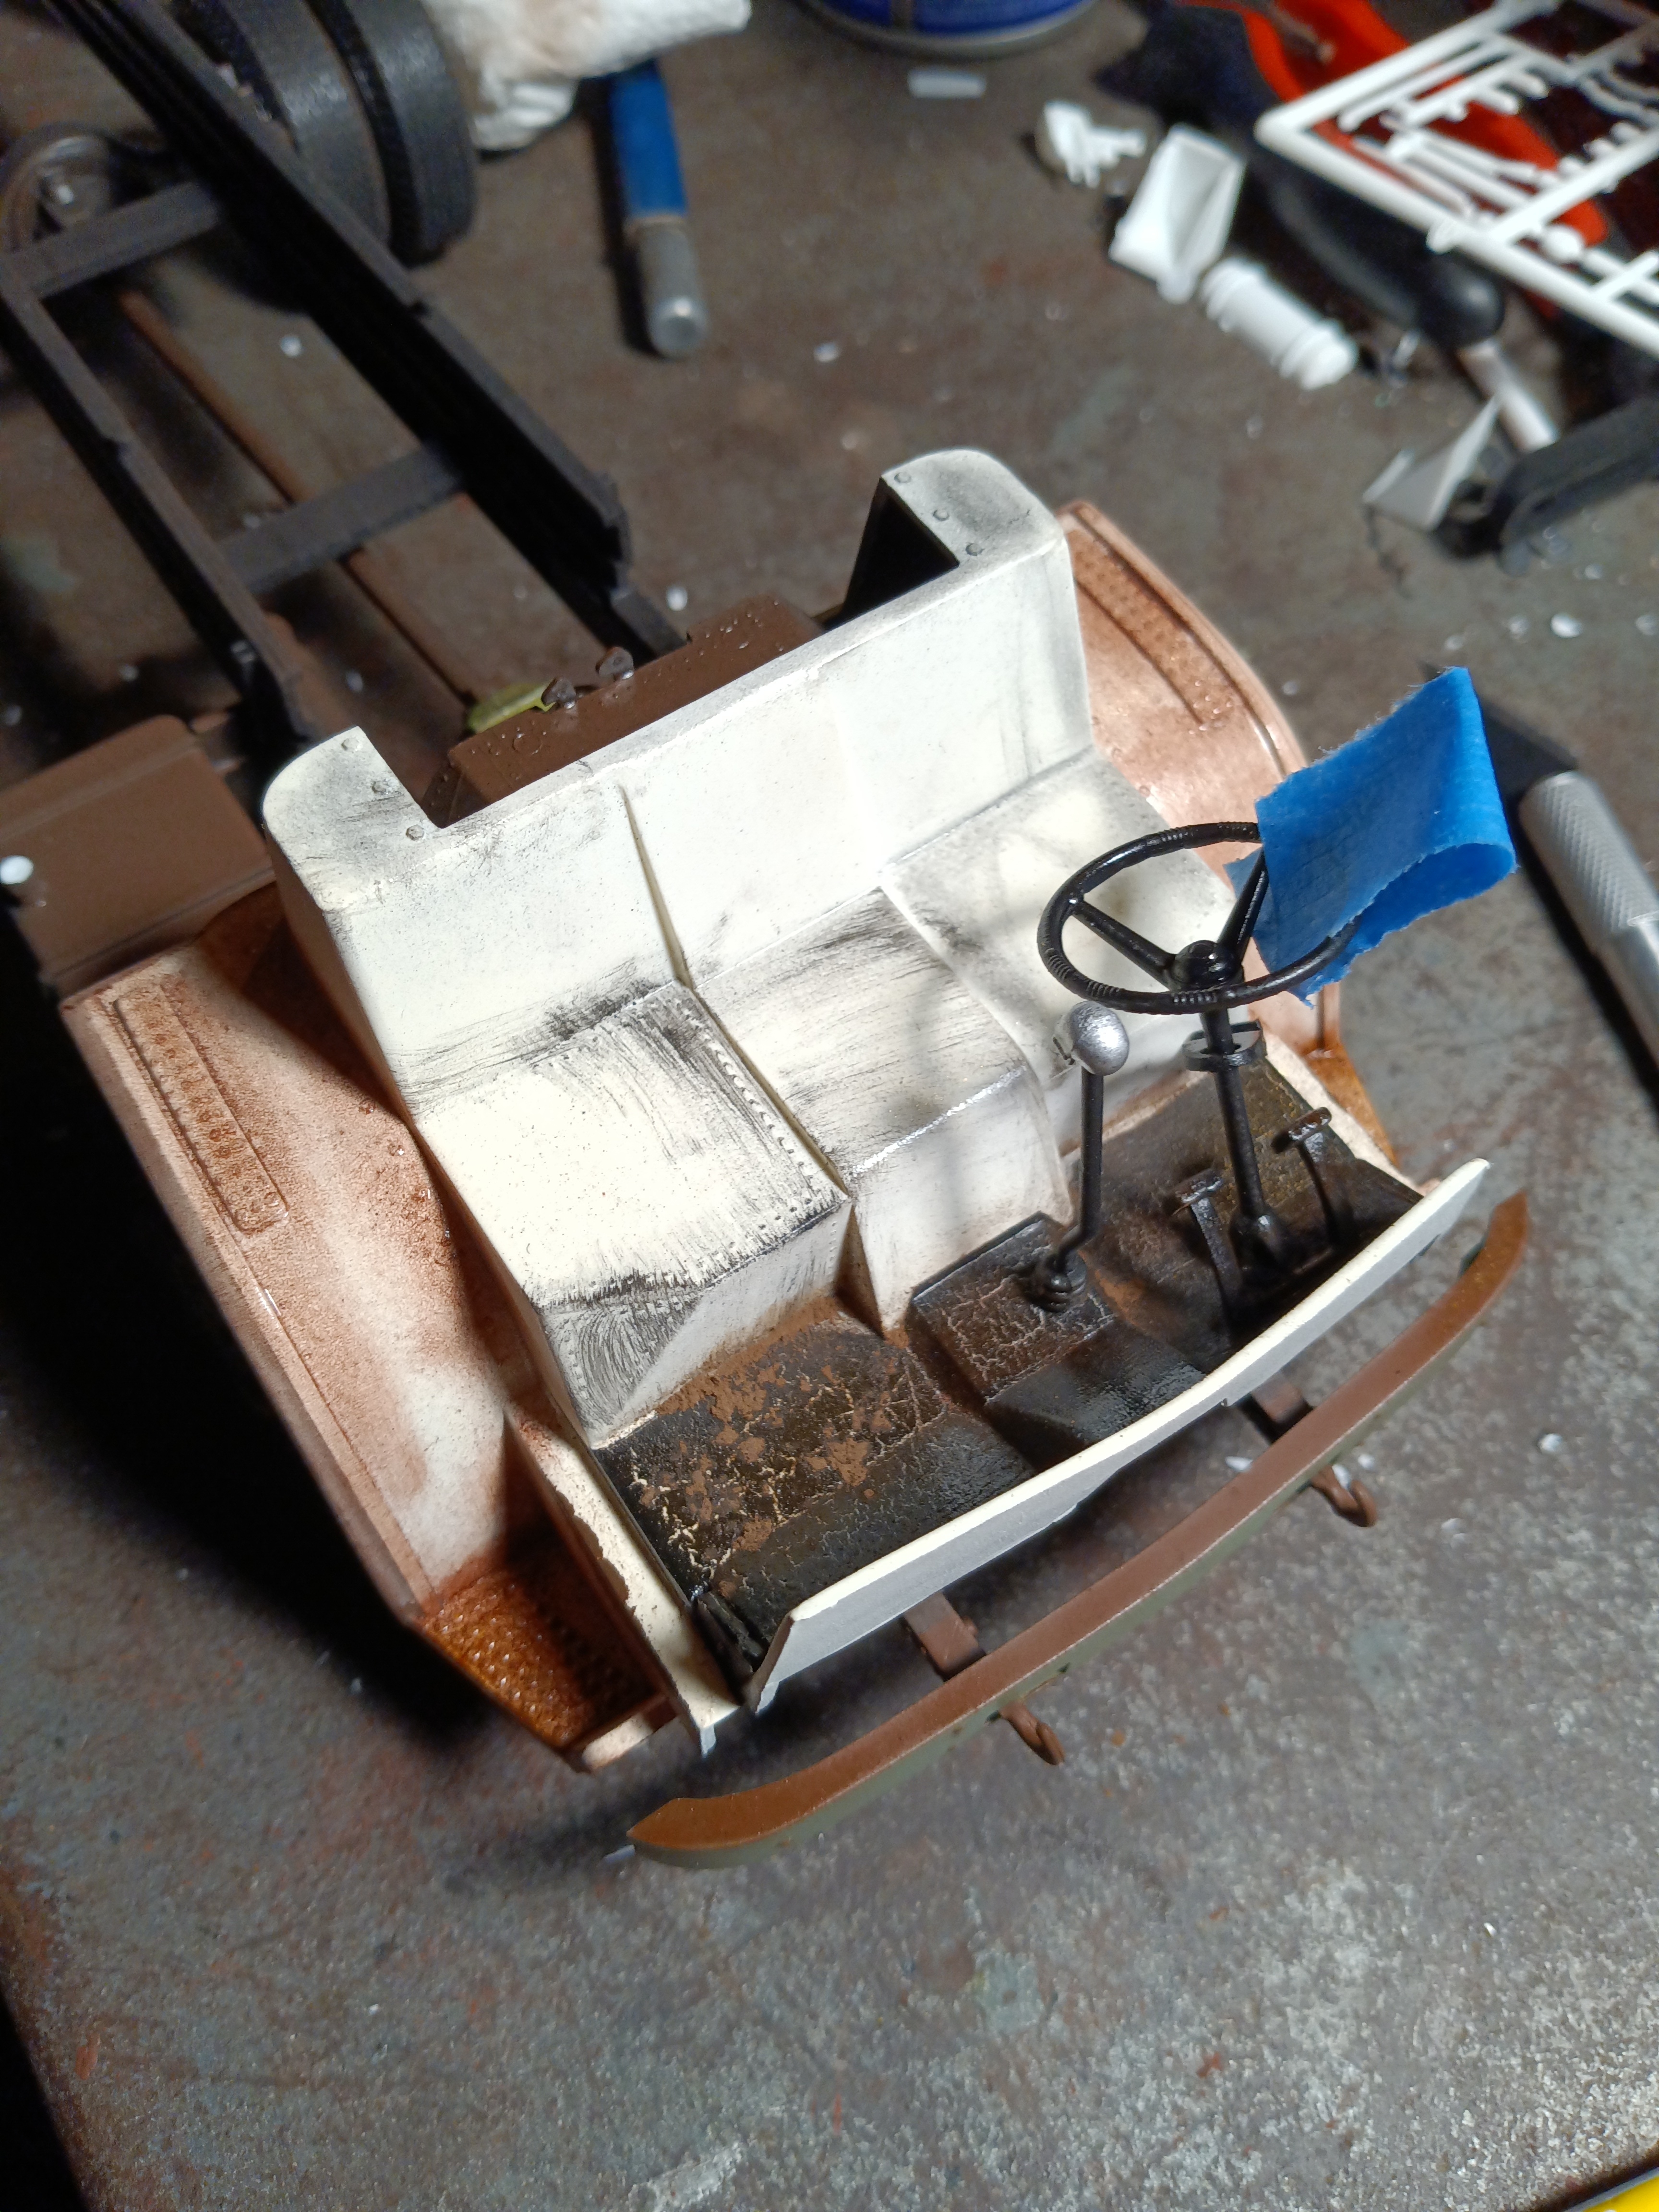
Found some more ugly green. Decided why not use it for the engine 🤣
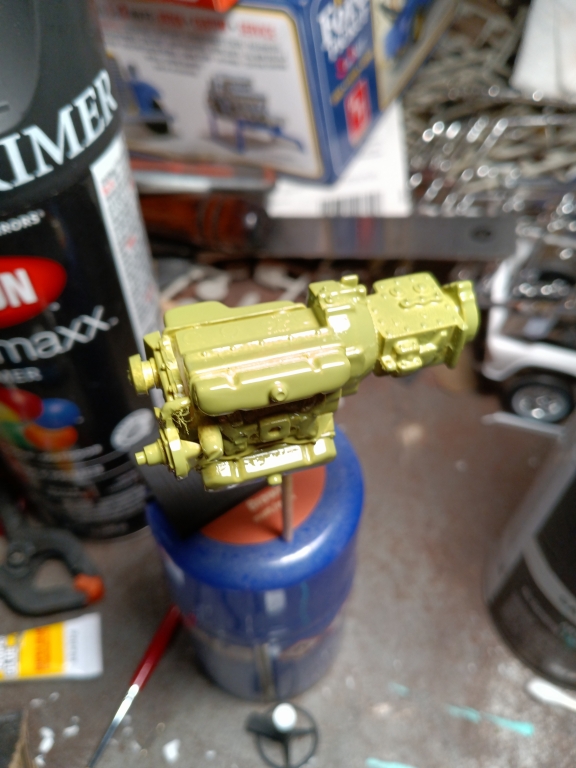
Here it is tucked into place.
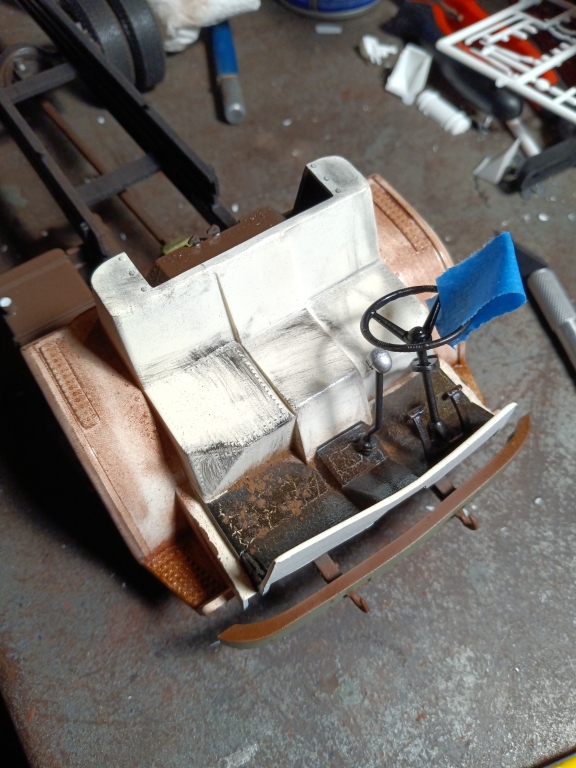
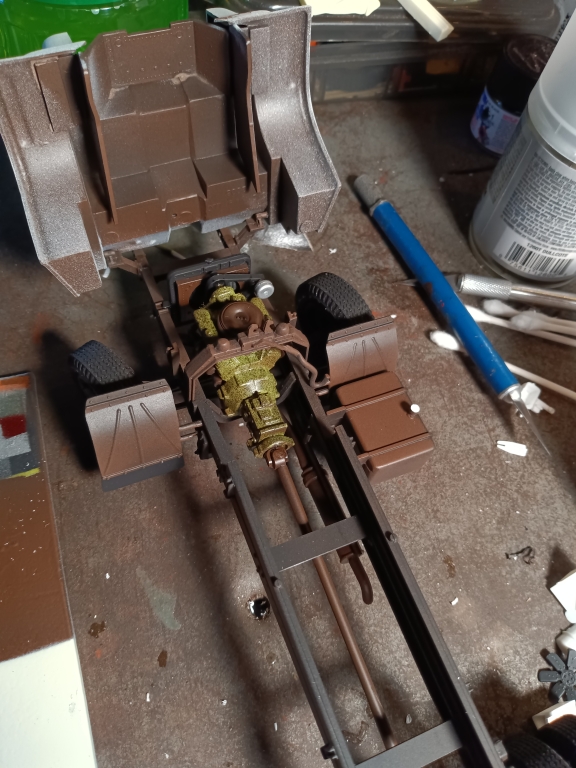
Work has begun on the interior. Basic cab will be weathered off white.
-
1
-
-
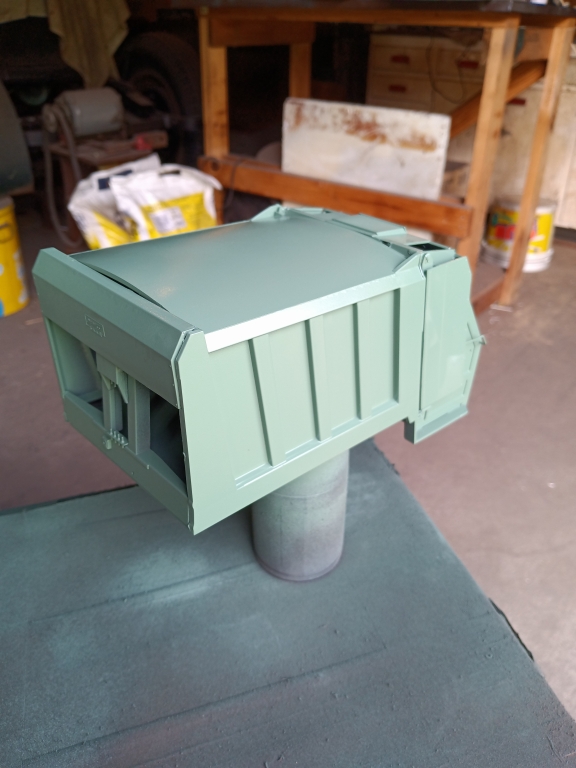
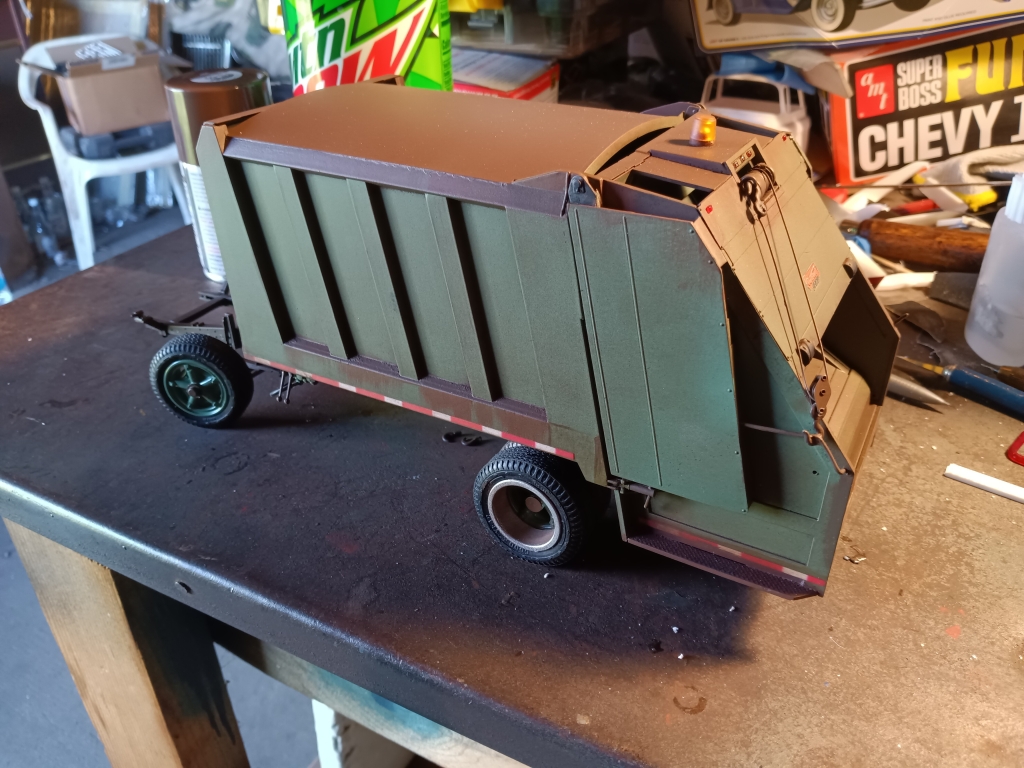
A few days ago I started piddling around with the Garwood 900 packer from the AMT. The inspiration began with finding a can of Rust-Oleum Satin Moss Green in the garage. It was a rather nasty shade of green and I thought it would look good in a garbage truck.
Obviously it needed a little corrosion and grime. To that end, I attacked it with Vallejo acrylics and Doc O'Brien weathering powder.
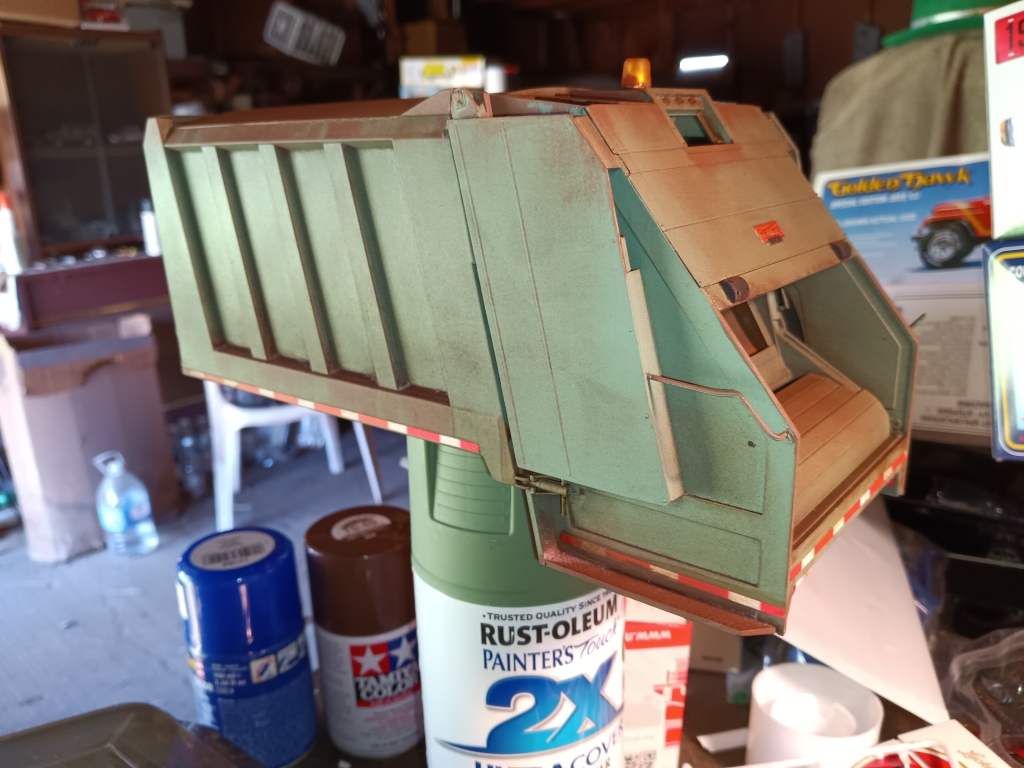
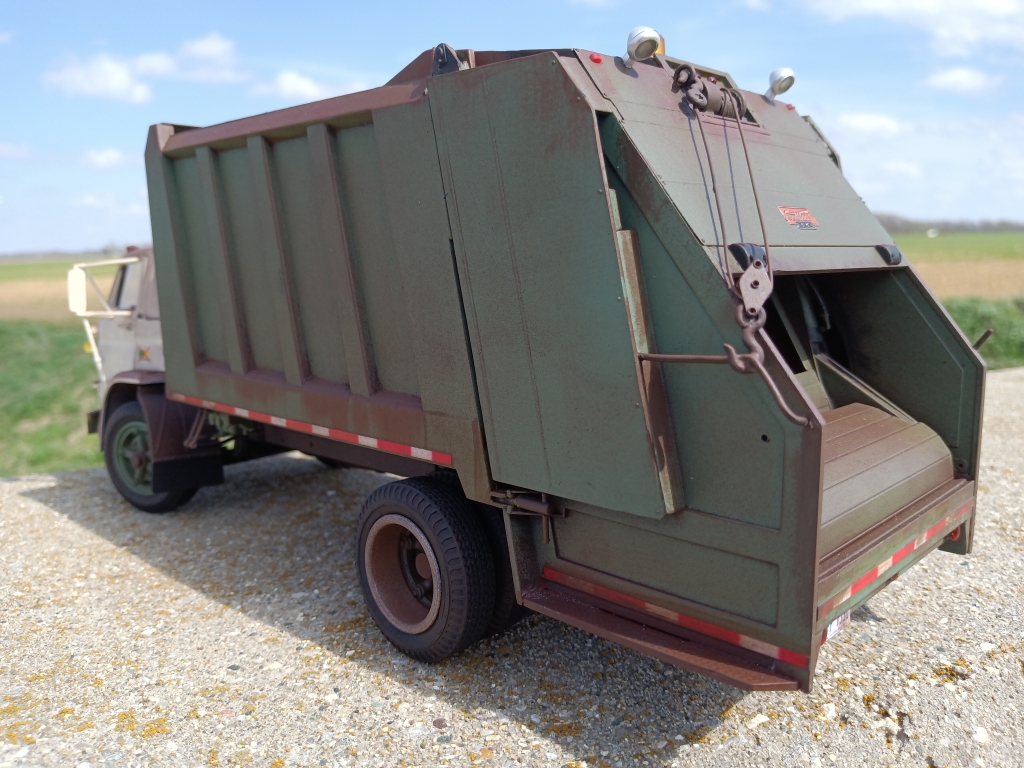
I also used some old Line-O reflective tape, though unfortunately the dull clear coat kinda diminished the reflectivity.
Here you see the flasher, and the winch cable made from leader line, a 1:35 scale block, and a couple of parts box hooks.
This afternoon I dug out the Dodge kit, and stretched the wheelbase by cutting the Dodge chassis and grafting on the rear portion of the Ford chassis.
-
1
-
-
Love it! I've always liked the "late model" Paystar hood design.
-
Just a box stock rendition of the Atlantis reissue, finished with Tamiya paints and Monroe weathering powder. This is the first one I've built out of the box, and now I've started a second. 🤣 Now I need to go through my back issues of Model Cars Magazine and find the series from the 2007 NNL.


-
2
-
-
1 hour ago, DRIPTROIT 71 said:Very cool Chuck!! Did you use the engine from the C cab?
It has the block and heads (and not much else) cobbled from a couple different LNT 800 kits.
-
So I had an incomplete AMT plow truck, a box or two of spare Louisville parts, some AITM rear wheels and tires, and some Models by Dave cab steps. I decided to combine the whole mess into one tattered tractor. The quad headlights came from a White Road Boss, I added them after seeing a junkyard Louisville that had been fitted with a similar setup.


-
2
-
-
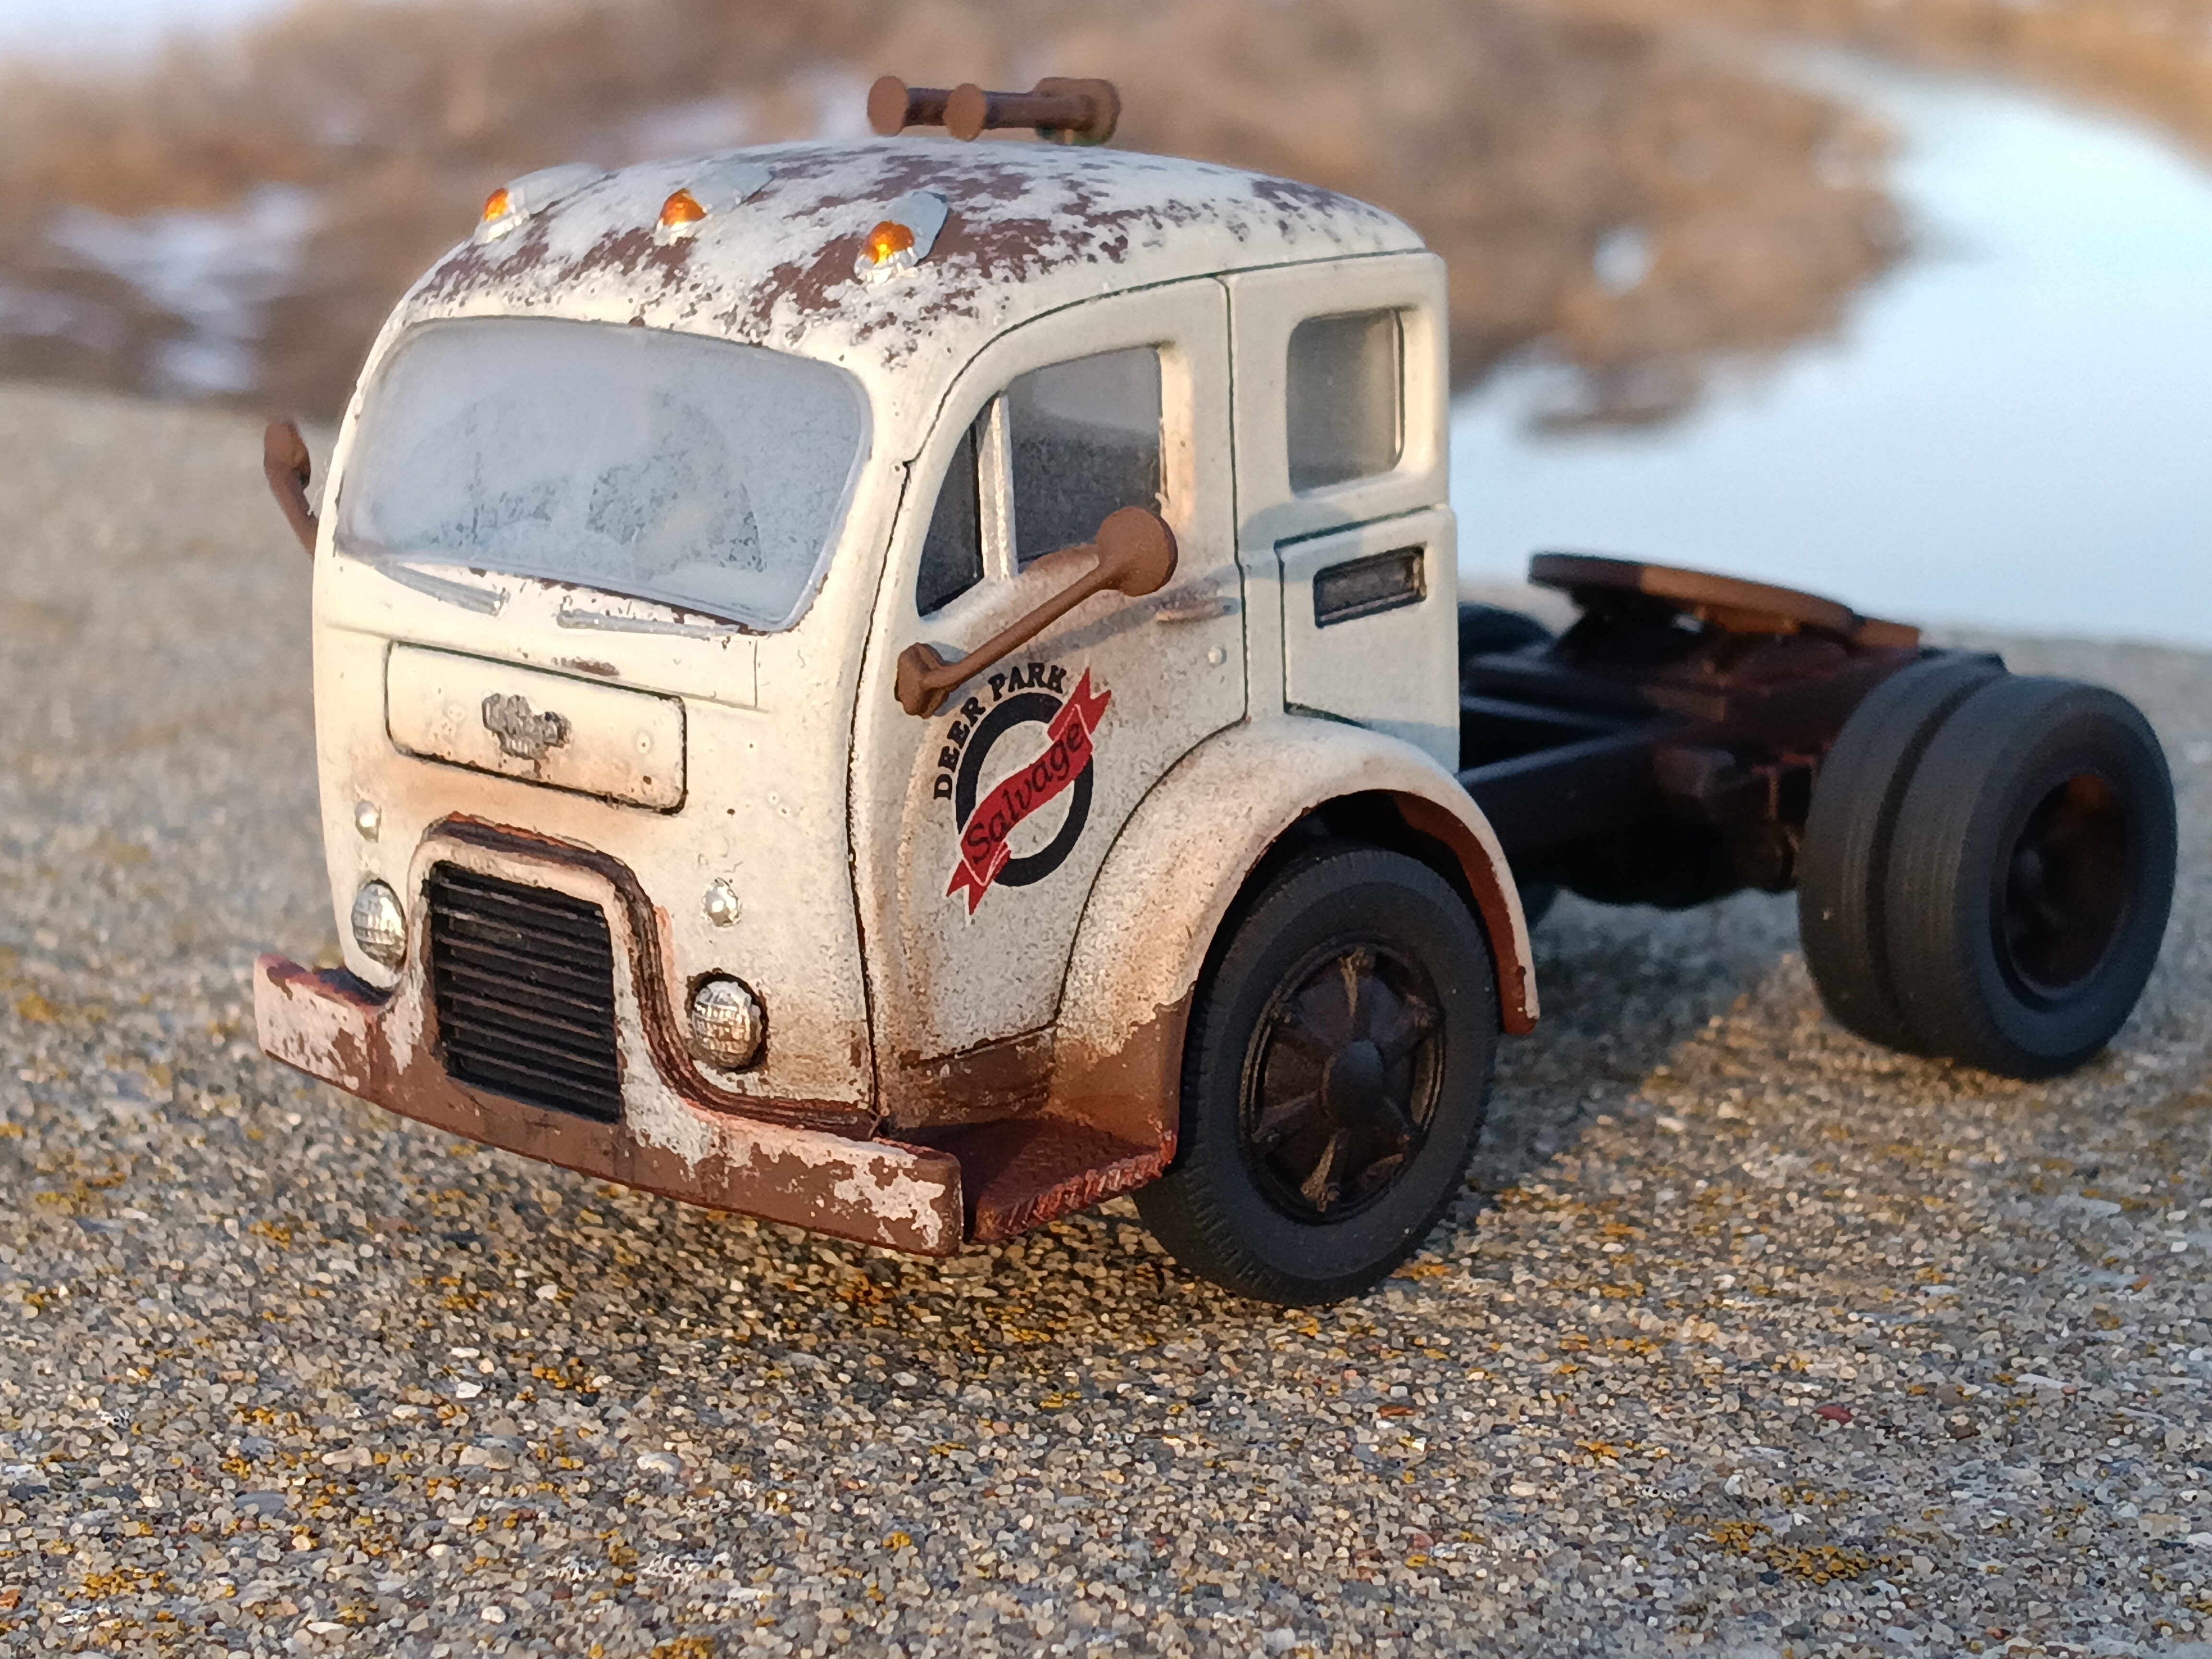
Lovely Autocar!
The Autocar Driver Cab (style we're all familiar with in the AMT kits) first came out in 1950. There are some design differences but that's the newer style cab with the curved glass.
-
1
-
-
Went with the entire Moebius front floats/super singles set. The battery boxes are in place and I went with the optional roo-bar front bumper.

-
2
-
-
Well... After the hood hinge snapped off (again), and the die cast chassis more or less exploded after being elbowed off the workbench, a slight change of course. It'll be curbside and set up on a spare White Western Star chassis.
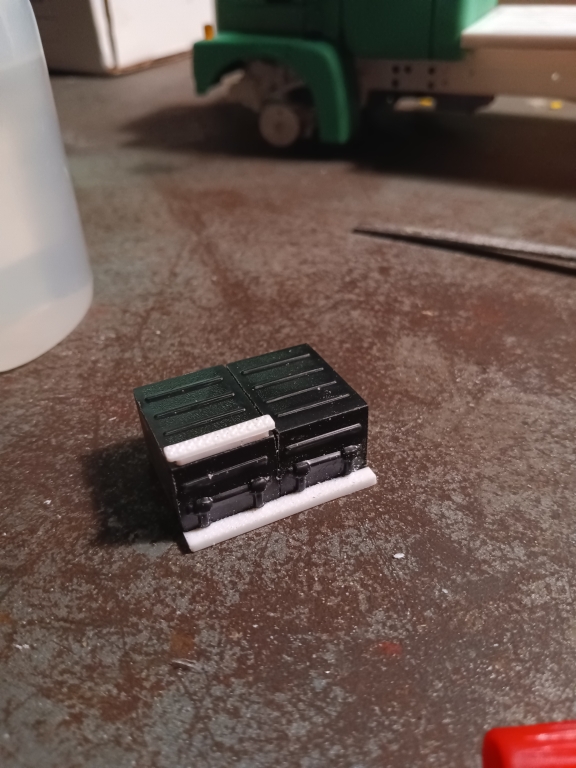
The kit battery boxes were glued together side by side and fitted with step plates from a GMC General.
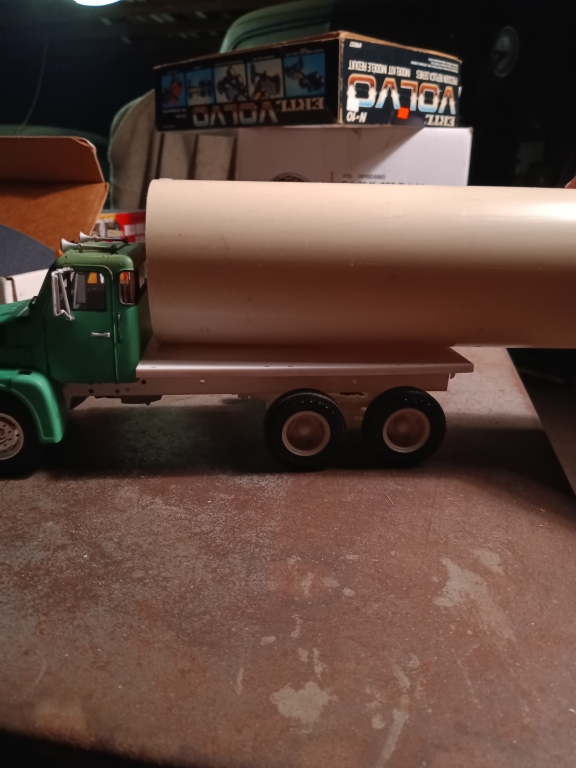
Still trying out ideas for the tank. Not sure what wheels and tires I will use in the end, but the Moebius front floats are likely to stay. May go with the matching super singles in back. We'll see.
Just a quick mockup shot.

-
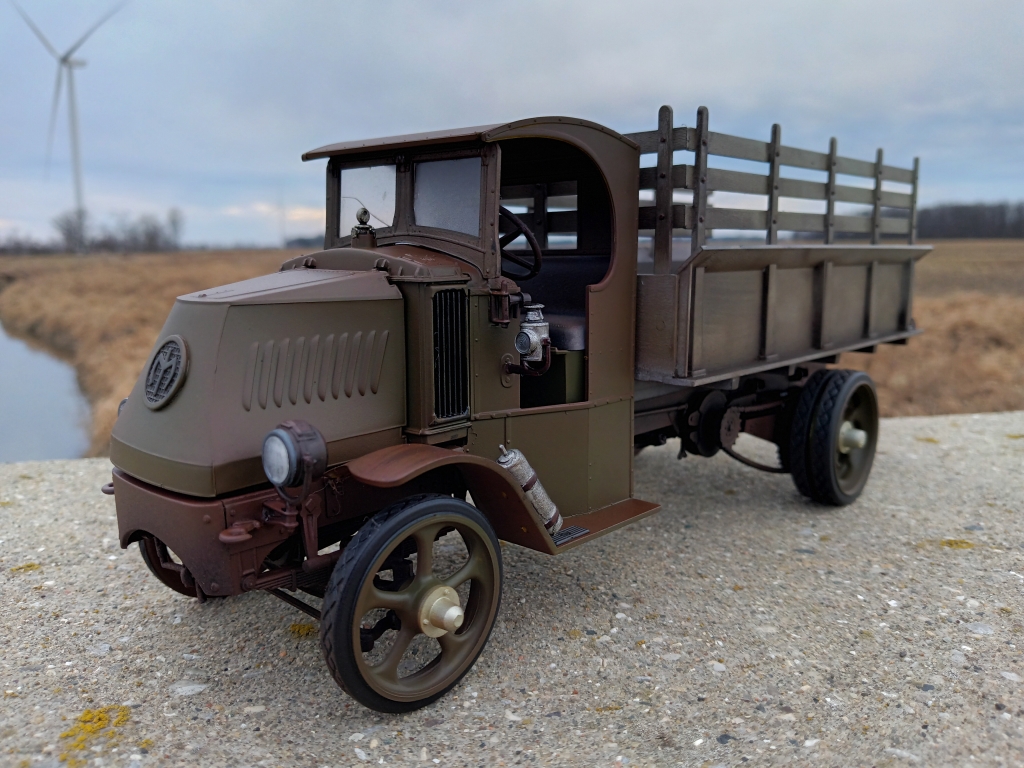
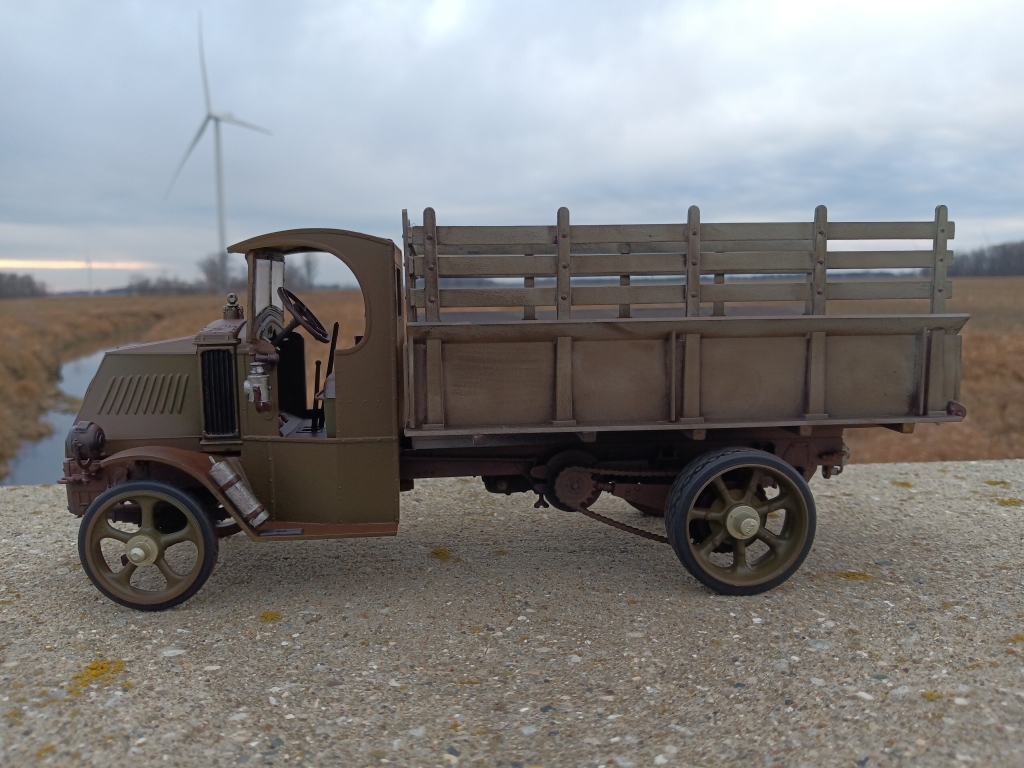
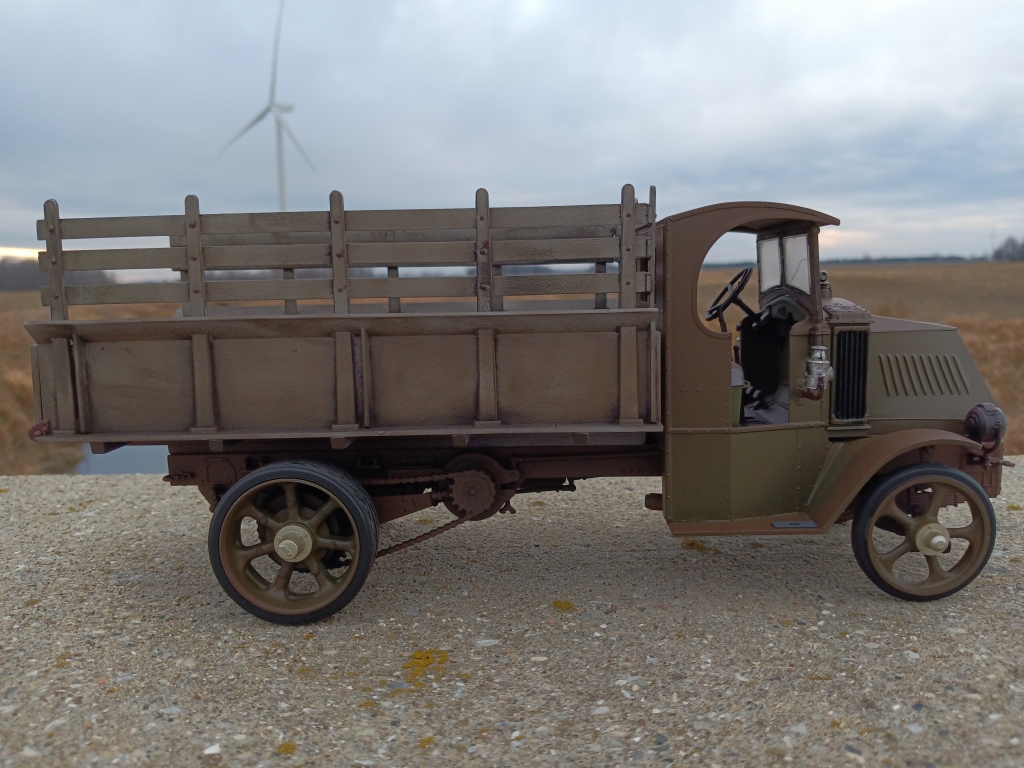
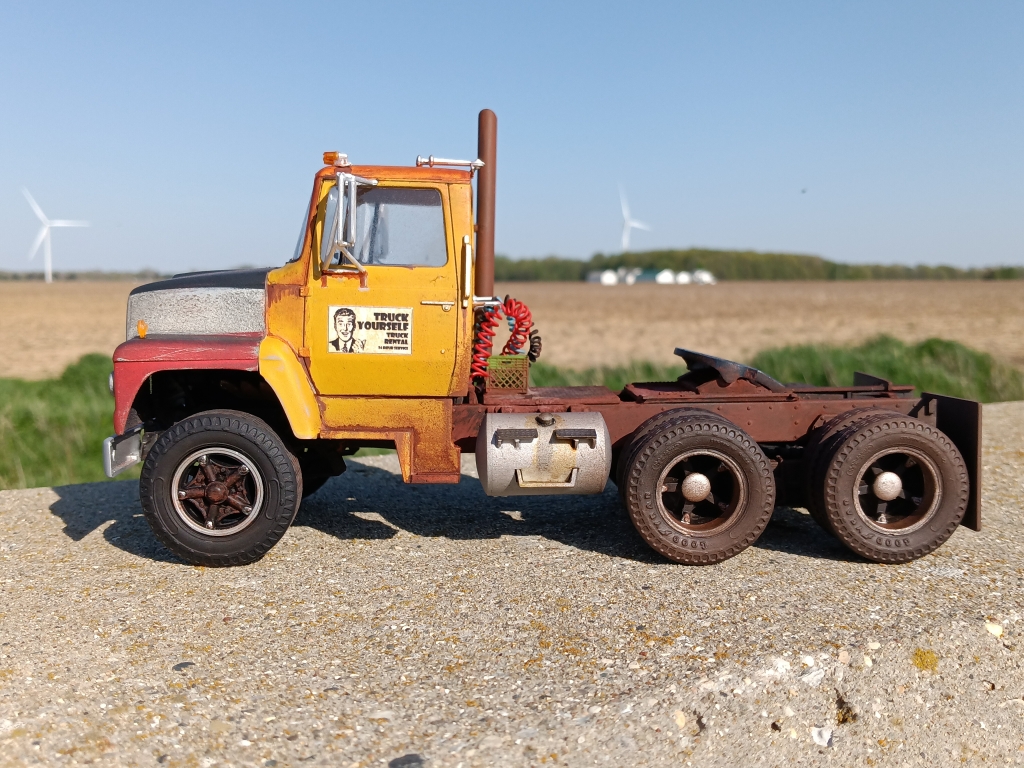
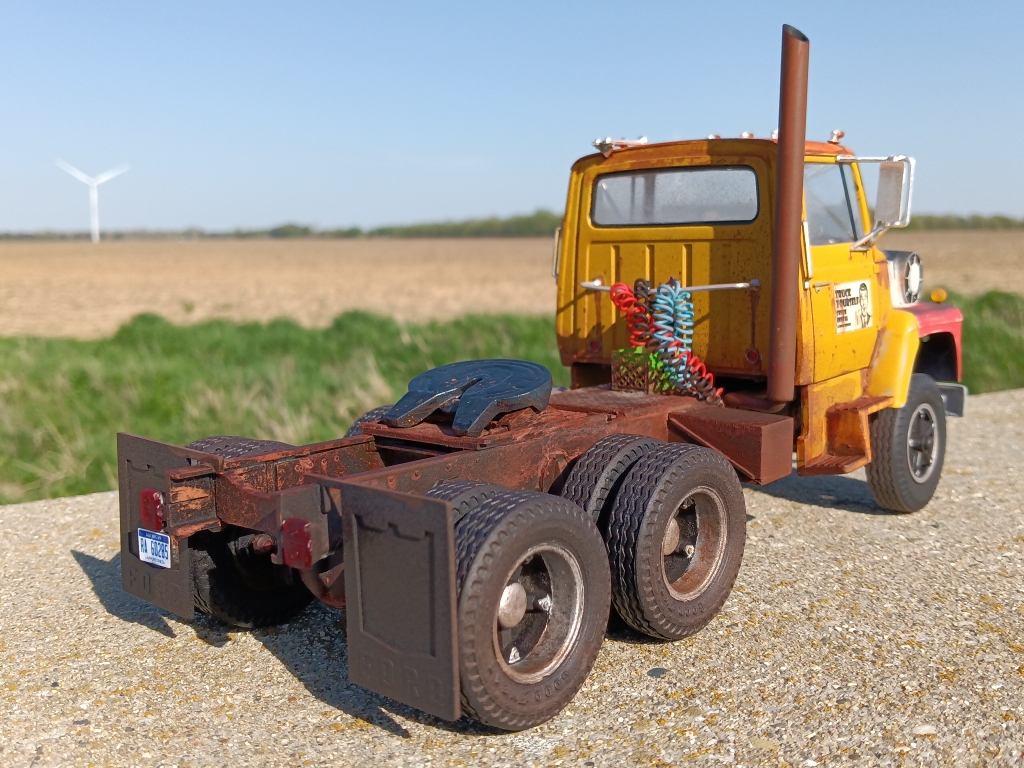
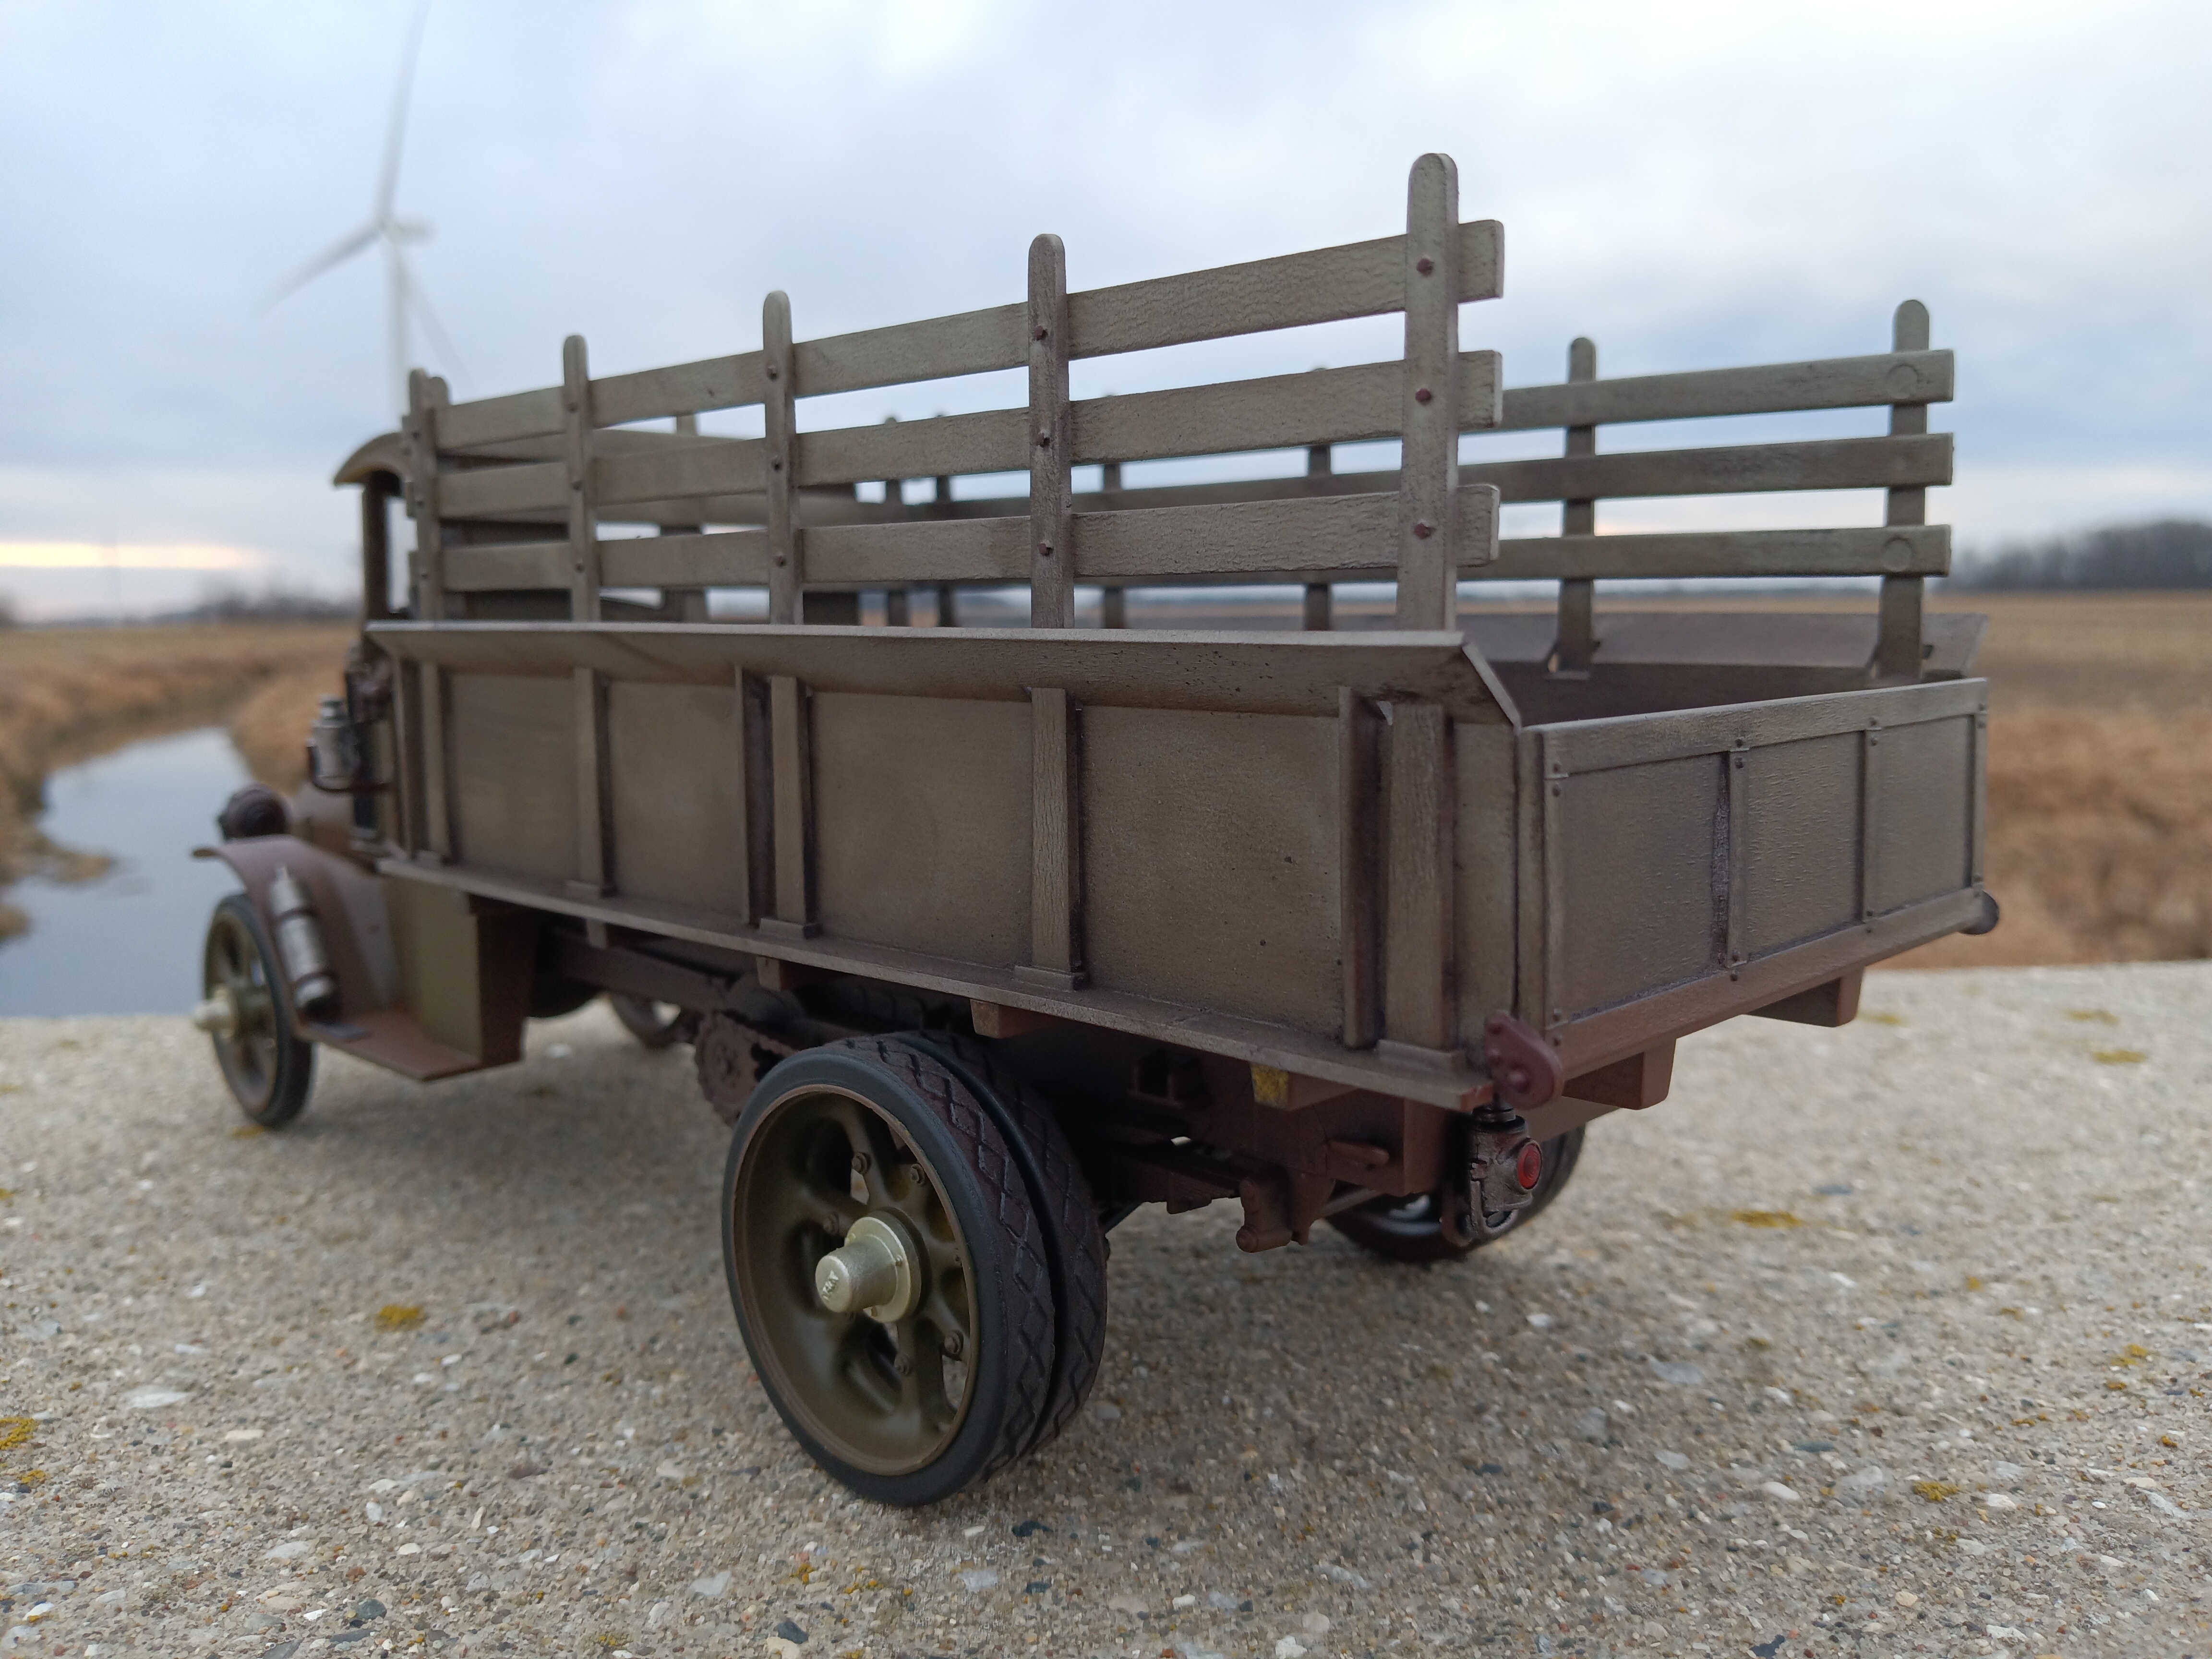
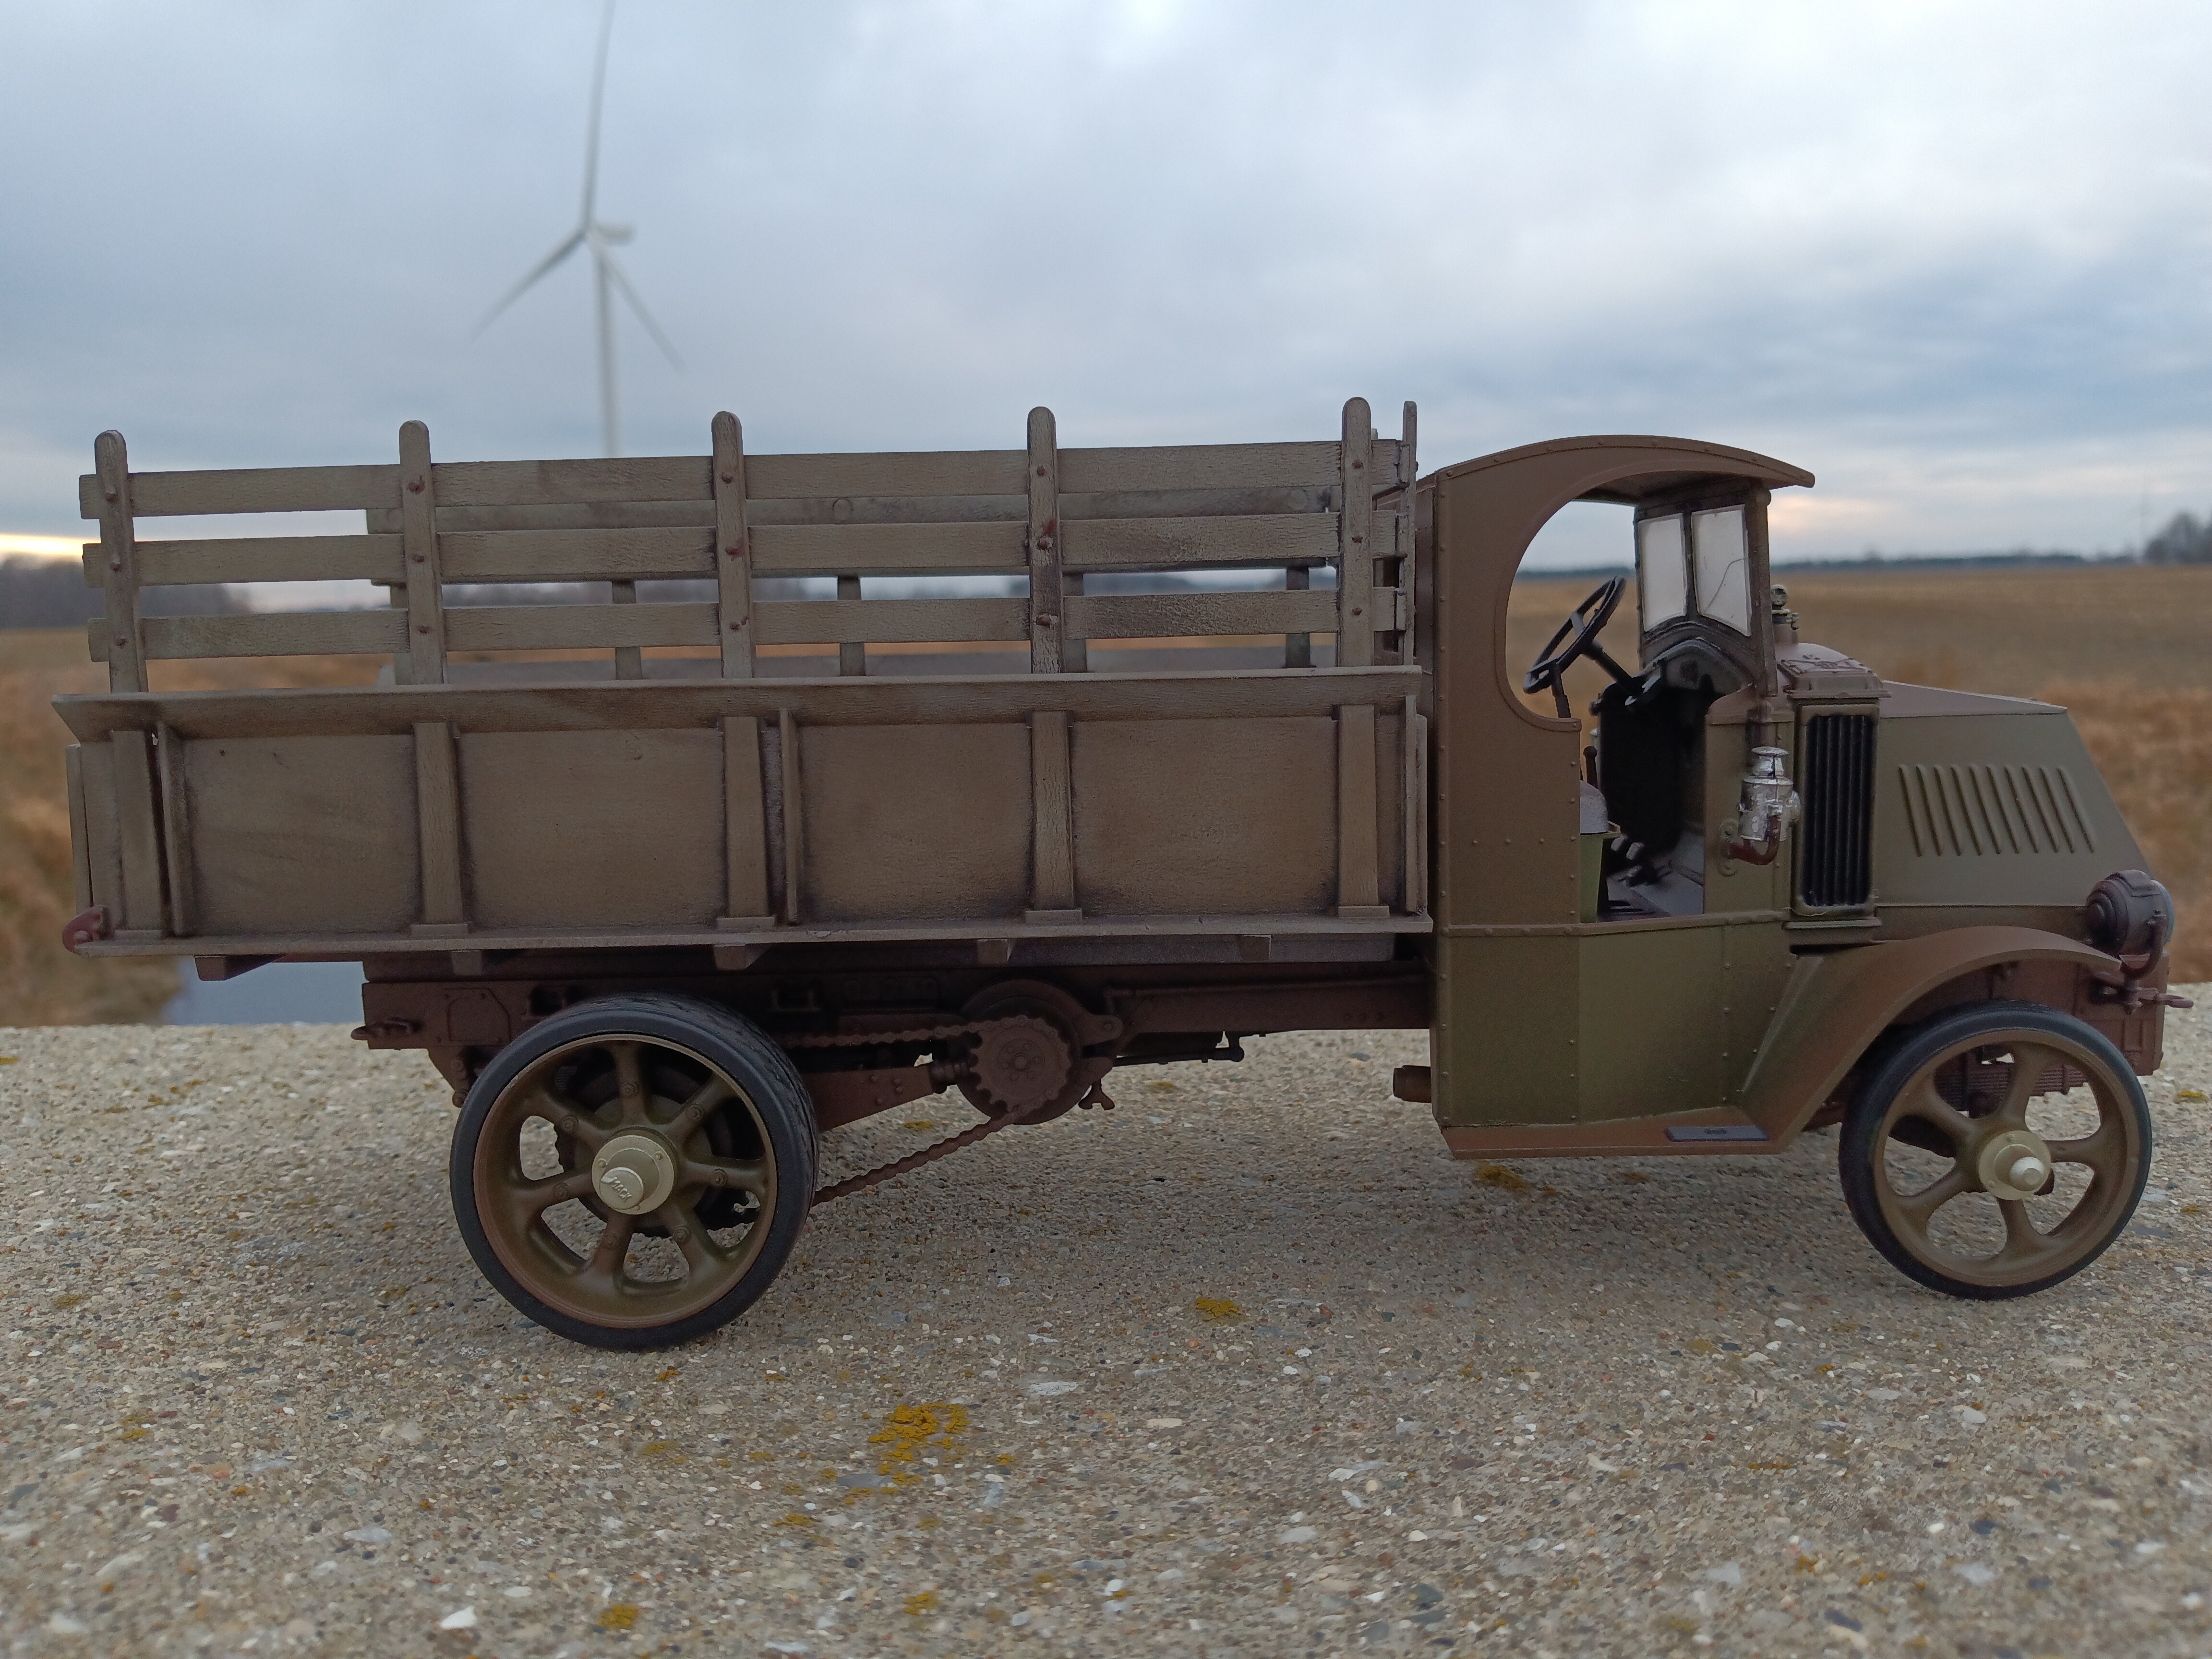
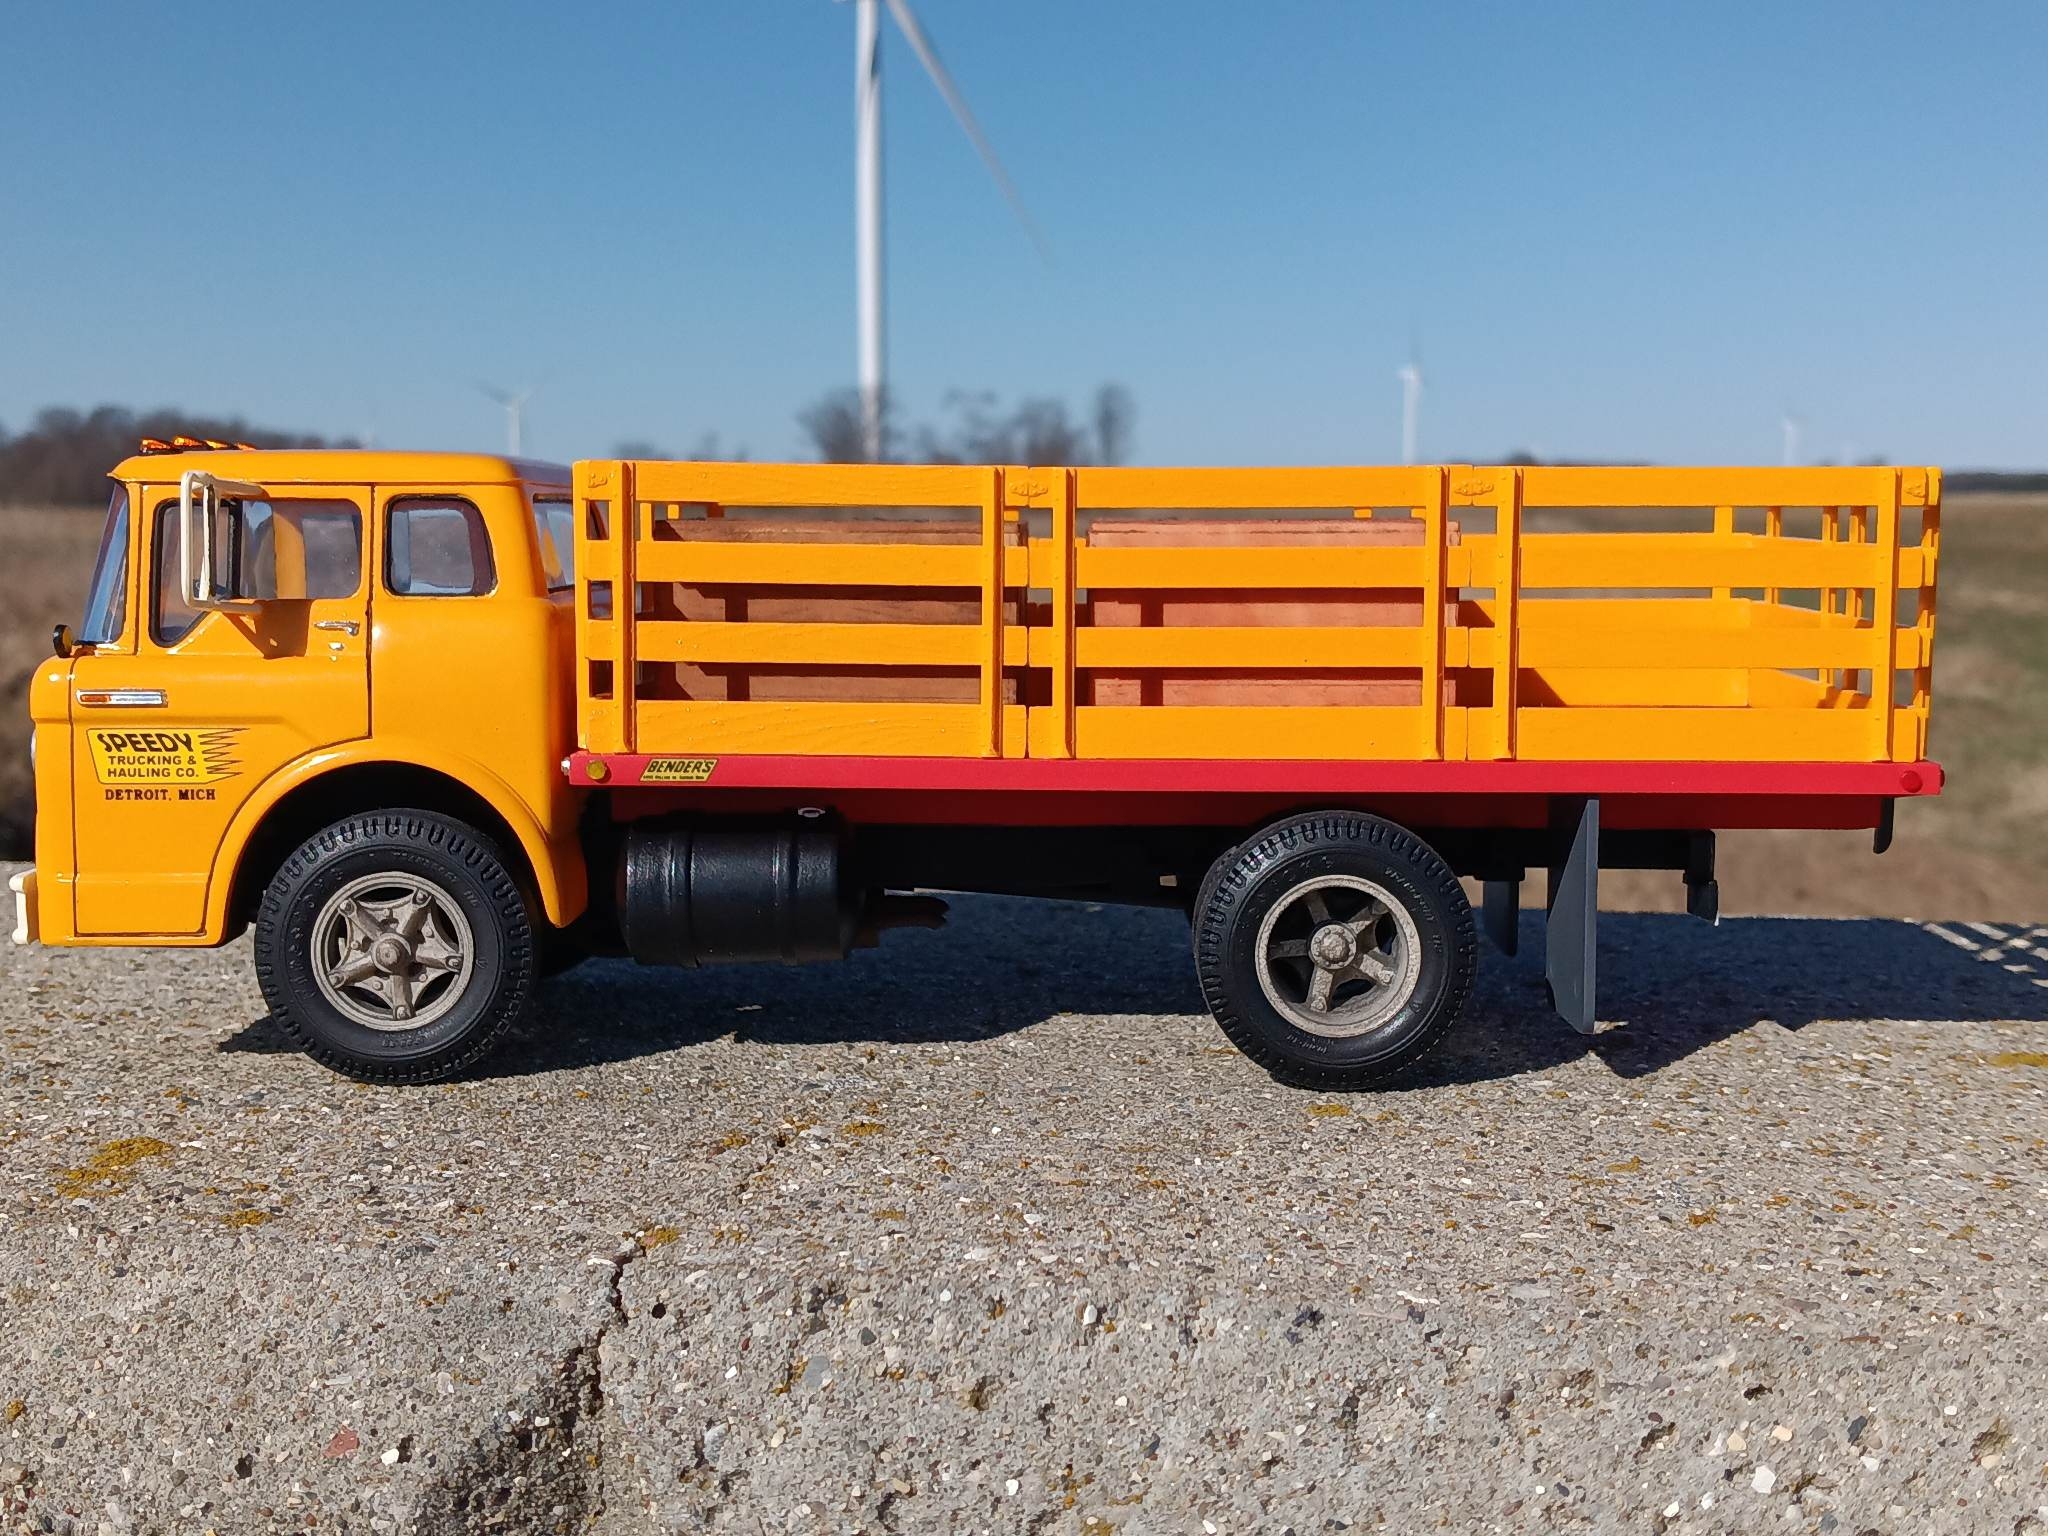
This is an original T596 kit that I bought a couple of years ago. I just love that old rigid plastic. 😁 The hardened vinyl tires I could do without but hey ... That's the tradeoff I guess.
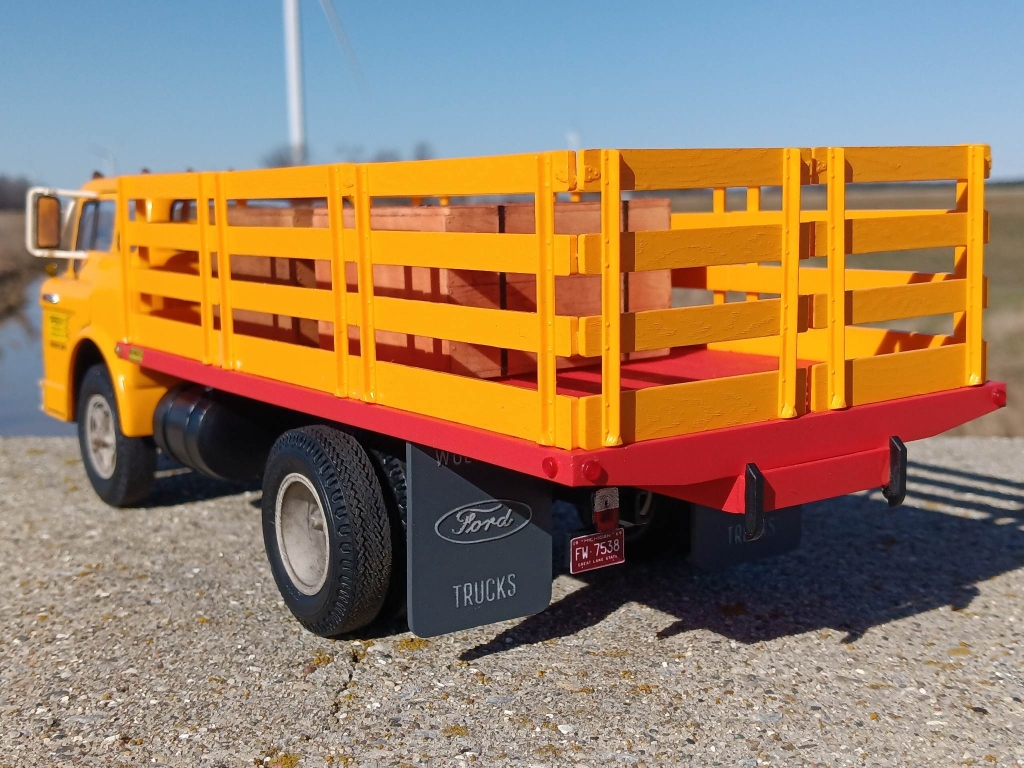
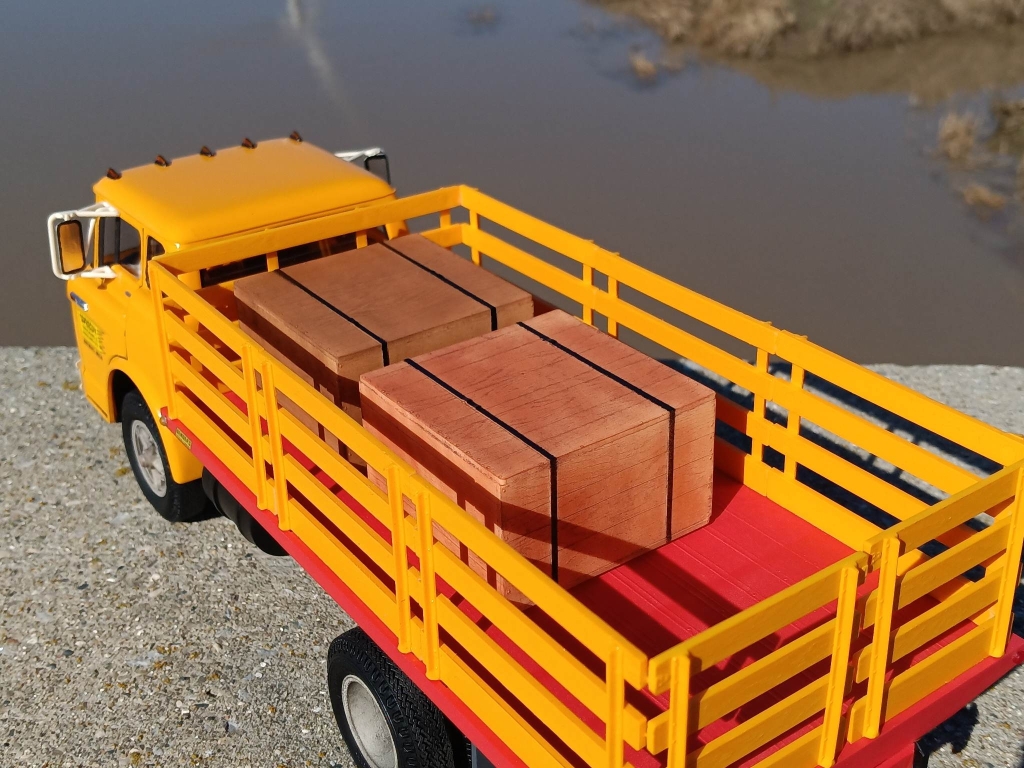
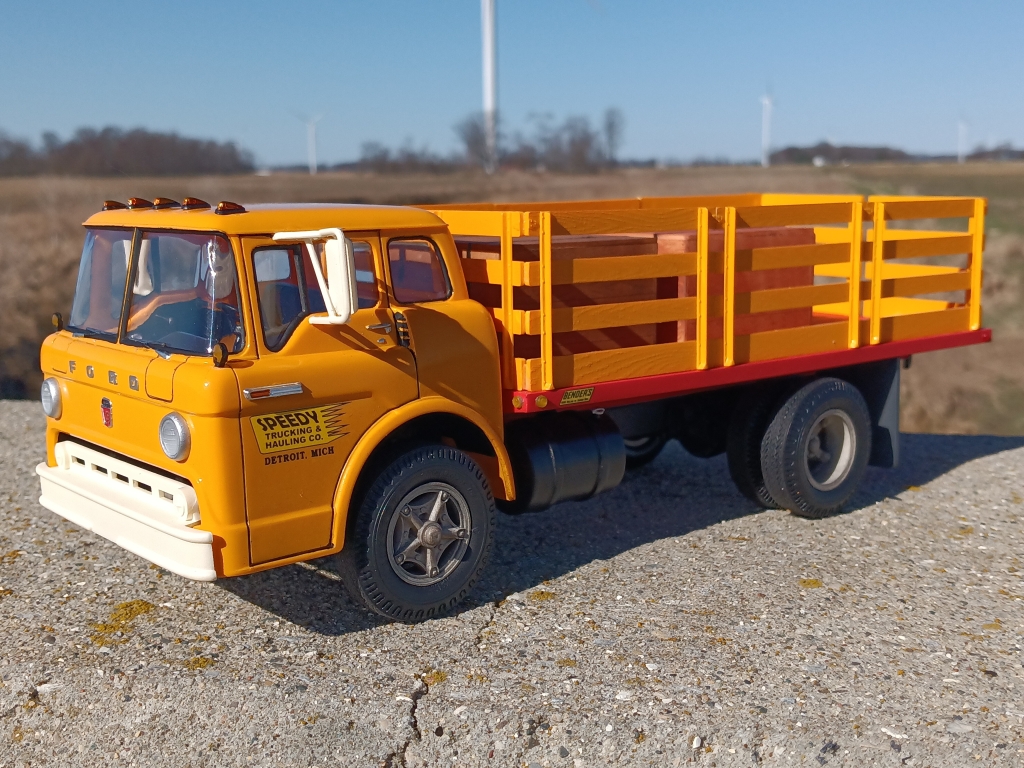
Inspired by the box art I used that and a Purple Wave auction listing for a 1969 C700 as my guide. The paint is Tamiya Camel Yellow overall, with the bed finished in Krylon Scarlet. The chrome was stripped (no thick nasty undercoat in 1971... Another plus for the old kits) and refinished in Krylon Colonial Ivory, which is a decent match for aged Ford Oxford White. The Speedy decals are from Gofer Racing, I changed the location from Chicago to Detroit with a section of old Fred Cady graphics. Wheels and underside were lightly weathered.
The box art showed the door emblem above the character line, 1968-1970 style, while the actual cab has it below, 1971-1990 style. I sanded off the original emblem and replaced it with the Moebius 1967-1972 F100 hood emblem. There's a "bonus" set of these in the 65 and 66 kits. Speaking of, I modified a 65 F100 bench seat to use here.
The crates were painted Tamiya Flat Flesh and dusted with weathering powder.


-
1
-
-
More like McDirty, am I right? No? No. Okay... I'll show myself out, then...
🤣
-
1
-
 1
1
-
-
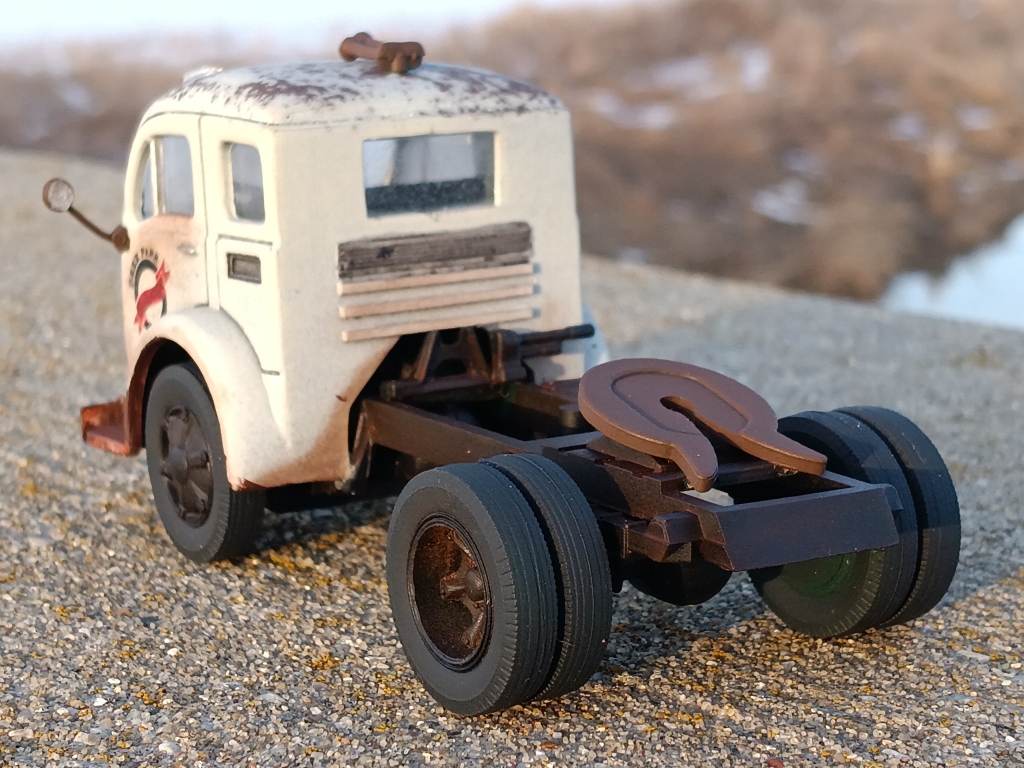
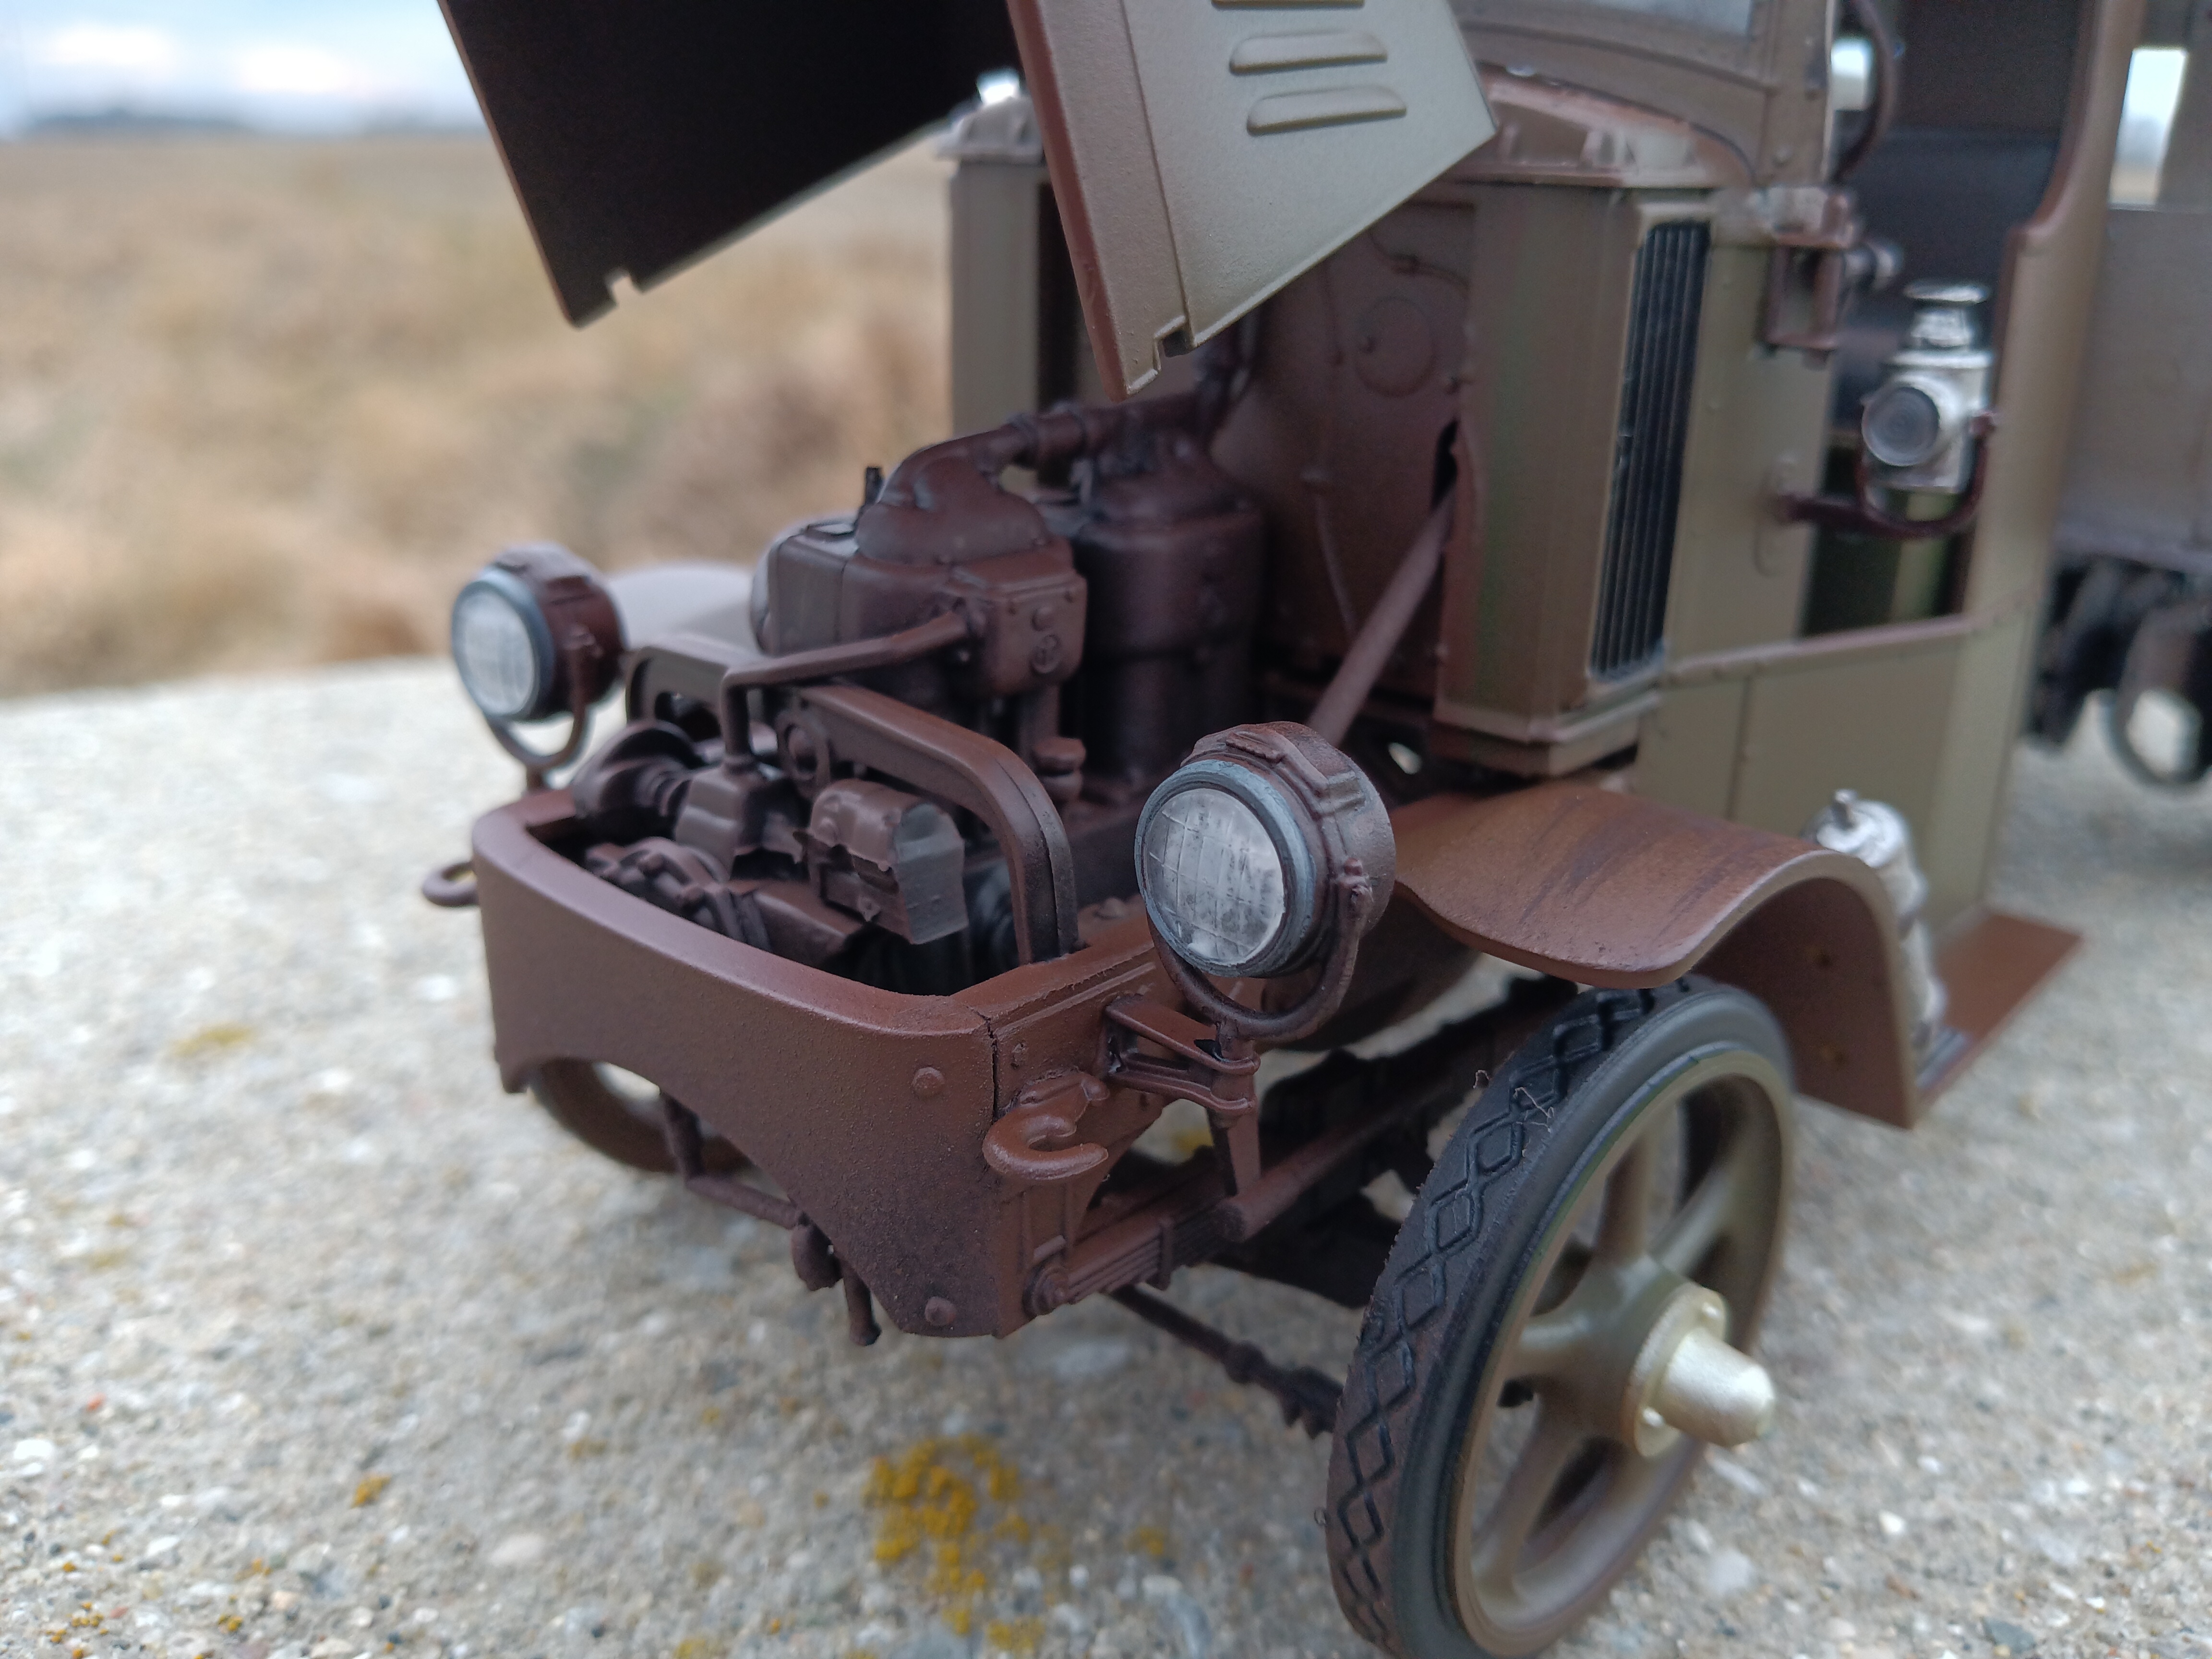
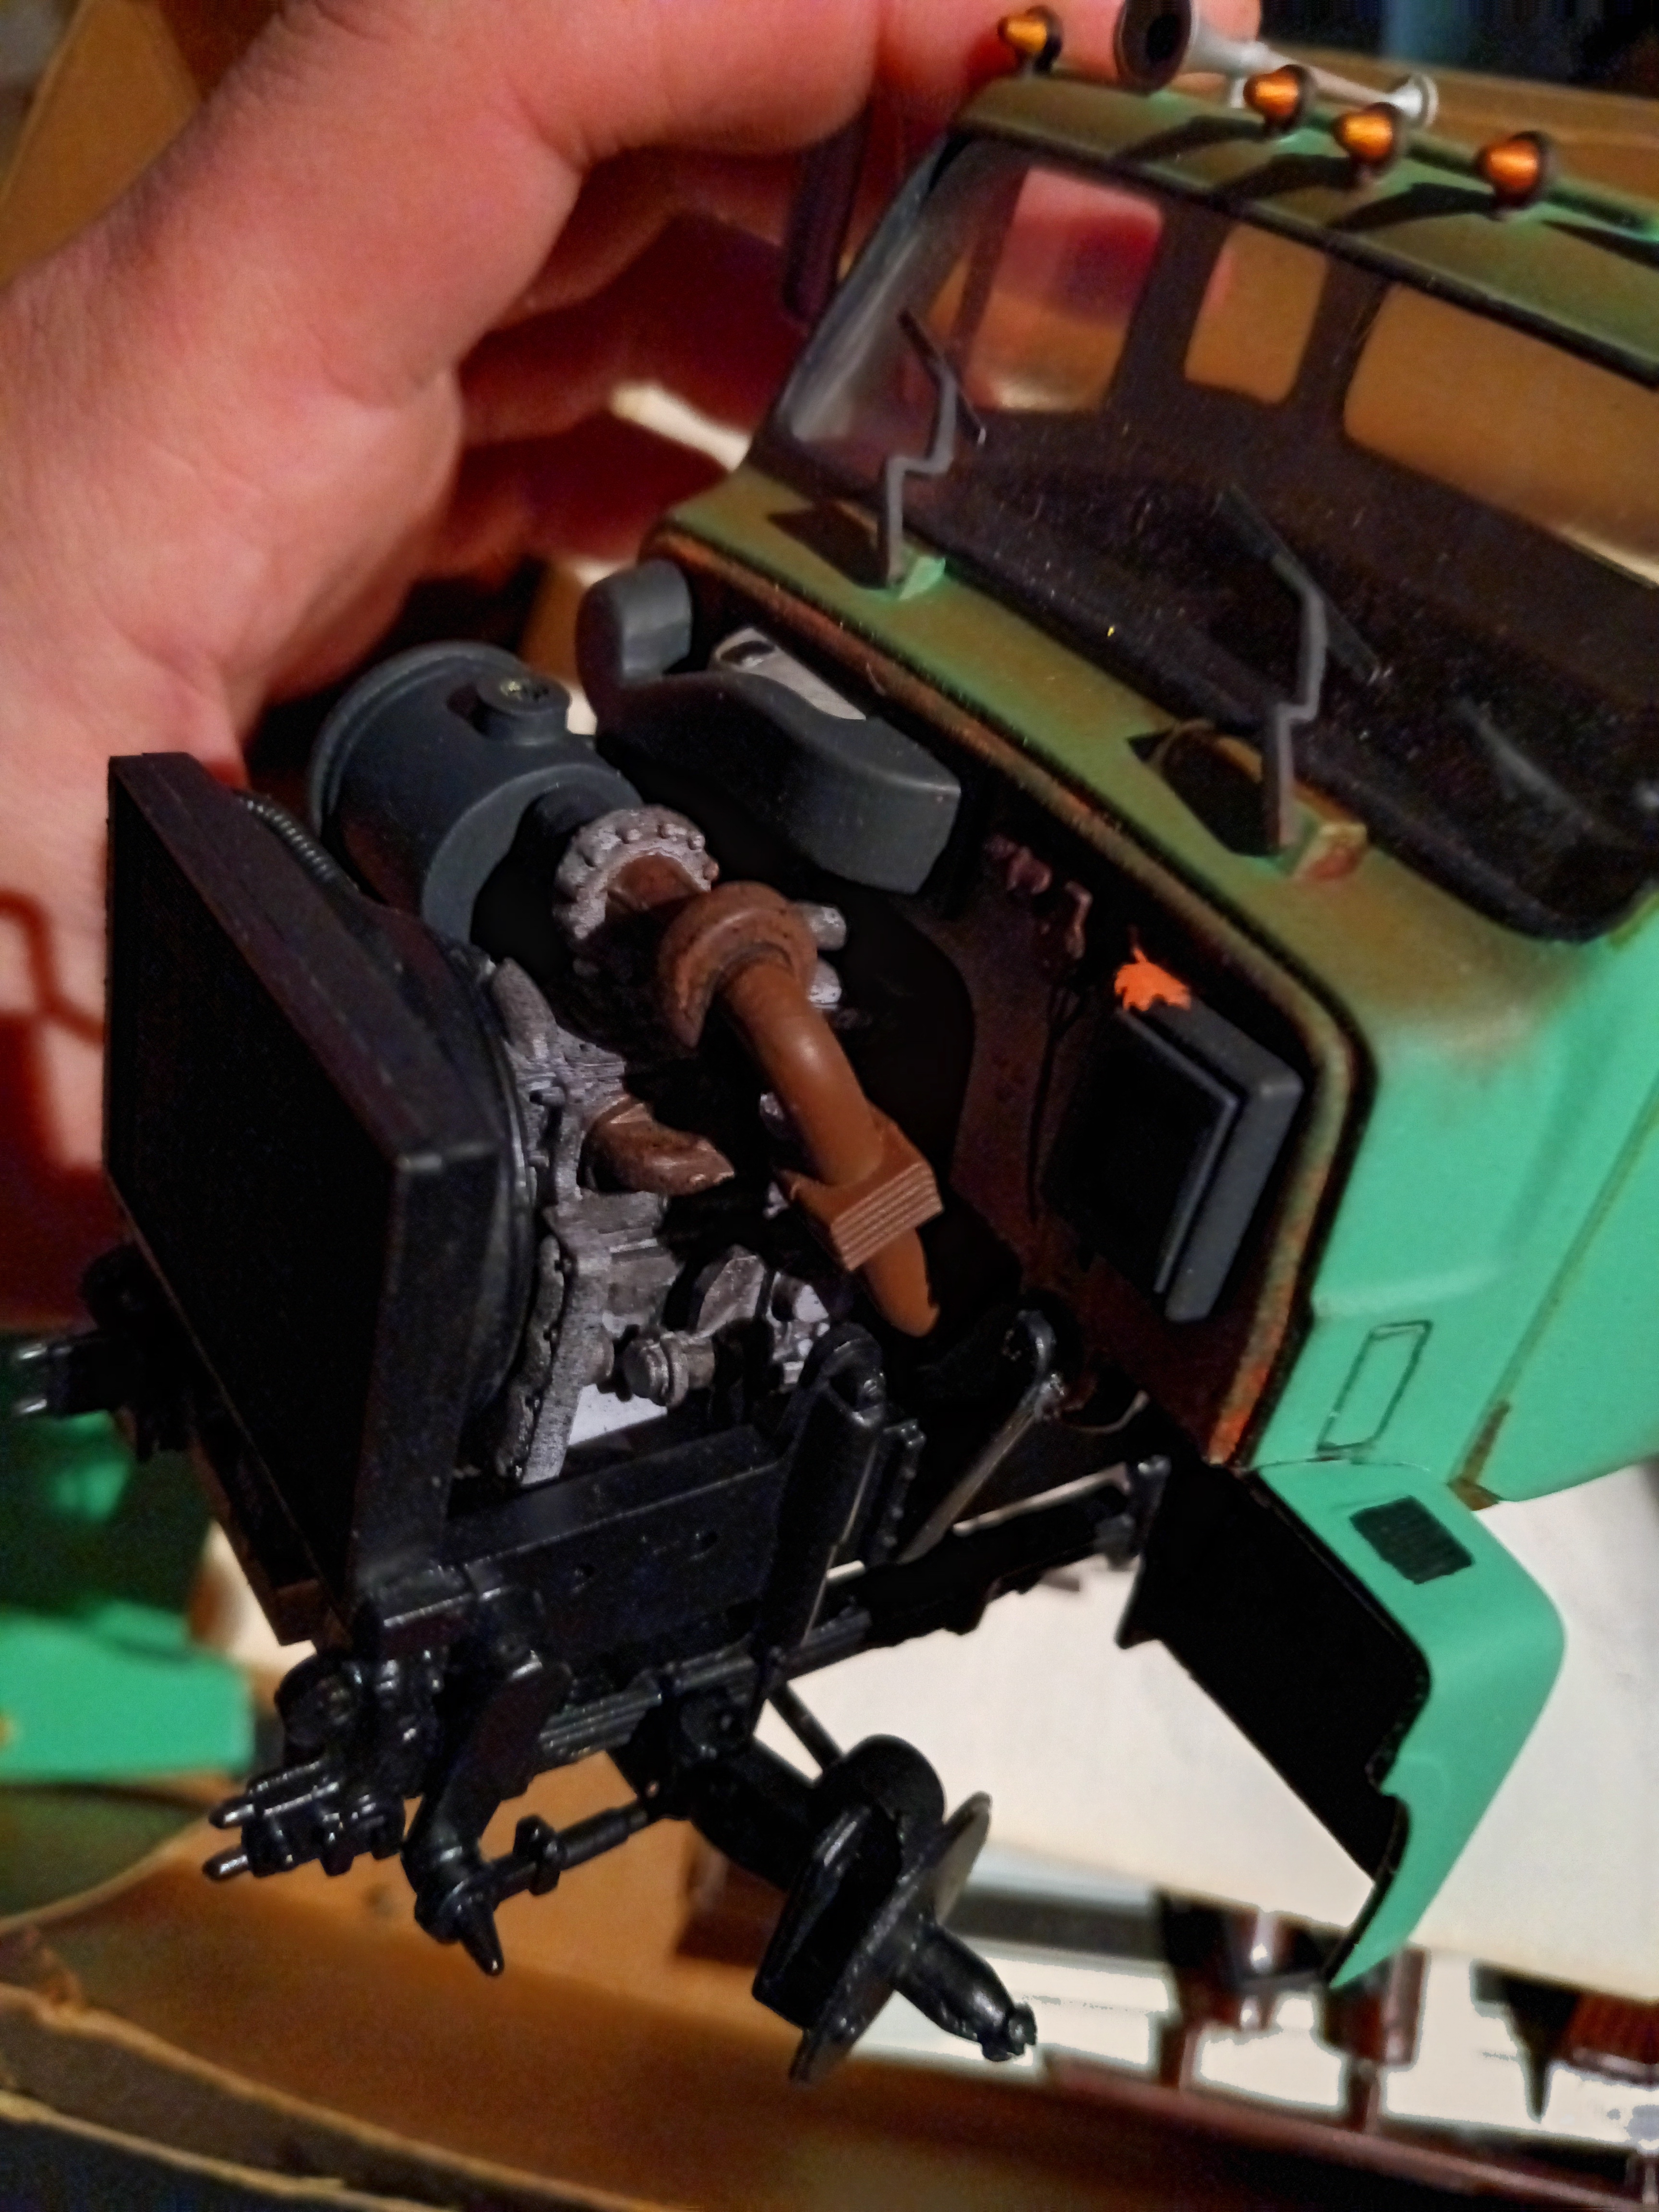
Very minor update, but here we go.
The engine is assembled and installed. I just went with primer gray and an oily wash, with Tamiya Linoleum Deck Brown on the exhaust manifold and turbo inlet to simulate rust. As you can see the engine is more or less completely hidden once the cab and everything is on, so I didn't go crazy with the details there. Add steering box to the list of missing parts. If I can't find anything suitable in the spares pile it shouldn't be much of a chore to fabricate something. For now the chassis is just flat black. It will be weathered as the project inches along.

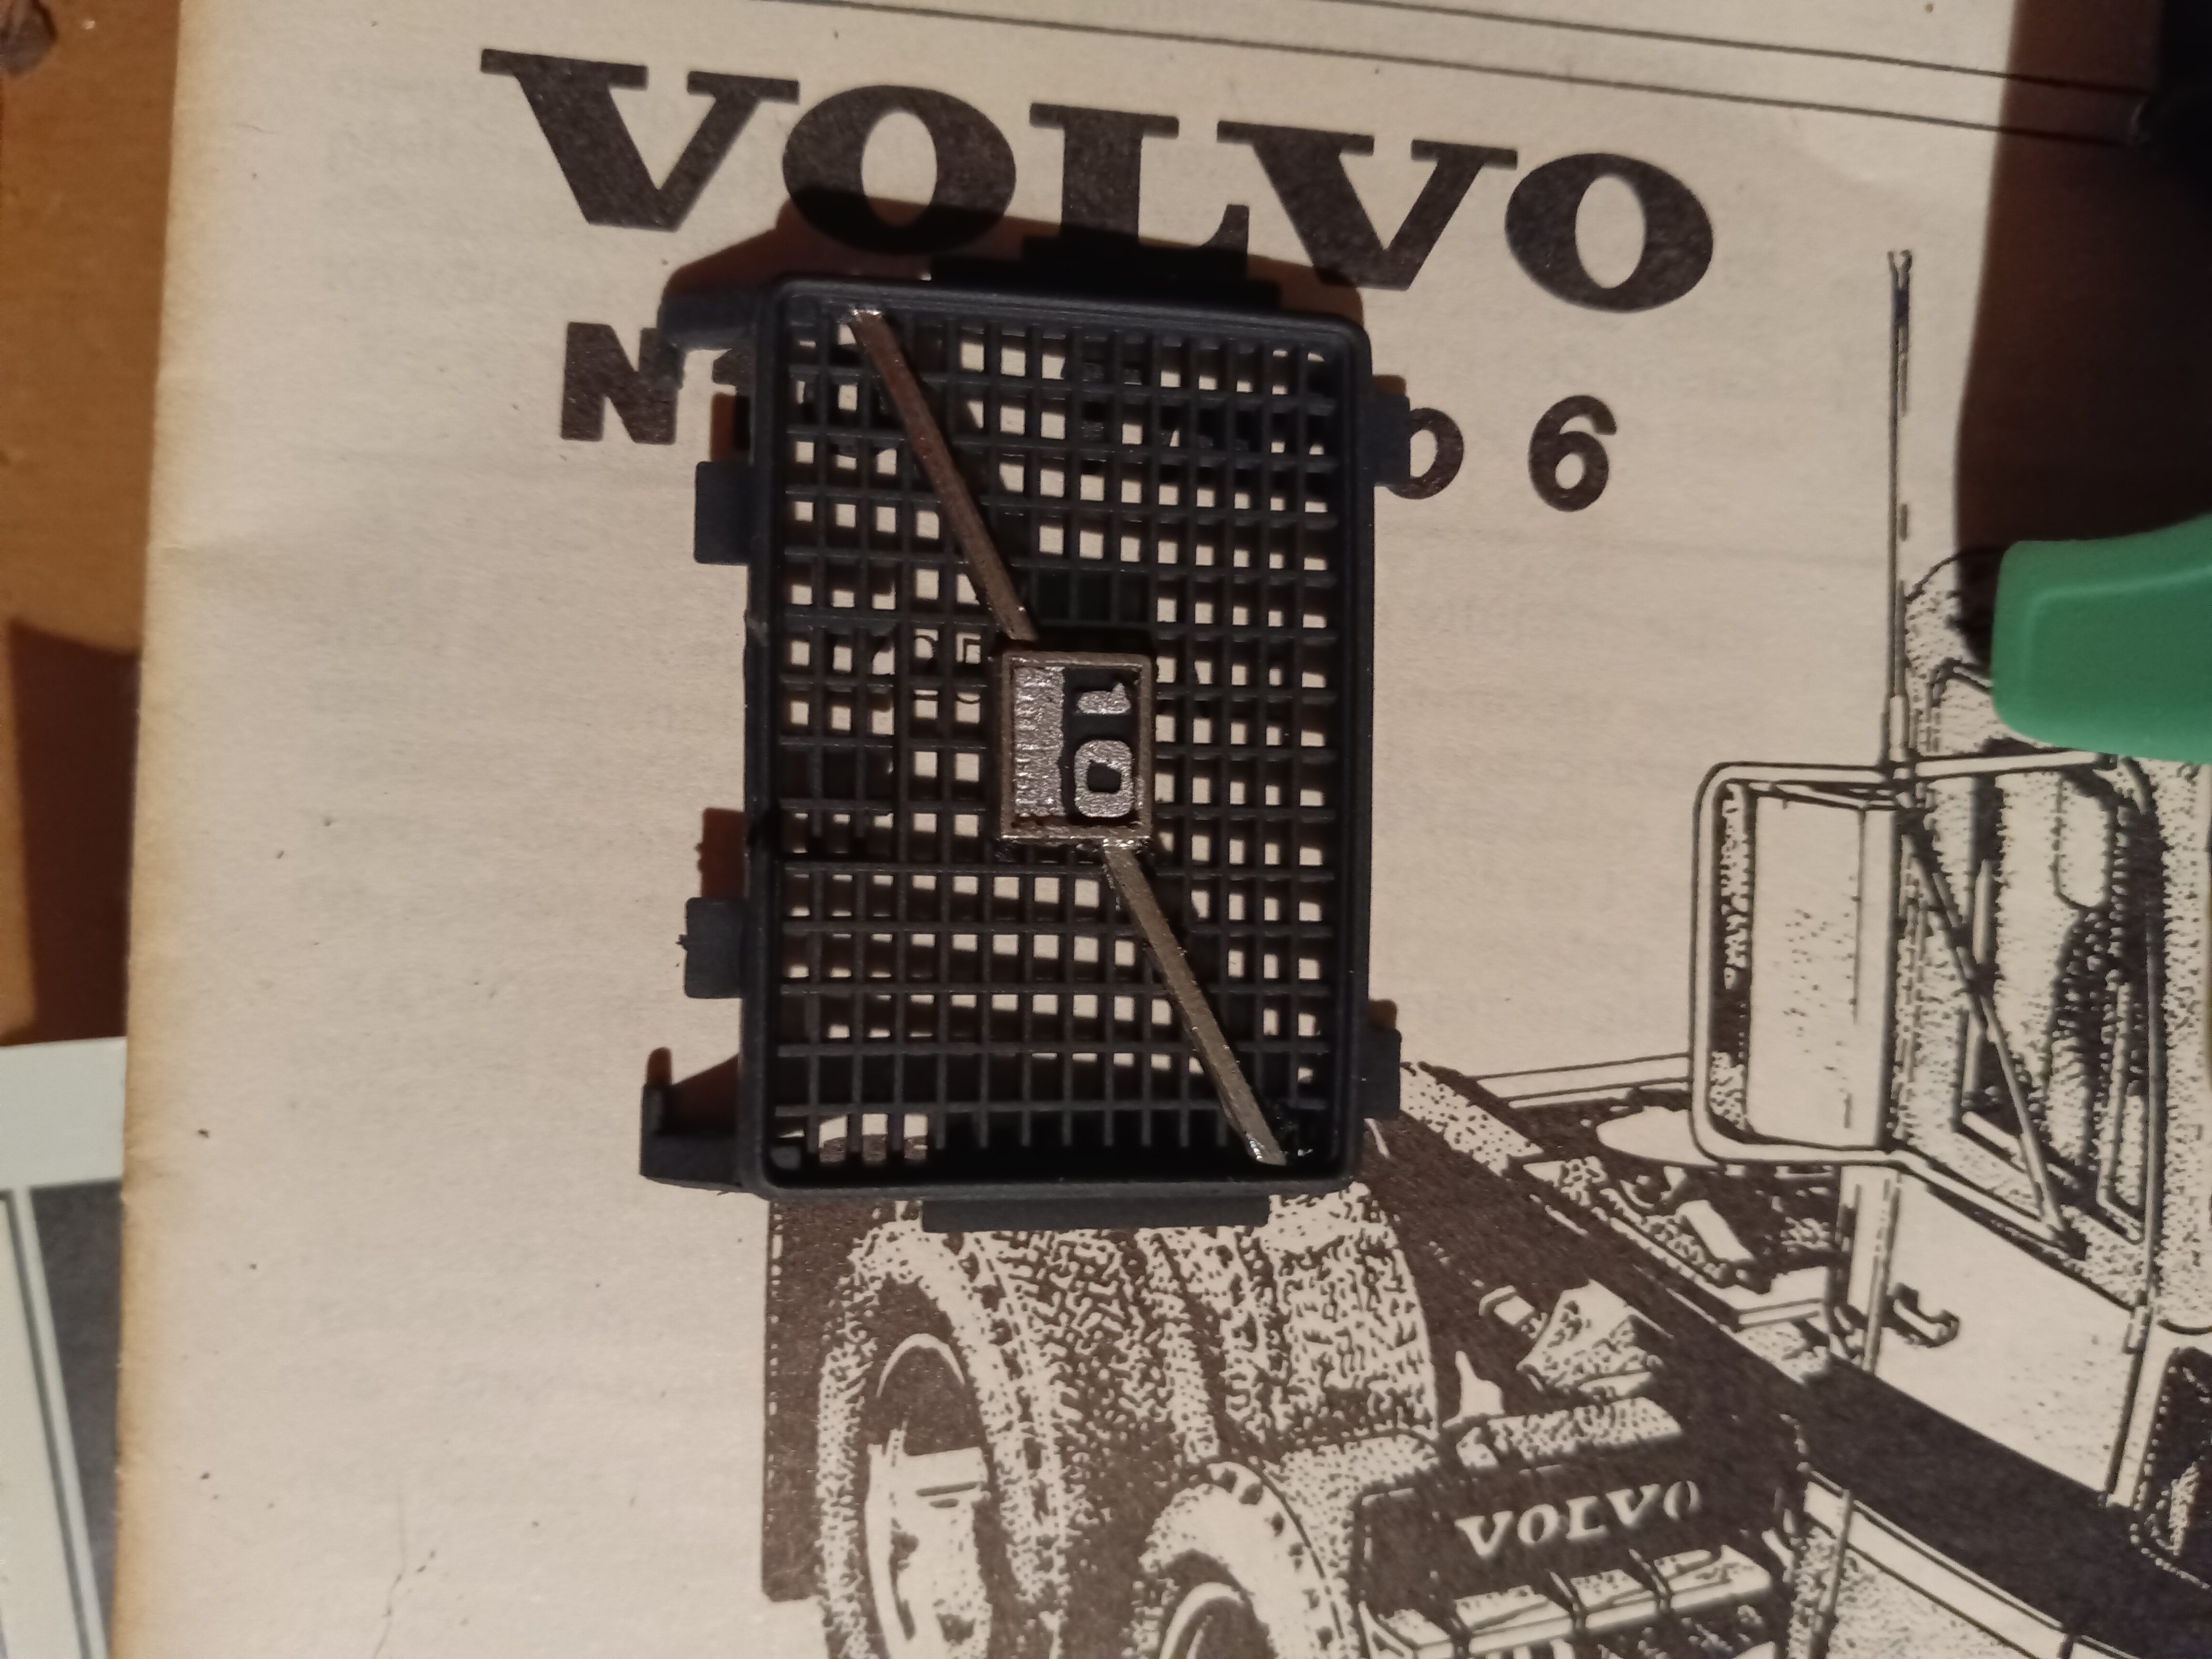
The grille needed a broken hinge repaired. Once that was done foil was added and the whole thing was coated in Tamiya Rubber Black. Once dry, the paint was scraped off the foil with a toothpick. The lettering was done with brushed Tamiya acrylic.

-
1
-
-
About the crooked lettering... I actually got them fairly straight the first time but for some reason that bothered me given the "hastily resprayed before the shift" kind of vibe I had going. So off they came and I added a bit of slant. They might get chipped and scraped once I add the grime.
-
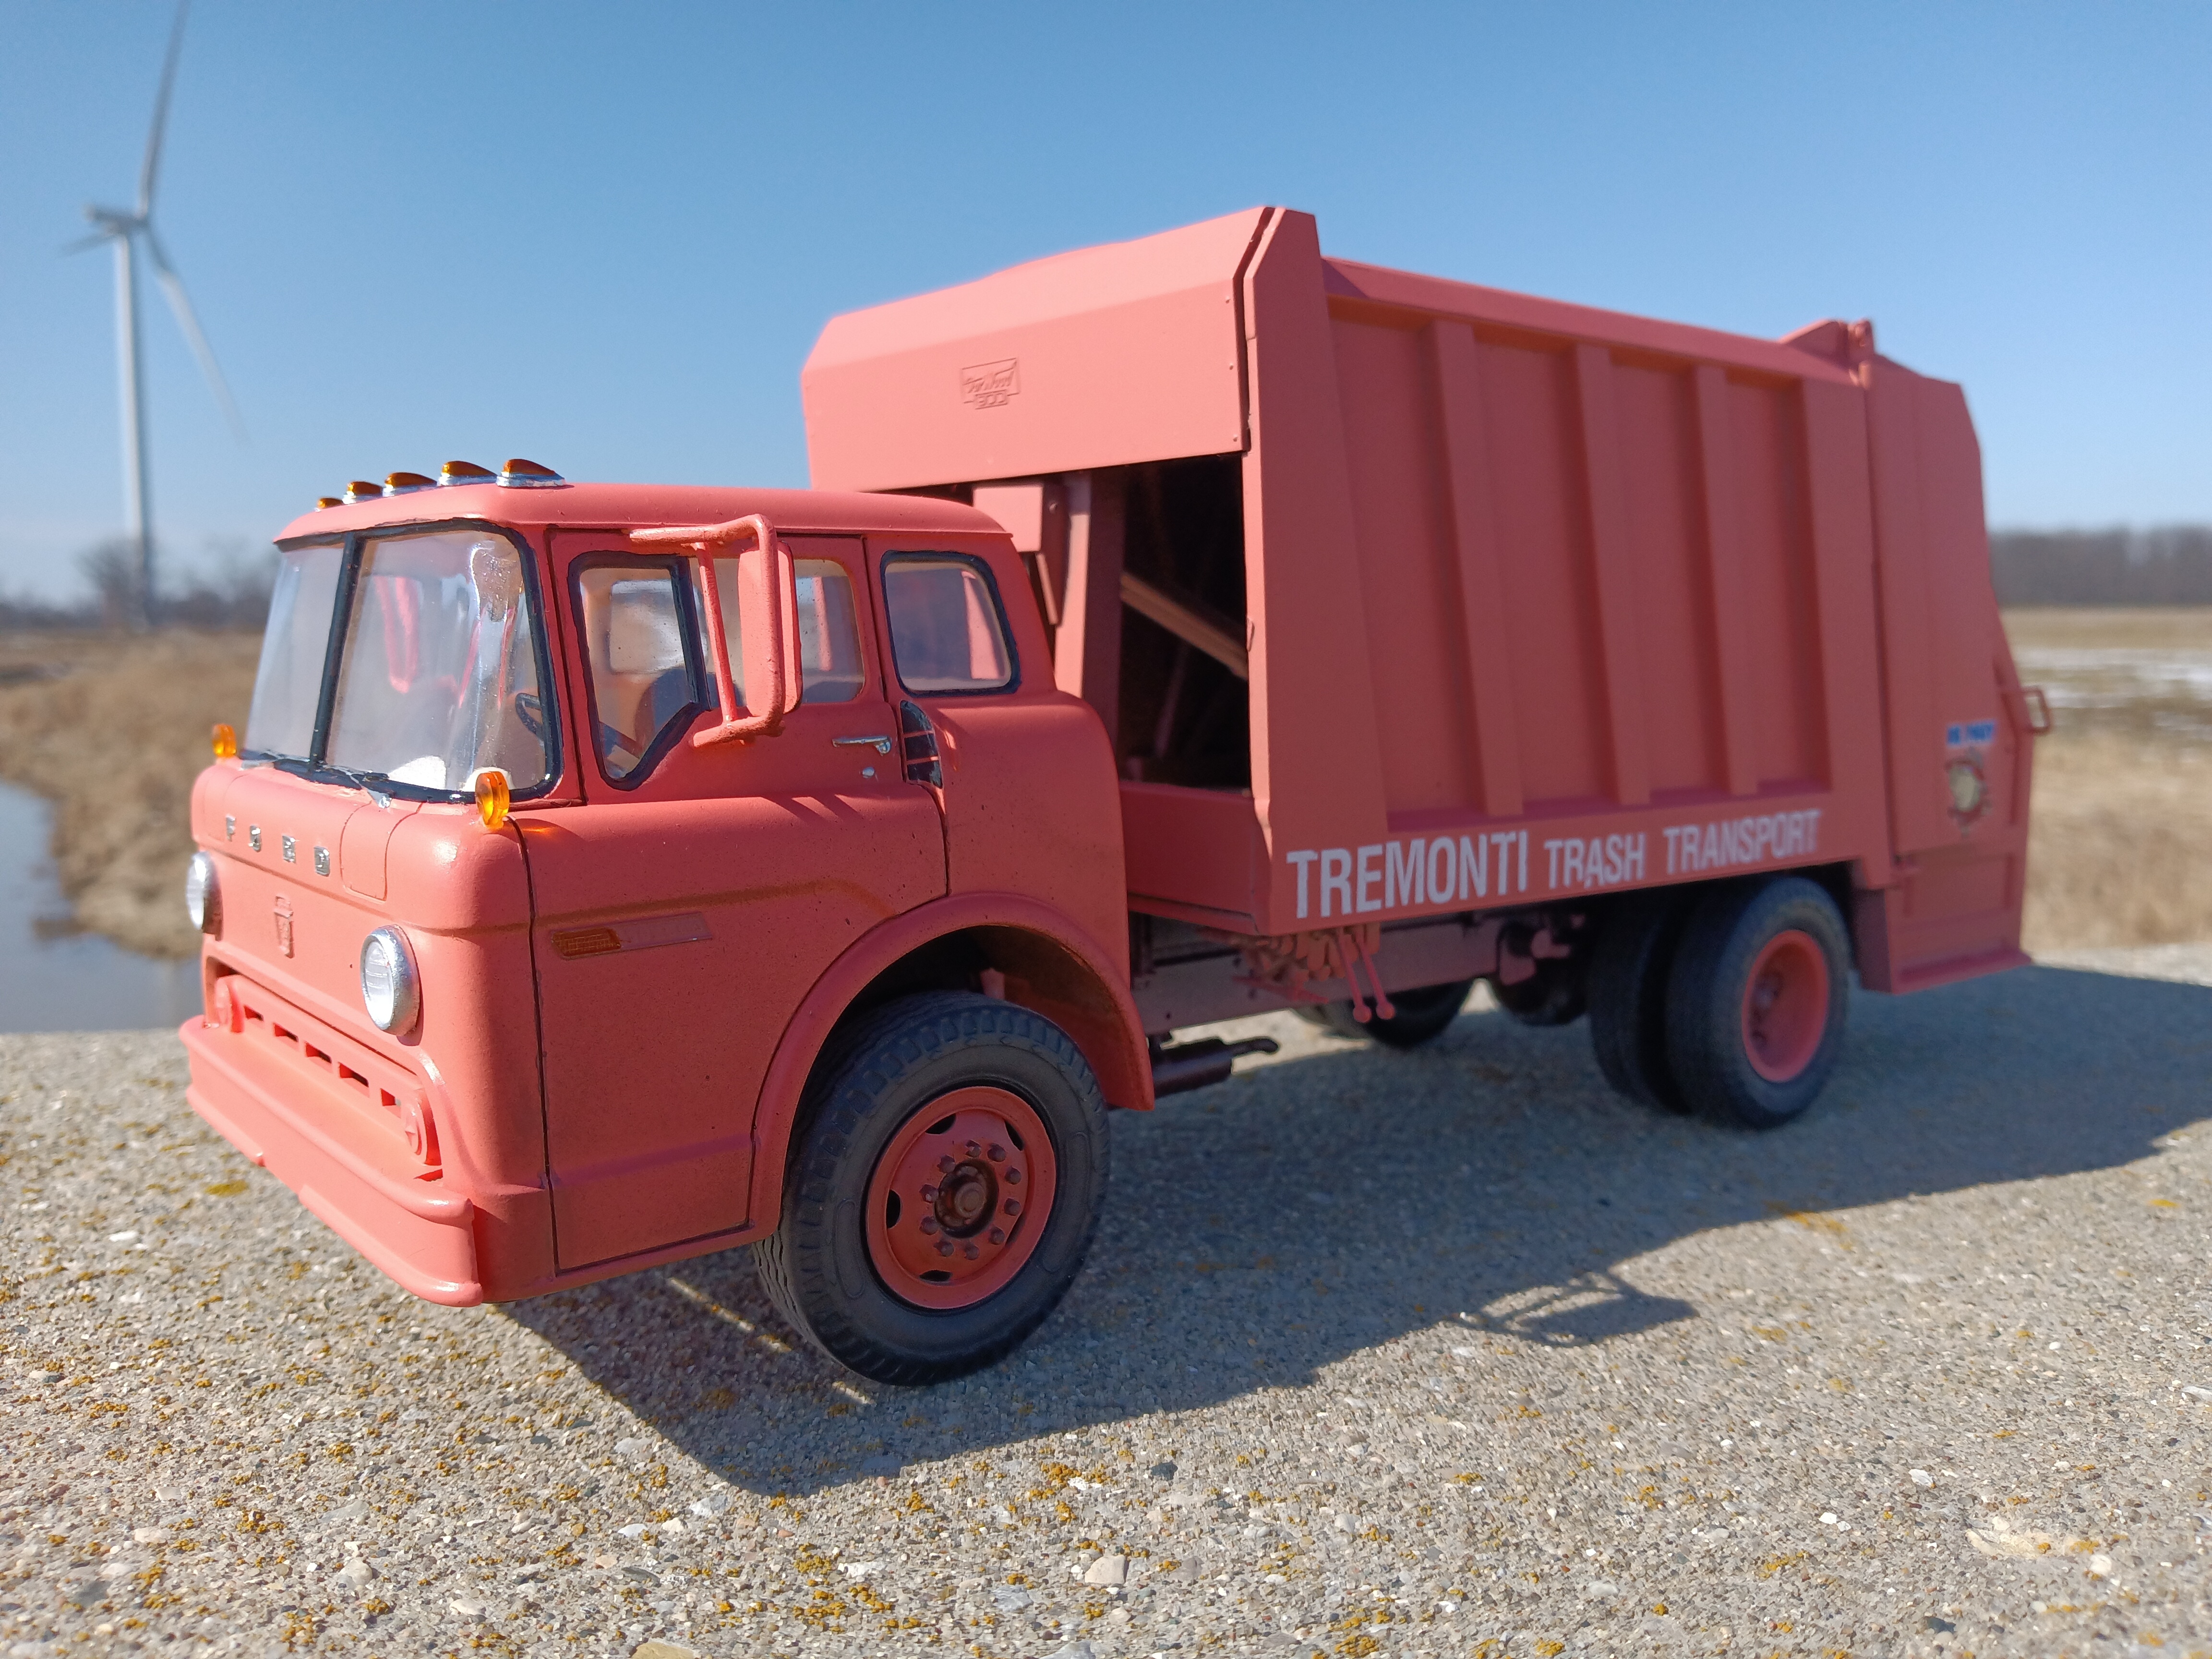
Mostly box stock AMT kit in Krylon Colormaxx Matte Sunrise. Eventually it will get dirtied up and loaded with trash. Still debating putting a figure on the back with a high visibility vest and about six inches of butt crack. 🤣 We'll see what happens.


-
 1
1
-
-
Just the Atlantis kit, thrown together out of the box with the exception of door graphics from the Atlantis Chevrolet flatbed. Not the greatest end result but I just wanted to get familiar with the kit.

-
1
-
-
Nice set! I believe this is in the "Forum Finds" section of the latest issue of MCM.


1982 Ford C8000
in Model Truck Show Room
Posted
Stevens International reissue of the AMT kit.
It was updated to 1982 spec by removing the "Gear and Lightning Bolt" medallion, widening the fender lips, and moving the door lock cylinders.
The Cummins 6BT, Allison 6 speed auto, and air to air intercooler are from Iceman Collections , and the sleeper came from Too Many Projects . Wheels and tires are Moebius and the rear air suspension uses modified GMC General doodads.
Paint is Colorshot Kale. It was supposed to be a matte finish but it came out a bit glossier that I would have preferred.