

41CHEVY
-
Content count
334 -
Joined
-
Last visited
-
Days Won
24
Posts posted by 41CHEVY
-
-
Absolutely fantastic build. Aside from the subject matter, all the little details keep me looking it over! Paul
-
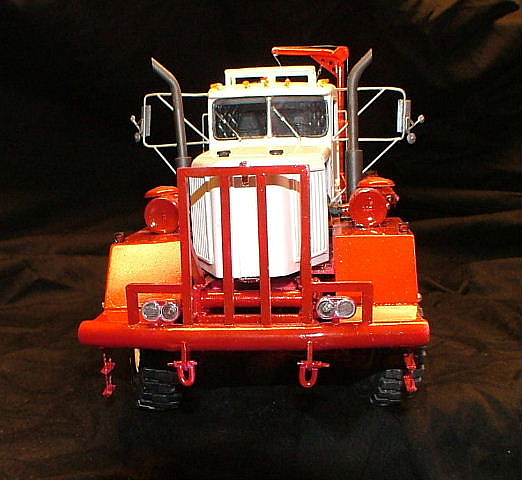
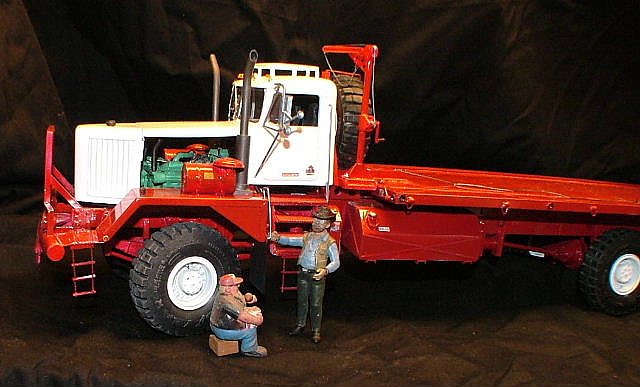
Build for oil field and nuclear plant work. Scratch build less cab. Scratch build Cummins V12. Paul
-
Very nice! What did you use for the paneling in the bunk? It looks real! Paul
-
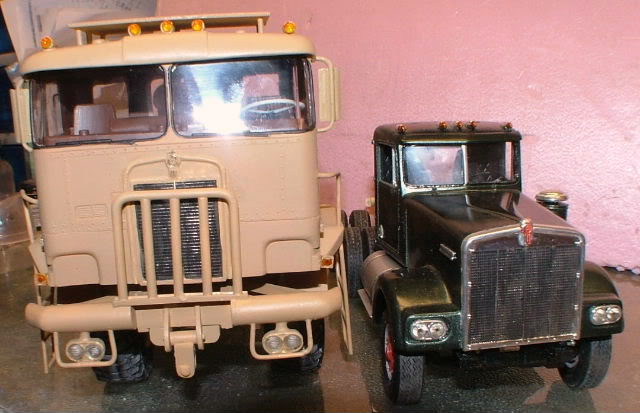
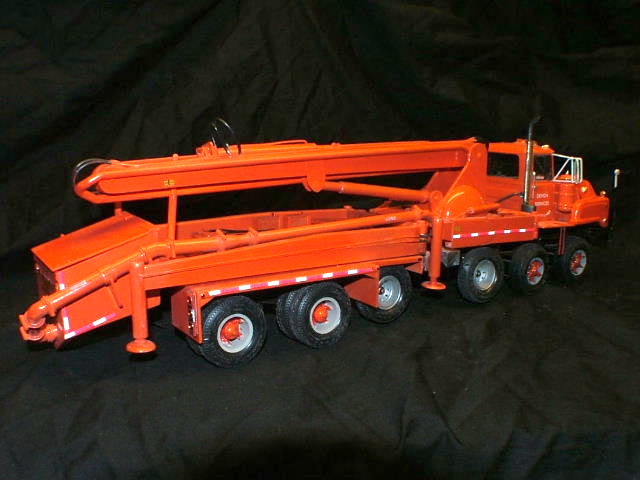
The K.W.s are both scratch built less cabs. The 953 has a D.D. 16V71 and the COE had a scratch build Cummins V12 and Hydra Select Drive. Paul
-
 1
1
-
-
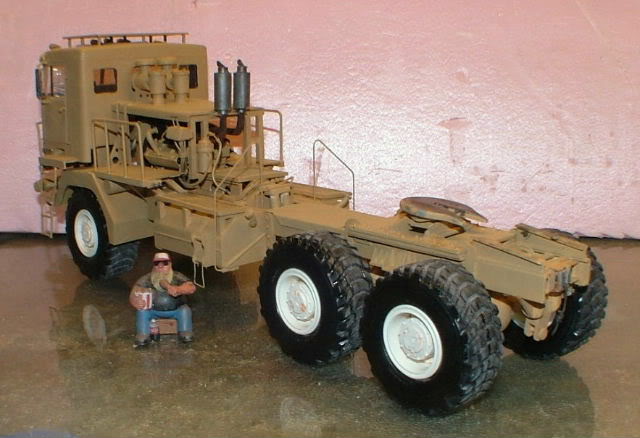
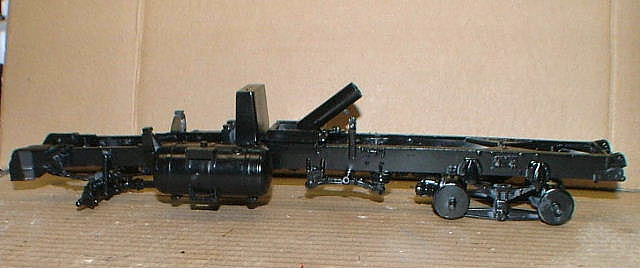
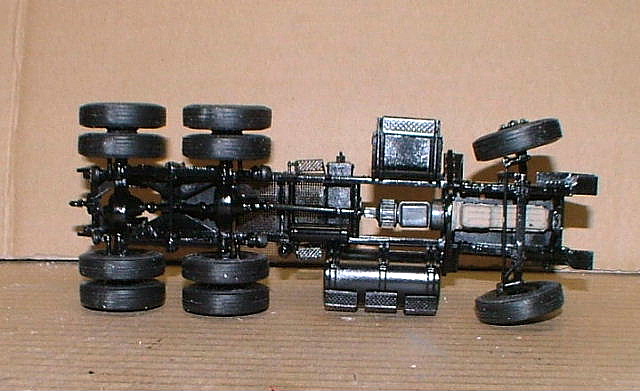
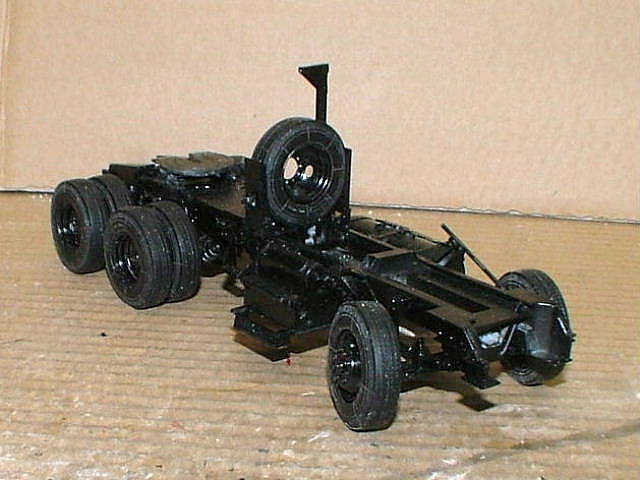
Got some more done on both chassis. The 1/25 has the fuel tank steps made up andmade up a lift axle from Pete part box goodies and Evergreen. Converted the Alco's in to 2 hole Budds,made up the Transfer Case and cross member. Added drive shafts and made working steering all the way to the box. The box is shortened a bit and fitted temporally on the chassis. Got started o the cab and floor to convert to the AM General- Freightliner cab.
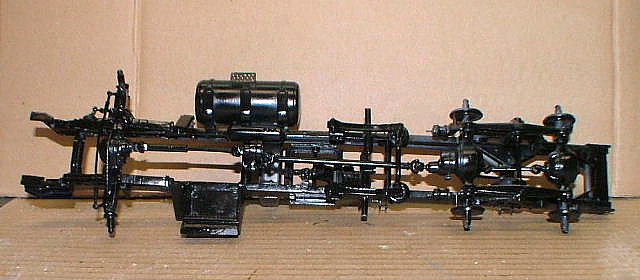
The 1/35 chassis is pretty much done less fifth wheel plate and a few lights. Paul -
Some I no longer have the tags, but most common I use are #8084 Hex bolt and washer, #8081 Hex nut and bolt, # 8080 Hex nut and washer and #8076 .050 rivets.
I get them from Mega-Hobby on line. They are all HO so scale size kind of goes away.
") Paul
Paul
https://www.megahobby.com/search.php?search={q=tichy nuts}
https://www.megahobby.com/search.php?search={q=tichy rivets}
https://www.megahobby.com/search.php?search={q=tichy bolts}
https://www.megahobby.com/search.php?search={q=tichy star}
-
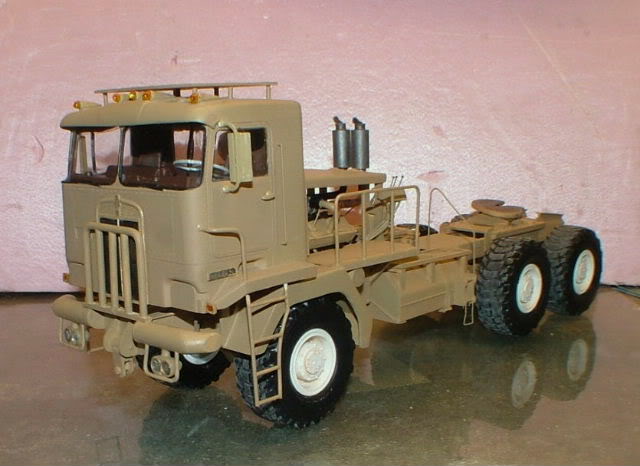
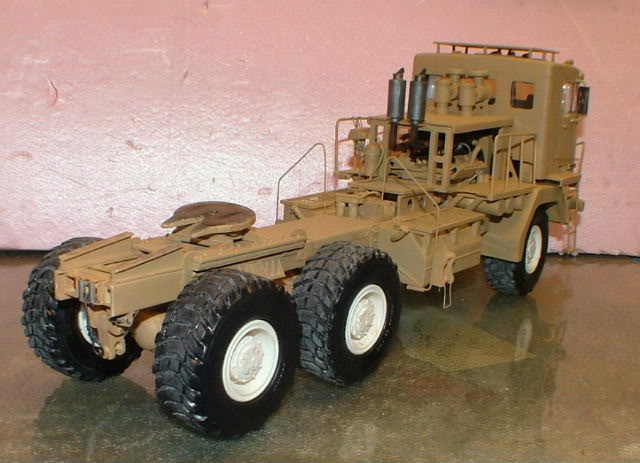
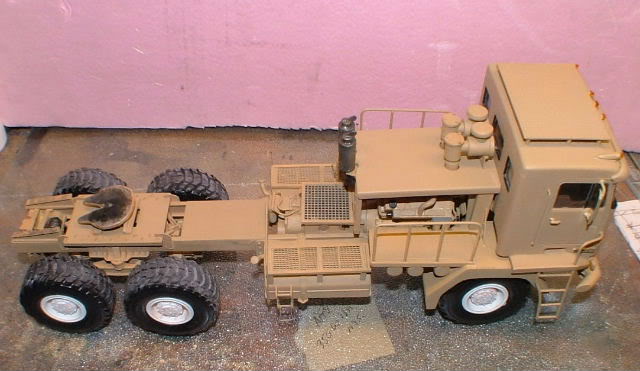
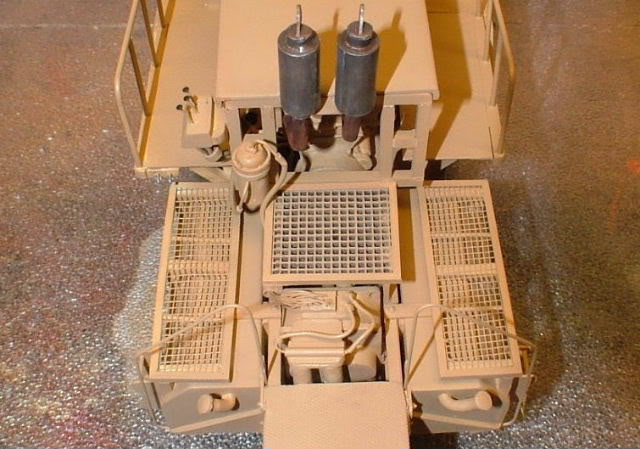
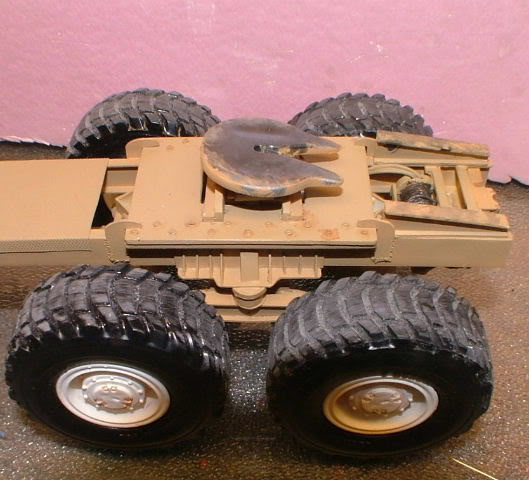
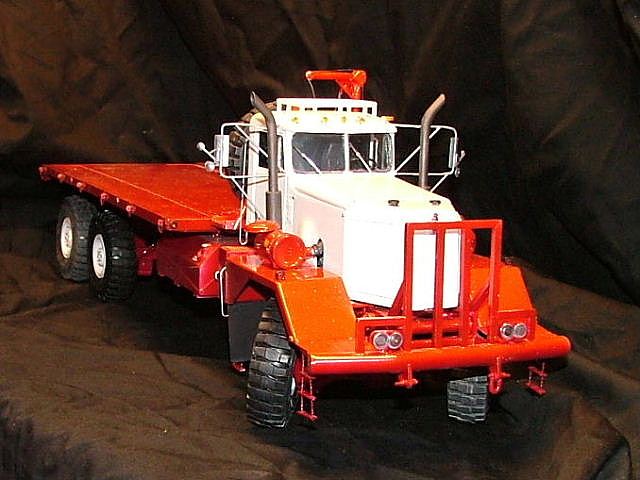
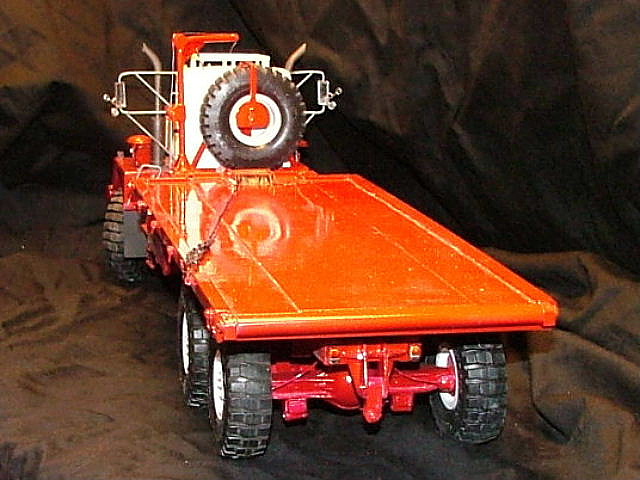
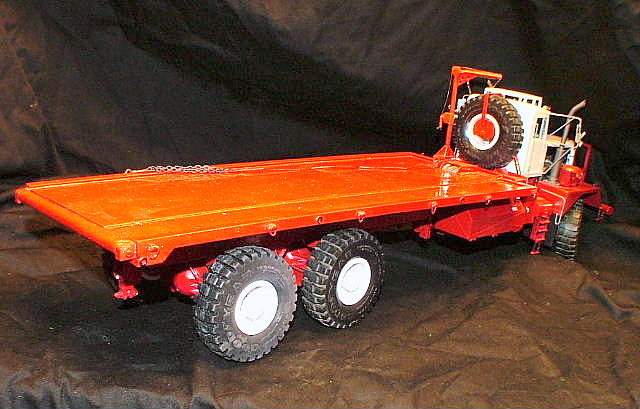
Got a bit more done. The rear cross member is made up, cab mounts and front bumper brackets are almost done, battery box and air tanks are in. I machined a fuel tank from PVC on my lathe. I scratch built up a driven front axle for it too and mounted up the rear boogies. Next is the lift axle with mounts dualies and a hydraulic tank from PVC. Paul
-
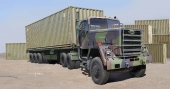
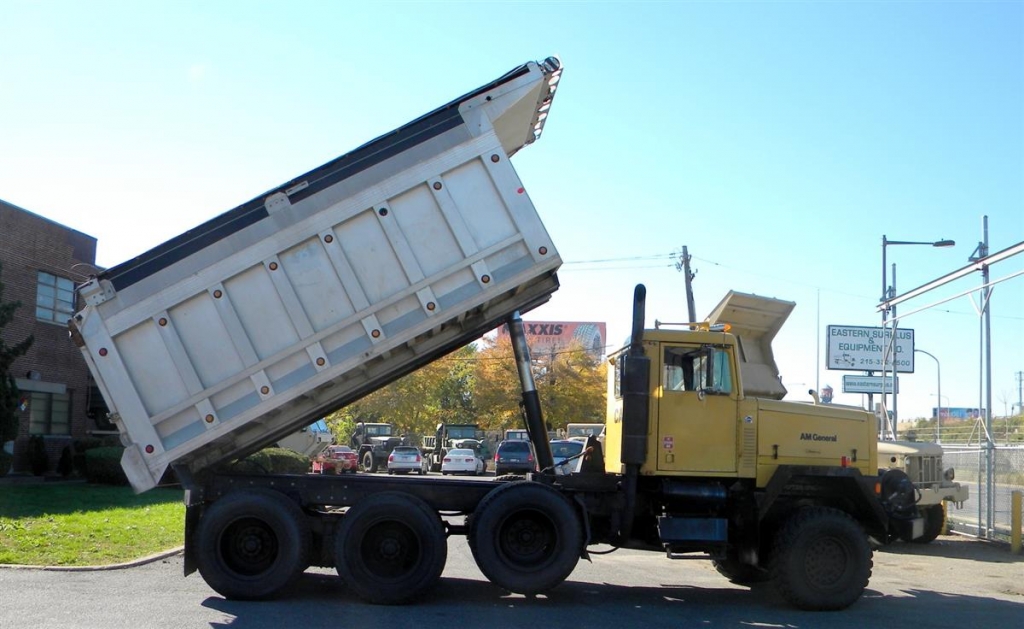
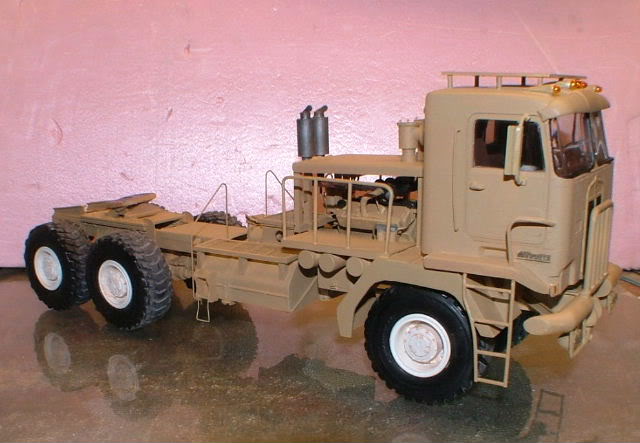
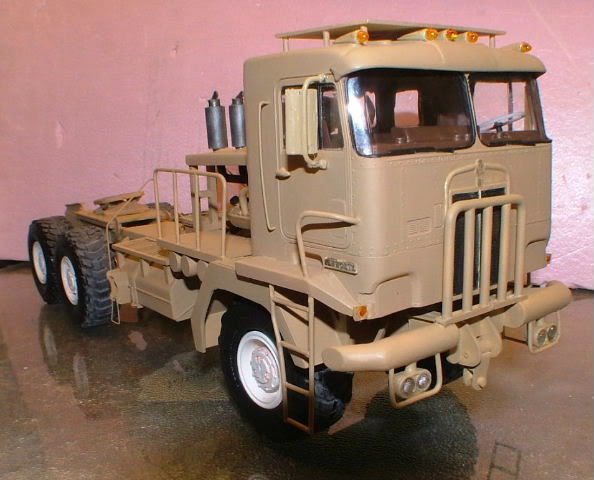
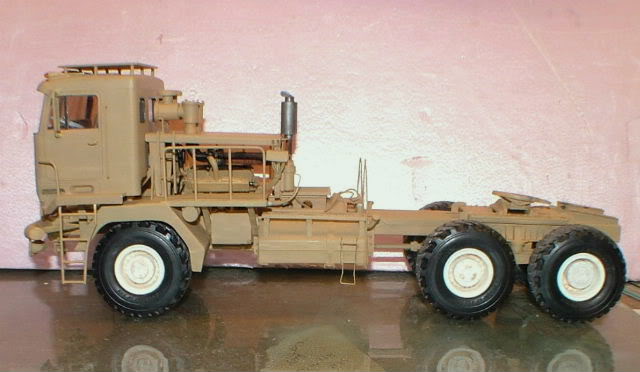
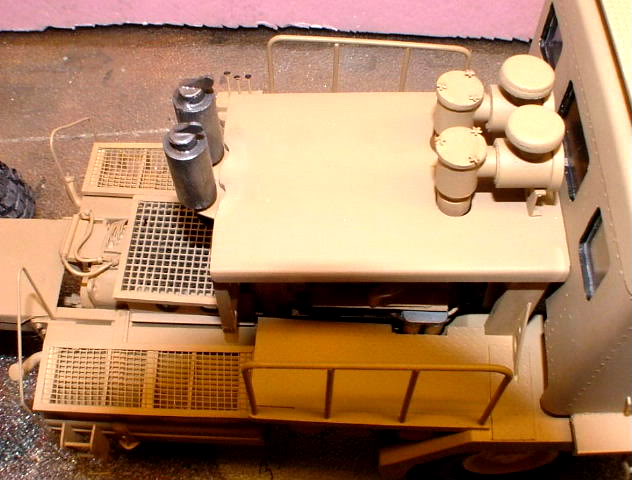
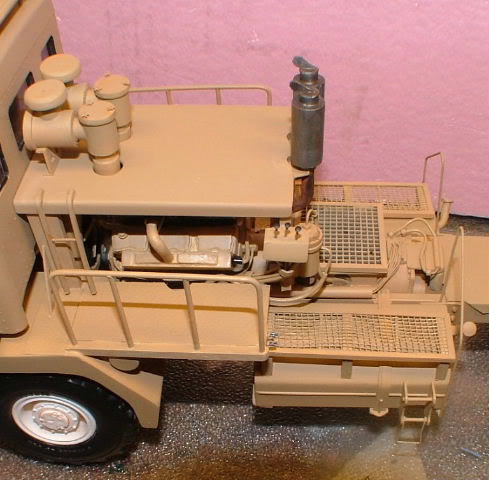
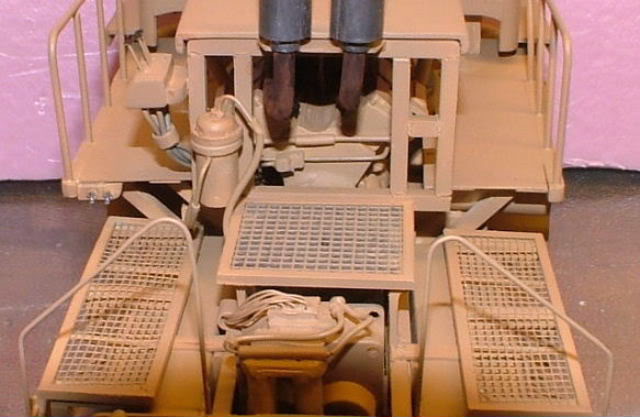
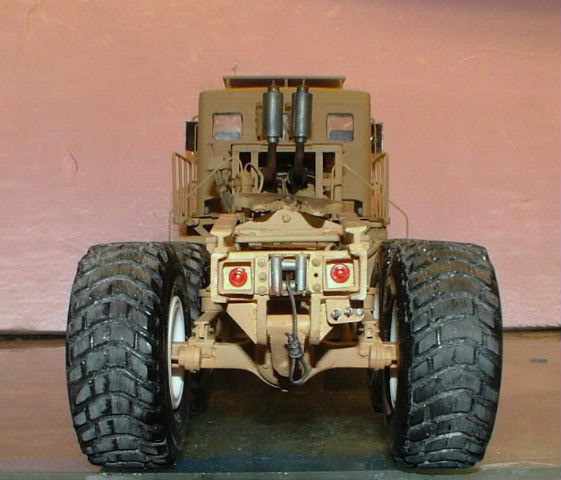
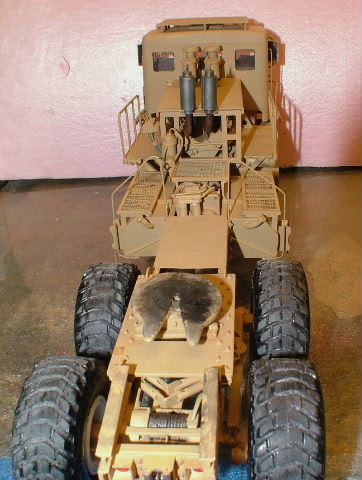
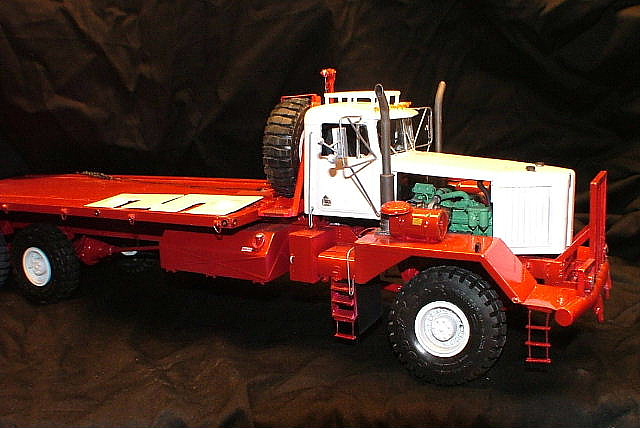
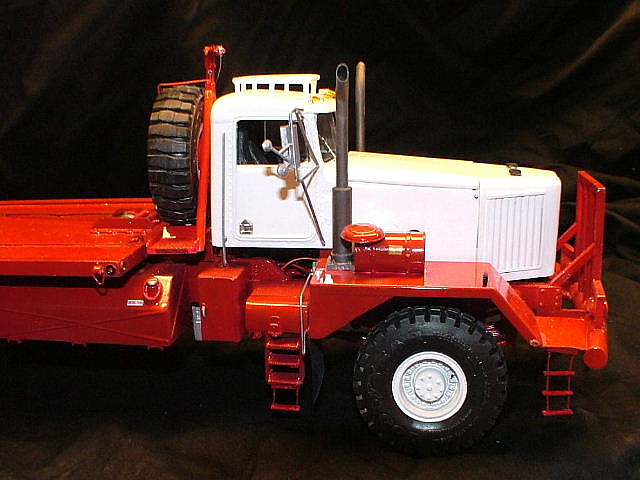
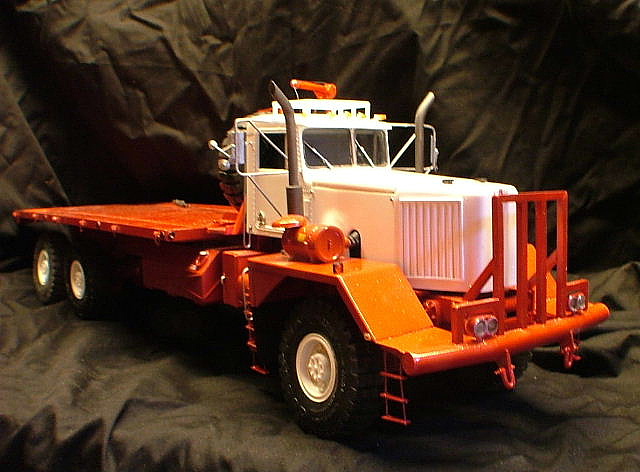
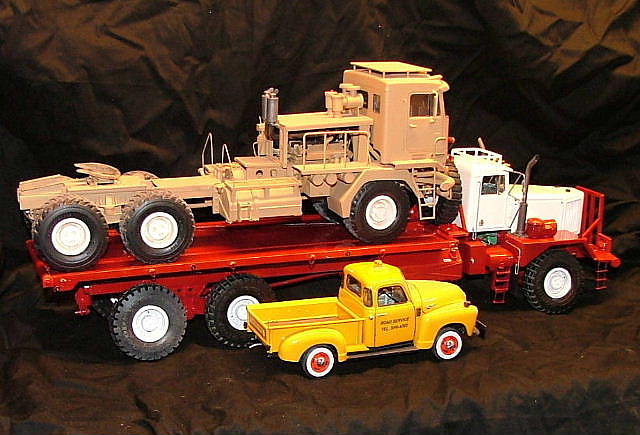
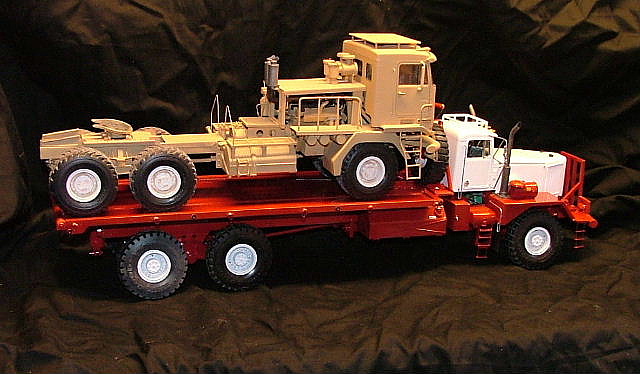
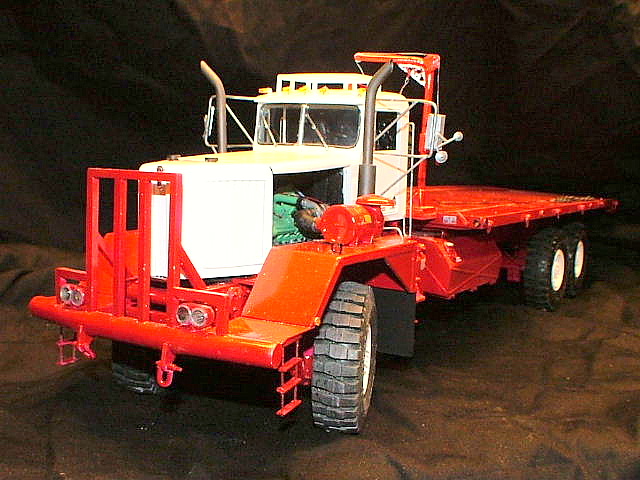
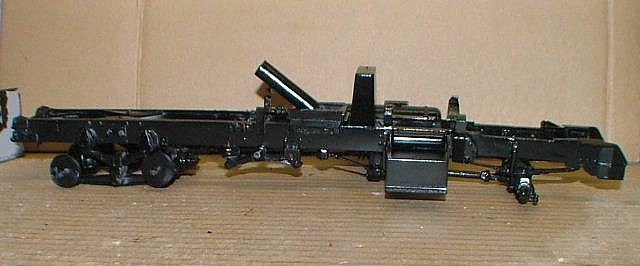
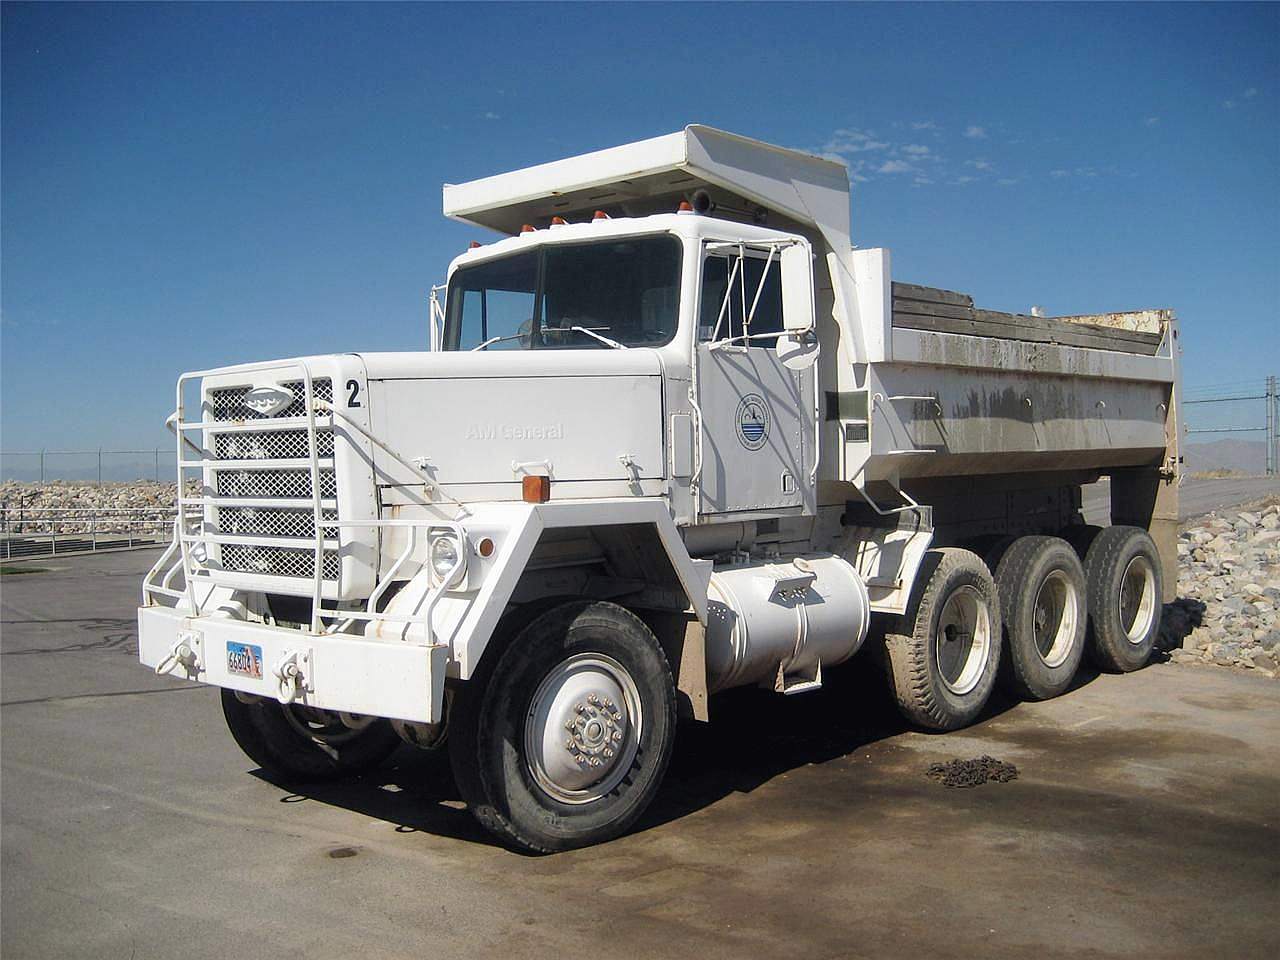
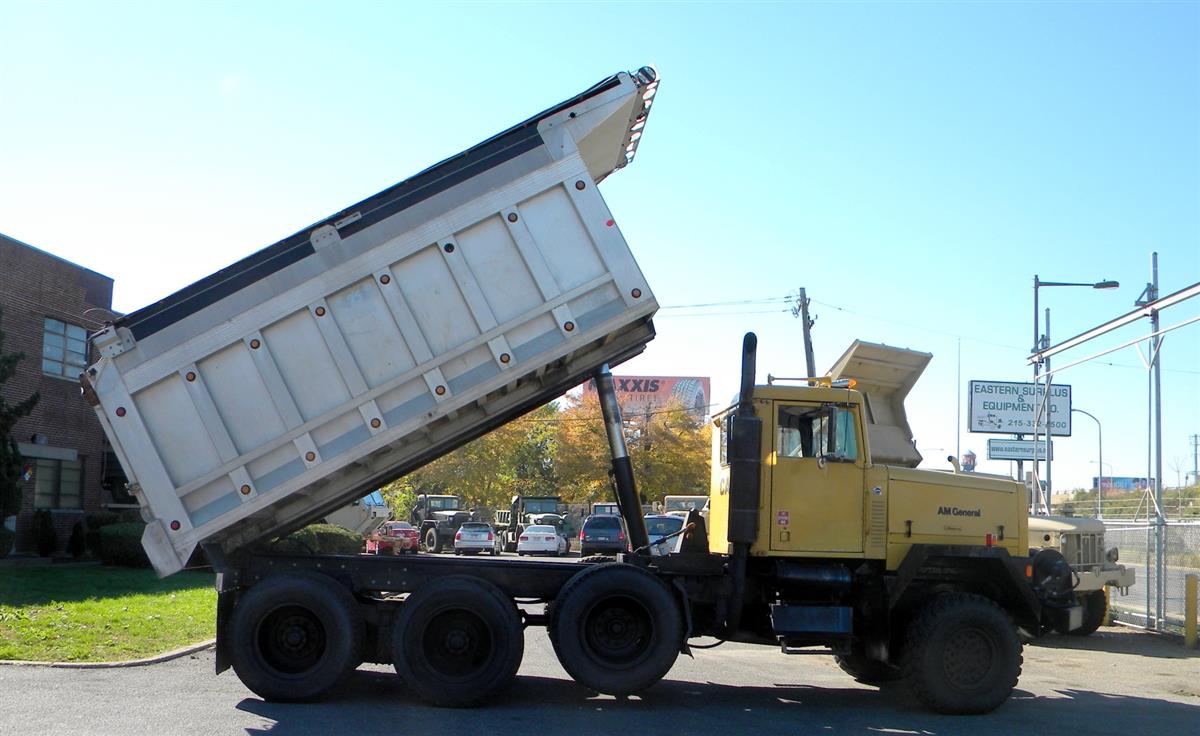
Got the 1/35 chassis fitted up as a reference for what will be a M917AO. The basis for the 1/25 is a I.H. Paystar 5000. So far the front axle is moved forward and new mounts made to raise the springs up by .060. The rear suspension was raised .080 to get the correct height also. New tubular cross members were made along with the rear cab mount. Front bumper / grill guard mounts are being made up. Still a bit to go. Rear chassis cross member, rear spring over load brackets, remove front shirts, small chassis bits, front cab mounts and power pack mounts. Biggest is waiting for my Tichey scale nuts , bolts and rivets to show up. Paul
-
The pair of chassis are on the bench. I'll snap a few photos tomorrow when the batteries are up. Measuring the 1/35 scale chassis and converting up to 1 to 1 and than down to 1/25 scale is a bit tedious! Paul
-
The tattle tale and the dryer came out great. I used defeat the hub o meters with an old rotary dial phone magnet and aluminum duct tape.
Paul
-
3 hours ago, plastic trucker said:I wonder how hard it would be to convert the Ertl Paystar 5000 to this? Maybe add the Alaskan KW Fenders with a scratched built nose?
Actually Kevin, I bought this to scale up.The Paystar cab is very close and needs a few detail mods. Interior aside from the AC and trans selector is good including the dash board. Minor mods to the hood sides to make them taller. The fenders would be easier to scratch build. Grill, bumper and guard require the most scratch building.. The chassis is some what easy with only four cross members and a trans mount, Two of the cross members are tube. BUT~ The front and rear of the rails, brackets, battery box, fuel tank and chassis fittings will require a ton of scratch building. Wheels are 2 hole Budds. Engine is a Cummins NTC 400, trans needs to be an Allison modified into a Cat Semi Auto. . . pretty easy. Rears and suspension from the Paystar will work perfect. The full brake system is disk brakes on both steer axle and the rears A few of the Italeri trailers have them.. This one I'm doing is the basis for the drawings and parts list for my 1/25 scale build coming later. Paul
-
14 hours ago, discodave said:Whoa..... cool!! That was a scratch build exercise huh?
A small one compared to the oil field pair of K.W.'s
-
14 hours ago, discodave said:Very cool, I can't wait to see what is the plan.......
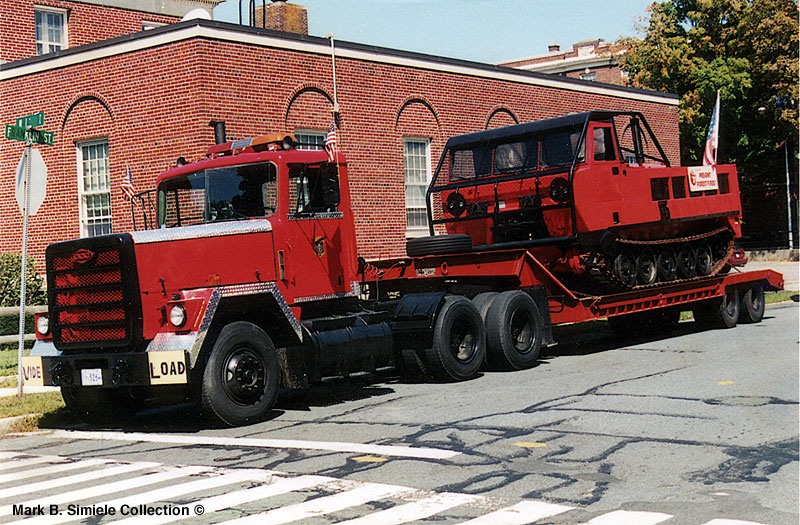
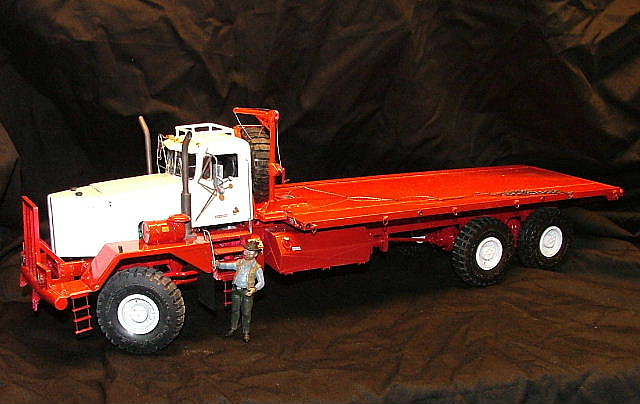
Leaning towards a Forestry Service semi for moving forest fire equipment, a Forestry Service dump or a 3 axle dump I saw in Massachusetts.

-
This arrived in the mail today. I'll be starting is this weekend when my wife head to New Hampshire for family things. Whee! a weekend of binge building! Paul


-
Nice. the cab clutter is a good touch. Needs a thermos and a samich.....:) Paul
-
1
-
-
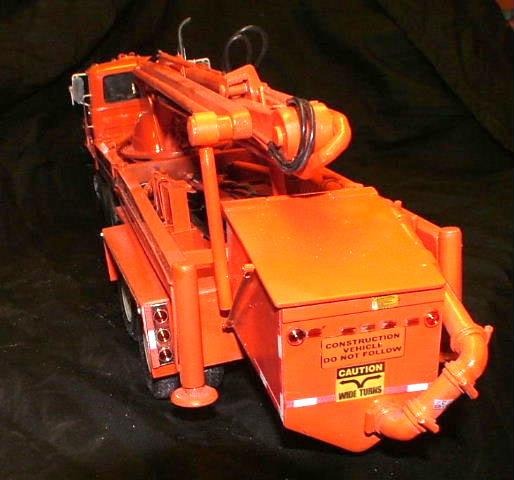
90% scratch built. Yeah those are skulls on the clearance poles, most all my builds have a small odd treat hidden in them. Paul
-
Very nice work on the Aerodyne roof section. The entire truck is looking good good match to the Mayflower colors too.
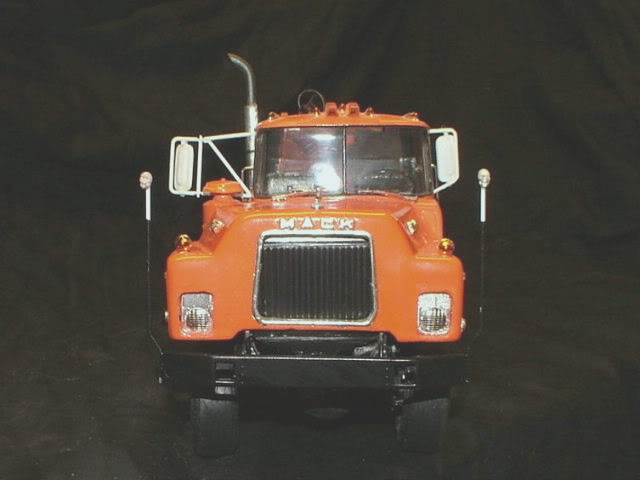
Fiberglass was common before resin got more user friendly. I did a lot of resin kits in the mid to late 1970's with the grey industrial resin and it was a horror, but the only game in town then.. As for the glass , I have and ancient MACK B model in fiberglass and it is probably on of the best detailed ones of any B. Opening hood and doors Paul
-
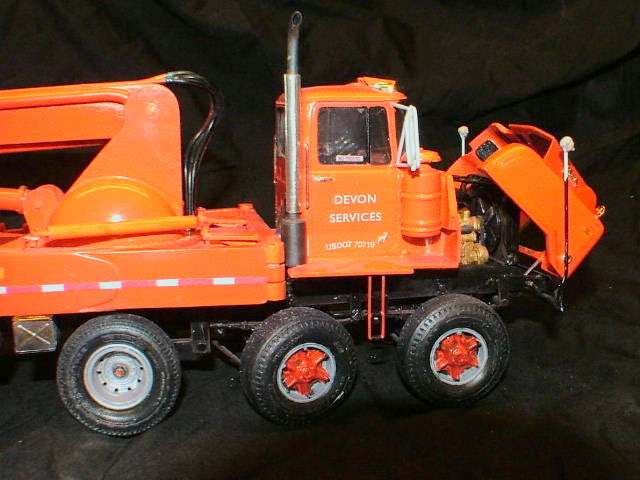
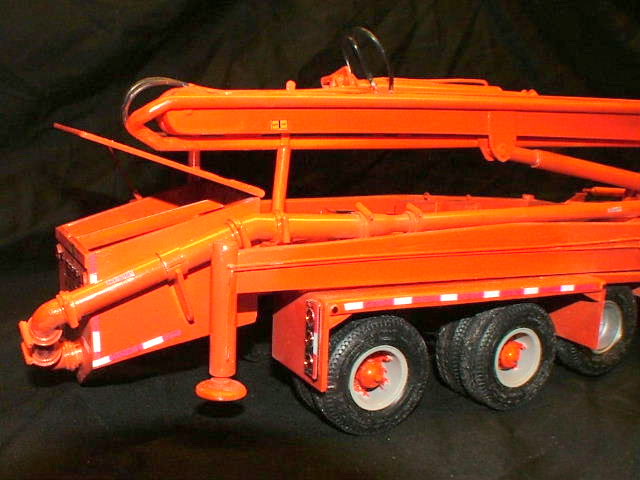
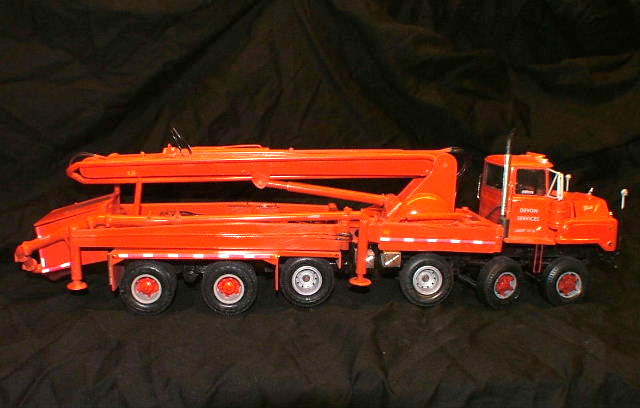
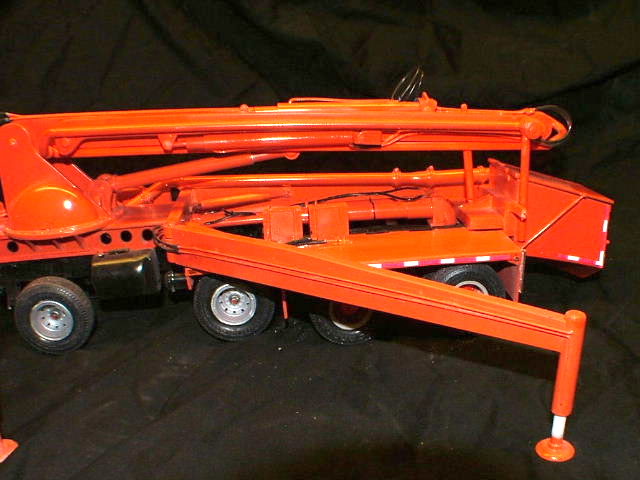
55 minutes ago, Casey said:Wow. That thing is impressive!
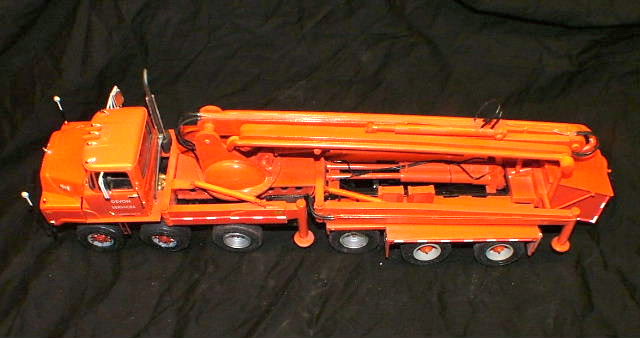
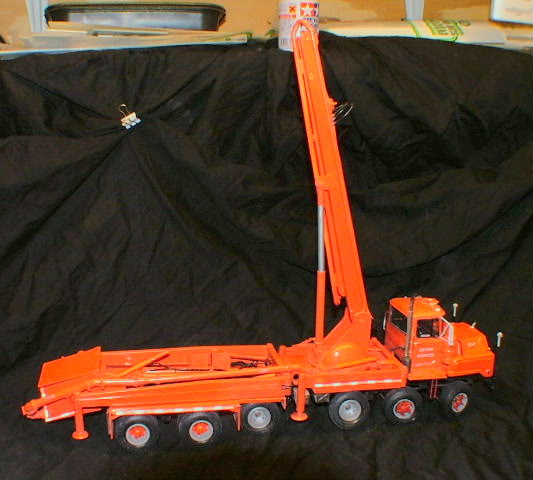
Shall I post my Mack Putzmiester 58 meter concrete pumper?
-
With all the new tech put on newer semi's the one thing missing that is most visible on a model is the GPS saucer. Less than a 1/2 hour I made up a half dozen for my Mobius International buils. .I use the dish shaped plastic seal from the 1/2 gallon juice containers, either 5 minute epoxy or the stick epoxy. The 5 minute gives less air voids. After it cures I sand the bottom flat and glue a 015 plastic disc to the bottom with CA glue. Sand the sides flat and take a piece of square tubing cut at a 45 degree and glue to botton to make the cab mount.
Here is a photo how to. Thanks for looking. Paul


All mounted up with the cable run under the cab.

-
Cool Lots of period perfect goodies both on and in it. Where did the tattle tail graph come from on the dash? Paul
-
Impressive especially with the 12/71!. Like the twin FARR filters, a really trick looking set up. Paul
-
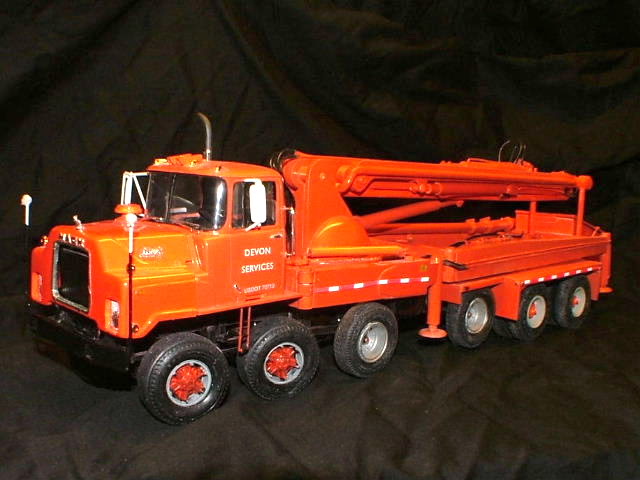
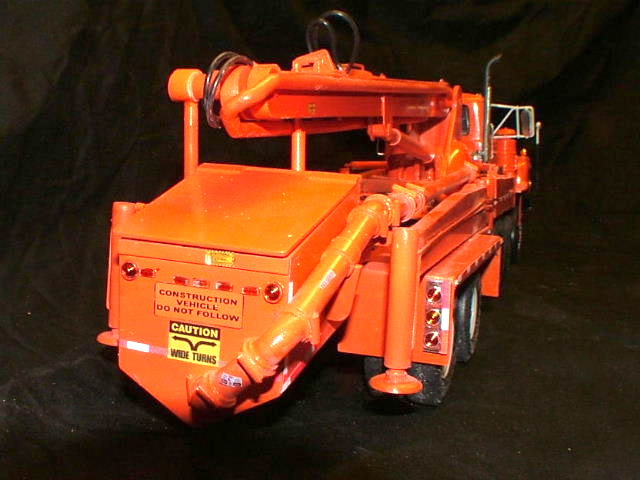
I like non main stream rigs. I have a 6 axle Mack DMM concrete pump unit I build a few years ago and a pair of 90% scratch built KW heavy oil field rigs. Paul
-
3 hours ago, DRIPTROIT 71 said:Looks great!! Very nice work! I've been wanting to do one of these myself. I been collecting what reference photos that I can find. Do you have any reference photos or did you use photos off of the net?
I had the best reference you could get, the real unit. I sold it a few years ago but still have a bunch of info saved. You're welcome to use it when I dig out the files. Paul
-
3 hours ago, DRIPTROIT 71 said:Welcome Paul!
Thanks! Paul


'54 Studebaker tractor with hog trailer.
in Model Truck Workbench
Posted
Like Studies! Any progress? Paul