
Casey
-
Content count
596 -
Joined
-
Last visited
-
Days Won
50
Everything posted by Casey
-
Had a change of heart and just added them both --Casey
-
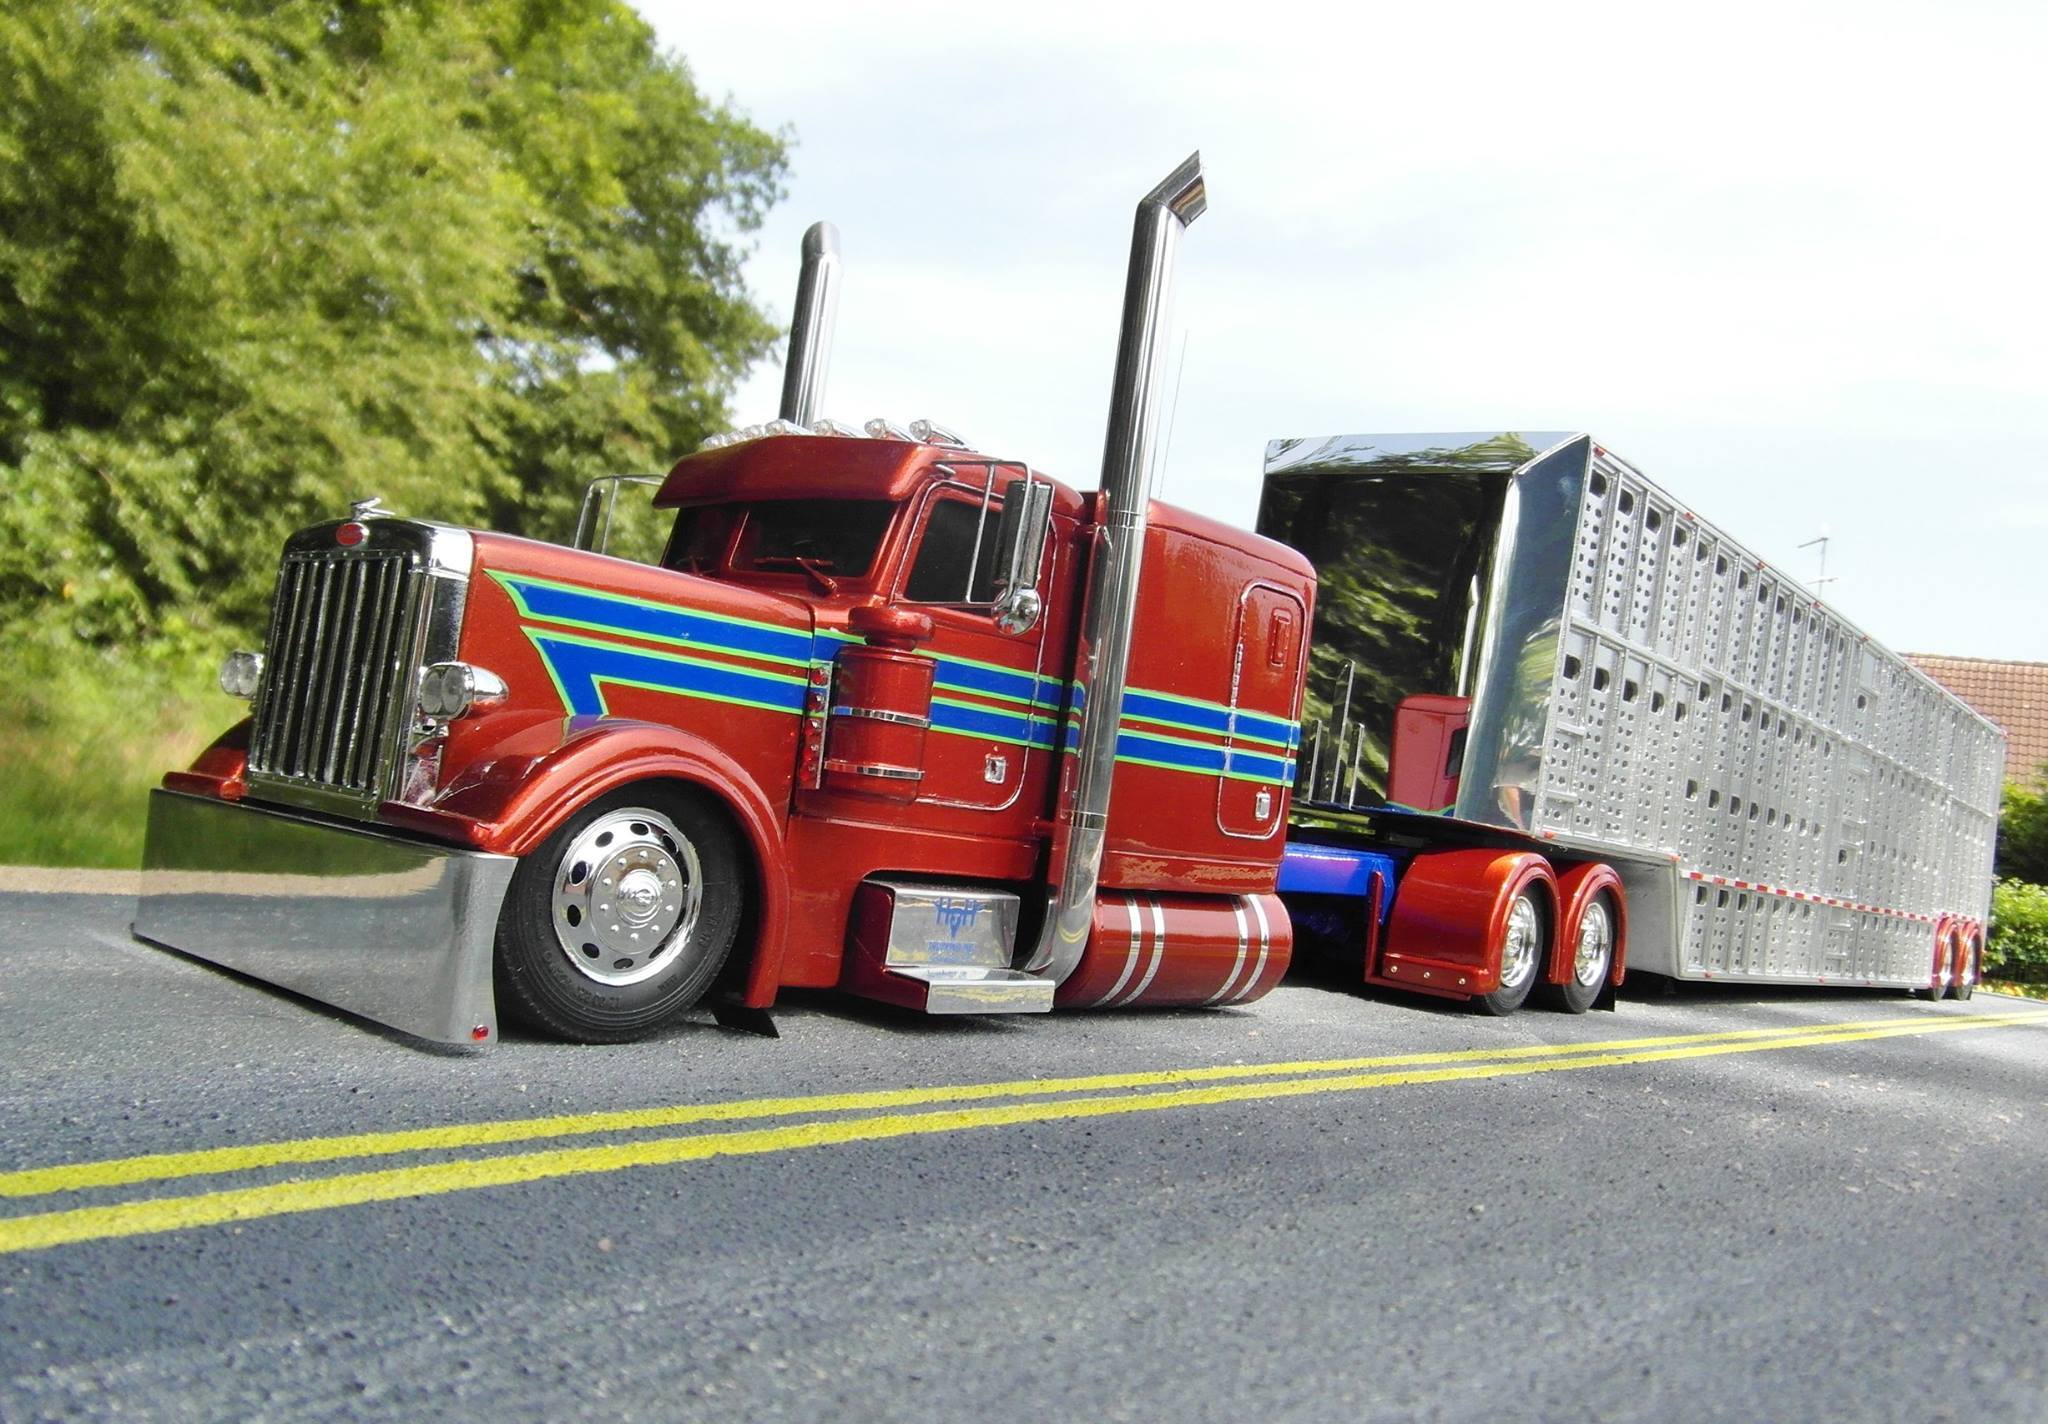
Welcome to MTB Paul! Glad to have you onboard. Nice job on both of those builds. It was a tough choice but I decided to use the mixer as our main page image (Hope you don't mind). The KW and its weathering are fantastic but the engine detail and the garden hose on the international won me over. Can't wait to see more! --Casey
-
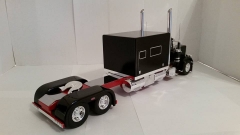
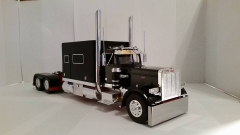
I got this kit from my uncle 10 plus years ago. He had finished building the engine and it remained untouched until earlier this year when I decided to build it. My original plan was to put the rear frame and suspension from an old ROG Peterbilt on it. The rear frame section was a bit wider but I pressed on anyway and as I'm sure you can imagine, I was not happy with the tapered that resulted in the forward section. Determined to make it work, I set out to narrow the frame, rear ends, et al to make it work but due the brittleness of the rear section, I was forced to abandon the idea. That led me to order another kit to use for parts. Not the most economical way to do it but I'm sure I will find a use for the rest of the parts. Here's the current progress on the project. I finally got to the point that I could mock it up. The suspension was dropped about 2.5 scale inches, the sleeper was robbed from a snap Pete, the fuel tanks will moved to beneath the sleeper, Peterbilt battery boxes will be placed beneath the cab and a Peterbilt style cab panel will occupy the space where the kit battery boxes where. I also built-up a custom front bumper for her and I will add a set of my single hump fenders. The frame was stretched (note the joints just forward of the rear suspension) and the suspension was lowered. Stock rear suspension position. To lower the rear, I cut the stock alignment pegs (I guess that's what they are called) and removed the tabs that rest below the lower portion of the frame rail to allow the suspension to be mounted higher on the rails as seen above. Similarly, I removed the pegs and tabs and mounted the front suspension higher on the frame. To help keep the cab centered to allow it to sit better on the rear cab mount, I added a mount bracket with a centering tab that fits between the tow pegs on the kit frame mount. The rear opening for the sleeper tunnel was enlarged to match the from AMT Pete sleeper panel that was grafted into the snap Pete sleeper. The shortened ROG Pete drive shaft and carrier are also visible I this image (I was determined to use something from the old ROG Pete). The tunnel was lengthened to allow a bit more room for the stacks and a spacer was added to keep sleeper parallel to the cab. A couple of pics of the battery box. I think I may cast these. It easier than making them again and again and others may want one or two of them. Custom grill in-work. Thanks for looking! --Casey
-
I would have thought that the bezel was the trim ring around a light but like I said I really have no idea.
-
The black paint box art is the kit I started with. Bummed it off of my uncle years ago.
-
 Very cool! I dig it!
 -
 I would love to get my hands on another one of those kits!
 -

1977 International Fleetstar 2070A and Loadcraft Lowboy
Casey replied to Cornbinder's topic in Model Truck Show Room
Congrats! That is awesome and well deserved. That is a cool build. -
E-mail sent.
-
Better get two or three! --Casey
-
Thanks! Maybe Mack headlights with the flat piece that goes behind them? (no Idea what the proper term is for them) --Casey
-
Italeri 377 AE Instructions.pdf
-
© Jim Seidl
-
© Jim Seidl
-
© Jim Seidl
-

© Jim Seidl
-
© Jim Seidl
-
From the album: Brettly
© Brettly Wheeler
-
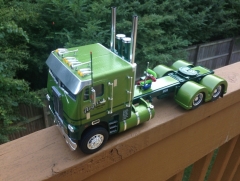
From the album: Freightliner Dual Drive Resto-Mod
© Casey Comer
-
1977 International Fleetstar 2070A and Loadcraft Lowboy
Casey replied to Cornbinder's topic in Model Truck Show Room
Perfect. -
Love it. That thing is a beast!
-
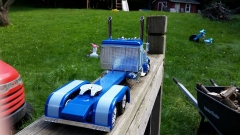
Called an audible on the paint. Still needs some touch up and clear coat. I couldn't resist a quick mock-up.
-
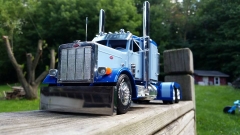
Thought I would share the W900l (circa '96) hood I am working on for the snap KW. Hopefully I will wind up with something passable. Since the W900L grill is narrower, I cut a section out of the center of the hood and the grill (not pictured). To ensure that the correct width was maintained at the back of the hood a cut a section from the rear of another hood. The rear portion of the other hood was glued to the rear of the hood and the hood sides have been extended using sheet styrene. In the image above, the fenders have been widened using the outer portion of the other hood's fenders, the headlight "pods" have been removed and filled and the raised portion on the top of the hood has been removed. What's left of the original hood and the new hood. Working on the crowned strip down the center of the hood. Thanks for looking! Feedback is always encouraged and appreciated. --Casey