Casey
-
Content count
596 -
Joined
-
Last visited
-
Days Won
50
Everything posted by Casey
-
Almost finished with the master. Need to slick them up a bit; then on to making the mold.
- 1 reply
-
- 1
-

-
Welcome to the site. I'm sure we can work through the language barrier. After all, we all speak model trucks.
-
Awesome! Would you mind sharing a few images of the B model as well?
-
Thanks for sharing! I love the concept and the detail. Simply awesome. What door hinges did you use?
-
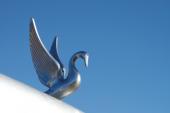
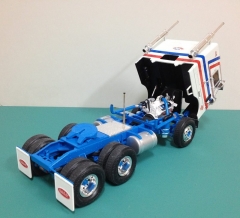
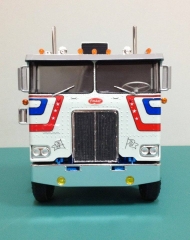
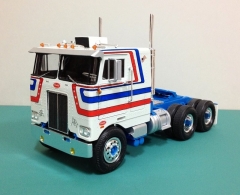
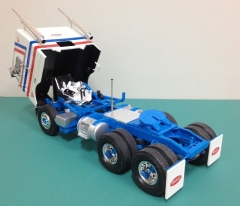
 I am finally calling this one done! My Peterbilt 352 Pacemaker in the 'Patriot' paint scheme. I built this 'box stock' and the only details that were added were the extra corner windshield posts, air tanks under the battery box that was filled in and the battery box cover was rounded off. The exhaust mufflers and stand pipes were wrapped in chrome self adhesive duct tape to hide the seams. Colours used were Duplicolour Gloss White and 'Ford Australia' Blaze Blue. Two coats of Gloss clear were applied before applying the kits decals then another 2 coats of gloss clear were applied to the cab to seal them.
© Anthony Kurr
-
© Anthony Kurr
-
© Anthony Kurr
-
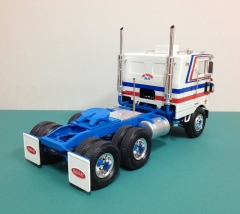
Nice build. Was the spare tire holder from the kit or did you scratch build it? Either way, very cool.
-
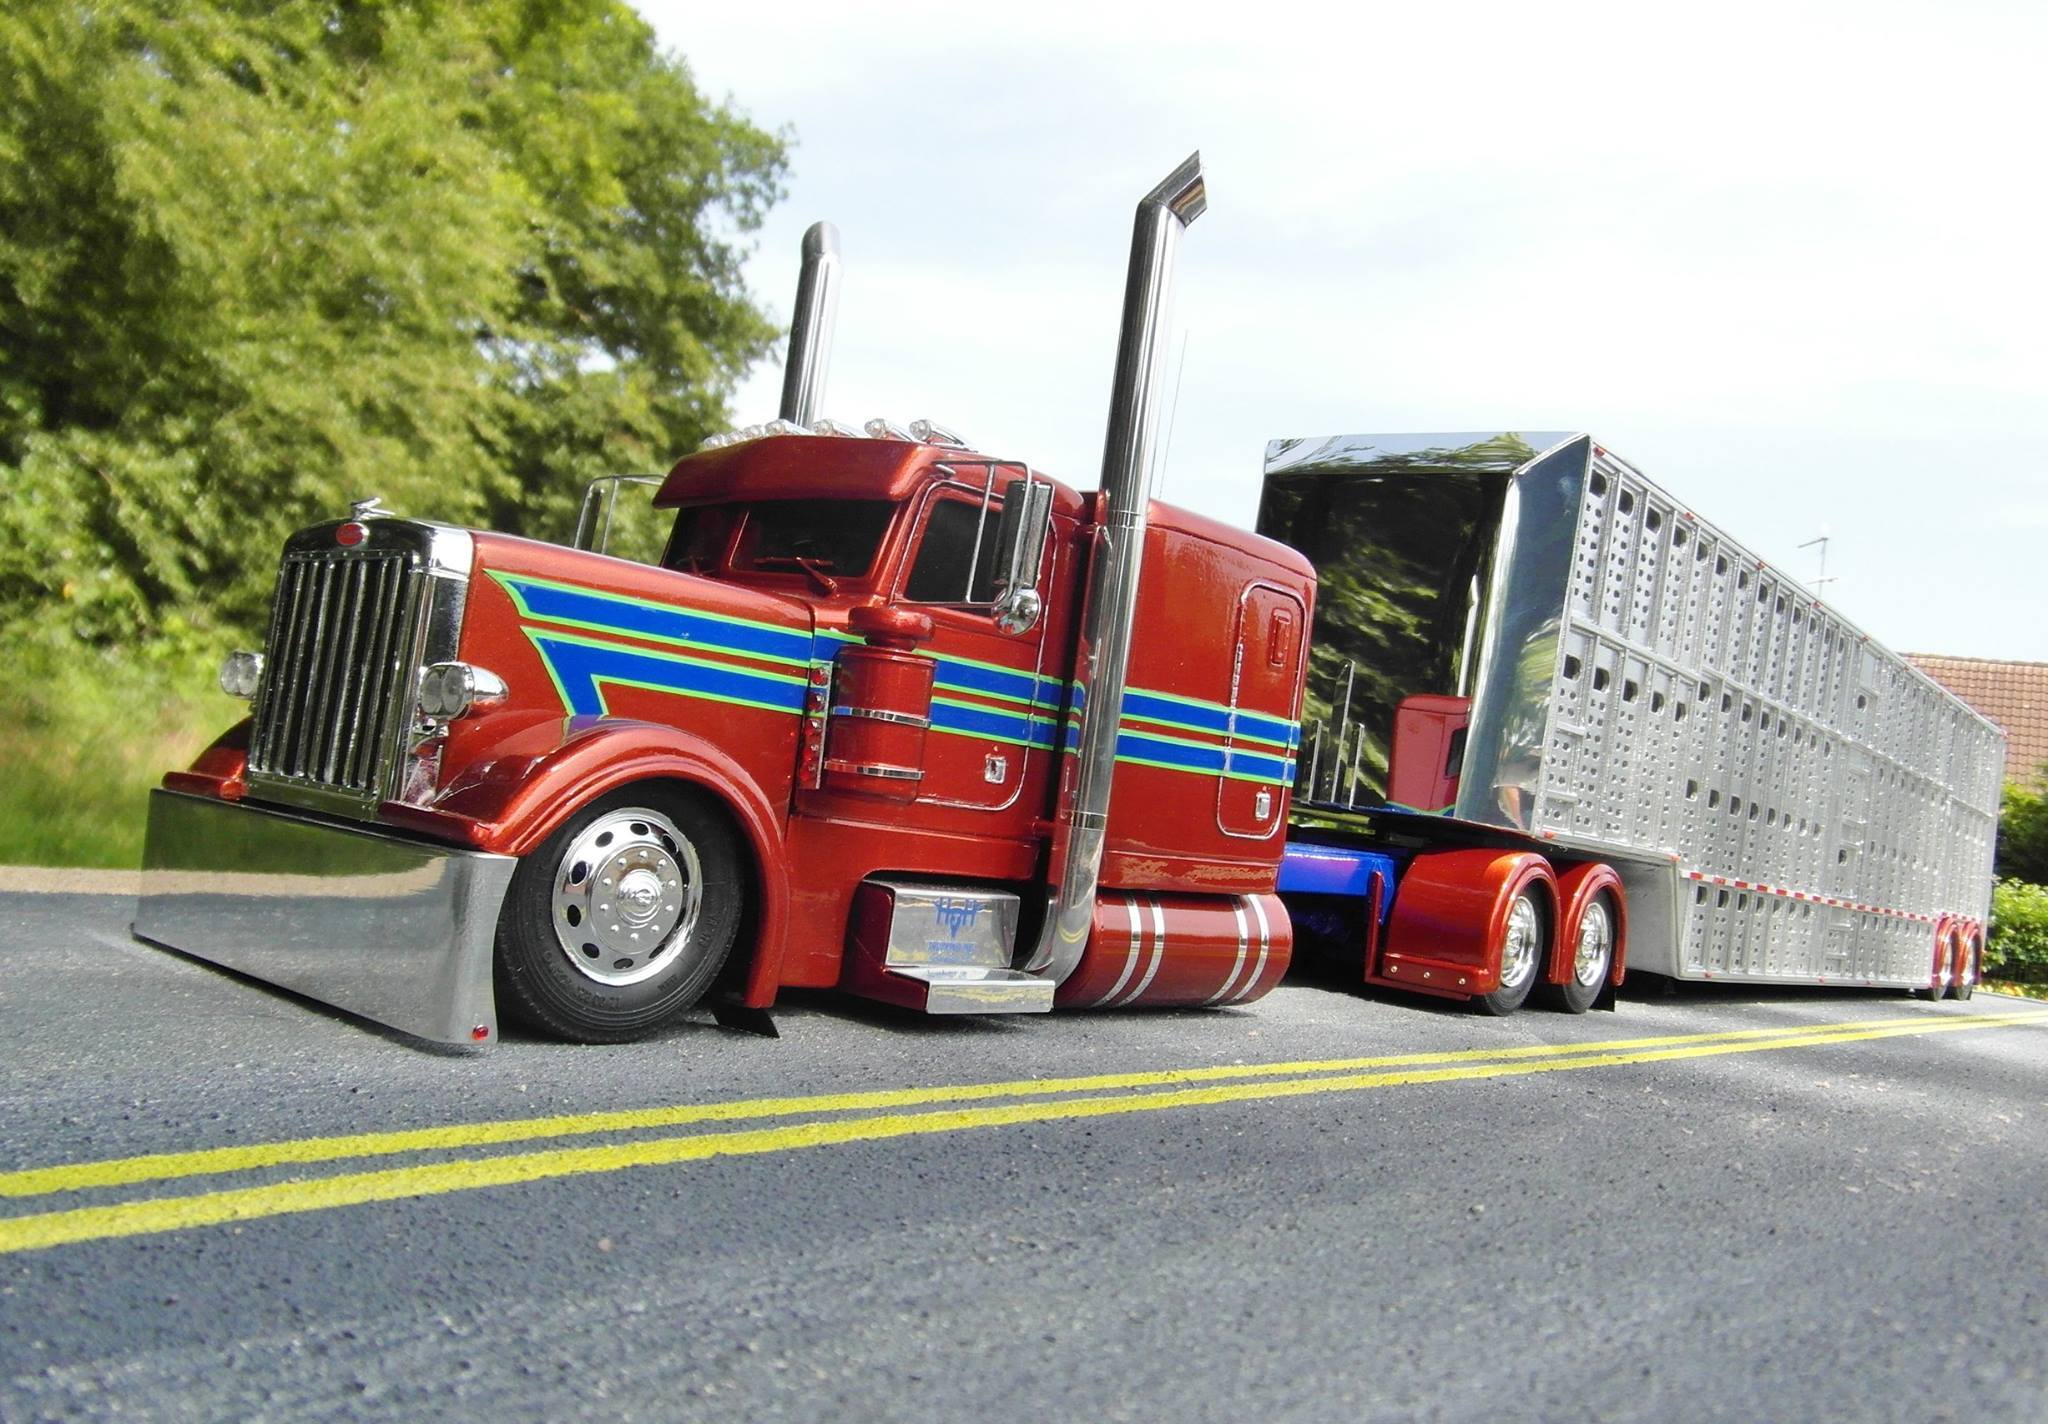
That's a good looking combo! The visor is sweet. Is it stainless steel?
-
Nice. I'd say that the 1/32 tank is the perfect size for that truck.
-
Sounds like an interesting project. I look forward to seeing updates.
-
Very nice. I really like the color choice.
-
Good to hear that you are still above the frost line. If not for you and Anthony, this place would be ghost town. Maybe others will eventually join but I am beginning to wonder. I'll be throwing a set of those on my COE Freightliner WIP.
-
Anyone know which engine is in the Italeri Freightliner FLD 120 kit? --Casey
-
I had not. Thanks again! There is a lot of great stuff on their page.
-
Thanks! That's what I thought it might be but I knew that if it was, it wasn't quite right. Looks like I have some scratch building to do as well. --Casey
-
Check your PMs.
-
Excited to watch this one progress.
-
Another beauty!
-
Looks like it recovered well. Nice build. Thanks for the update! --Casey